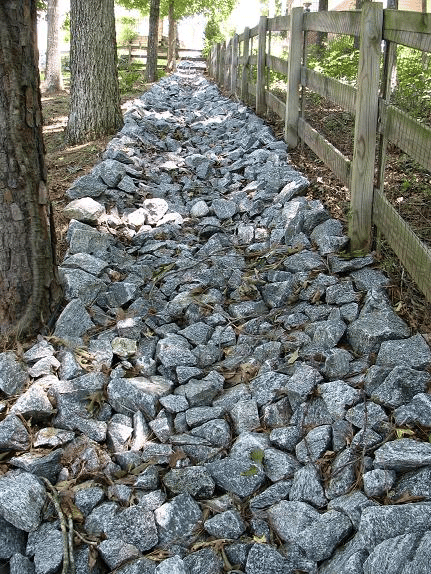
This projects explains how to build a rock drainage swale to prevent rain water soil erosion. The swale was necessary because storm water was cutting gullies across the backyard.
Drain Swale Construction Requirements
Several constraints had to be satisfied in the construction of the swale:
- The Home Owner’s Association (HOA) Covenants mandate the “flow of water on the property cannot be changed“. i.e. No building of walls or berms that might flood your neighbor.
- Due to the steep grade, the swale needed to lined with rubber sheeting and armored with rock to prevent undercutting and to slow down the water.
- The swale had to look “nice”.
Things to Consider:
Before installing a drainage swale, consider the following factors:
- Where is the water coming from? Standing rain water? Or is the water flowing onto the property from elsewhere?
- Where should the water go? Water always flows downhill. Is something preventing the water from draining away? Is a storm drain clogged with debris? Is a drainage ditch overgrown with weeds or full of mud? Is some man-made barrier blocking the waters natural path?
- How much water to be handled? Is a wide drainage channel needed or will a shallow channel suffice?
- How steep is the slope? A gentle slope will have a slow current, while a steep slope will need breaks to slow the water and prevent erosion.
Rock Drainage Swale Construction Materials
The materials used in the is project are:
- 19 tons of granite rip-rap hauled in by dump truck from a local quarry, ~$400 for materials and hauling fee.
- ~120 feet of Firestone EPDM PondGard rubber geomembrane liner, ~$450.
- 6 inch sod staples
- Labor cost @ $1300
Rock Drainage Swale Construction
After consulting with a local landscaping company, a rubber-lined channel with granite rip-rap rocks was decided upon. The width of the swale was determined by the landscape company from past experience. Due to the amount of material and the ~120 feet length, this was no job for the do-it-yerselfer. A team of 8 men worked two days to dig the trench, place the rubber liner and set each stone by hand.
First, the trench was dug by hand with picks and shovels.
Second, the bottom of the trench was lined with Firestone EPDM PondGard .45 mils rubber membrane. PondGard is a very tough and durable material that’s used for building ponds and widely available at landscape supply stores. For this project, a wider roll was cut to width. The liner is overlapped higher-over-lower at the joint midway down the hill, like a roof shingle.
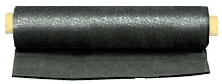
The rubber liner is held in place by 6 inch sod staples, also available at any landscape supply store.
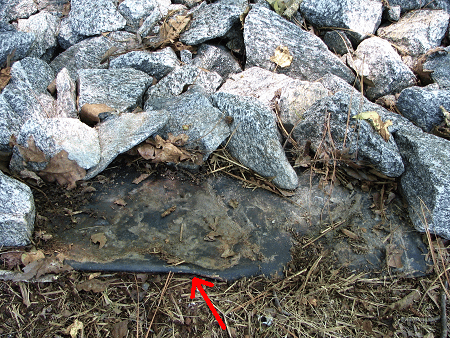
Here’s a closeup of the .45 mil PondGard® rubber liner exposed by moving a few rocks.
The granite rip-rap was carted by wheelbarrow from the front driveway and place by hand in the swale. Sheets of plywood were laid on the driveway it wouldn’t be scarred when the dump truck dumped the load of rock. Kudos to the landscape crew as they worked with great care to place each stone just right and avoid any damage to the PondGard liner.
After the swale was finished, the roof gutter downspout drain lines were buried and routed into the swale. This greatly helped to keep excess moisture away from the house foundation and basement and further reduced any potential for cutting gullies in backyard.
The results have been great! Worth every penny.
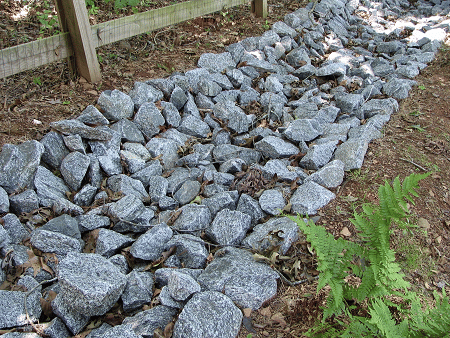
As an extra touch, ferns were planted along side of the swale to soften the view.
Bob Jackson