How to Finish a Basement Bathroom – install the old work electrical box and wire vanity light switch.
This project is continued from How to Finish a Basement Bathroom – Part 14.
Vanity Light Switch Electrical Wiring
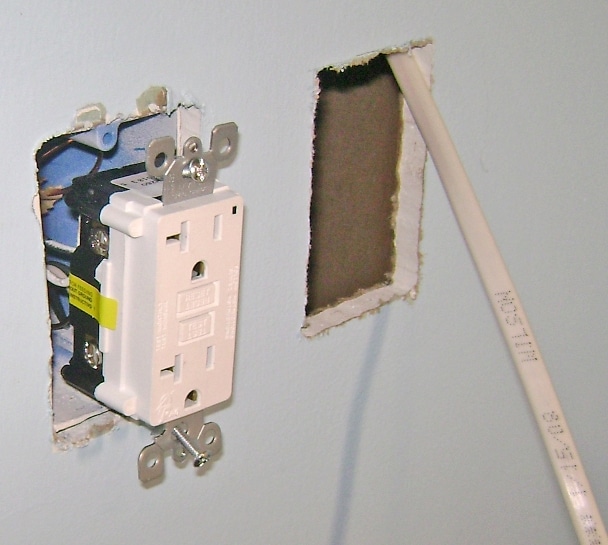
The new run of NM-B 14/2 electrical cable was fished through the wall in the previous project update and is hanging out of the hole sawn in the drywall for the old work electrical box:
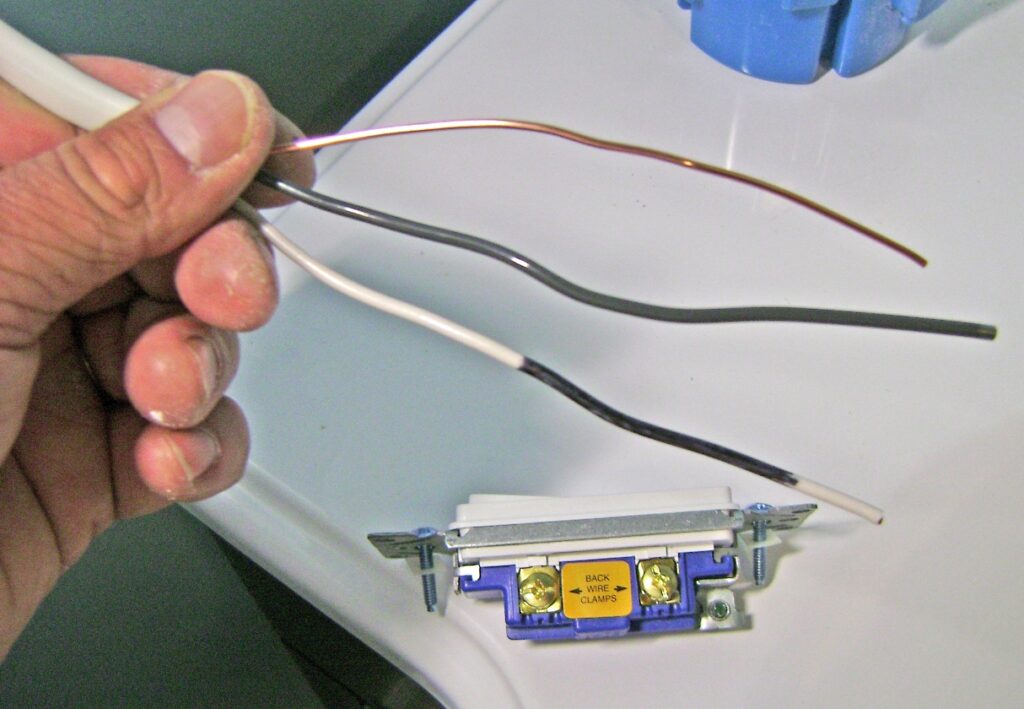
A single NM 14/2 cable is used to wire the single pole light switch. The neutral (white) wire is recoded as hot by coloring the end black with a felt tip marker per the bathroom wiring diagram because it serves as a hot wire in this light switch application:
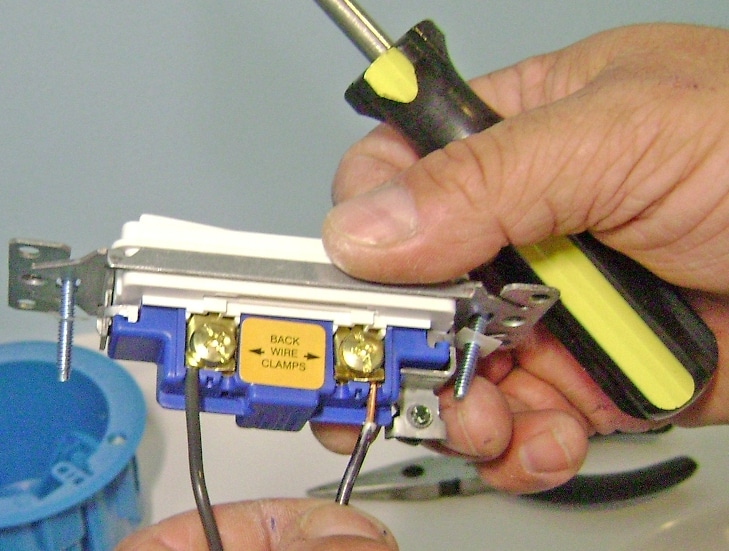
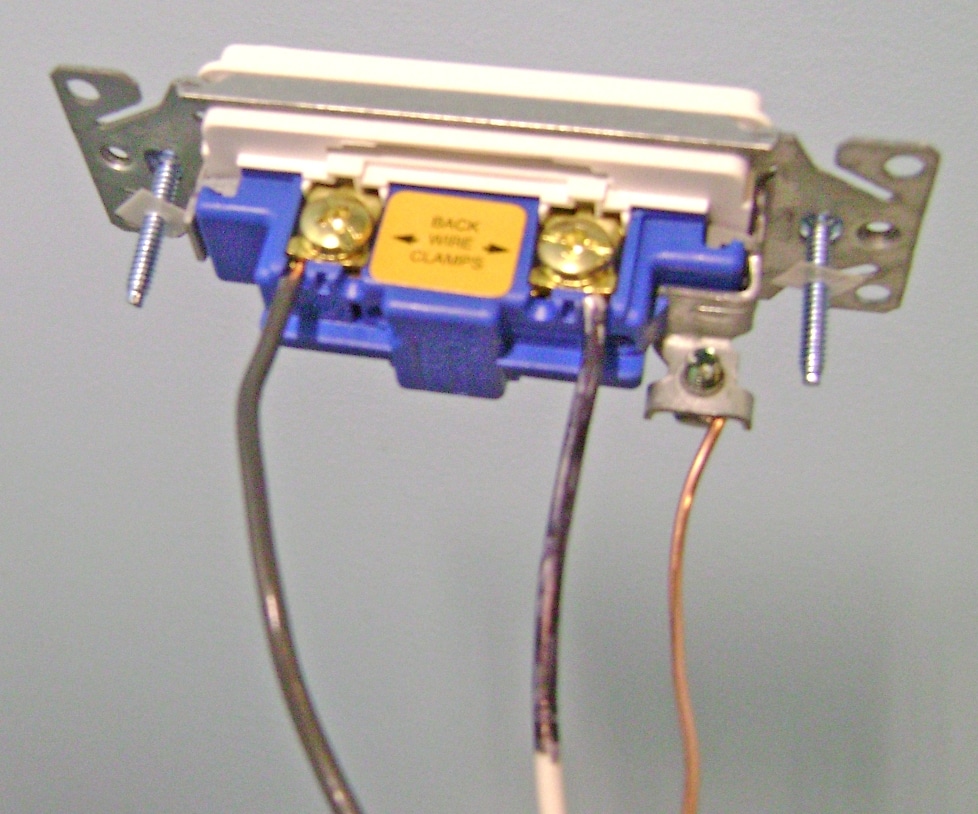
The NM-B 14/2 cable is inserted through the back of the old work electrical box then the light switch is side-wired:
Needle nose pliers are used form a hook in the ground wire to connect the light switch ground screw:
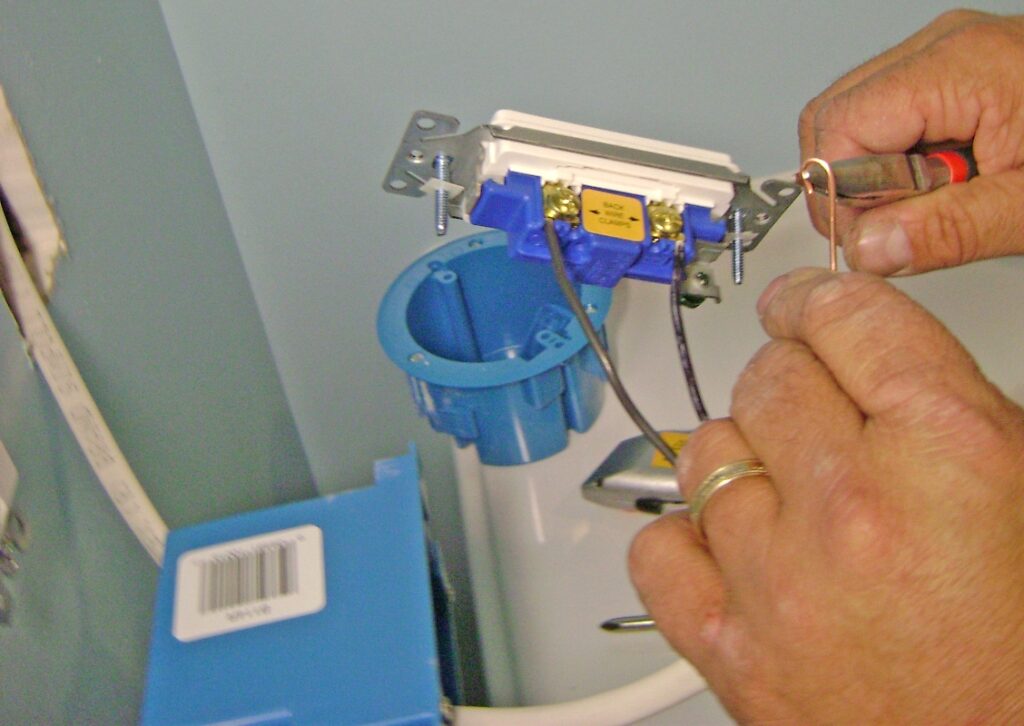
The ground wire is hooked around the light switch ground screw:
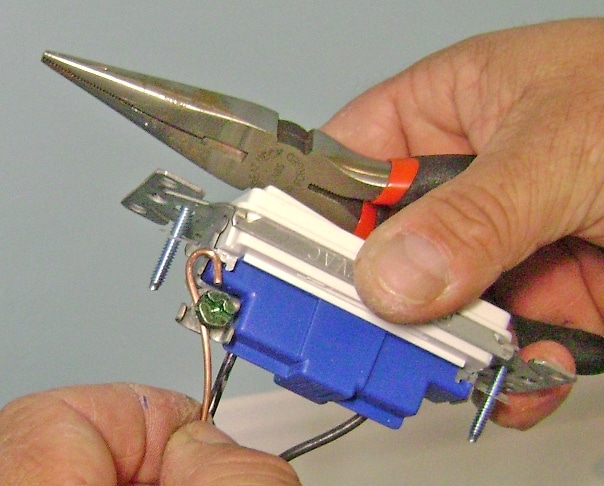
Use the needle nose pliers to close the ground around the ground screw, then tighten the ground screw:

The light switch wiring connections are complete. The single pole light switch makes/breaks the hot wire circuit which is the reason for recoding the white neutral wire as black for hot:
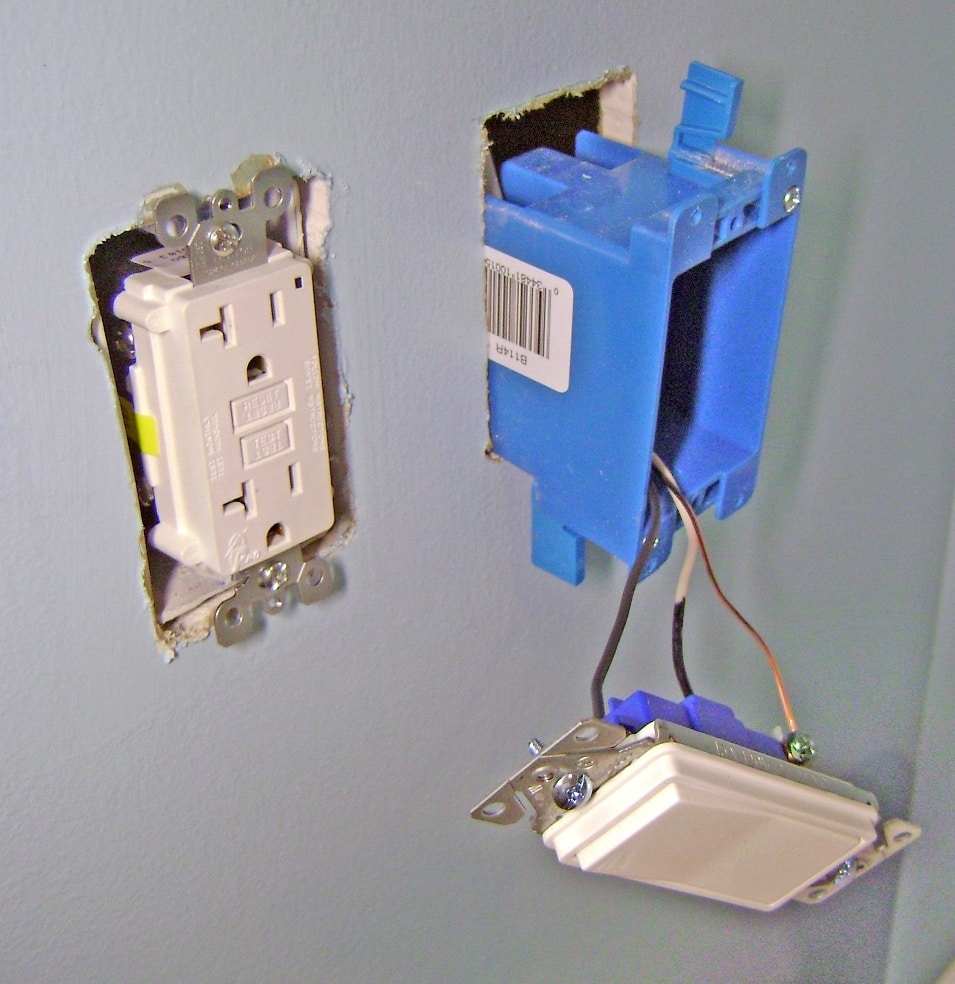
The old work electrical box and light switch is ready to be mounted in the drywall. I’ve extended old work box swing-clamps to illustrate how these automatically rotate and grab the interior wall when the mounting screws are tightened:
Close the swing-clamps closed and insert the old work switch box into the wall. Tighten the two mounting screws until the swing-clamps and drawn against the drywall, but don’t over tighten or you’ll crush the drywall.
Notice which end of the light switch is marked TOP or UP on back and reorient the switch if needed. Fold the wires in the switch box and fasten the switch mounting screws. Attach the face plates to the GFCI electrical outlet and vanity light switch.
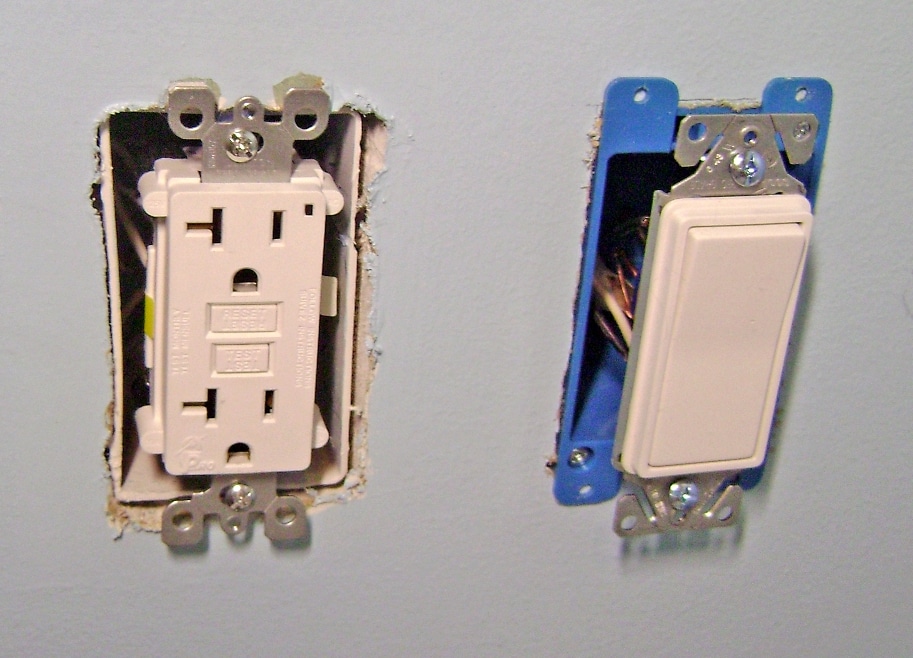
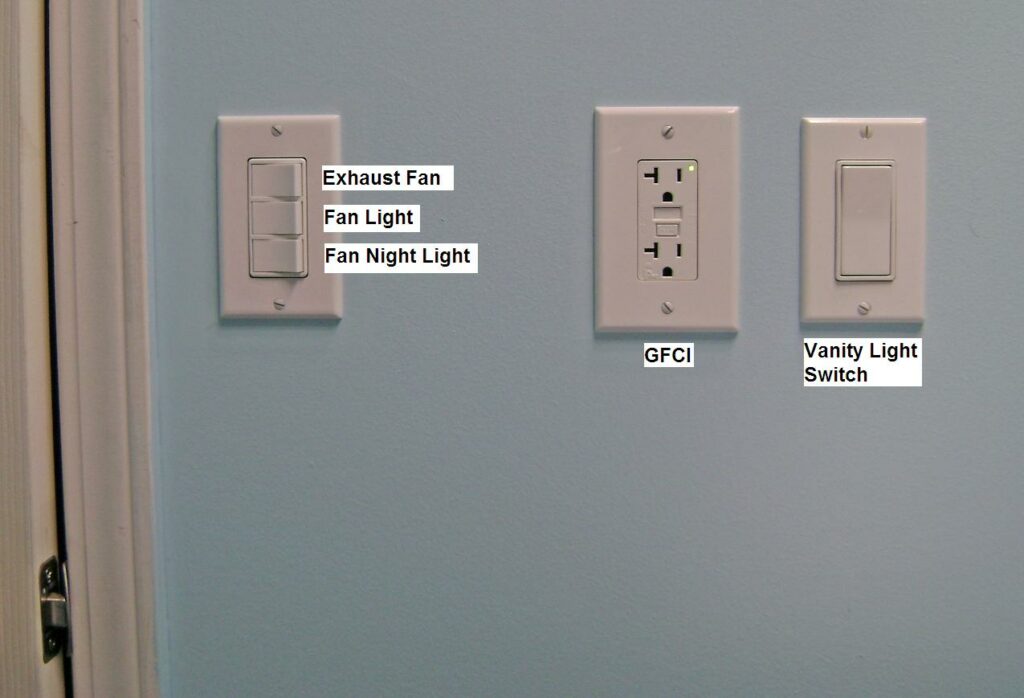
The basement bathroom switches and outlets are labeled here for clarity:
The old work electrical box and vanity light are installed in How to Finish a Basement Bathroom – Part 16.
Take care,
Bob Jackson