How to Finish a Basement Bathroom – Vanity light mounting and wiring. Pull NM-B 14/2 cable inside the wall, install the old work electrical box, wire and mount the light.
This is a continuation of the bathroom wiring from How to Finish a Basement Bathroom – Part 15.
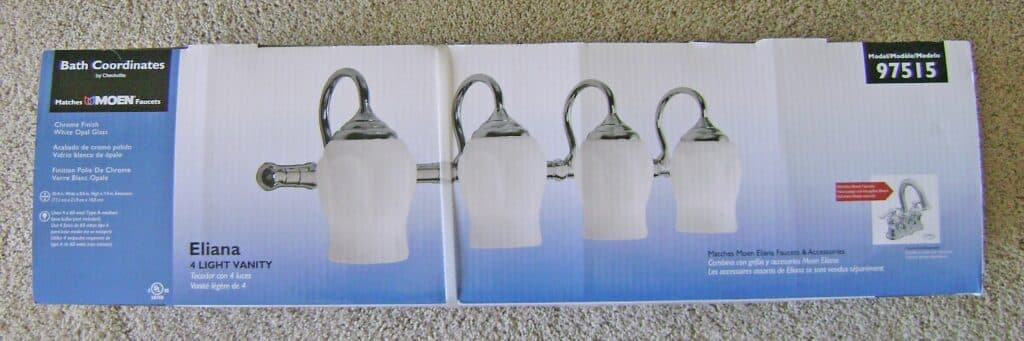
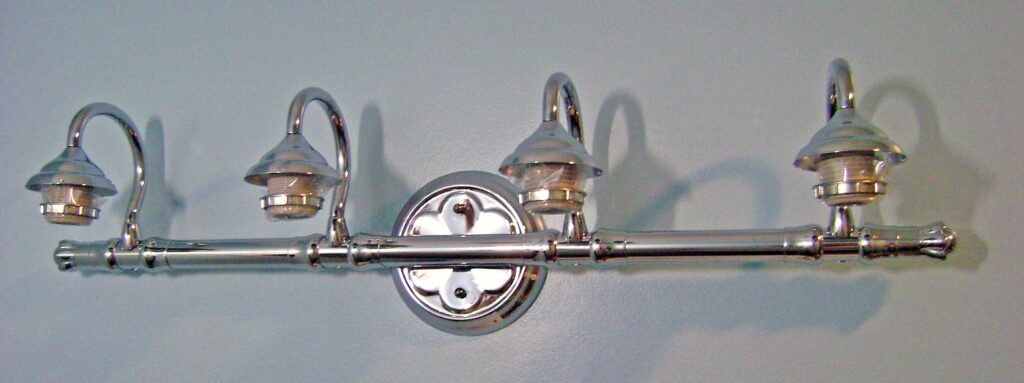
I bought a Moen Elianna 4-light vanity because four light bulbs produce a lot of light and it matches the towel racks:
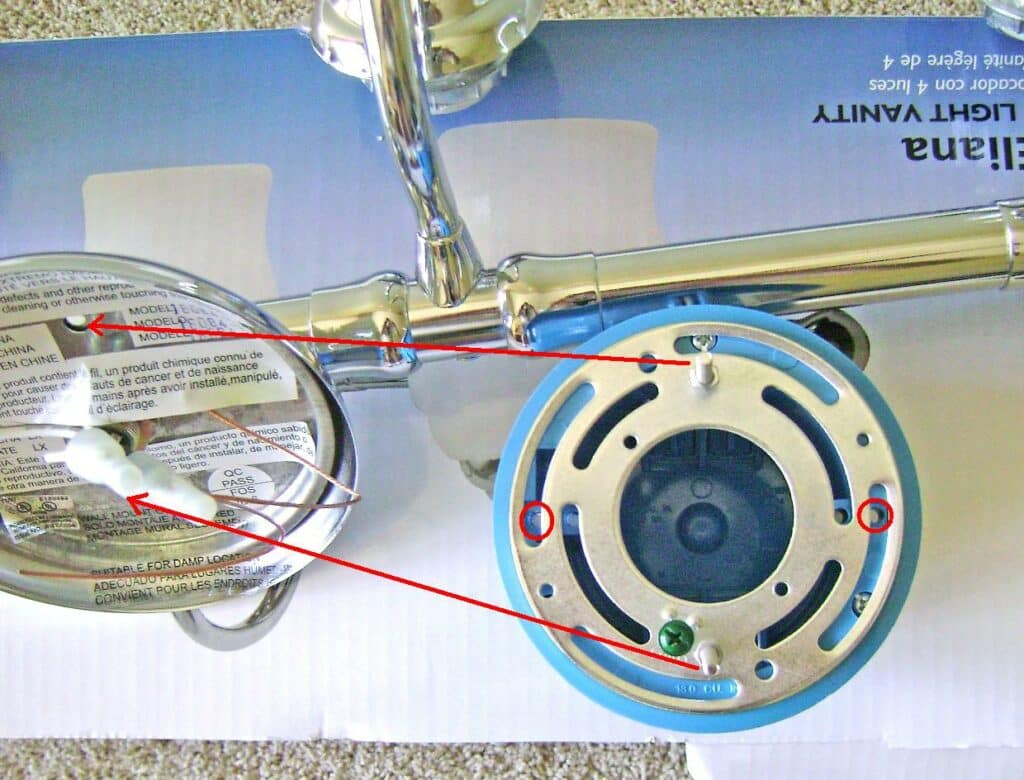
The vanity light mounts in the wall as follows:
- The round old work junction box (blue color on right of photo) is mounted to a hole cut in the drywall.
- The mounting plate is fastened to the junction box via two screws provided with the vanity light as indicated by the red circles.
- The vanity base slides over the two metal studs in the mounting plate and is held in place by two threaded cap balls, as indicated by the two long red arrows.
Mount and Wire the Bathroom Vanity Light
The vanity light is located about 10 inches above the mirror for a pleasing look and high enough to clear 2×4 horizontal blocking between the wall studs so there’s no problem fishing the NM-B 14/2 cable:

Old Work Electrical Box Drywall Installation
Note: The electricity has been shutoff at the circuit breaker.
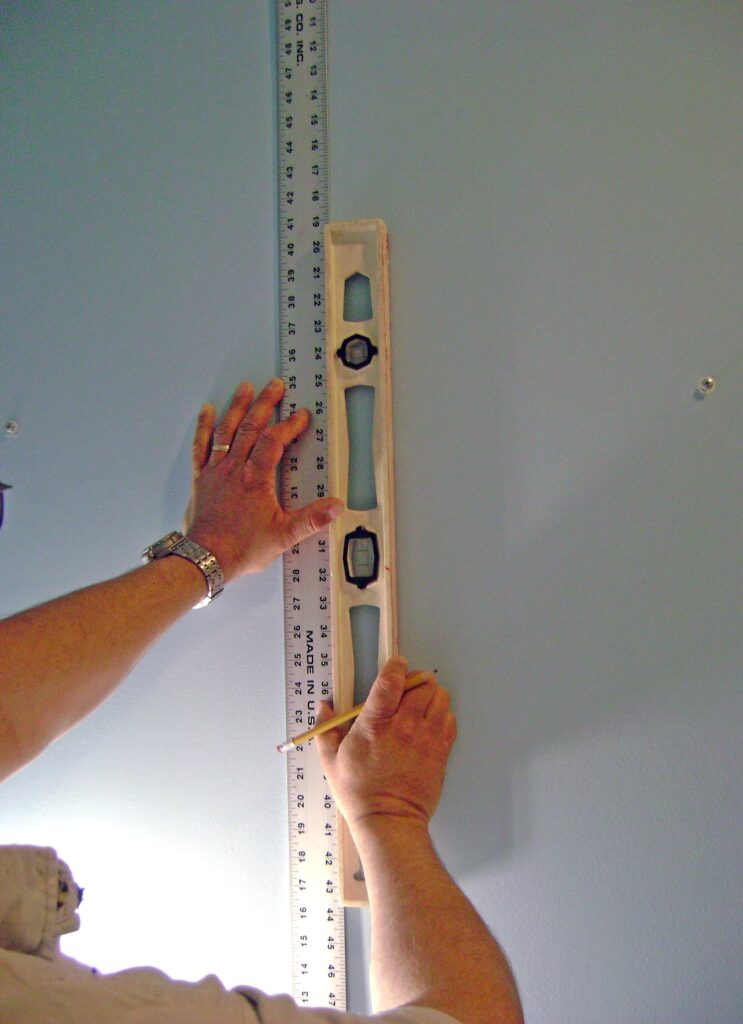
Mark the position of the old work electrical box for the vanity light by:
- Use a spirit level to mark a six inch long horizontal line on the wall at the height where the electrical box will be located above the vanity mirror.
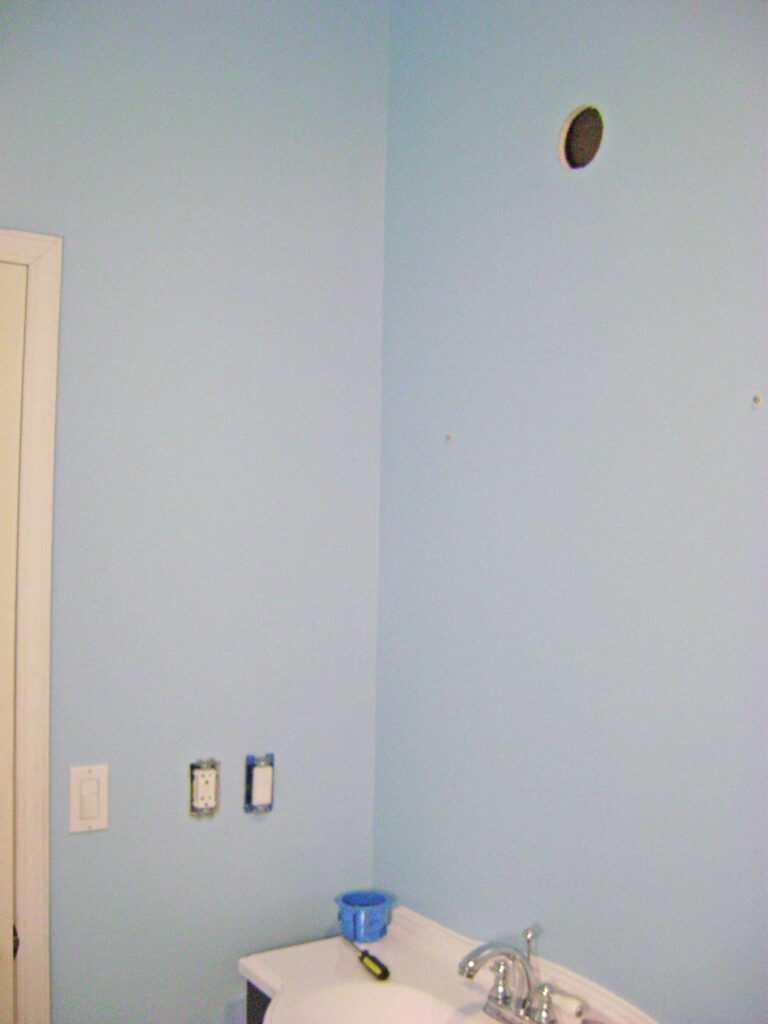
Mark the line lightly in pencil so it can be erased later. - Take down the mirror to avoid damaging it.
- While standing on a step ladder, mark a 6 inch long vertical line above the center of bathroom sink using a long straight edge and level as shown in the photo below. The resulting pencil marks form a ‘plus’ + sign for the center of the junction box. (The mirror mounting screws are visible at the far left and right sides of the photo.)
Hold the old work electrical box face down against the wall over the center lines – this is why the pencil lines are ~6 inches long to extend past the box rim. Trace the box outline on the wall:
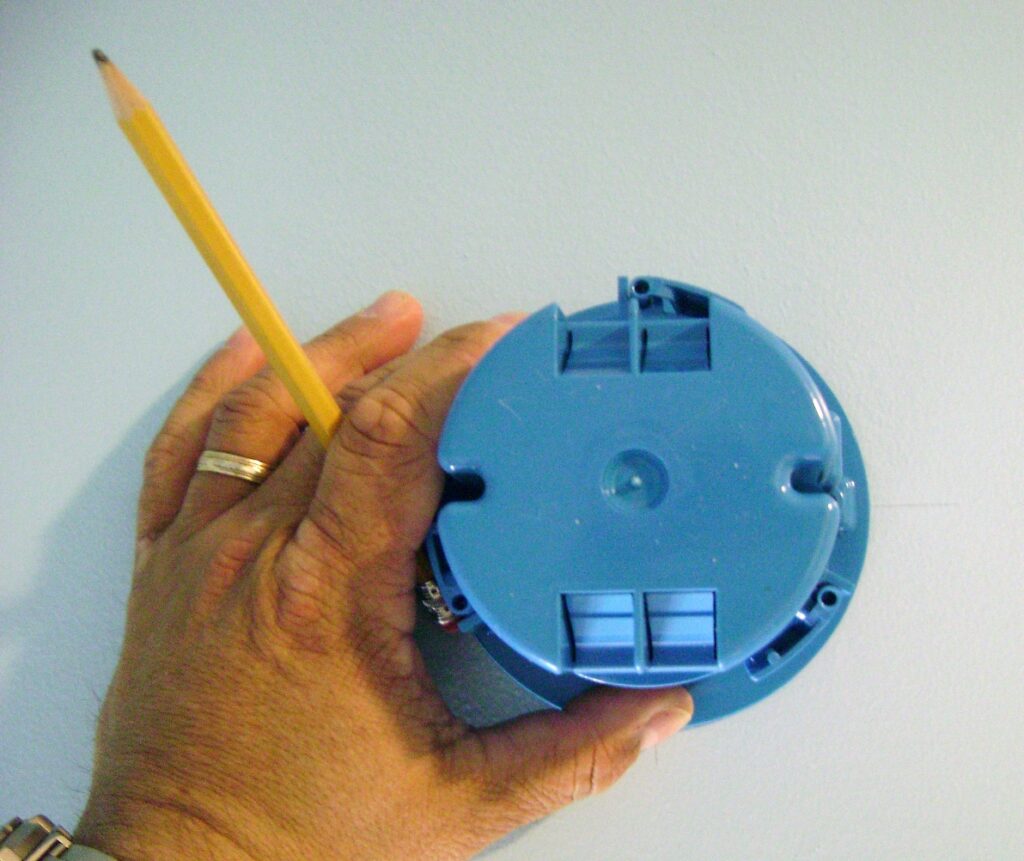
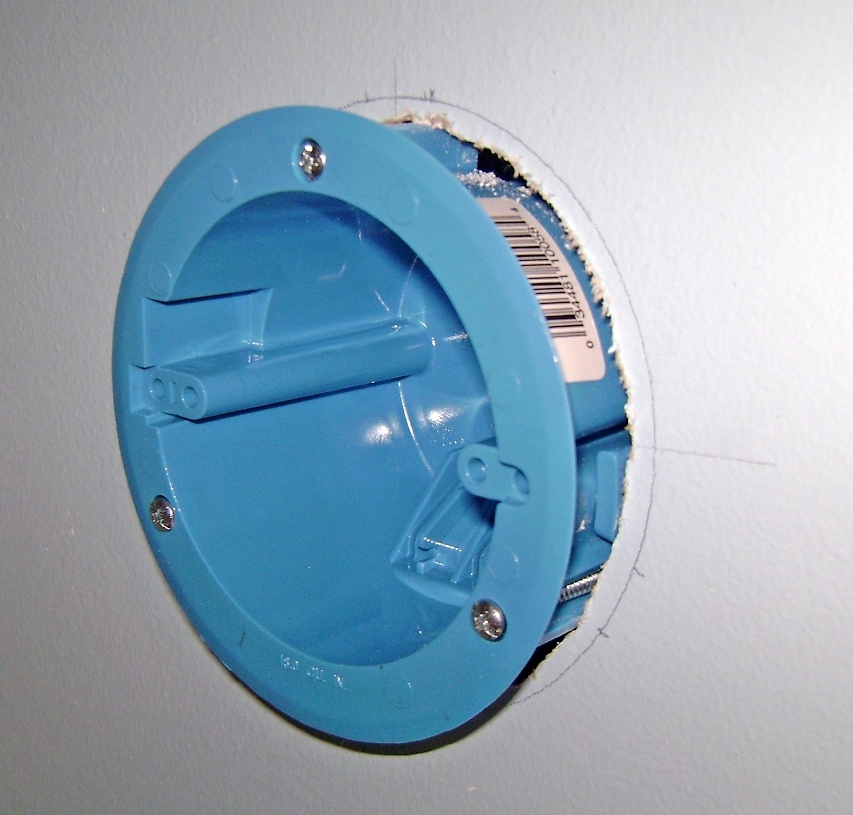
Referring to the above photo, the old work electrical box has a flat rim or flange that will seat against the surface of the wall to prevent the box from falling through the mounting hole. If the mounting hole is cut using the traced box outline, it will be too large.
It just so happens the diameter of the metal mounting ring is about size of the electrical box body. I centered the metal ring and trace it’s outline on the wall:
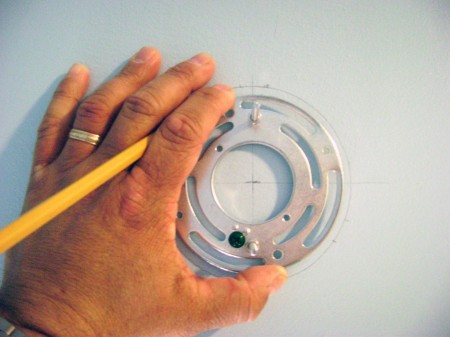
The smaller diameter hole of the metal ring is cut in the drywall with a Rotozip spiral saw (a drywall jab saw also works well):
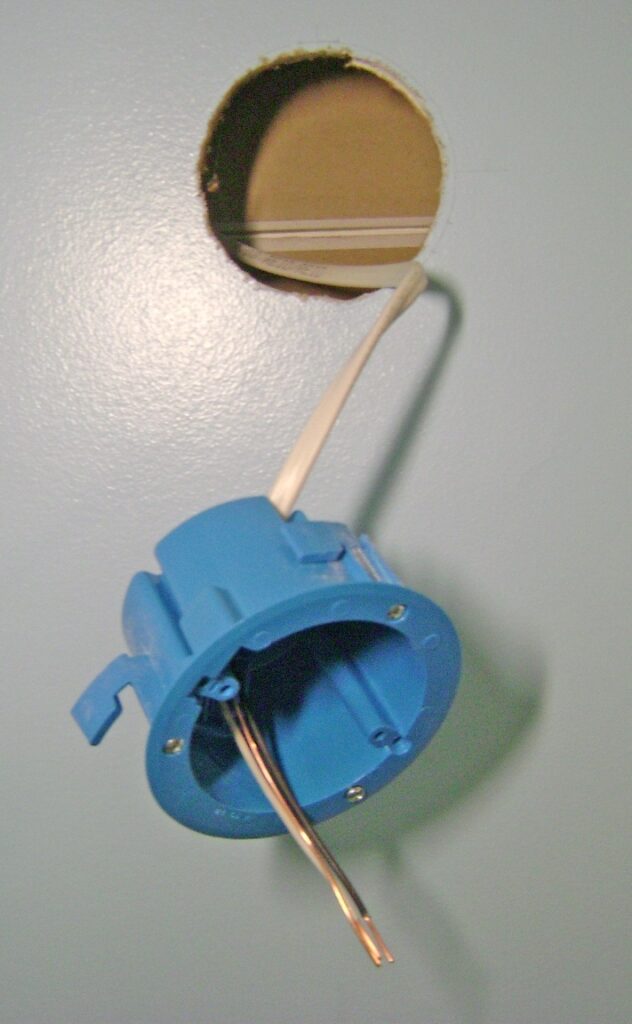
The old work electrical box fits perfectly in the drywall mounting hole:
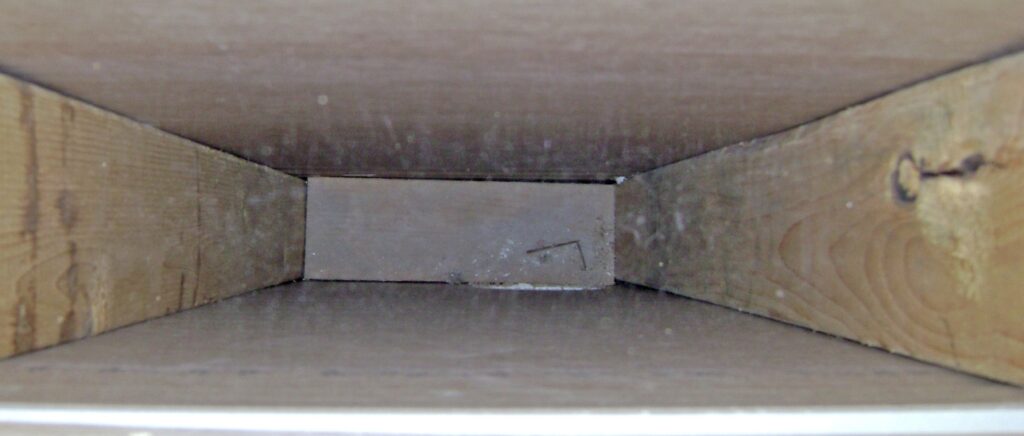
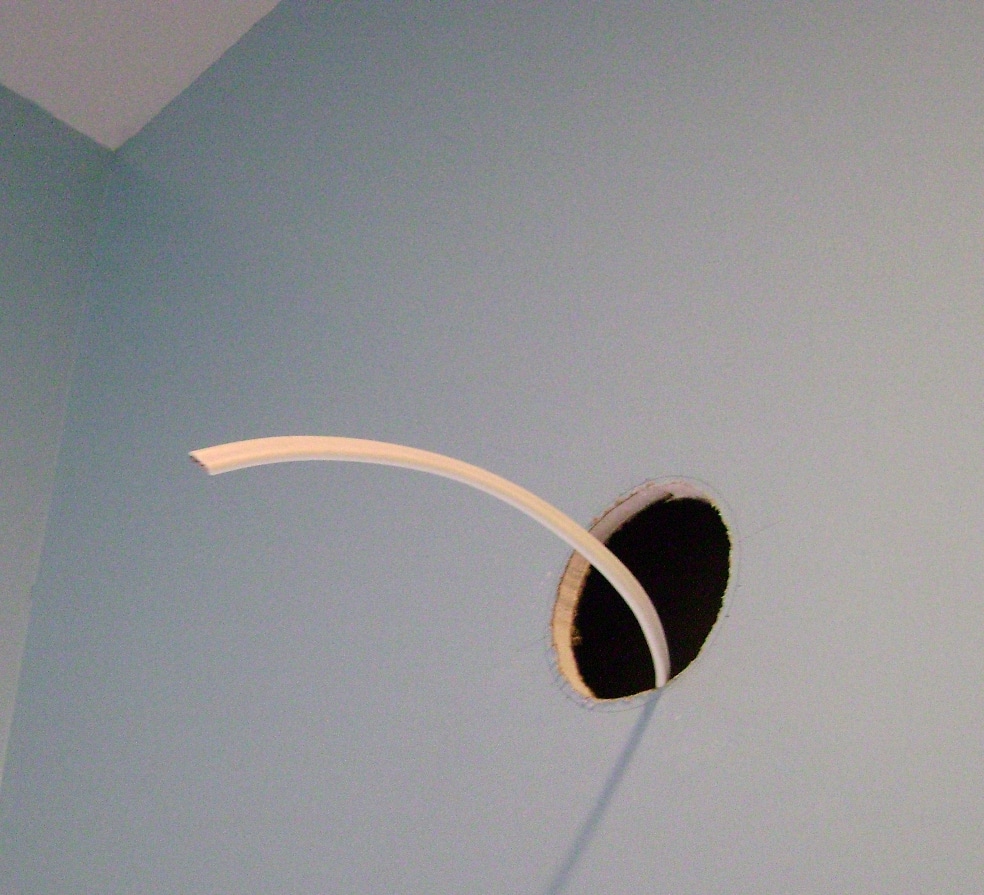
Back in the ceiling crawlspace and looking down between the 2×4 wall studs, you can see the 2×4 brace block (or fire stop) and mounting hole in the drywall for old work electrical box cutout. The box mounting hole in the drywall can just be seen as the at the lower right above the 2×4 bracing. It was simple to fish NM 14/2 cable from the ceiling crawlspace into the wall cavity:
The vanity light NM-B 14/2 cable is run from the bathroom ceiling crawlspace to the old work electrical box mounting hole in the drywall. It was easy, just feed the cable down inside the wall, reach inside the hole and pull out the cable. Recall the other end of the cable was previously wired to the ceiling junction box for power. Of course, the circuit breaker has been shutoff so there’s no electricity on the circuit.
The NM-B 14/2 cable is fed through the back of the old work electrical box. The outer insulation jacket must extend at least 1/4 inch past the plastic wire clamp built into the box. The wires must extend at least 6 inches inside the box and at least 3 inch outside the box. I prefer about 8 inches of wire in the box because it’s easier to work with longer wires and you can always trim longer wires. Strip about 5/8″ of insulation from the wire ends. Notice the swing-clamps on the old work box. The swing-clamps will extend and grab the back of the drywall as the mounting screws are tightened to hold the box:
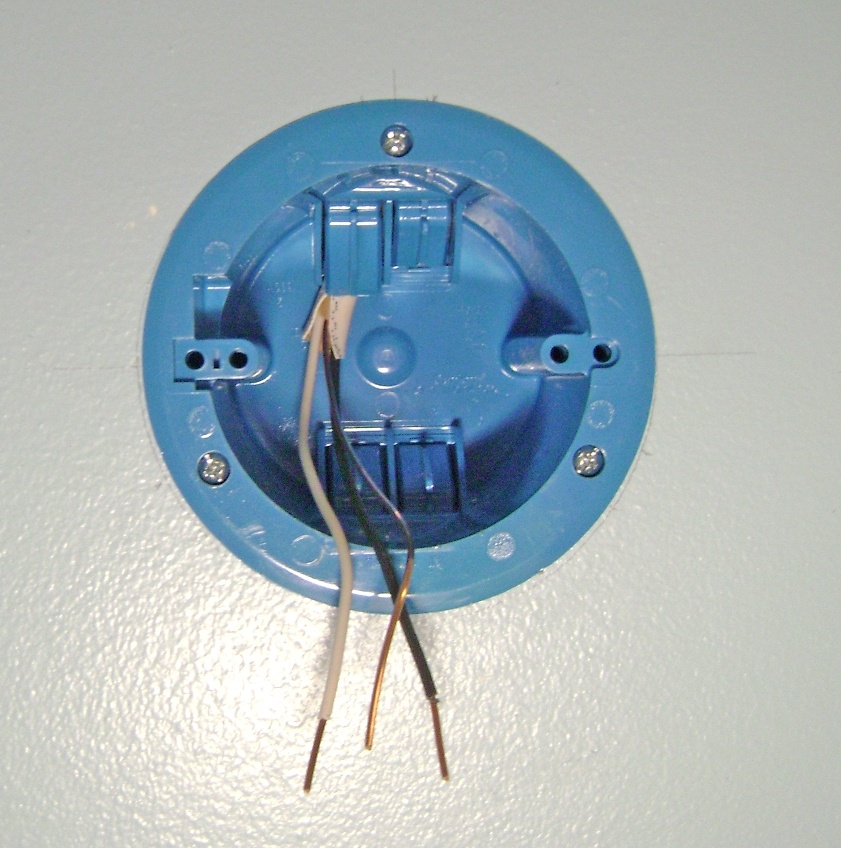
To mount the old work electrical box:
- Align the accessory screw holes with the horizontal center lines marked in pencil on the wall.
- Tighten the three mounting screws until the swing-clamps are drawn snug against the back of the drywall. Don’t over tighten as it can crush the drywall.
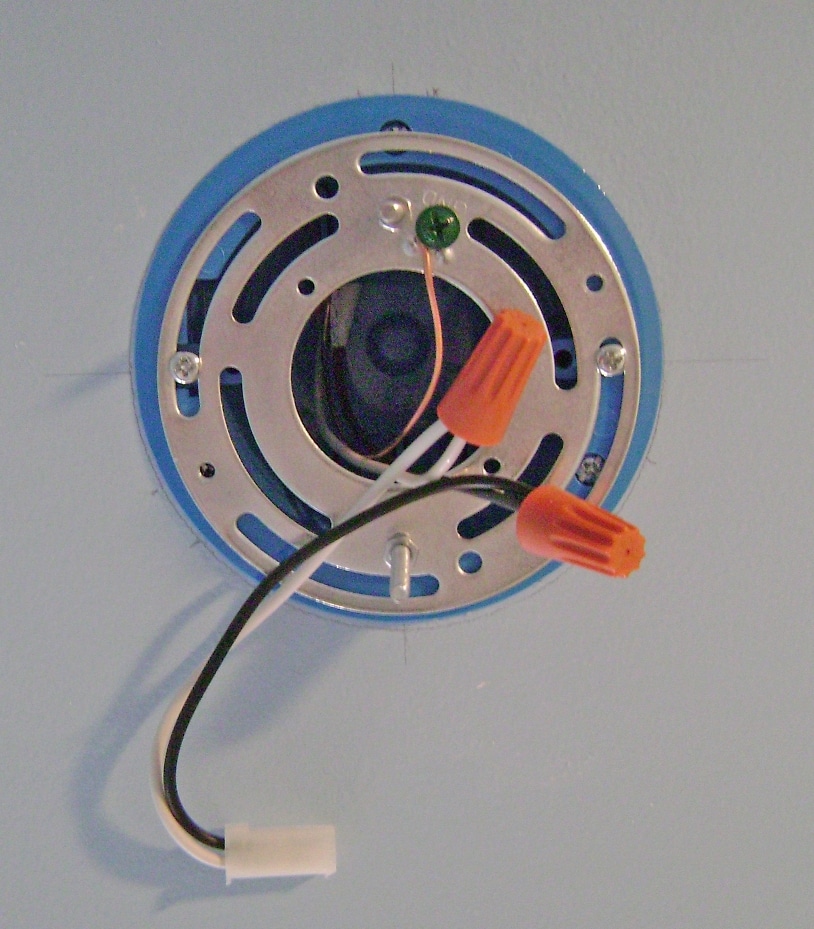
Mount the Vanity Light
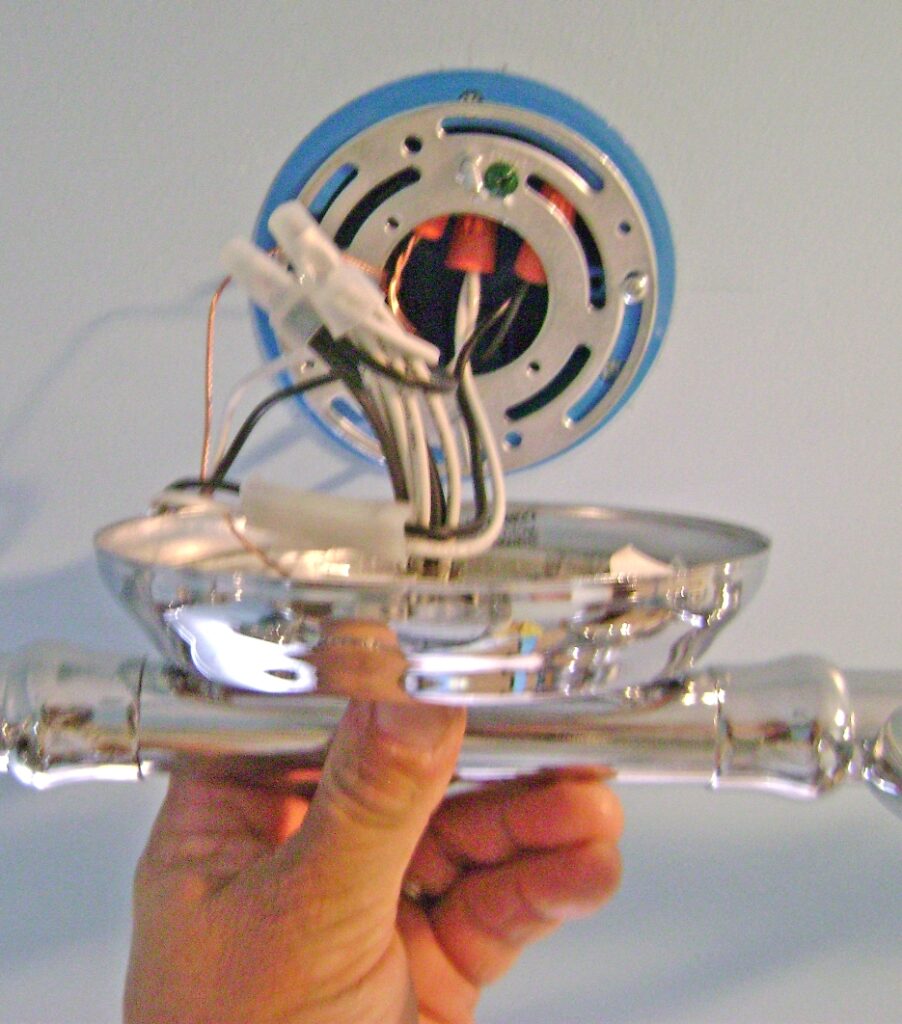
Install the vanity light metal mounting ring such that the two threaded studs are vertical and fasten the mounting ring with the two screws provided with the light kit to the old work electrical box. Wire nut the vanity light plug pigtails to the NM-B 14/2 black (hot) and white (neutral) wires. Connect the NM-B ground wire to the green ground screw:
The next steps requires three hands… while holding the vanity light bar, connect the pigtail plug to the light and tuck the wires inside the wall box. Slide the base plate over the two threaded studs and screw on the metal ball caps:
The new vanity light mounted on the wall:
The vanity light glass shades and light bulbs are installed:
I turned on the electricity at the circuit breaker panel. Let there be Light! What a difference good lighting makes to bring out the colors in liven up a room! Hmm, I need to paint that door lighter shade of white:

Good lighting makes everything look nicer:
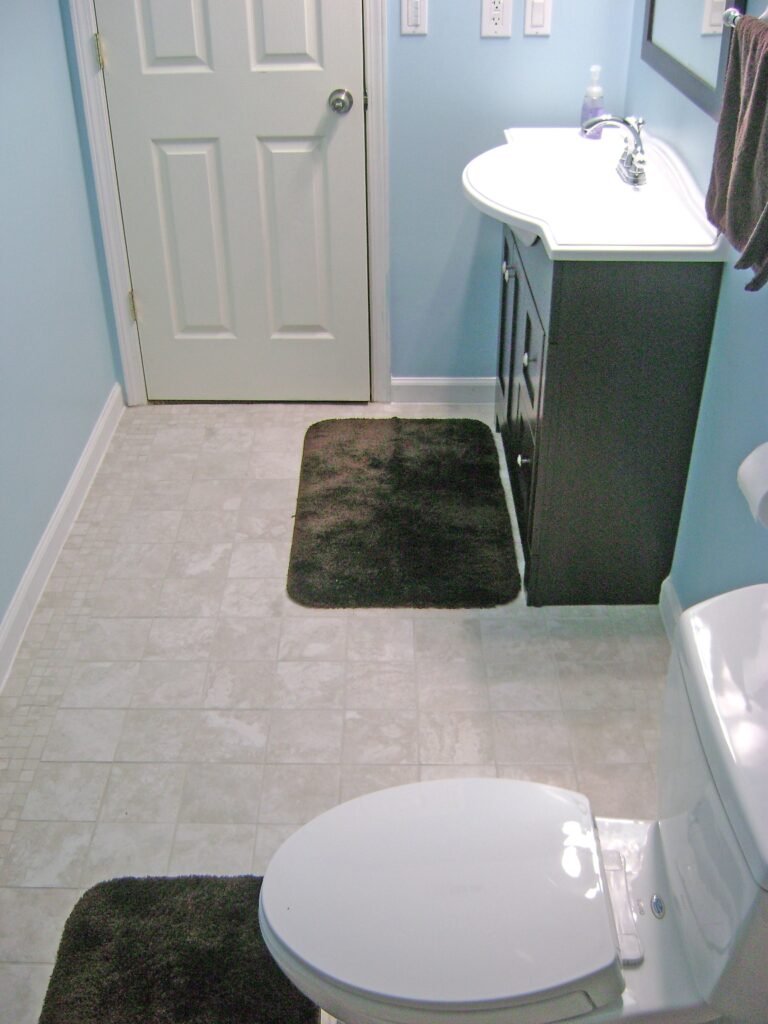
Finishing the basement bathroom almost complete! The bathroom ventilation fan and ceiling light are installed in How to Finish a Basement Bathroom – Part 17.
Hope you found this helpful,
Bob Jackson