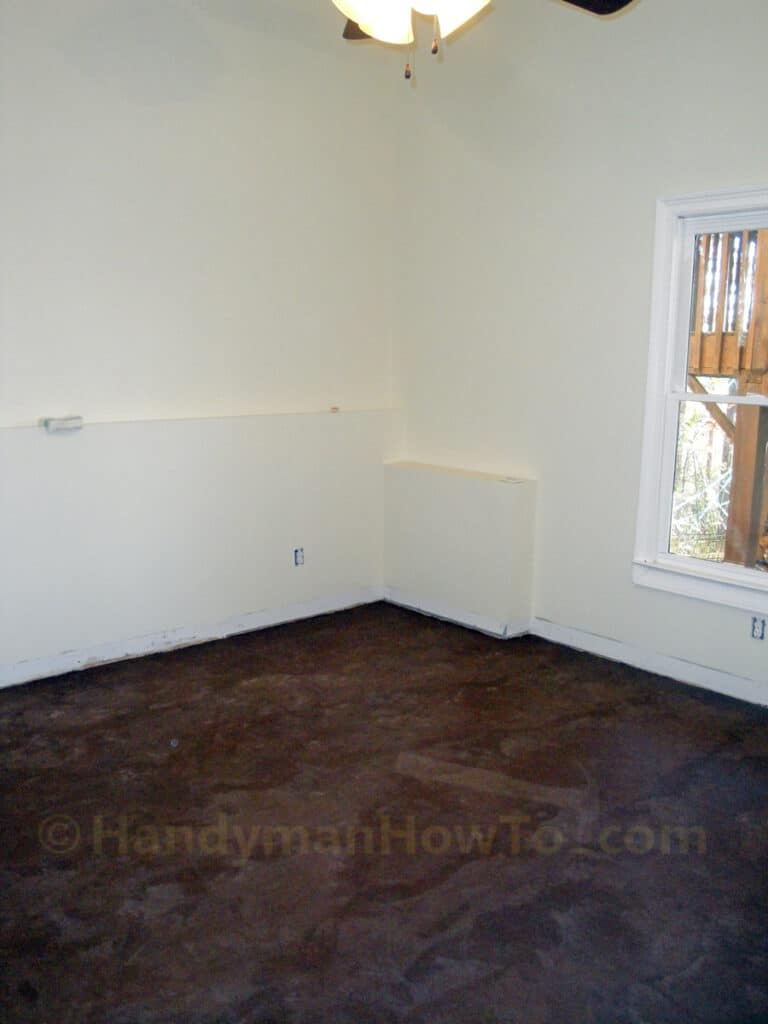
This project describes how to finish a basement bedroom concrete floor with SkimStone, an attractive and durable alternative to tile, wood and carpet. In the previous installment of this remodeling job, I painted the basement bedroom ceiling and walls.
Concrete Floor Coverings
When considering what type of floor covering I wanted in the basement bedroom, I evaluated the following concrete floor covering alternatives:
- Carpet
- Pros: Quick, attractive and relatively inexpensive to install by a professional. People like carpet in basements because it’s “warm” and insulates the cool concrete slab floor.
- Cons: Carpet is a dirt bag that holds all manner of dirt, sand, dust and dander. Doesn’t do well if there’s moisture/dampness and can harbor mold. Difficult to really get clean, even with with professional steam cleaning because dirt works its way through to the underlayment. Carpet tends to show wear in high traffic areas.
- Tile
- Pros: Attractive and durable. Practically lasts forever. Nearly water-proof and easy to clean… and you know it’s truly clean. Can be used indoors and outdoors.
- Cons: Heavy boxes of tile and bags of thin set mortar & grout. Time consuming installation is a pain on the knees and lower back to cut, lay and grout. Grout lines if not properly sealed can become stained. Good quality tile can be expensive, but the results are worth it.
- Wood
- Pros: Attractive, warm, doesn’t hold dirt and easy to clean. Available in many styles and compositions (engineered wood, whole plank natural wood, bamboo, etc.). Can be installed as a floating wood floor on a foam underlayment over concrete. Faster and easier to install compared to tile.
- Cons: Subject to water damage (e.g. plumbing leak), requires occasional refinishing depending on amount of foot traffic and more expensive than carpet. Not as durable as tile.
- Vinyl: Looks cheap and difficult to repair if torn or scratched. Enough said.
- Finished Concrete
- Pros: Easy to finish in a variety of stains, tinted cement coatings and epoxies. Attractive. Optional decorative patterns can be applied with stunning results. Durable and easy to clean. Can be used indoors and outdoors. Less expensive than tile.
- Cons: Requires some initial practice on sample boards, however the learning curve is short.
SkimStone Decorative Concrete Finish
I got the idea for a finished concrete floor in the basement bedroom while at an upscale restaurant. I noticed the restaurant cement floors were coated in warm hues of dark red and brown with a polished semi-gloss sheen. I thought finished concrete would be perfect for the basement bedroom instead of carpet (dirt bag!), tile (great, but a pain to install) and wood (I didn’t think wood in the basement would be the best choice). Finished concrete would be water proof, easy to clean and quick to install.
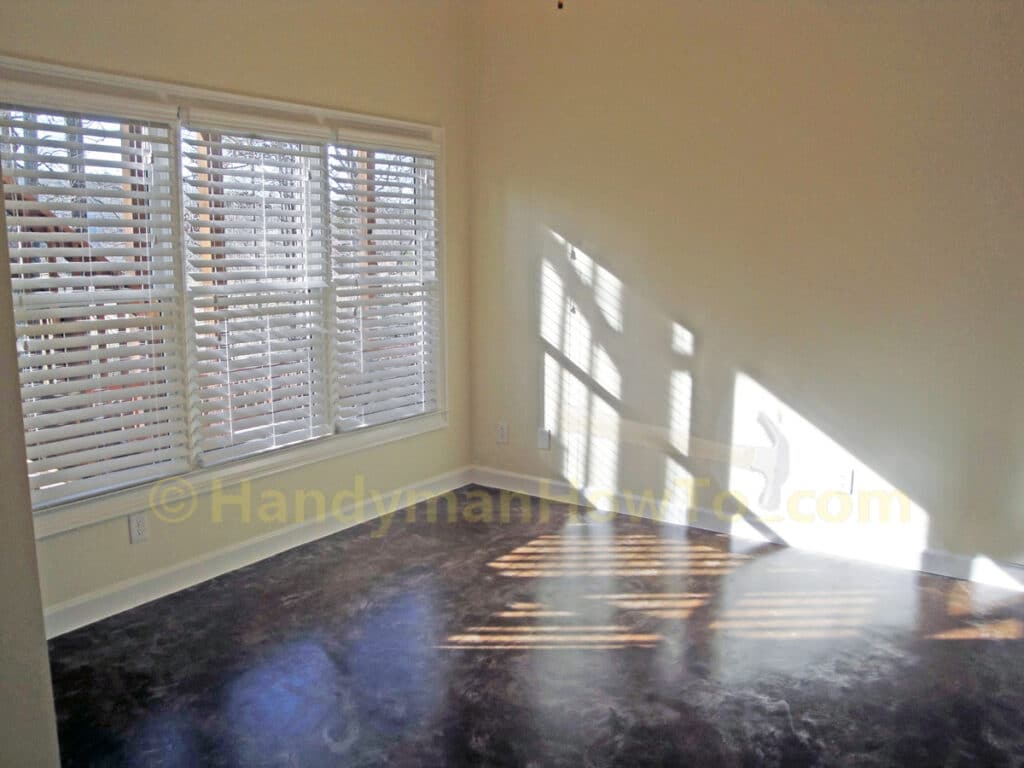
Searching the web for concrete floor finishes, I discovered SkimStone, studied the system and decided to try it. I was very pleased with the results, a warm marbled ebony color polished concrete floor:
Finishing a Basement Bedroom Concrete Floor with SkimStone
SkimStone is a portland cement-based product that is mixed with ColorPaks (pigment) and troweled on the concrete floor. Several coats of SkimStone are applied in different colors and strengths to achieve the desired look and decorative patterns. The bottom coats will show through for color depth and richness, similar to painting with watercolors.
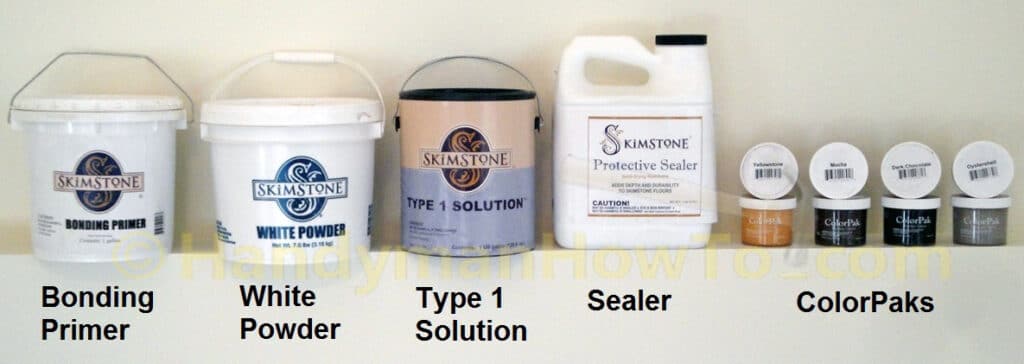
After studying the SkimStone floors, sample panels, colors and installation instructions, I used the SkimStone calculator to determine the necessary quantity of materials. I purchased:
- 1 gallon of SkimStone Bonding Primer.
Needed to prime the remaining floor paint along the edges walls where the concrete grinder couldn’t reach. - 2 buckets of SkimStone White Powder.
The White Powder is the proprietary portland cement. - 2 gallons of SkimStone Type 1 solution.
The Type 1 solution is a water-based mix of acrylic resins to which the colors are added and mixed with the White Powder portland cement. - ColorPaks in various colors.
I chose several colors to experiment with on sample boards to decide upon the combination that I liked best.
Ultimately, I applied several coats of Mocha with a weak coat of Yellowstone for subtle highlights.
SkimStone can be applied by professionals or the Do-It-Yourself (DIY) homeowner. SkimStone supplies are available from dealers and directly from the Rudd Company Store. I purchased my SkimStone materials from Guaranteed Supply Company, a SkimStone authorized dealer and received excellent service.
I ordered double the amount of materials specified by the SkimStone calculator for two reasons: 1) to experiment with sample boards; and 2) I was a bit uncertain about the roughness rating of the freshly ground concrete floor. The ground floor substrate rating turned out to be a solid 4 rating because it really soaked up the first coat of SkimStone.
SkimStone Installation Tips
The official SkimStone training videos on YouTube.com are very helpful along with the SkimStone application instructions. Additional tips from experience are:
- Always use the SkimStone calculator for determining the amount of materials and colors to be mixed.
A little ColorPak tint goes a long way. Do not double the amount of color tint when mixing a double batch of White Powder and Type 1 solution. Use the calculator instead. - Make sample palettes to develop your “figure 8” troweling technique and verify your color mixes.
I noticed a big difference in my technique after practicing. Take care to write down the mix ratios for your palettes using the “Project Worksheet” in the application instructions for repeatable results. - Mix the SkimStone frequently during the floor application because the portland cement (White Powder) tends to settle on the bottom of the bucket and can cause a difference in the final color. A wood paint stick works well for 1 or 2 gallon batches.
- Apply each coat of SkimStone starting from a different corner of the room working a large arc to maximize the random appearance.
Your trowel marks and application sequence will show through in the final floor finish. Most people won’t notice, but I can see some areas of the floor where I worked along a wall or across the floor in a line that could be improved next time. If you notice an issue, apply another coat of the same color strength working in a different direction. - The final SkimStone color depth and richness is developed after applying SkimStone sealer.
SkimStone Application
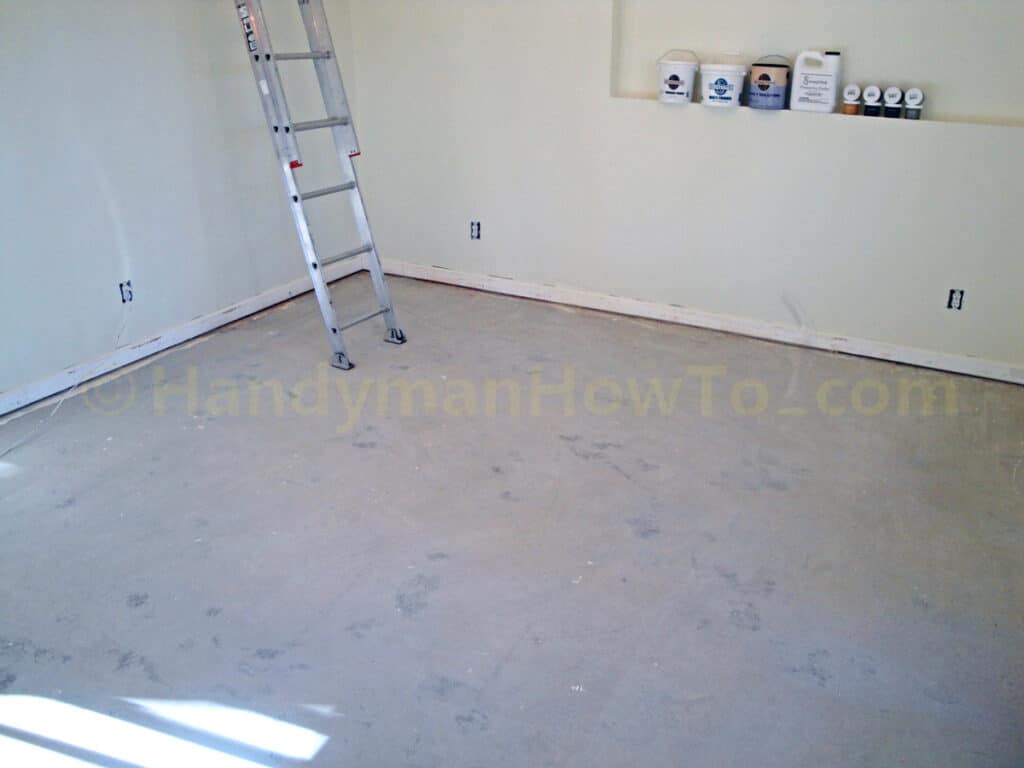
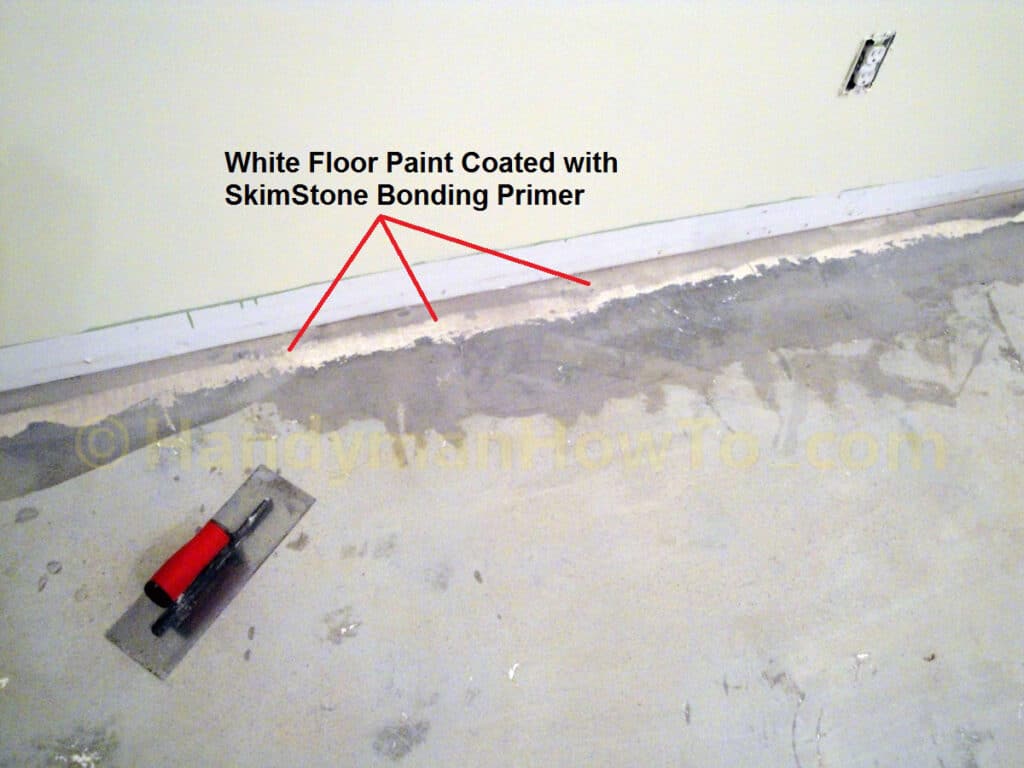
The floor paint was stripped off the concrete slab floor with an electric disc cement grinder rented from the local tool rental company. (Do rent the dust collection system with the grinder because your shop-vac will clog up with the concrete dust.) The grinder couldn’t quite all the way to the walls leaving a thin strip of paint.
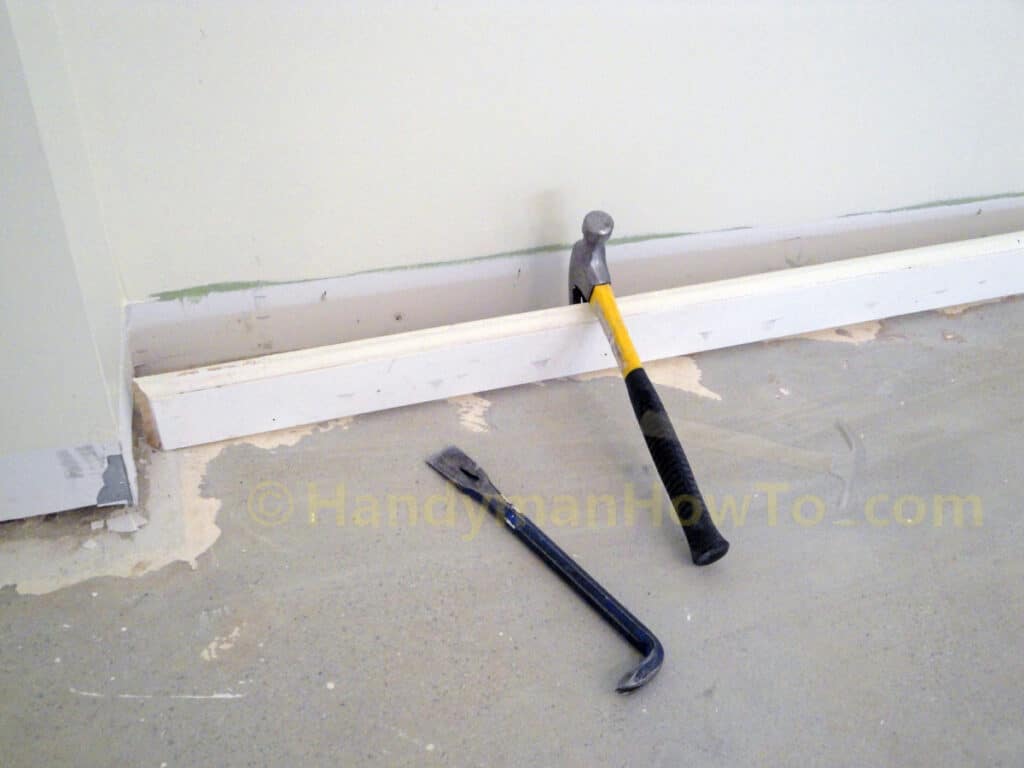
I elected to remove the baseboards because they were fairly beat up and installed off the floor in the standard way for carpet leaving a gap. If the baseboards were in better shape, I could have masked off the baseboards with painter’s tape and installed quarter-round moulding to cover the gap with the finished floor.
SkimStone Bonding Primer is a thick sandy material that is troweled onto smooth non-porous surfaces such as paint and countertops to enhance the adhesion of the SkimStone finish. Mix the SkimStone Bonding Primer before applying.
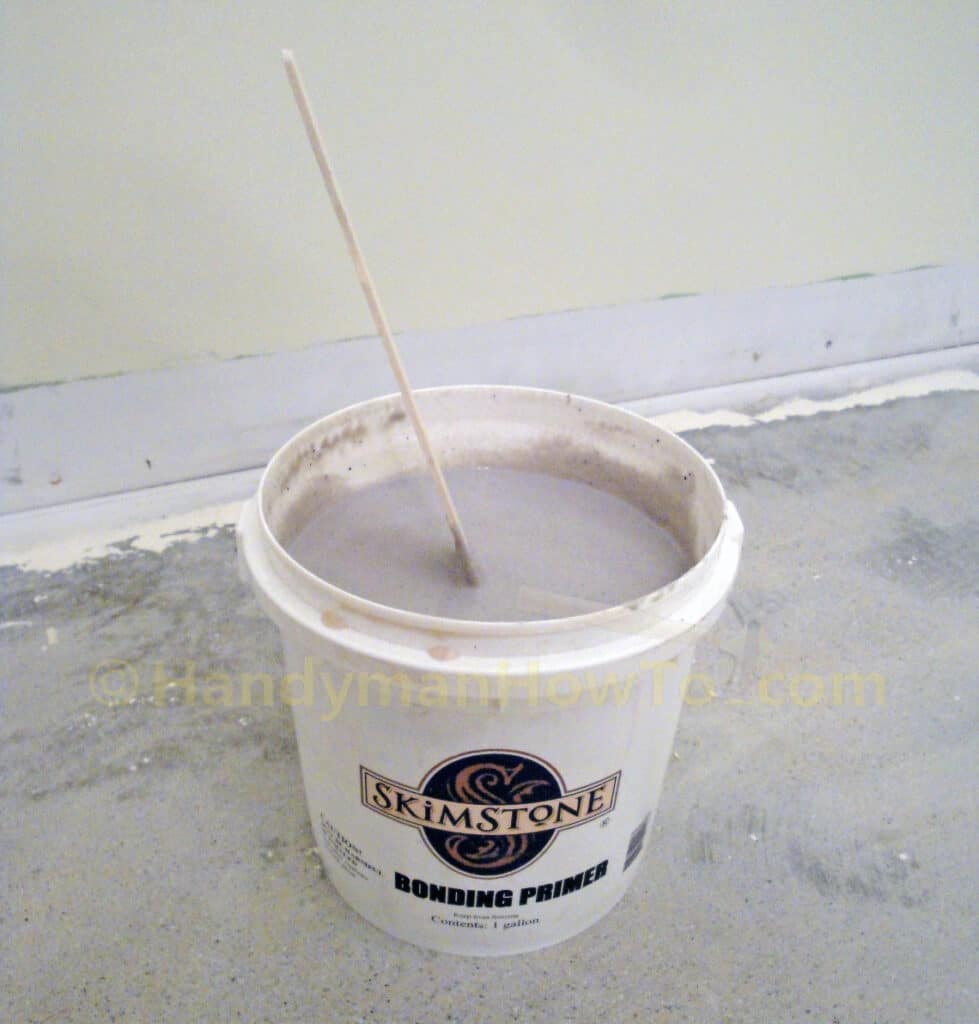
A thin layer of Bonding Primer is spread with a smooth trowel over the remaining floor paint.
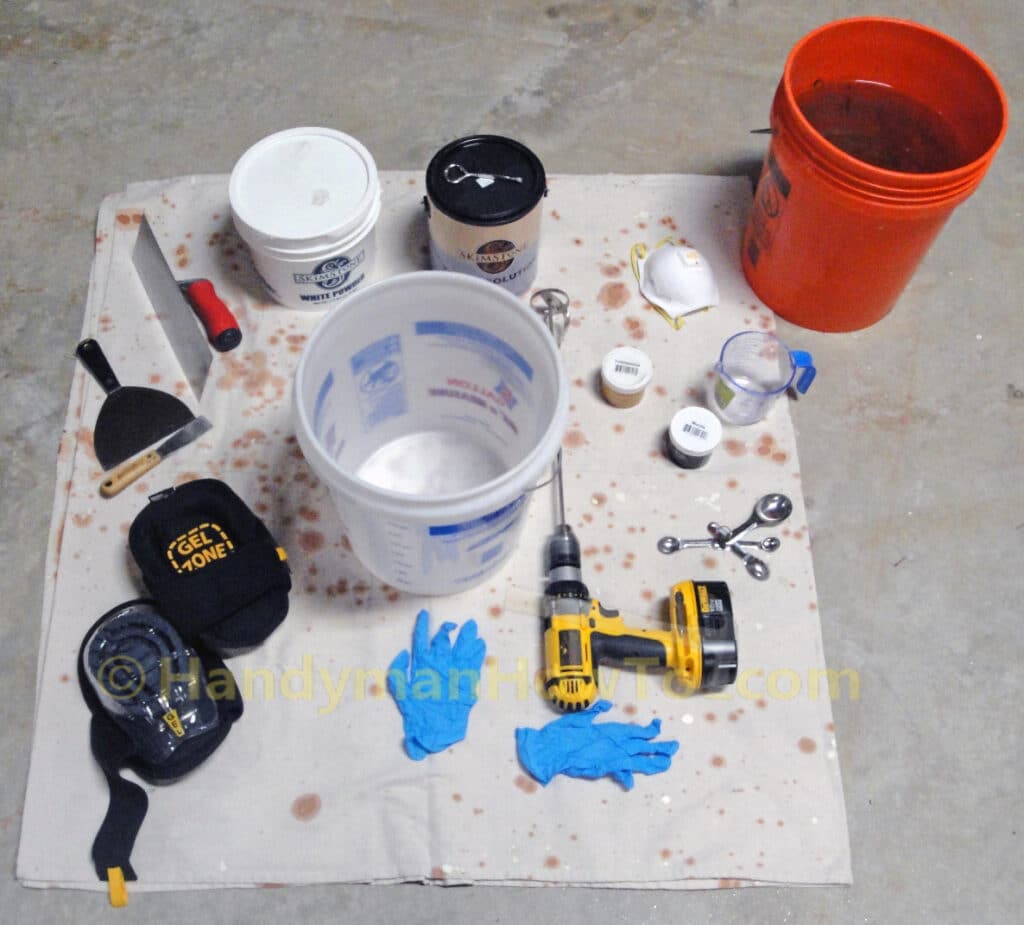
The SkimStone materials and tools ready to be mixed. Always mix the Type 1 solution and ColorPak tint first, then add the White Powder. Knee pads are highly recommended!
I applied SkimStone in the following color strengths:
- 8 oz. Mocha
- 4 oz. Mocha
- 1 oz. Yellowstone for subtle highlights
- 1/2 oz. Mocha for highlights
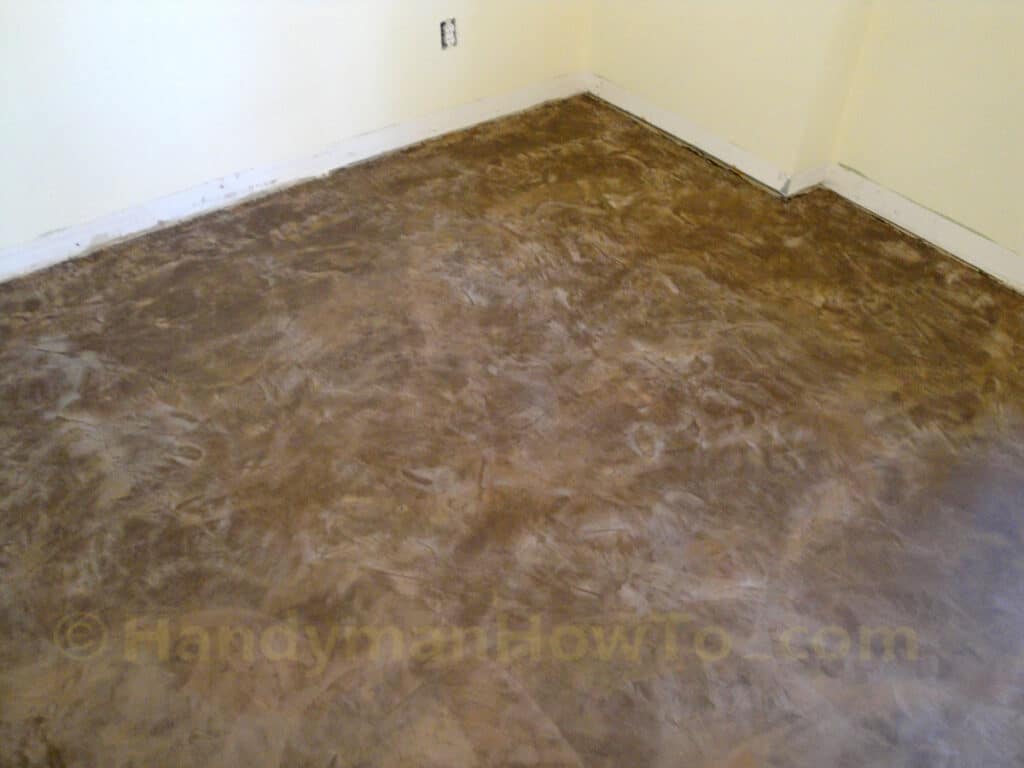
The floor after the 1st coat of 8 oz Mocha. SkimStone is troweled on in a very thin layer, about as thick as a sheet of paper per coat, and allowed to dry before the next coat.
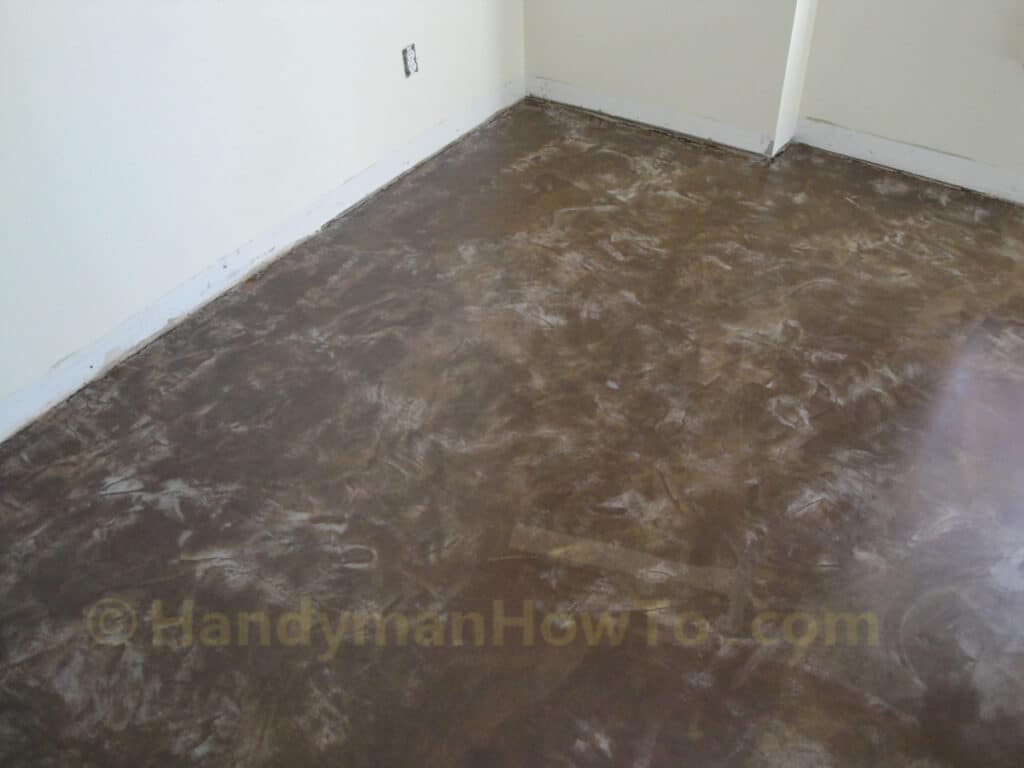
The SkimStone floor after the two lighter coats of Mocha and Yellowstone colors. Once you get the hang of it, the SkimStone trowels on very quickly.
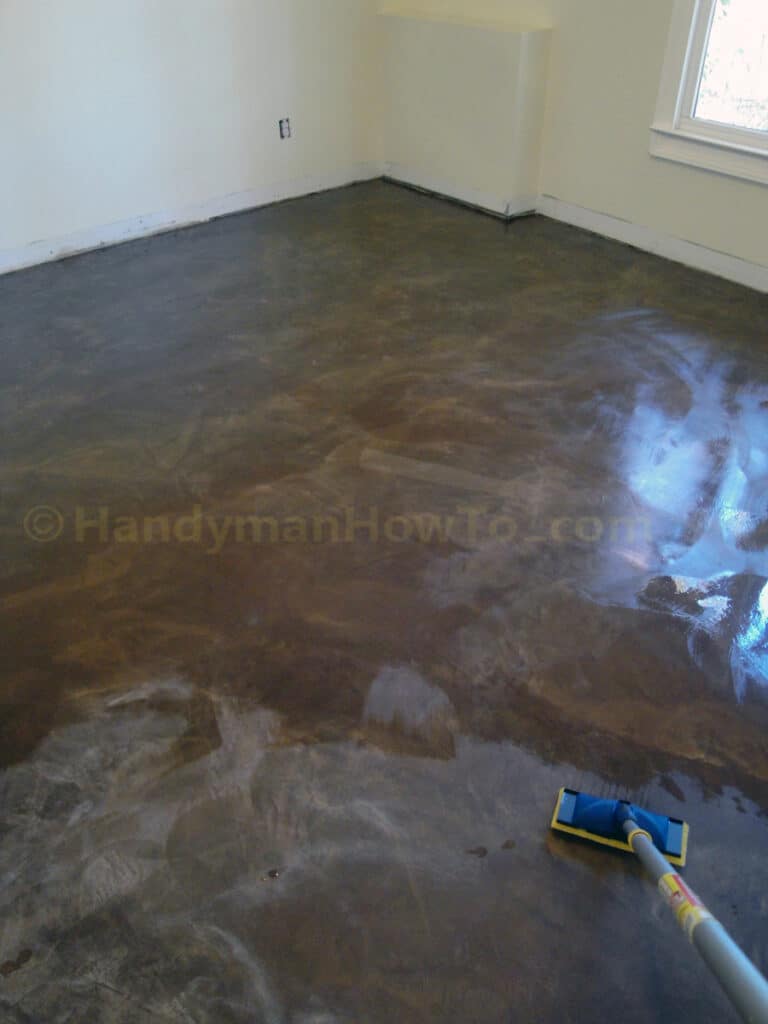
The SkimStone Protective Sealer is poured onto the floor and brushed out a floor finish pad. The sealer really brings out the color depth and polishes the floor. I applied a total of five coats, allowing it to dry overnight between coats. I wrapped the floor finish pad in a plastic bag so it wouldn’t dry out between coats to be reused.
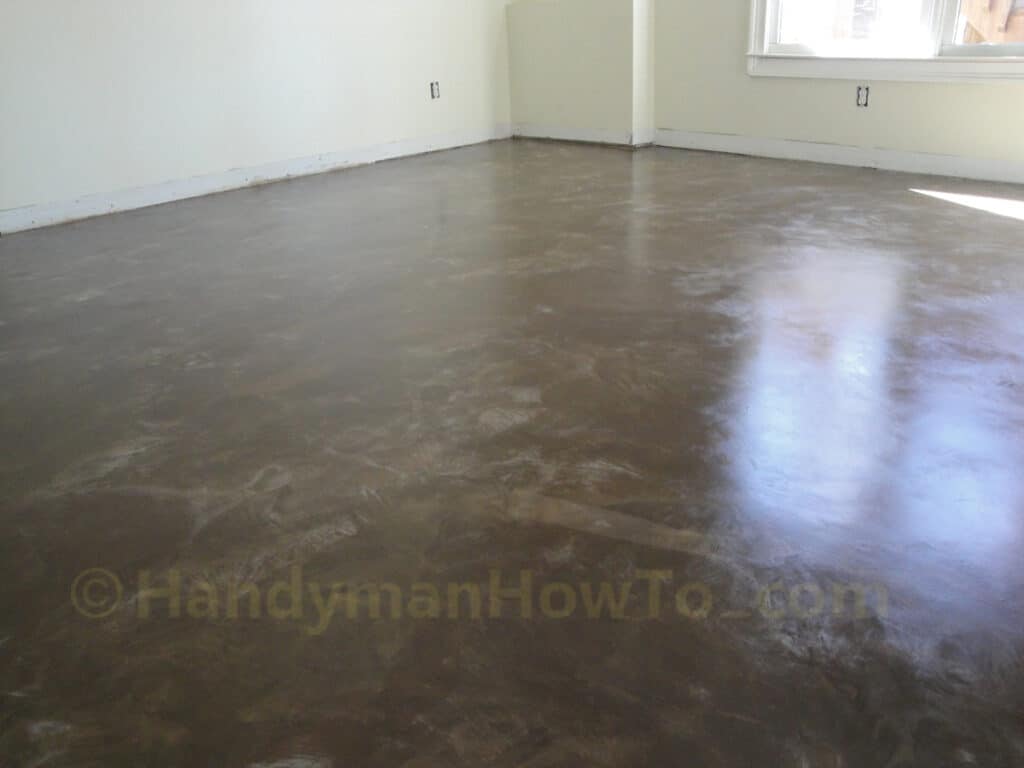
The final SkimStone floor. The whitish highlights are the 1/2 oz. Mocha SkimStone coat.
View of the finished floor in the other direction:
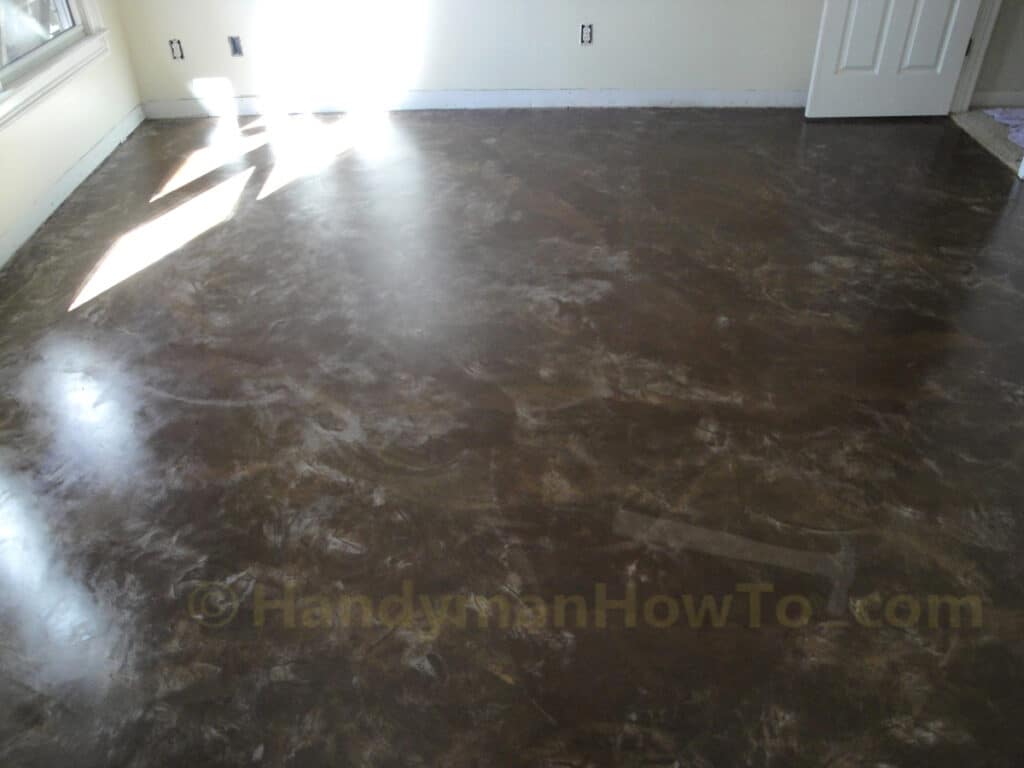
The SkimStone floor is very smooth with a slight reflective sheen. Spills won’t stain or damage the floor and wipe off. This floor will be very easy to keep clean!
The SkimStone took about 45 minutes to trowel on per color coat, waiting about 2 hours to dry between coats.
I plan to remove the carpet from the other rooms in the basement and finished the floor with SkimStone, maybe with Modello stencils for a decorative border.
In the next part of this series, I begin framing the basement bedroom closet.
Take care,
Bob Jackson