How to install a bauco plus II drywall access panel by Access Panel Solutions in a suspended drywall ceiling. This project continued from How to Install a bauco plus II Drywall Access Panel – Part 1.
Final Drywall Ceiling Measurements
Now that I’ve sawed a working hole in the drywall ceiling large enough to stand inside, I can measure and mark precise final measurements for the bauco plus II 12″ x 24″ drywall access panel (Editor’s Note: if you’re an Amazon shopper and prefer something there, here’s an access panel option).
The essential dimensions are:
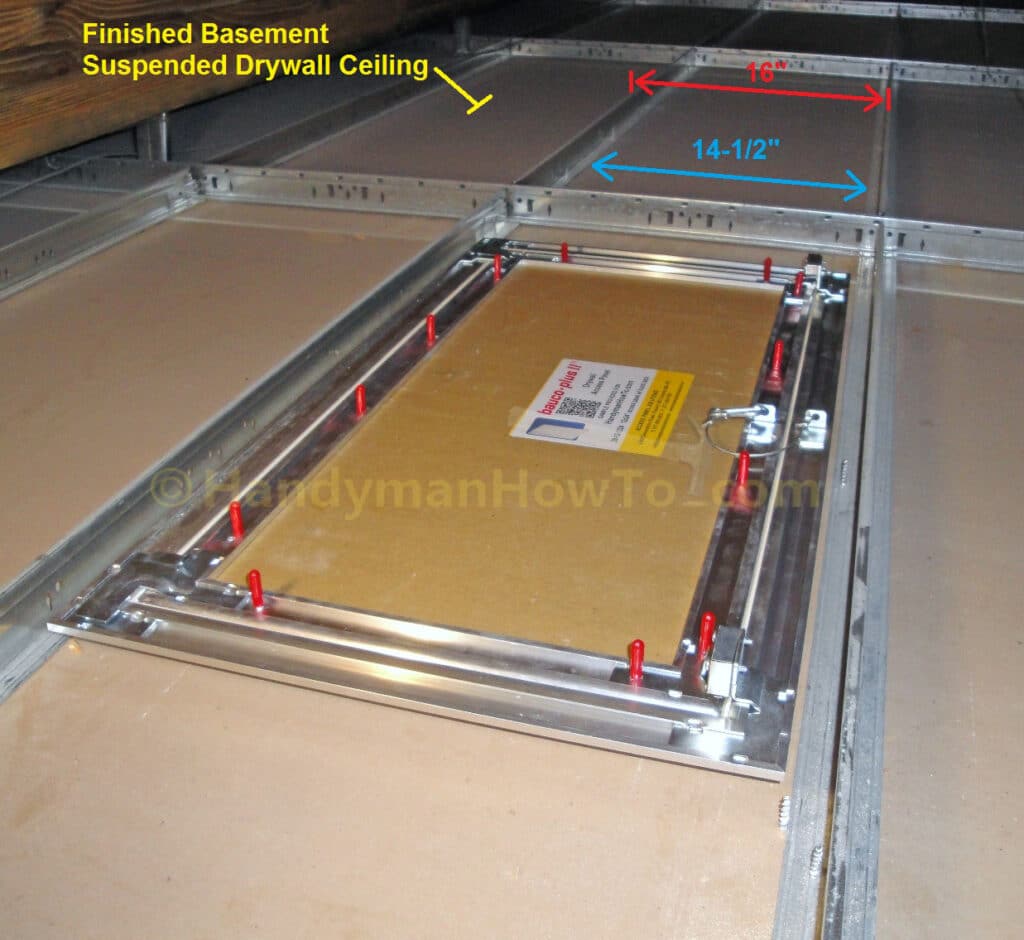
- The width between the steel drywall ceiling suspension tee flanges is 14-1/2″.
- The width of bauco mounting frame flange is 14-1/4″.
- The width of the hole to be sawn for the 12″ wide frame is 12-3/8″.
Given that the bauco outer frame flange is 14-1/4″ wide and the distance between the suspension tee flanges is 14-1/2″, I have only 1/4″ margin of error to mark the ceiling hole. Divide by 1/4″ by half to center the opening and there’s 1/8″ clearance on each side between the mounting frame and suspension tee flanges. It’s clear why I’ve been careful sawing successively larger holes in the ceiling!
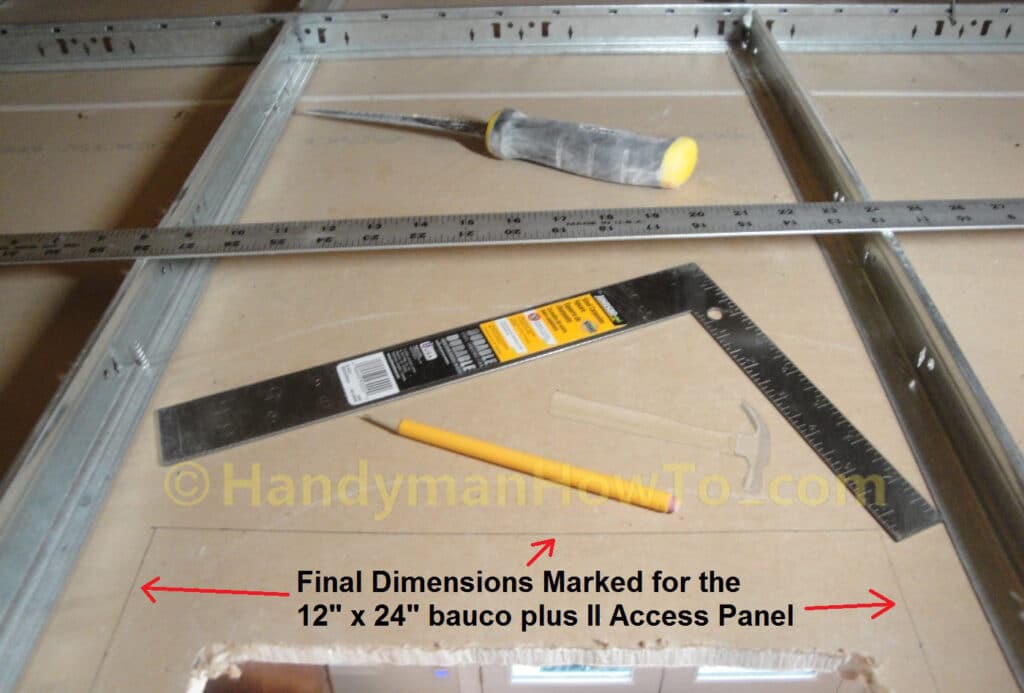
Using the tape measure, aluminum yard stick and carpenter’s square, I measured and marked the final dimensions inside the drywall ceiling to cut the opening for the bauco plus II mounting frame. The width and length of the marked cut lines for the final opening are 12-3/8″ by 24-3/8″ for the 12″ x 24″ bauco access panel.
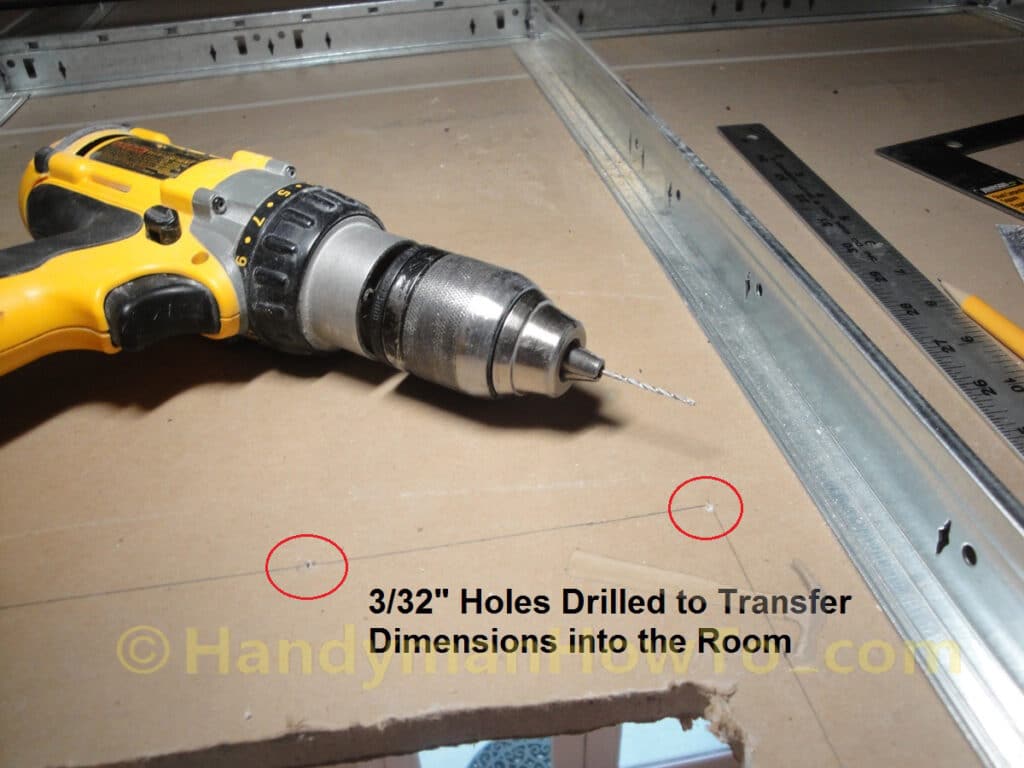
I need to transfer the precision measurements for the opening in the drywall ceiling to inside the room where I’ll be sawing. I drilled 3/32″ holes spaced along the pencil lines to transfer the measurements.
I marked saw lines in pencil using the large carpenter’s square referencing the pilot holes drilled from inside the ceiling. I was satisfied with location of rough opening at the top of the photo and therefore left this position unchanged.
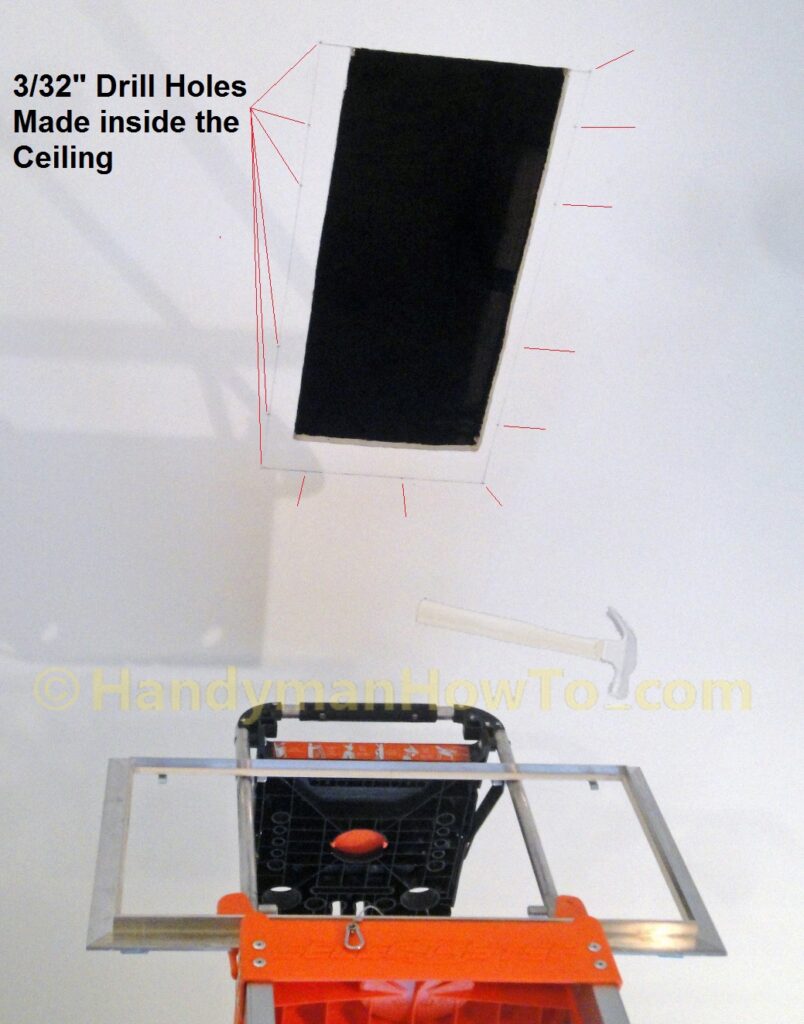
Referring to the above photo, the bauco plus II 12″ x 24″ mounting frame is sitting on the step ladder. As a confidence check, I held the frame against the pencil cut lines marked on the ceiling to verify the dimensions were square and fit the frame interior rim that extends through the drywall opening.
I sawed along the pencil lines with my drywall jab saw, then set the bauco plus II mounting frame in the opening. A perfect fit!
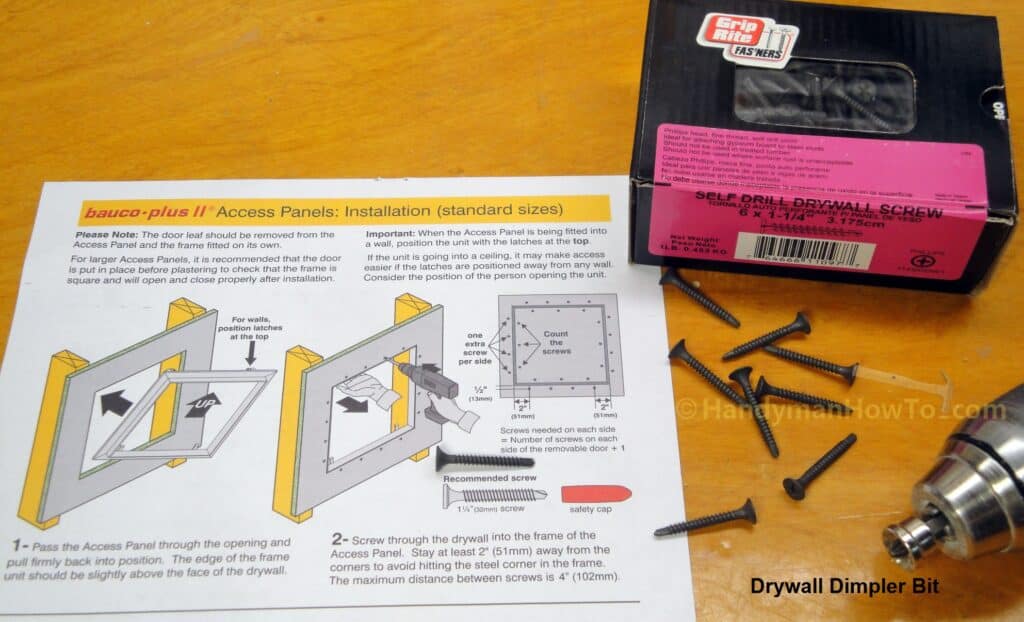
Self Drill Drywall Screws
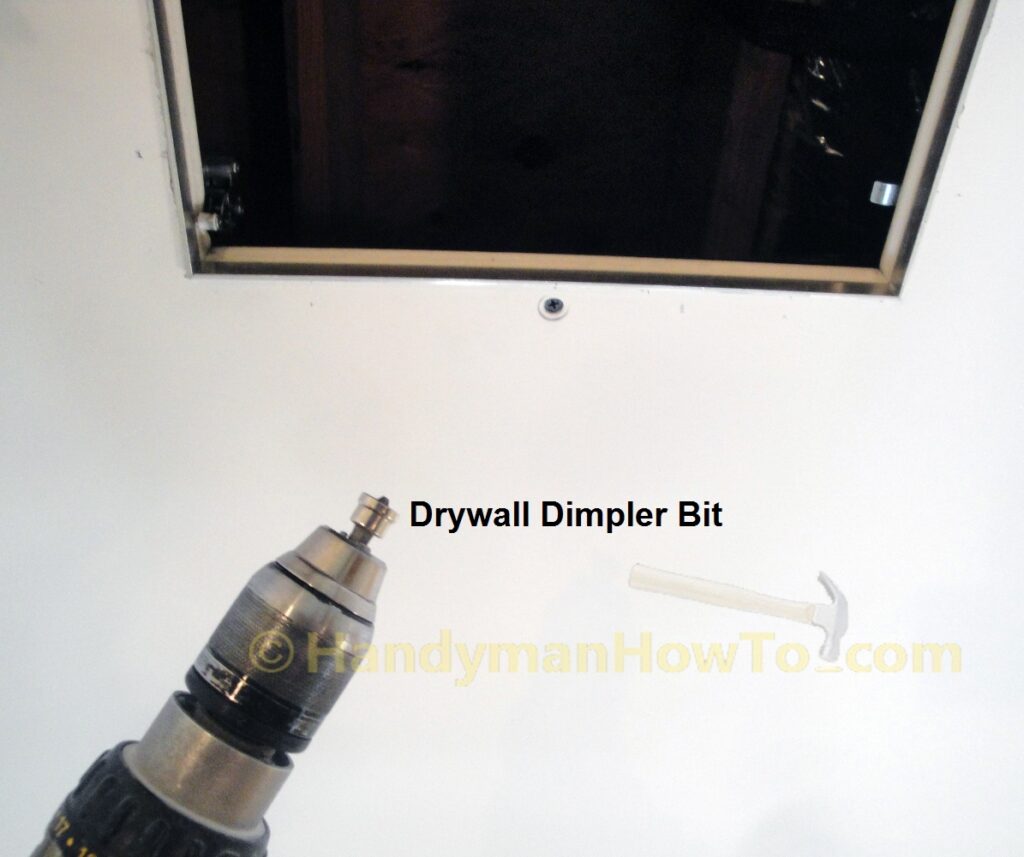
It’s very important to mount the bauco drywall access panel frame with self-drilling drywall screws for metal. I purchased a box of Grip Rite #6 x 1-1/4″ Self Drill Fine Thread Drywall Screws. A drywall dimpler bit is ideal for automatically countersinking the drywall screws.
bauco plus II Mounting Frame Installation
Install the bauco plus II mounting frame in the drywall ceiling by the following steps:
- Count the number of screws set in the access panel door for each side, then add 1 extra screw per side for the frame.
- I measured the length for each side of the frame, then divided that into the total number of screws for equal spacing.
- I also measured and marked the position of each screw 1/2″ away from the frame.
Tip: The mounting screws should be at least 2″ inches from the corners. Feel inside the frame to ensure the screw will not be driven into the hinge hardware which tends to be a little longer than 2″ inches the larger panels. If there’s a conflict, simply move the screw over enough to clear the hinge.
- Hold the frame firmly against the ceiling, then drive in the drywall screw at the marked positions.
Take care to keep your hand clear of the screw to avoid injury.
I was pleasantly surprised how easily the self-drill drywall screws penetrated the aluminum frame.
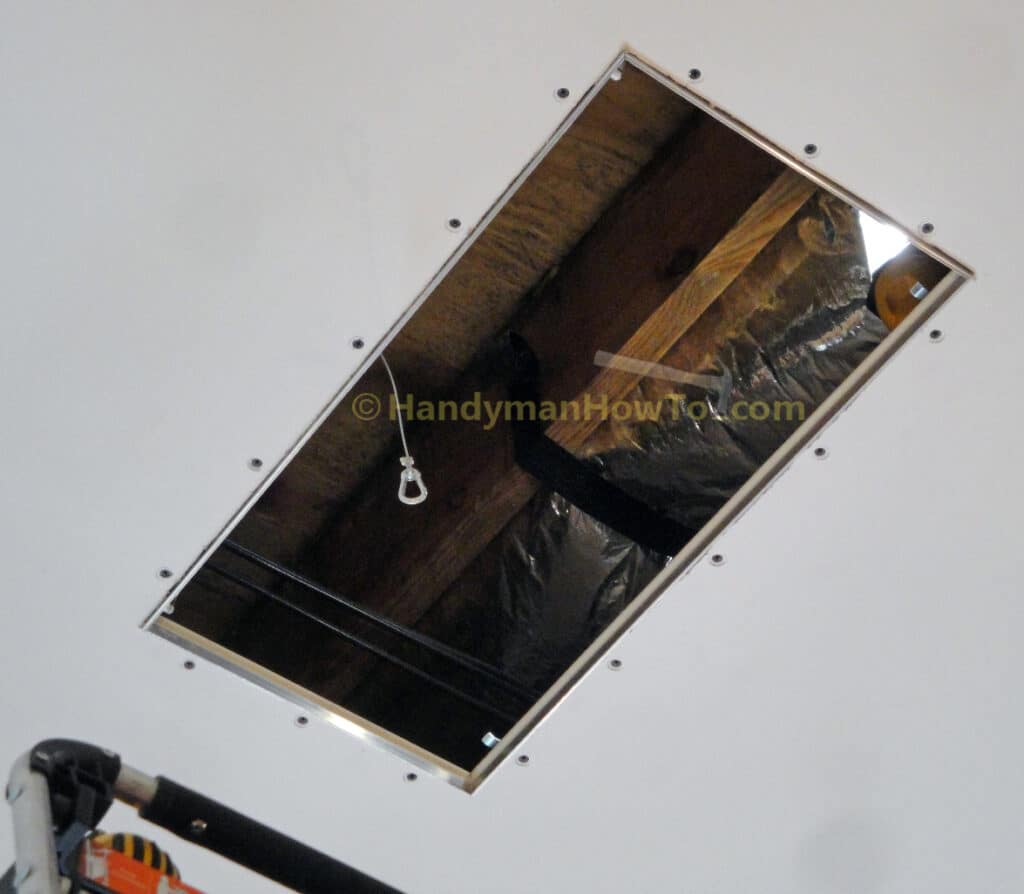
Nice symmetrical screw pattern on the mounting frame:
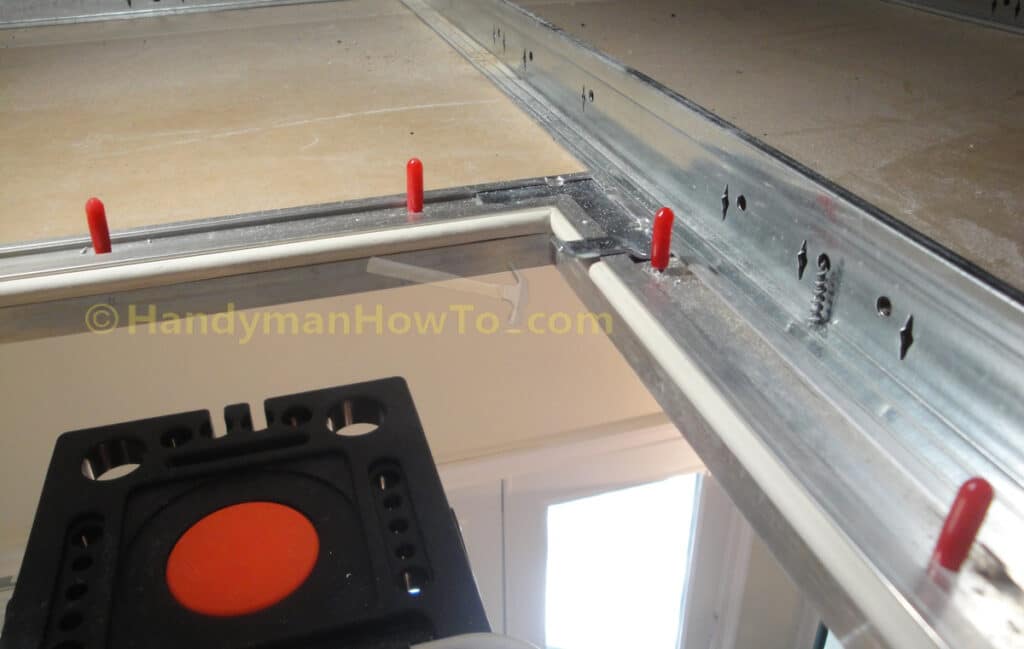
Close-up of the self-drill drywall screws in the frame unit. Notice the clearance between the mounting frame and the steel ceiling suspension tee on the right. That’s why I was careful making measurements for the ceiling opening!
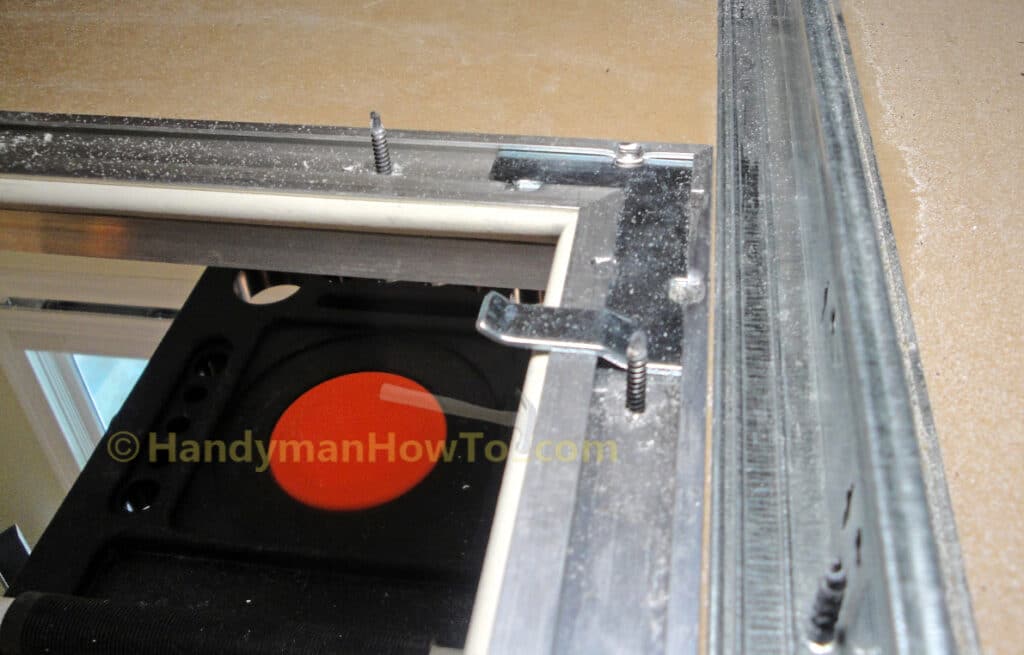
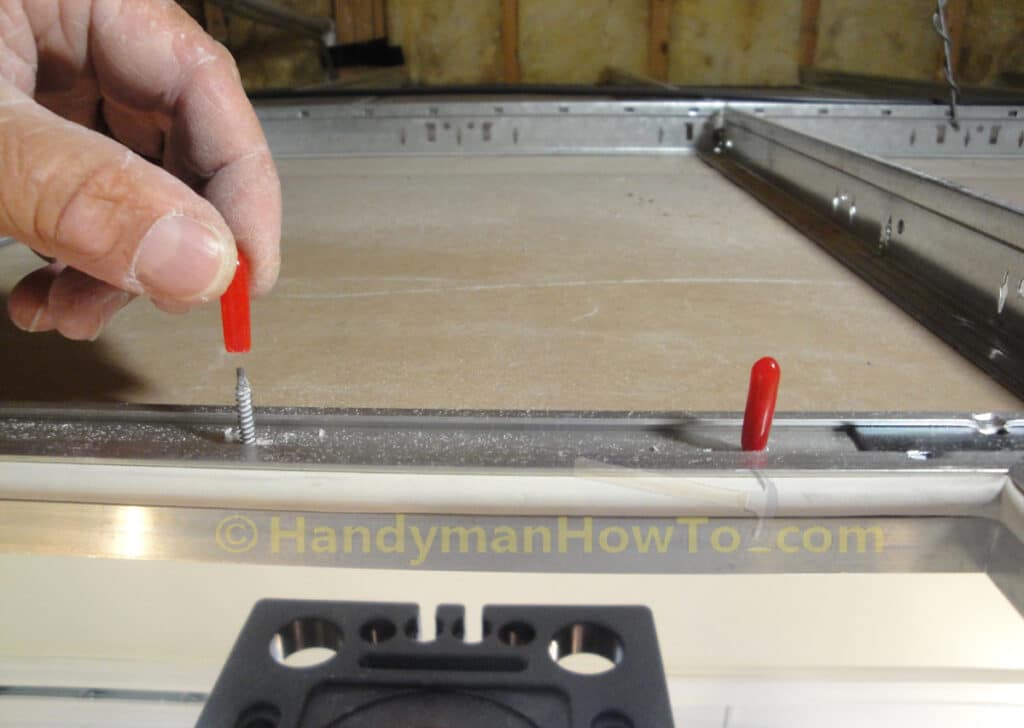
The red plastic safety caps are screwed down on the drywall screws to prevent injury. This is a really nice touch because I’ve been stabbed many times by the sharp screws in the ceiling suspension tees.
Another view of the bauco plus II frame unit inside the suspended drywall ceiling:
I can now get to the fireplace natural gas shutoff valve thanks to the bauco plus II access panel!
I installed the access panel door to check the fit, which was perfect. A bit of drywall finishing and painting, then the job is done.

This project is concluded in How to Install a bauco plus II Drywall Access Panel – Part 3.
Thanks,
Bob Jackson