How to Make a Drywall Access Panel out of Plywood – install 2×4 framing blocks, weatherstripping and mounting the panel to the drywall. This project is continued from Part 1.
Saw the Plywood Access Panel
The dimensions for the access panel are:
- Rough drywall opening: 33 inches high x 20 inches wide
- Plywood panel: 35 inches high x 22 inches wide
This allows for a 1 inch weather seal around the perimeter of the plywood panel to cover the opening in the drywall.
Using a carpenters square, tape measure and circular saw, I measured and cut a 3/8 inch thick section of plywood to 35 x 22 inches. If you don’t want to bother with power saws and large sheets of plywood, Home Depot and Lowes will cut plywood to your dimensions free of charge.
Sand the Access Panel Edges
The sharp edges of the plywood were rounded off with sandpaper and the plywood face sanded smooth to prevent splinters from catching on clothes hanging from the rack later. The plywood was vacuumed and the wiped clean to remove all dust.
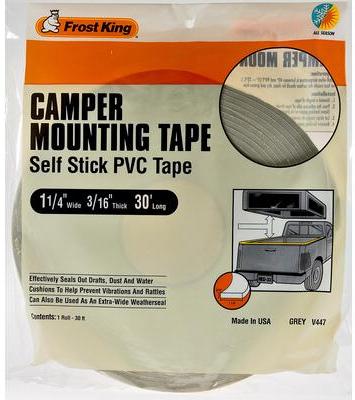
Drywall Access Panel Weatherseal
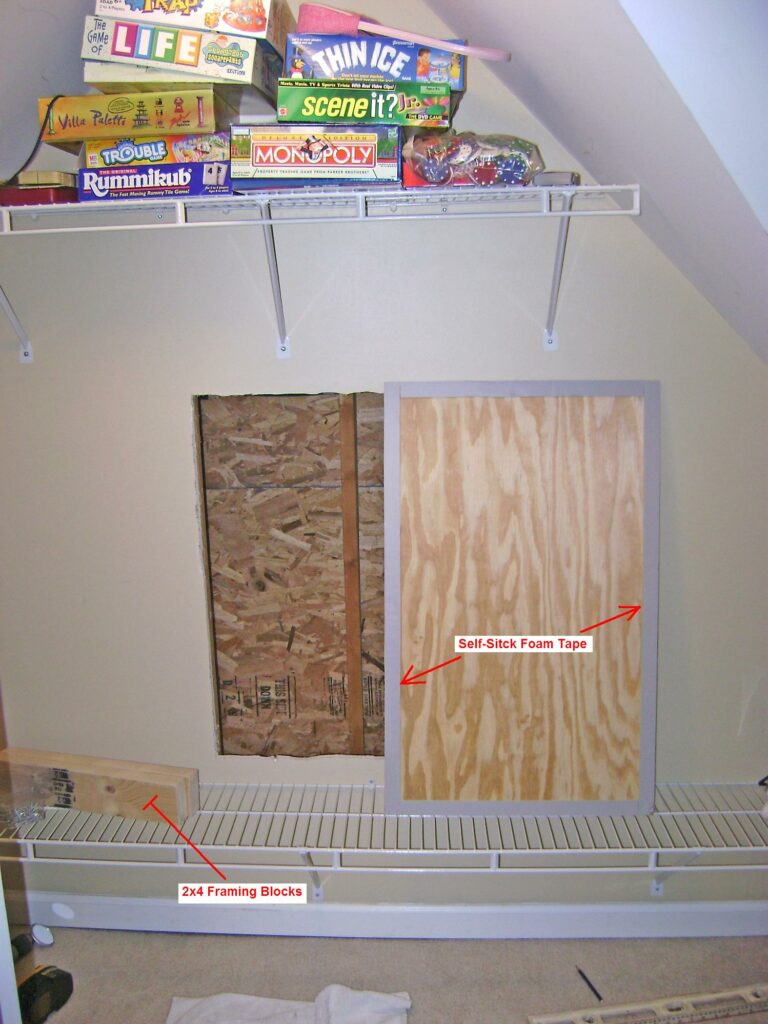
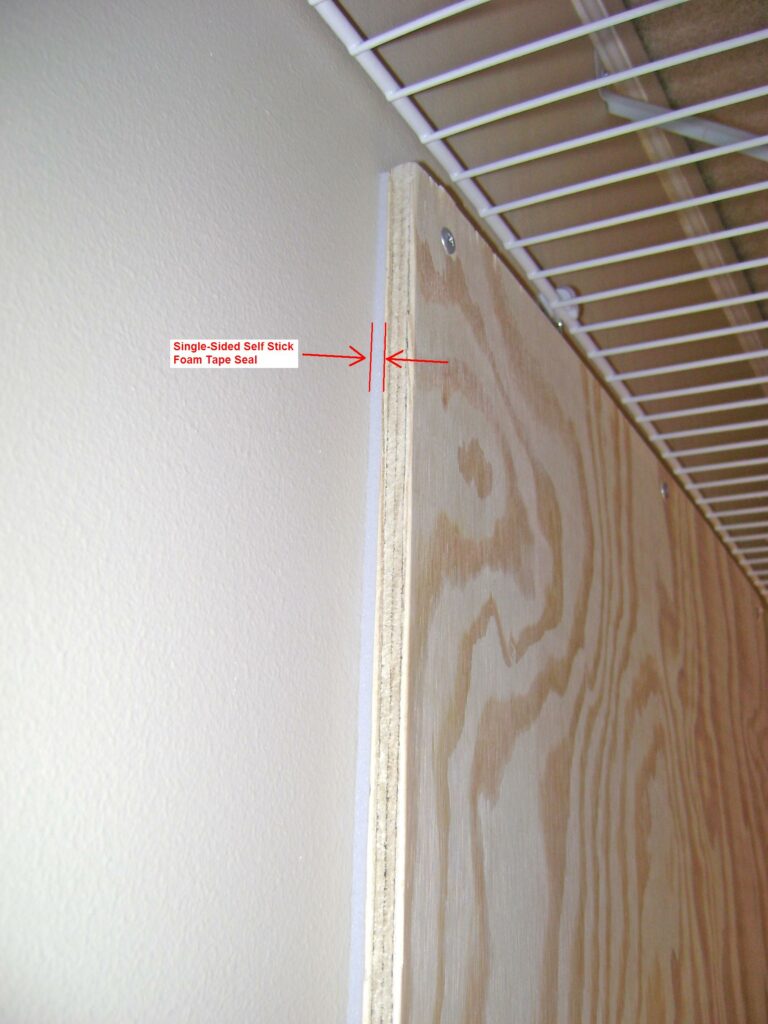
The inside perimeter of the plywood panel was lined with self-stick PVC camper mounting tape to seal the panel to the wall and prevent drafts.
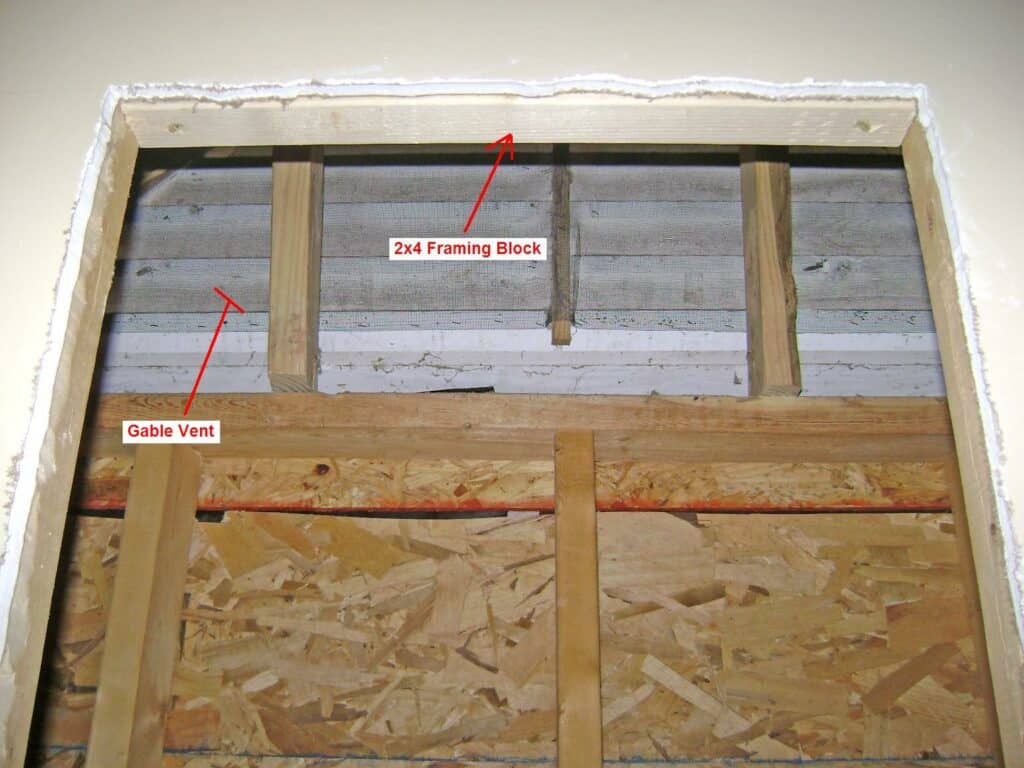
Access Panel 2×4 Framing Blocks
I measured and cut two 2×4 framing blocks to reinforce the top and bottom of the drywall opening. This is needed to fasten the plywood panel securely and tightly at the top and bottom edges with wood screws.
The 2×4 block is fastened with two 3 inch wood screws. It’s easier to start the wood screws as shown here before installing the block.
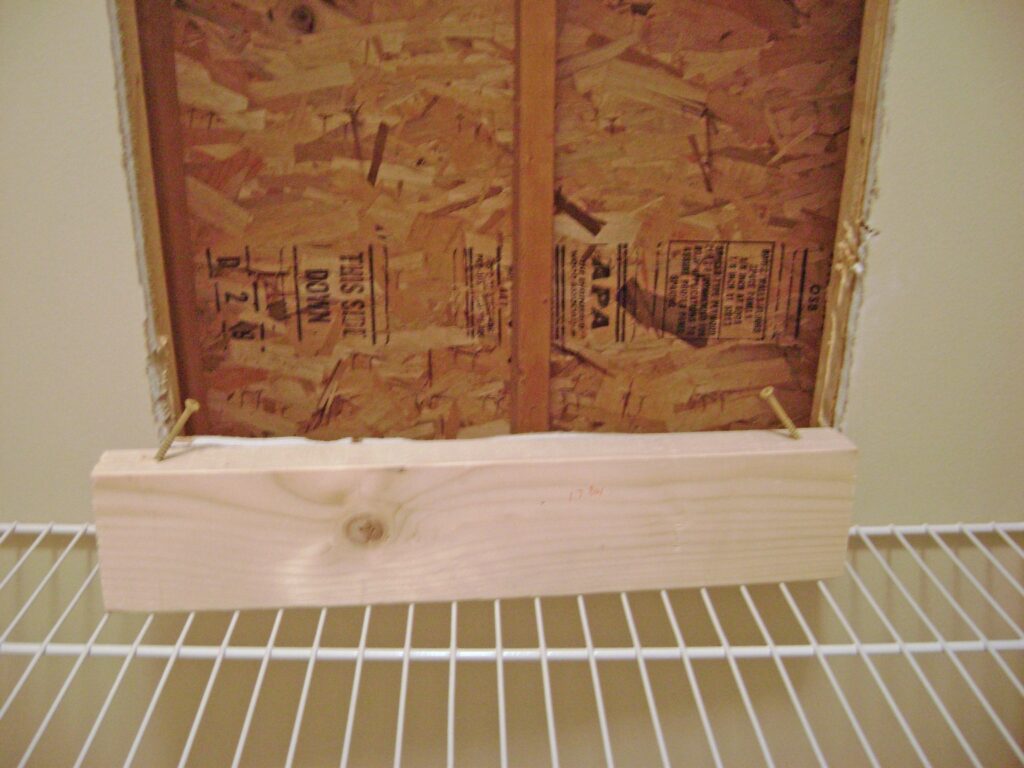
The block is installed level with the bottom edge of the drywall.
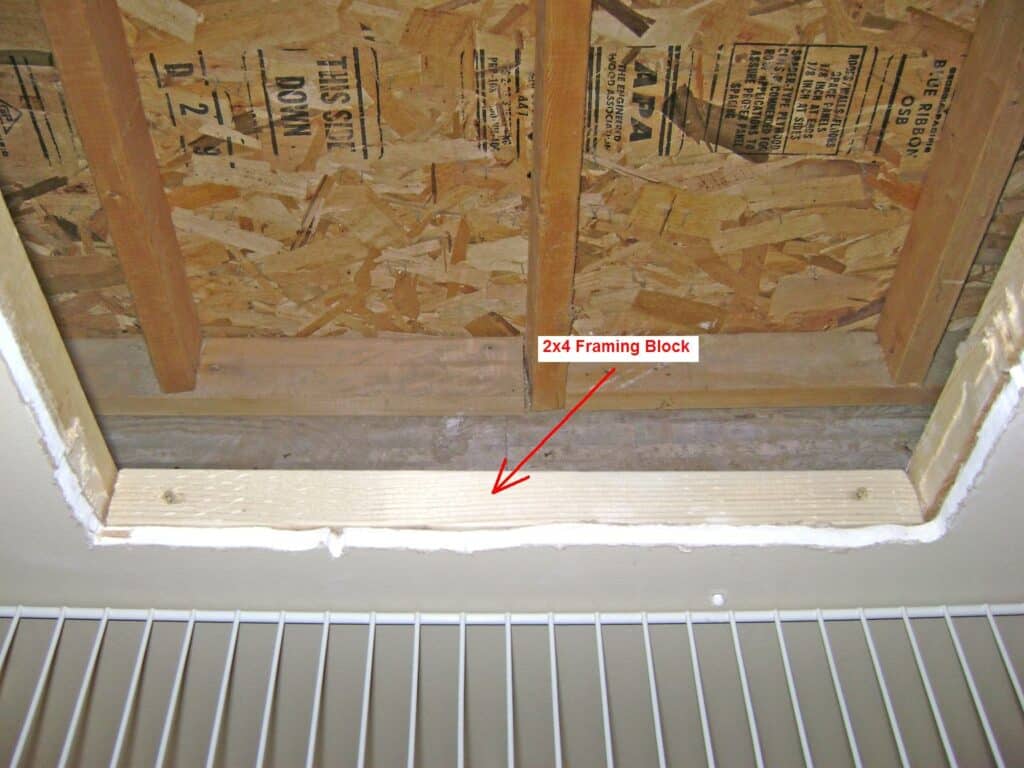
A 2×4 reinforcing block is installed at the top of the opening.
Mounting the Plywood Access Panel
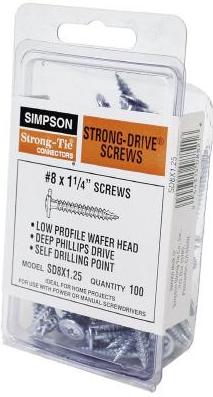
The plywood panel is centered over the opening and lightly attached with a single Simpson Strong-Tie SD8 1-1/4 inch wood screw in the center as shown. The panel can swing about the single screw while being leveled as shown. When level, make light registration marks in pencil along the left and right sides of the panel on the drywall. This is so you can check the panel is still plumb when attaching the other mounting screws.
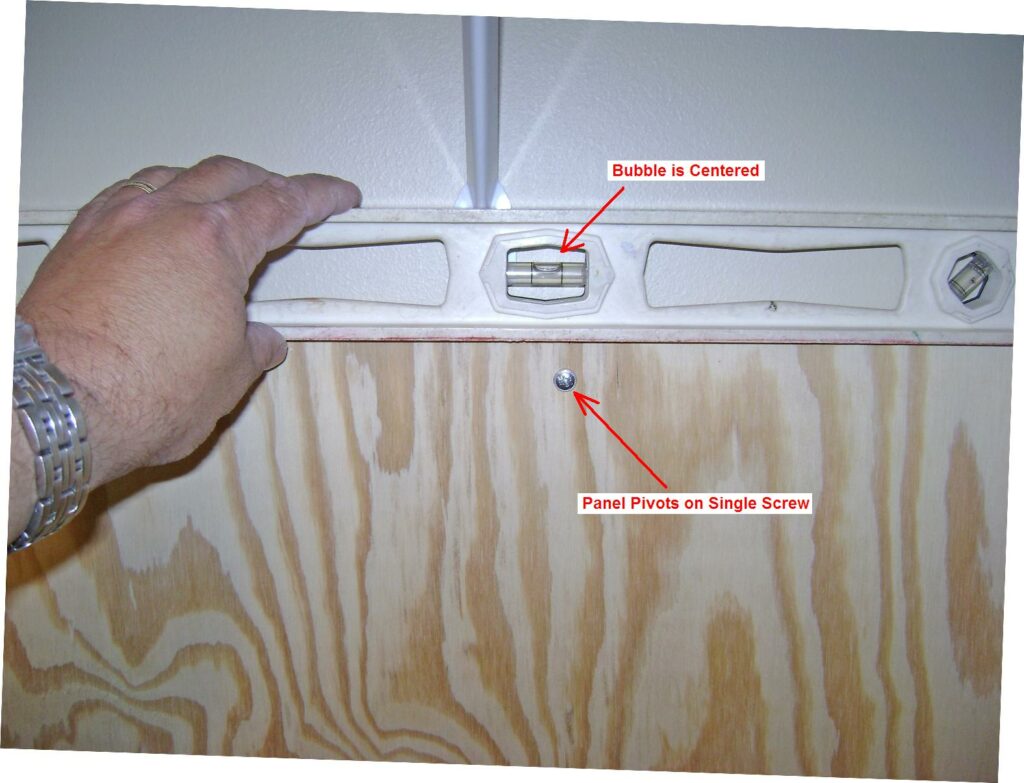
Simpson Strong-Tie products are available at Home Depot. I used eight screws to mount the panel, checking for an even seal along the weatherstrip.
This is a closeup of the self-stick PVC tape weatherseal. For the weatherseal to work, it needs to be compressed but not crushed against the wall. The key is to tighten the wood screws only as much as necessary to compress the seal. This enables to the seal to expand and maintain the seal with the wall during hot and cold weather.
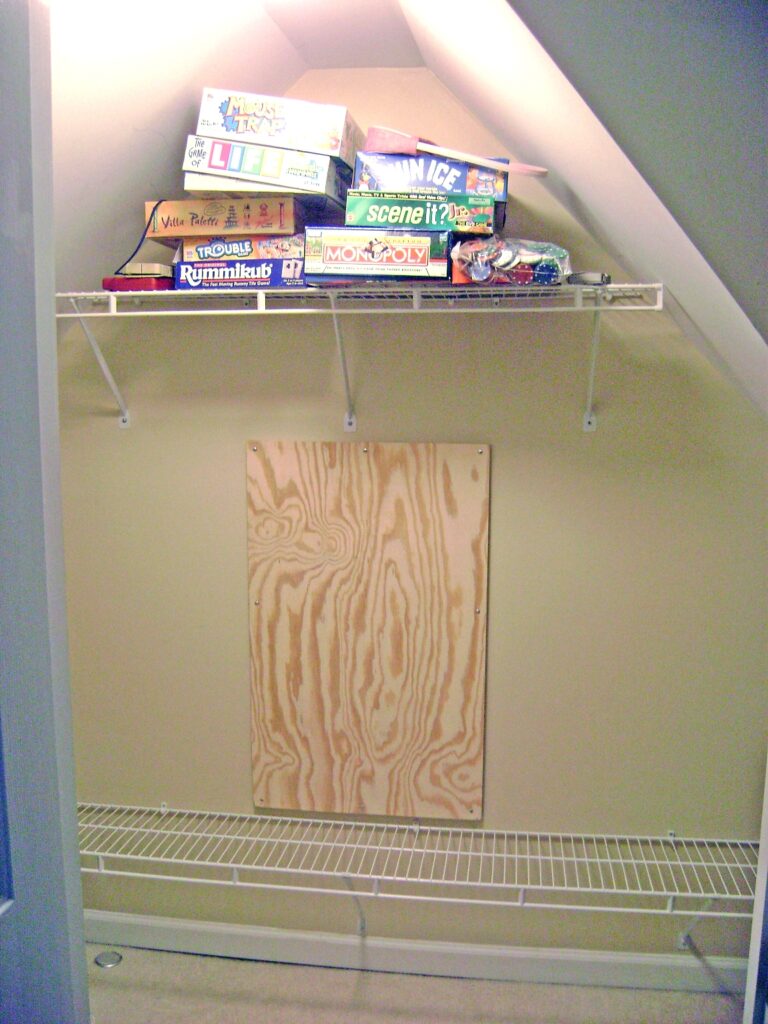
This is the finished access panel ready to be painted the same color as the wall. When painted and hidden behind a rack of clothes, it won’t be noticed.
The last task is to insulate the closet walls and the back of the access panel. This project is continued in Part 3.
Enjoy,
Bob Jackson
Thank you! This is exactly what I needed!