Appliances
Appliances
Dishwashers
Garbage Disposals
Refrigerators
Most Popular Home Appliances Articles
Refrigerator Compressor Replacement Cost
Why Your Refrigerator is Freezing Everything
How Long Does a Refrigerator Take to Get Cold?
How Heavy are Refrigerators?
Troubleshooting a Dishwasher That Won’t Drain Completely
How to Replace a Dishwasher (Step-by-Step)
How to Remove a Garbage Disposal (Step-by-Step)
Garbage Disposal Installation (With Pictures)
See all Home Appliances Articles
Electrical
Electrical
Lights and Switches
Outlets & Surge Protection
Smoke Alarms
Most Popular Electrical Articles
How to Replace a Built-In Oven Fan
How to Install an Attic Shop Light
Best Ways to Turn Off Smoke Alarm (Hard-wired & Battery)
Can a Humidifier Set off a Smoke Alarm?
Hardwired Smoke Alarm Keeps Going Off at Night
Can a Humidifier Set off a Smoke Alarm?
See all Electrical Articles
Heating & Air
Heating & Air
Central AC Maintenance
Ductwork
Most Popular Heating and Air Articles
New Bryant Evolution Central AC Installation
Close and Seal the Evaporator Coil Case
See all Heating and Air Articles
House Exterior
House Exterior
Deck & Patio
Doors
Gutters
Roof
Yard
Most Popular House Exterior Articles
How to Install a Schlage Keypad Deadbolt
Rhino Gutter Guard Review: Performance and Maintenance
See all House Exterior Articles
House Interior
House Interior
Access Panels
Attic
Basement
Bathroom
Bedroom
Closet
Garage
Kitchen
Most Popular House Interior Articles
How to Build a Basement Closet: Ceiling Drywall
How to Finish a Basement Bedroom
See all House Interior Articles
Misc. Repairs
Misc. Repairs
Most Popular Miscellaneous Repairs Articles
How to Build a Basement Closet: Ceiling Drywall
How to Install a bauco softline Access Door – Part 1 – HandymanHowto.com
See all Miscellaneous Repairs Articles
Plumbing
Plumbing
Bathroom Sink
Kitchen
Shower
Toilets
Most Popular Plumbing Articles
How to Replace a Pop-Up Sink Drain
How to Replace a Pop-Up Sink Drain
See all Plumbing Articles
Technology
Technology
Home Automation
Home Networking
Web Development
Most Popular Technology Articles
How to Install an Occupancy Sensor Light Switch
Mobotix D24M Network Camera – Video Playback
See all Technology Articles
Menu
Appliances
Refrigerator Compressor Replacement Cost
Why Your Refrigerator is Freezing Everything
How Long Does a Refrigerator Take to Get Cold?
How Heavy are Refrigerators?
Troubleshooting a Dishwasher That Won’t Drain Completely
How to Replace a Dishwasher (Step-by-Step)
How to Remove a Garbage Disposal (Step-by-Step)
Garbage Disposal Installation (With Pictures)
Electrical
How to Replace a Built-In Oven Fan
How to Install an Attic Shop Light
Best Ways to Turn Off Smoke Alarm (Hard-wired & Battery)
Can a Humidifier Set off a Smoke Alarm?
Hardwired Smoke Alarm Keeps Going Off at Night
Can a Humidifier Set off a Smoke Alarm?
Heating & Air
New Bryant Evolution Central AC Installation
Close and Seal the Evaporator Coil Case
House Exterior
How to Install a Schlage Keypad Deadbolt
Rhino Gutter Guard Review: Performance and Maintenance
House Interior
How to Build a Basement Closet: Ceiling Drywall
How to Finish a Basement Bedroom
Misc. Repairs
How to Build a Basement Closet: Ceiling Drywall
How to Install a bauco softline Access Door – Part 1 – HandymanHowto.com
Plumbing
How to Replace a Pop-Up Sink Drain
How to Replace a Pop-Up Sink Drain
Technology
How to Install an Occupancy Sensor Light Switch
Mobotix D24M Network Camera – Video Playback
Home
»
instructions
instructions
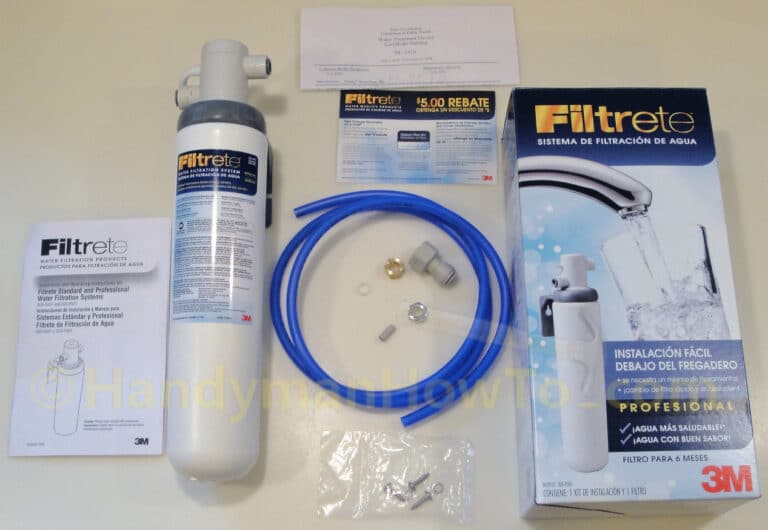
How to Install an Instant Hot Water Dispenser, Faucet and Water Filter – Part 3
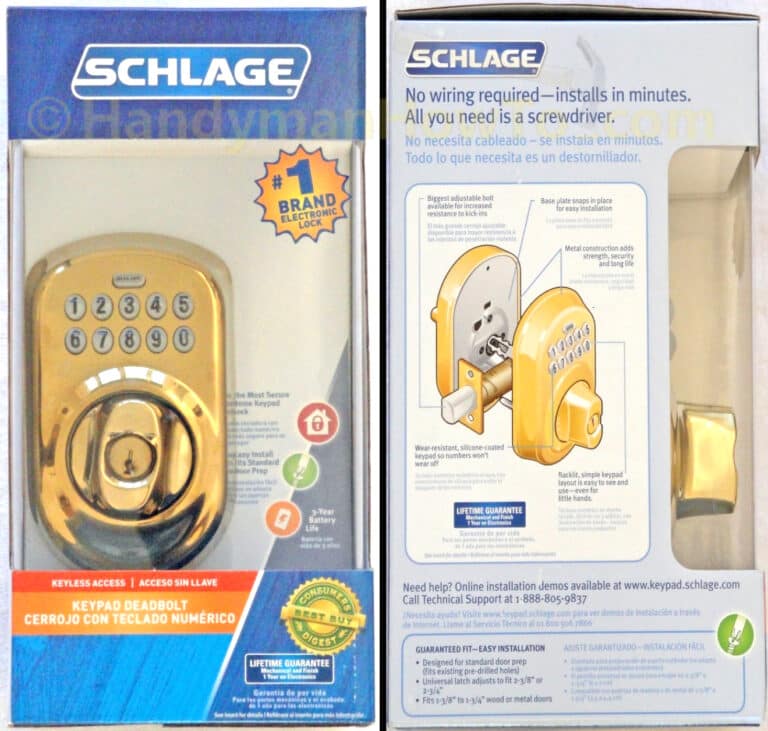
How to Install a Schlage Keypad Deadbolt
How to Tie a Buntline Hitch Knot
How to Tie a Double Running Bowline Knot
How to Tie an Ashley’s Stopper Knot
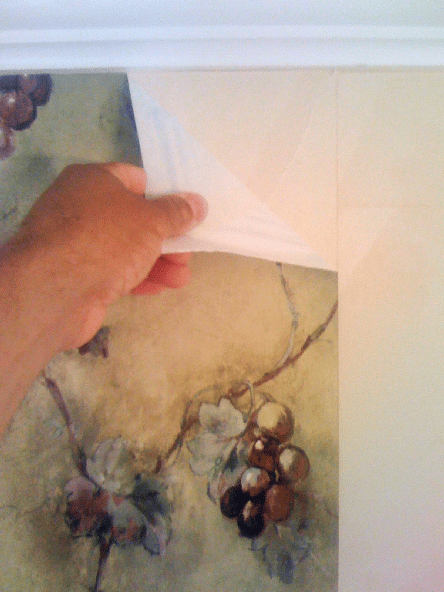
How to Remove Vinyl Wallpaper