WAGNER® SMART Edge Roller™ Review. This project is continued from How to Finish a Basement Bedroom.
Painter’s Masking Tape
I painted the ceiling and walls while finishing the basement bedroom and wanted a better and faster way to paint the edges between the ceiling and walls. Normally I would use painter’s masking tape to protect the ceiling and leave a straight clean paint line. Masking off the ceiling with painter’s tape is a time consuming tedious task and sometimes the paint can bleed under the tape requiring touch-ups. Sometimes people will skip the masking tape and just use a brush to cut into the corners; I can always tell because a brush leaves uneven paint lines that meander onto the ceiling.
This photo was taken while painting a different room in the finished basement after masking off the corners with painters tape:

The basement bedroom ceiling has been painted with Sherwin-Williams Eminence™ High Performance Ceiling Paint. The walls were painted with Sherwin-Williams Cashmere® Interior Acrylic Latex Paint in the SW 7557 Summer White color. (Darker areas on the ceiling and walls are due to shadows.) The challenge is painting the trim along the wall/ceiling corners and around the window frame.
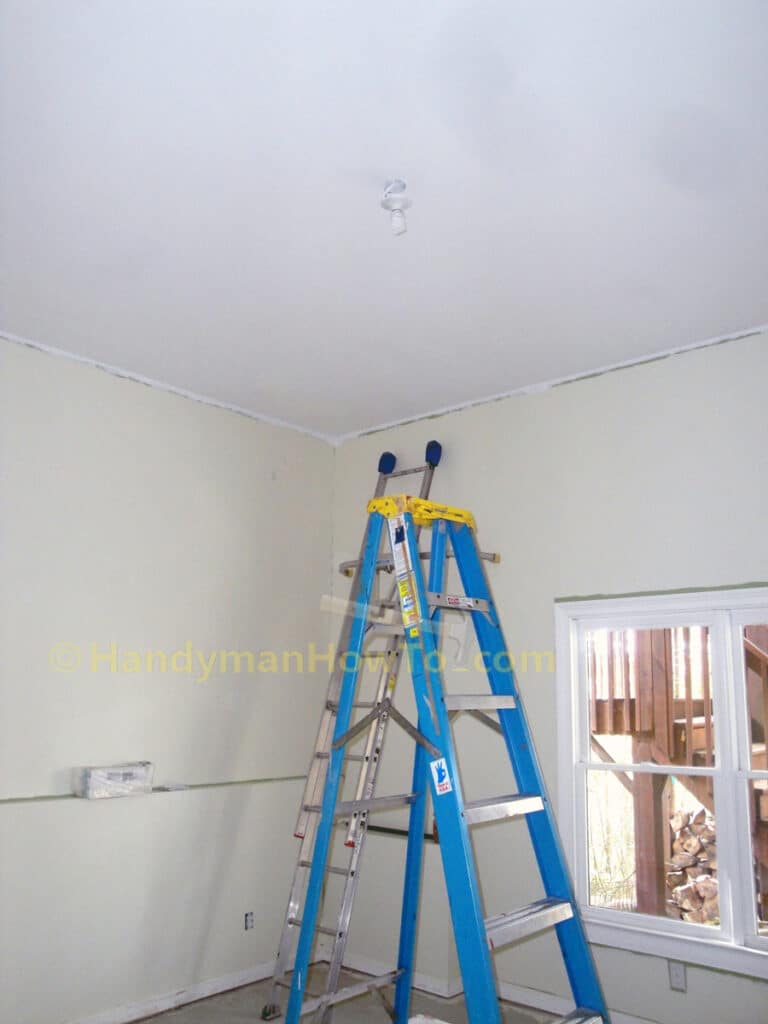
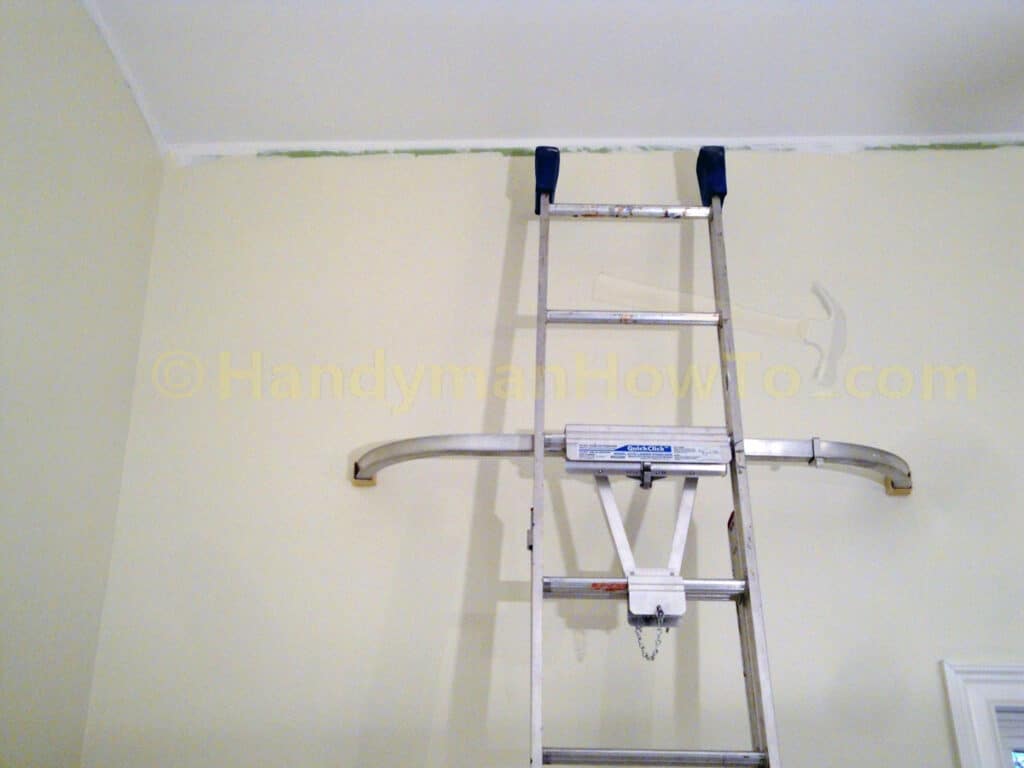
I painted the walls as high as I dared with the Wagner Smart Flow Roller without touching the ceiling:
WAGNER® SMART Edge Roller™ Review
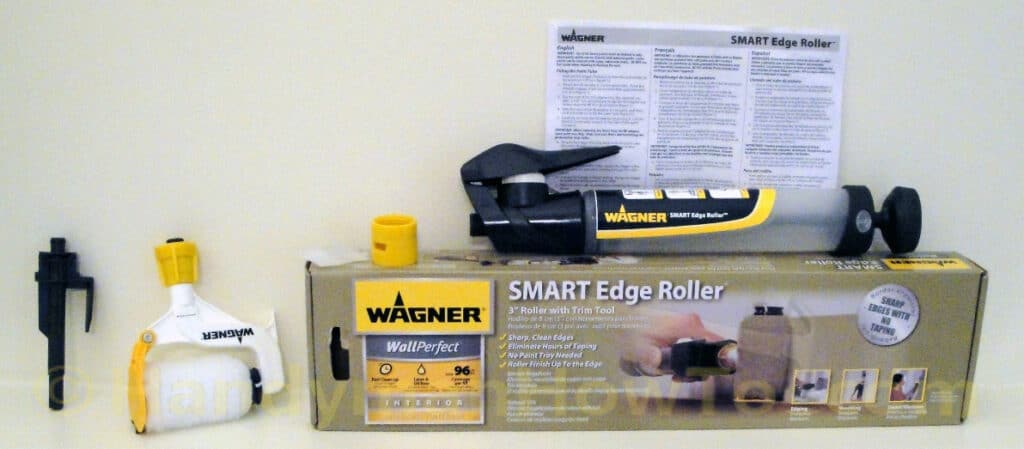
I was at Home Depot for paint supplies and happened across the WAGNER® SMART Edge Roller™ . I’ve used the Wagner Smart Flow Roller roller stick for quite some time and was very pleased with its performance. The SMART Edge Roller is similar to WAGNER Smart Roller because it has a paint reservoir tube and squeeze handle pump. For $20 I figured it was worth a try because it could save me a lot of time versus masking off the ceiling, windows and door frames.
I’ve tried a variety of those square paint trim pads in the past that were basically junk and made a mess, so I had high hopes for the Wagner SMART Edge Roller.
The fully assembled SMART Edge Roller holds 6 fluid ounces of paint for about 96 linear feet of coverage, which I found to be very adequate and kept me painting with minimal interruption for refills.
The secret to the success SMART Edge Roller is the roller guard and trim brushes. The roller guard flips open to replace the 3 inch roller.
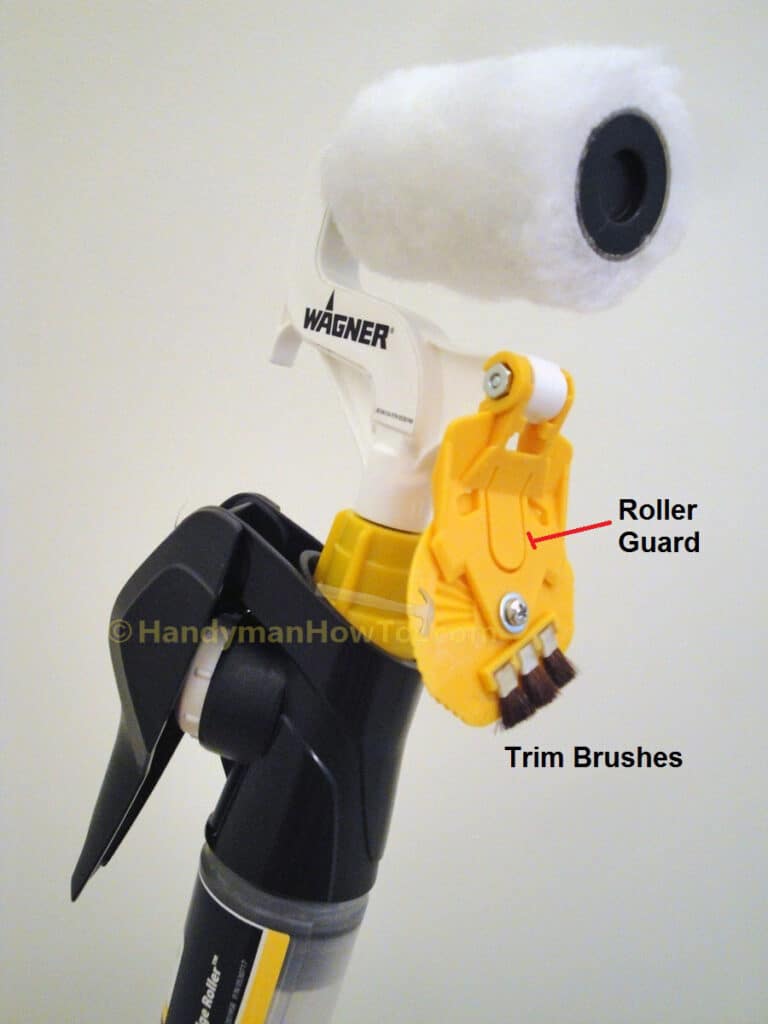
The roller guard in snapped closed ready for painting. The trim brush plate swivels on a ratcheting mechanism for the roller to be used in any orientation with the brushes flat against the wall.
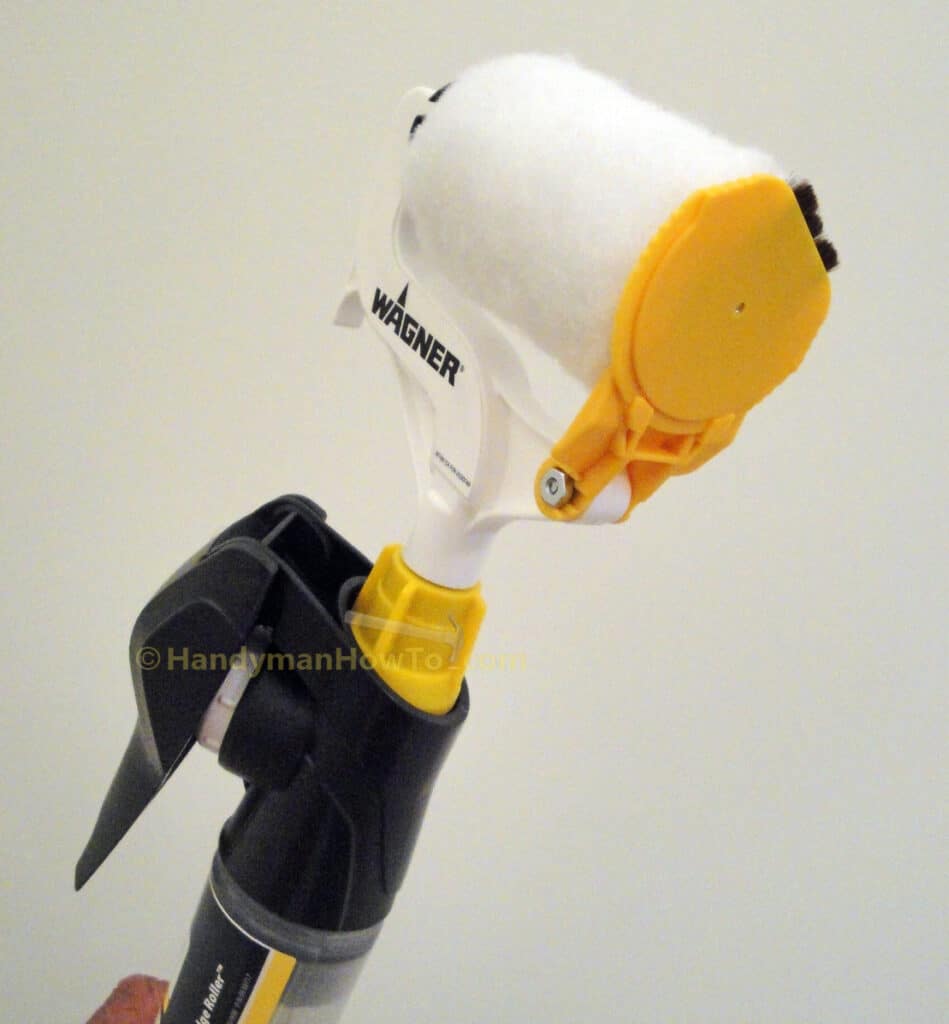
The concept behind the SMART Edge Roller is roller guard protects adjacent surfaces from paint while the trim brushes cut into the corners:
Painting with the WAGNER® SMART Edge Roller™
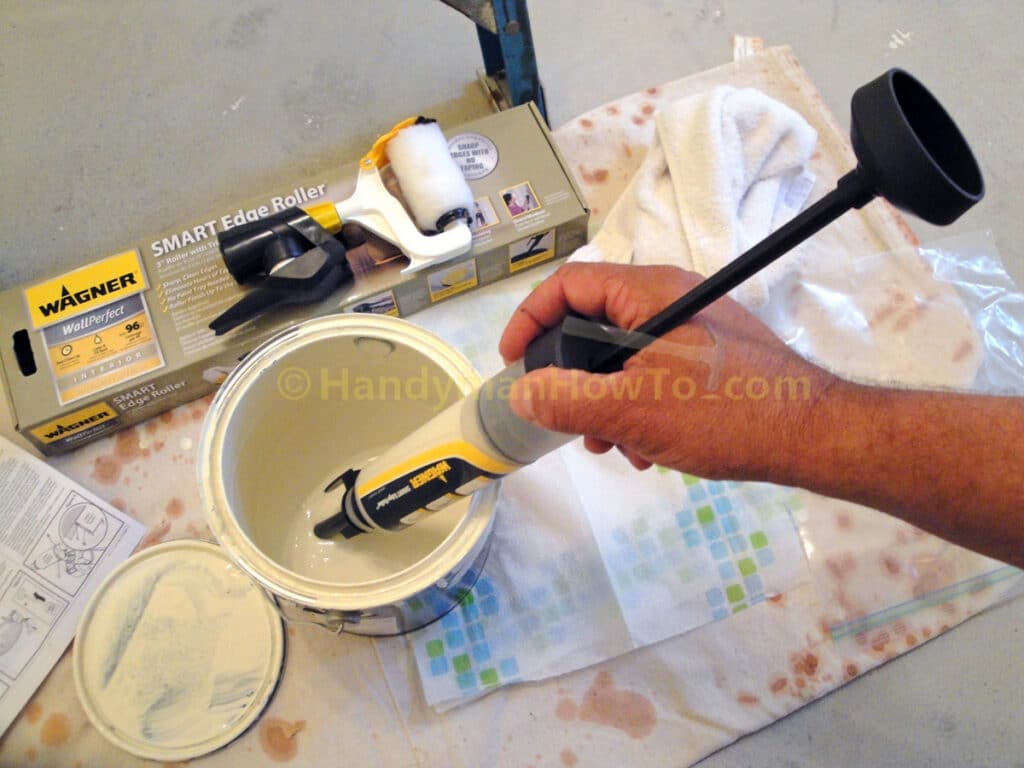
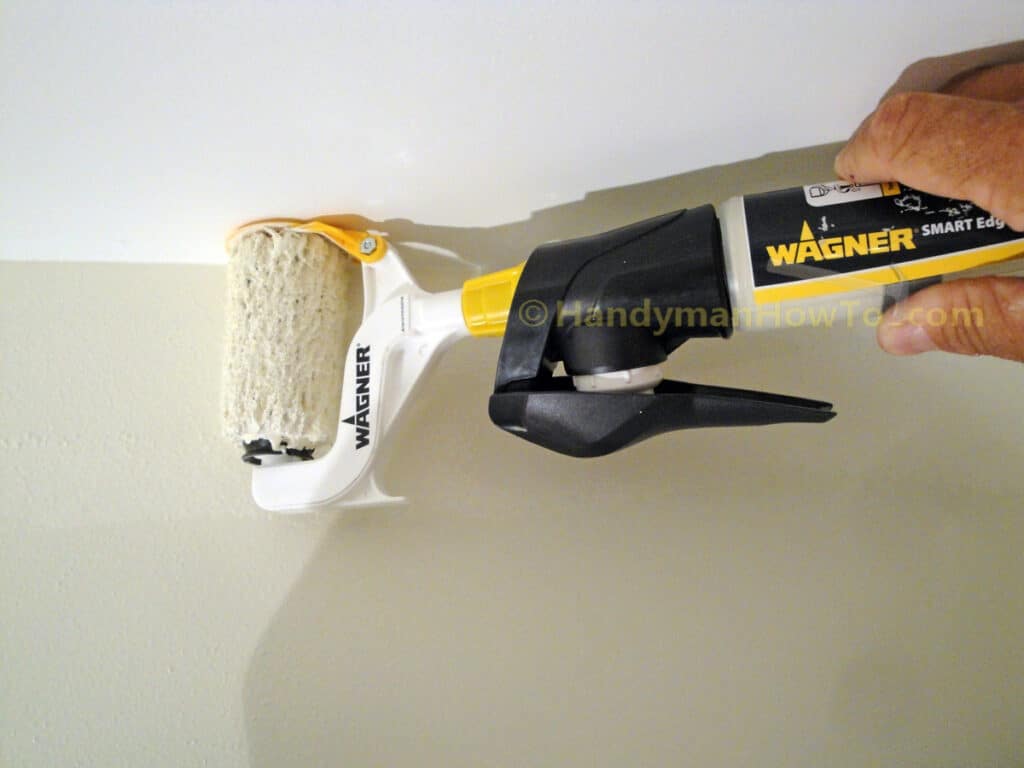
The SMART Edge Roller has a 1/4 turn fill adapter tube that is dipped into the paint can. Pulling the plunger handle pulls paint into the paint tube reservoir. See the SMART Edge Roller user manual for details.
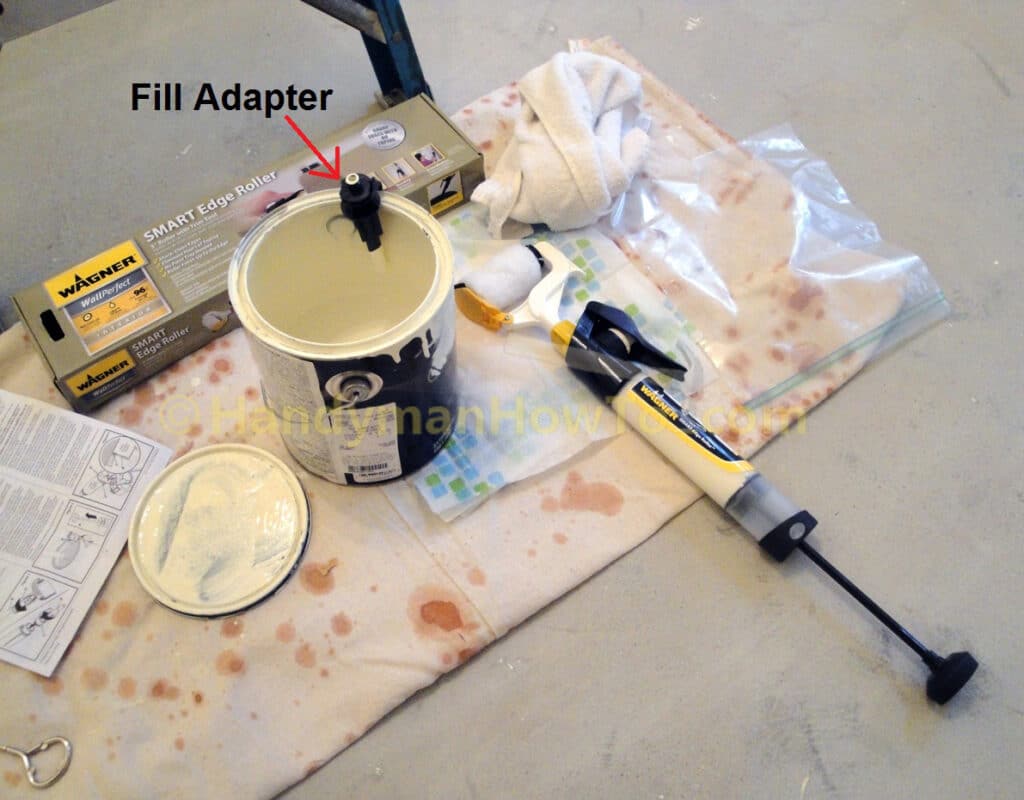
The fill adapter is removed and the trigger housing/roller head is attached by a 1/4 twist to the paint tube. Internal seals prevent paint from leaking from the paint tube during the process. The fill adapter has a convenient hook to hold it on the paint can so excess paint can drip back into the can.
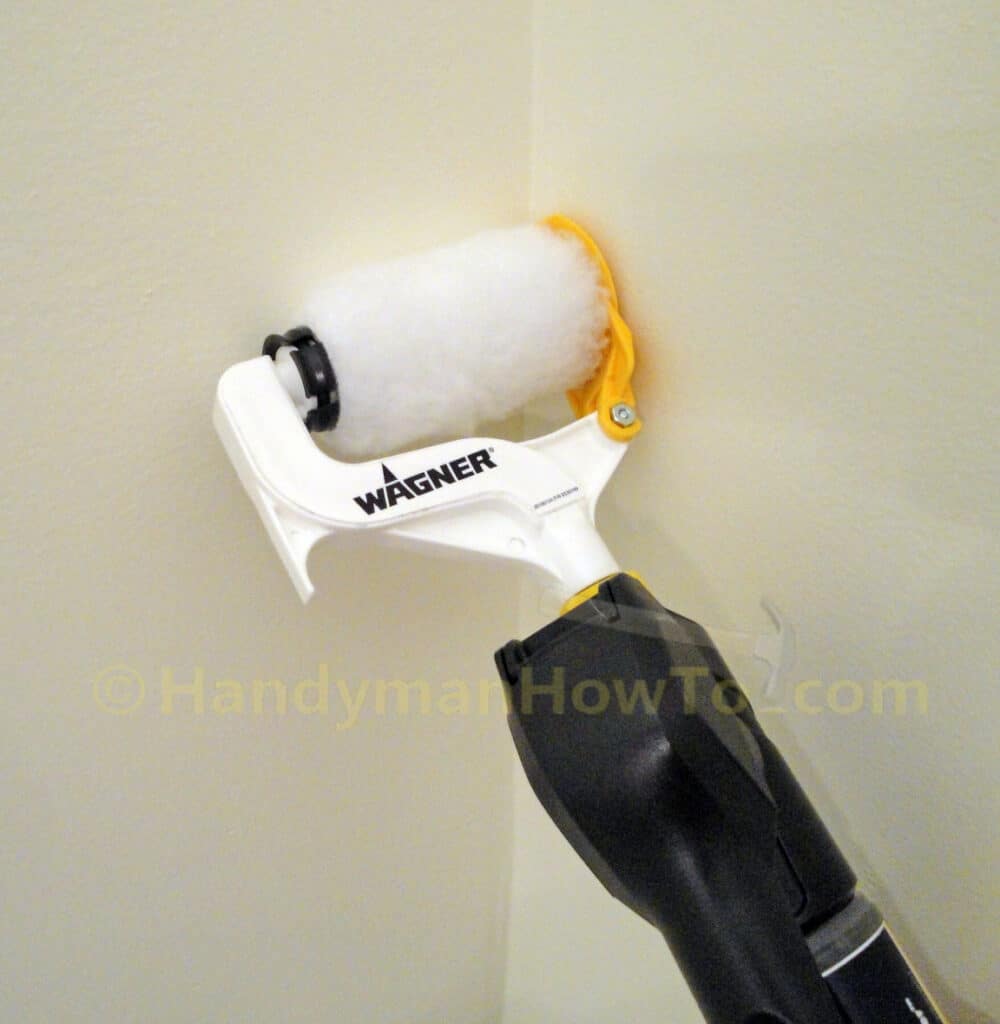
Squeeze the trigger several times to push paint to the internally fed paint roller, swivel the trim brush plate so the brushes lay flat against the wall, then roll the corners and trim. I was really amazed at how quick and clean the SMART Edge Roller performed! The corner paint lines were perfectly straight with no smudges against the ceiling.
Do check that from time to time for paint that has built up on the roller guard and wipe off any paint to prevent smears on the ceiling. I had no problems with the Sherwin-Williams Cashmere latex paint.

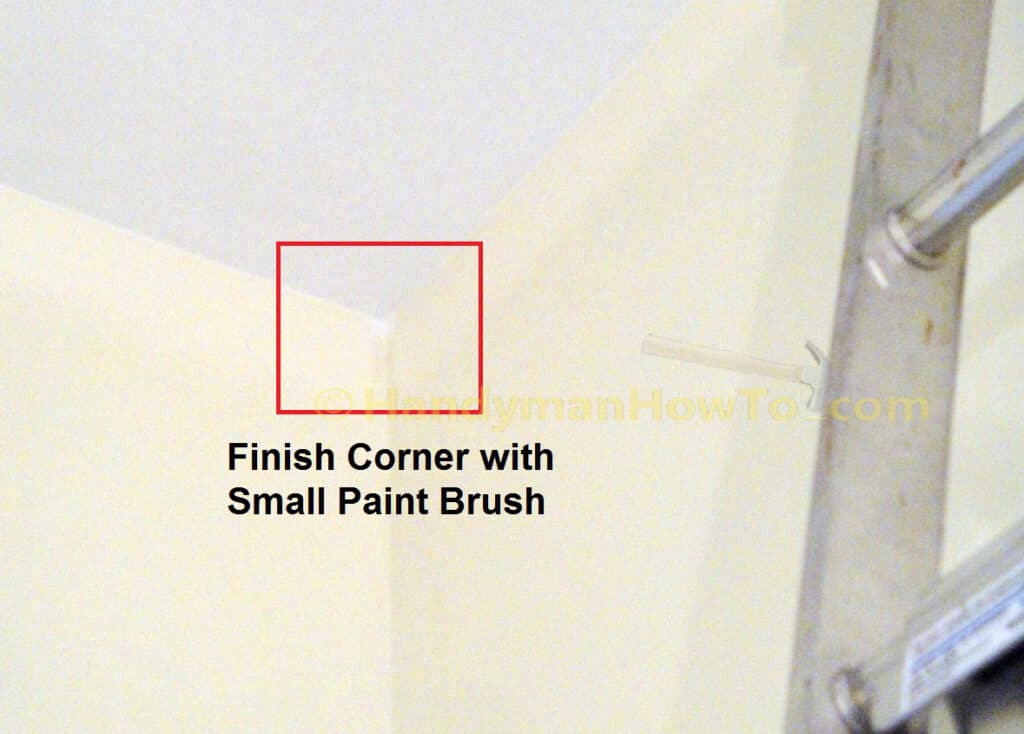
One minor issue with the SMART Edge Roller is it can’t quite reach into the 3-way corner where two walls meet the ceiling. This is a quick touch-up with a small paint brush.
Clean-Up
Cleaning the SMART Edge Roller was reasonably easy. For water-based latex paints, the SMART Edge Roller has a cleaning adapter that threads onto a garden hose. I found it simple to fully disassemble the entire unit, removing all seals and valves then cleaning the unit in the utility sink with warm water. Some minor internal lubrication is necessary after the parts are dry with petroleum jelly. The cleaning process took about 15 minutes. Extra 3 inch rollers can be purchased should you not want to clean the roller or want to paint with a different color before the roller is dry.
I’m really pleased with the WAGNER Smart Edge Roller because it’s easy to use, works great and saved me hours of time compared to painters masking tape.
In the next installment of this basement bedroom remodeling series, the concrete floor is finished with SkimStone for a warm marbled ebony look.
Thanks for reading,
Bob Jackson