“Everything is built by the lowest bidder”…
During my annual fall inspection of the house, I noticed the soffit vent for the bathroom ventilation fan had been painted over, almost clogging the grate. I replaced the soffit vent and turned on the bathroom fan to check the air flow. The fan was blowing but no air was coming out of the soffit vent!
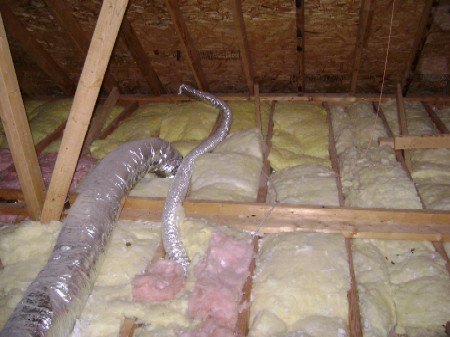
I went into the attic to check the duct work between the bath fan and the soffit vent to see if there was an obstruction in the flexible duct pipe. The 3 inch bathroom fan duct is the long skinny pipe on the right in the photo below.
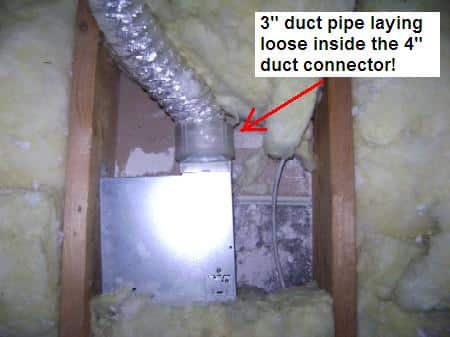
I removed the attic insulation from the bathroom fan and discovered the 3 inch diameter duct pipe was laying loose inside the 4 inch diameter fan connector, allowing the air to blowing around the duct and into the attic insulation. This would be a major problem in the winter because the humid air from the bathroom would condense and make a moldy wet spot! The worker who installed this was too lazy to do the job right and just left it laying there, hidden by the insulation where no one would see it. Fortunately this was a seldom used bathroom so a mold problem never developed.
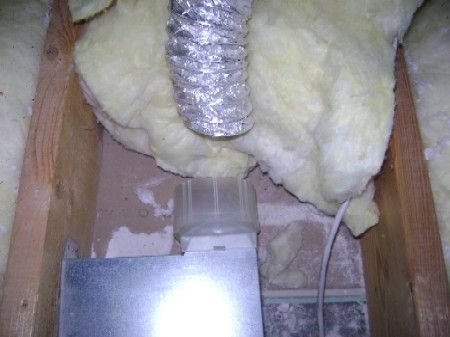
In the next photo, I’ve removed the 3 inch duct pipe for comparison with the 4 inch fan connector.
To fix the problem, I used 4-inch vent duct, wire snips and metal tape. Metal tape is specifically designed for sealing air ducts; do not use the common “duct tape” because it will not last.
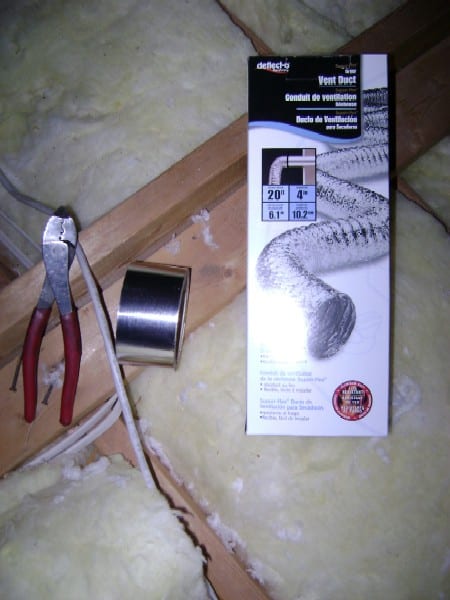
A short length of 4 inch duct pipe will be installed to bridge the bath fan and the 3 inch duct pipe.
Aside: I considered taking out the 3 inch pipe and making a full length run of 4 inch duct, but the exterior soffit vent is 3 inches in diameter and I felt the smaller pipe would handle the air flow OK.
The 4 inch duct pipe is snugged over the fan connector and taped securely to the fan with metal tape for an air tight seal. The 3 inch duct is slid inside the 4 inch duct and securely taped. This completes an air tight seal between the bathroom fan and the outside soffit vent.
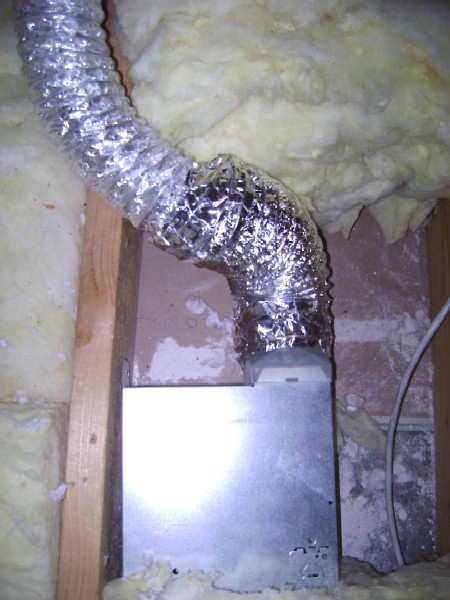
The fiberglass insulation is replaced around the fan and flexible duct, taking care to use a gentle bend in the duct to prevent kinks which would block the air flow.
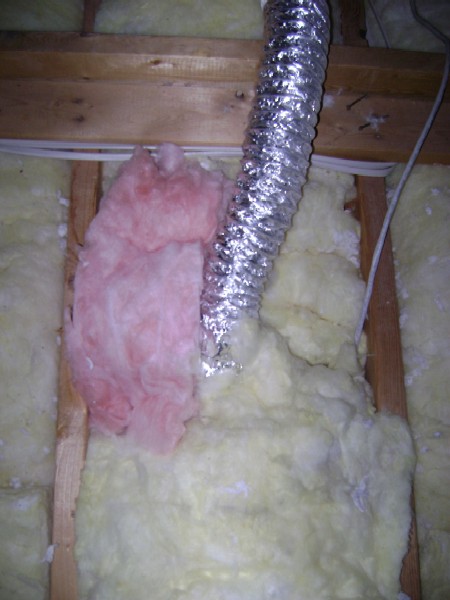
I turned on the bathroom fan and went outside to check the air flow from the soffit vent, feeling good breeze confirming everything was working correctly.
Take care,
Bob Jackson