How to Finish a Basement Bathroom: Closing the sewage basin, test the plumbing and a review of the various basement bathroom plumbing connections.
This project is continued from How to Finish a Basement Bathroom – Part 17.
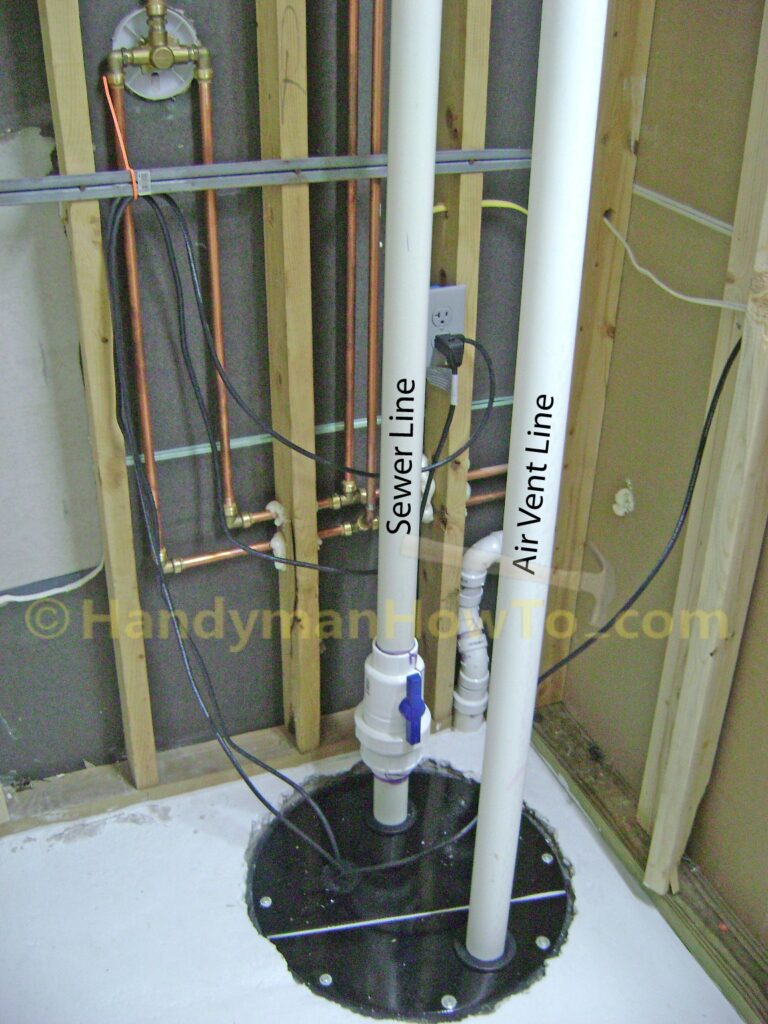
Basement Bathroom: Close and Seal Sewage Basin
The basement bathroom sewage basin consists of a two-part metal lid that attached by six (6) bolts. Rubber grommets in the lid to seal the various wiring and plumbing penetrations:
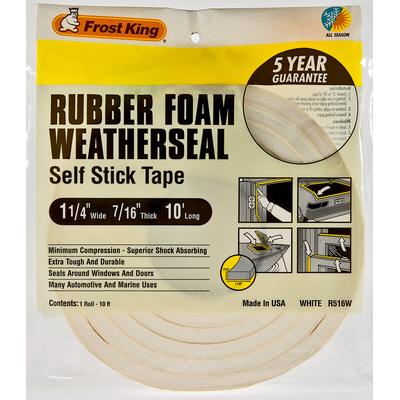
A strip of 1-1/4 inch wide by 7/16 inch thick foam rubber single-sided self-stick tape was applied to the rim of the sewage basin to provide and air-tight seal against the metal lid. I chose the extra thick 7/16 inch tape for the extra gap-filling ability. I’ve read about using caulk to seal the sewage basin lid but that would make it difficult to remove the lid for maintenance.
The cross-seam where the two lids overlap is sealed with 3/4 inch wide by 3/16 inch thick single-sided self-stick foam rubber tape.
The two-halves of the metal lid are bolted onto the sewage basin, checking that the 7/16 inch thick foam rubber was squeezed to about 1/2 of its original thickness. The idea is the foam rubber tape if left to expand and seal any gaps between the basin and cover, but not to tighten the bolts so much the foam tape is crushed or the lid is warped.
Test the Sewage Basin for an Air Tight Seal
Before declaring the bathroom “open for business” I wanted to verify the sewage basin cover and grommets were 100% air tight to prevent sewer odors. I poured a bottle of cheap perfume down the sink drain and ran the water until the sewage pump turned On. I sniffed around the basin for any hint of perfume and smelled nothing. I waited an hour and rechecked, finding no scent of perfume.
As of this writing, the basement bathroom has been in use for two months and there’s been absolutely no sewer odors.
Basement Bathroom Water and Sewer Plumbing
The following is an overview of the basement bathroom water and sewer plumbing. The building inspector said he liked my work when he signed off on my building permit.
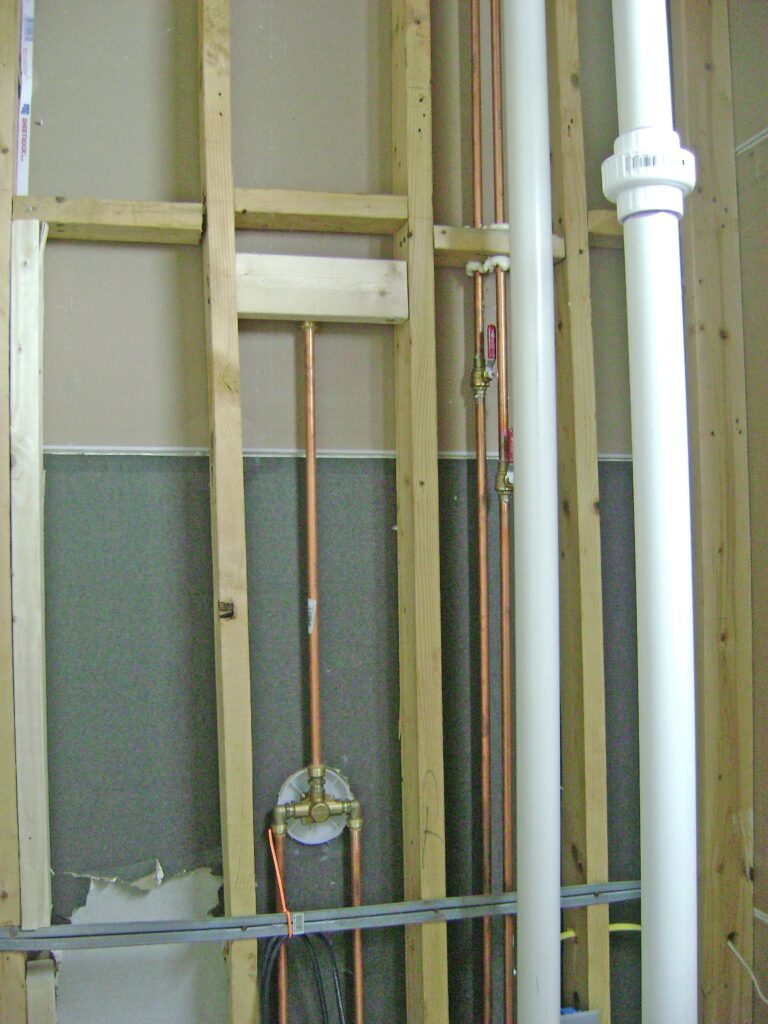
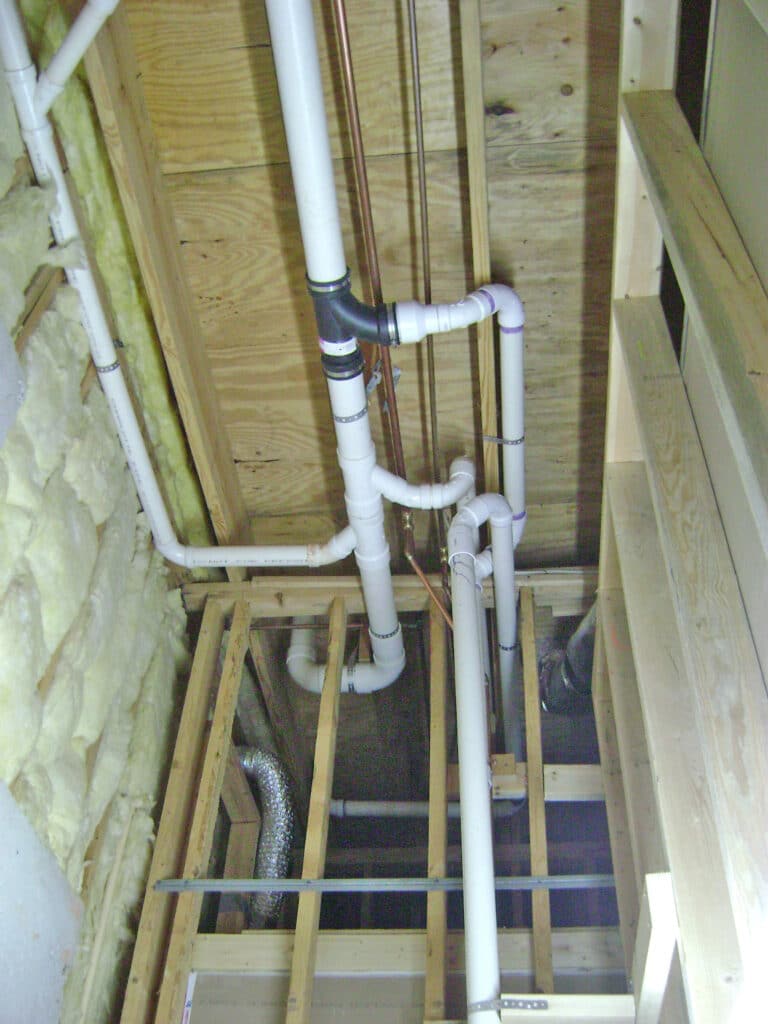
Basement bathroom shower valve, copper water pipes, sewage basin, PVC waste pipe with a check/shutoff vale and air vent pipe:
The hot and cold water 1/2 inch copper pipes have shutoff valves (red handles) to shutoff the water for maintenance. The shutoff valves here mean I don’t have to turn off the water to entire house at the water meter. The sewage basin PVC vent pipe has a slip union (top right of photo) to disconnect the pipe and move it out of the way to work on the sewage ejector pump.
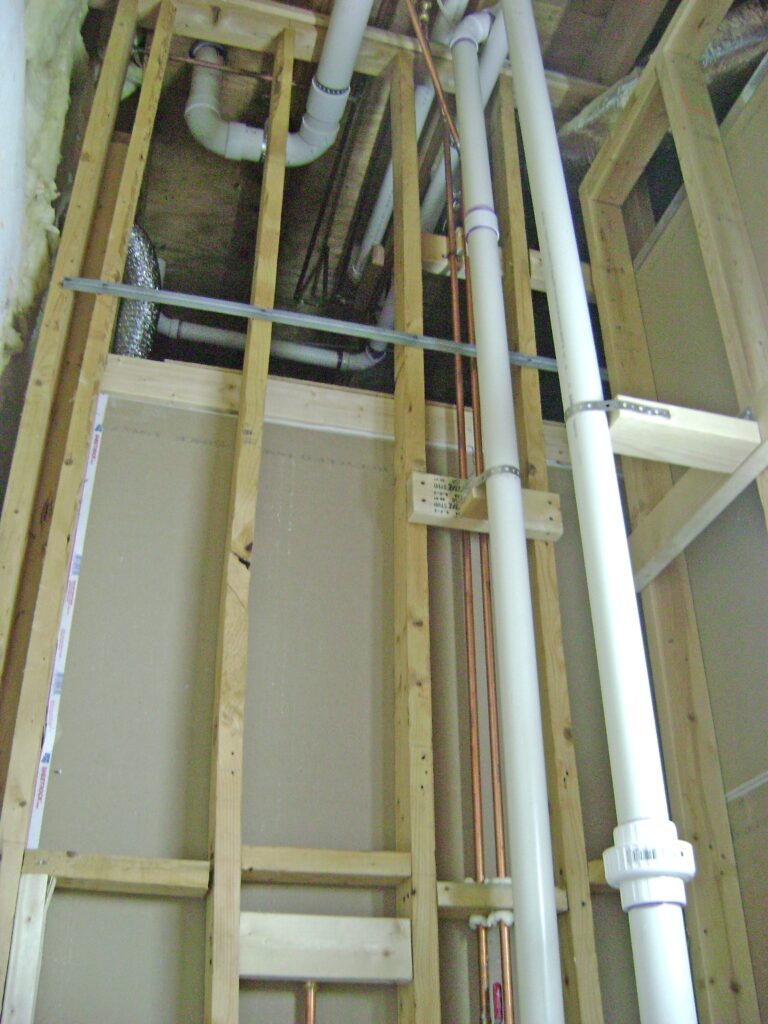
Notice the 2×4 bracing and metal support straps for the 2 inch PVC sewage plumbing:
The basement bathroom sewage basin is connected to the main sewer line by the black rubber Wye fitting made by Fernco.
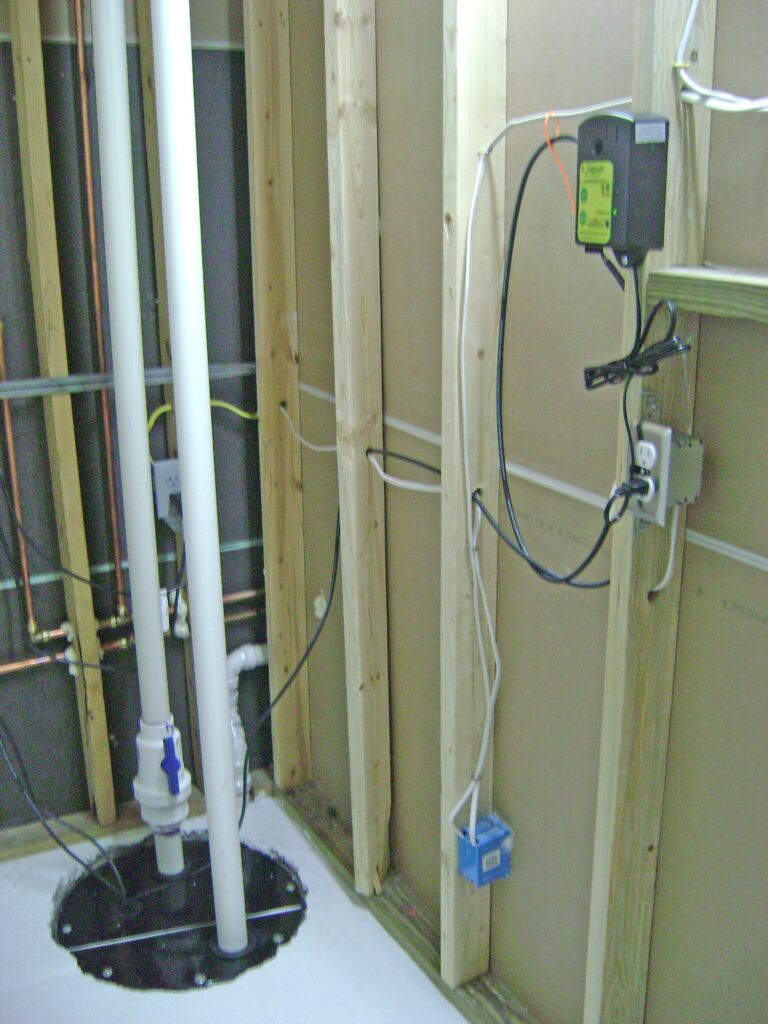
The sewage basin high water alarm is mounted to the 2×4 wall stud and wired on a separate electrical circuit from the sewage pump. The high water alarm also has an internal battery backup.
Take care,
Bob Jackson