How to Finish a Basement Bathroom – install water shutoff valves on the roughed-in copper pipe stubs for the toilet and vanity.
This project is continued from How to Finish a Basement Bathroom – Part 5.
Basement Bathroom Plumbing: Water Stop Valves
I’m almost ready to hookup the hot and cold water supply lines, but first I need to install the water shutoff valves for the toilet and vanity. The home builder roughed-in the copper pipe plumbing with pipe stubs sticking out of the finished drywall. The copper water pipes are not connected to the main water supply plumbing… I’ll connect the water supply later but first I need to install the stop valves.
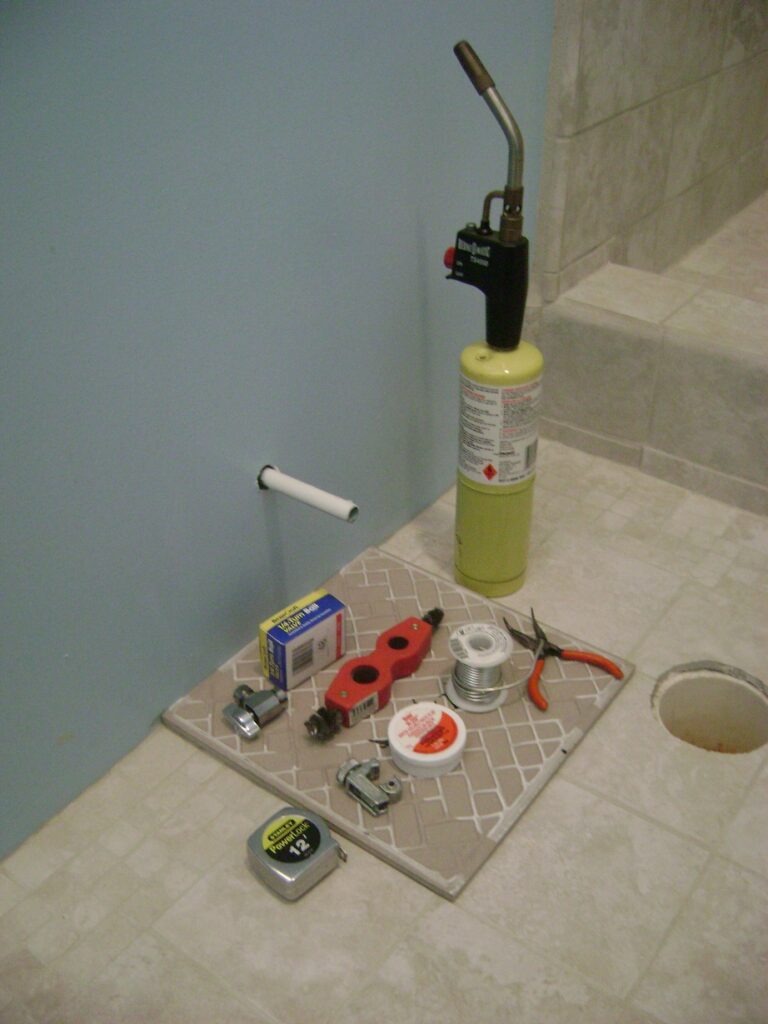
The soldering kit is pictured below:
- Propane torch
- 4-in-1 wire brush
- Solder paste
- Solder wire
- Pliers – in case I need to hold something hot
- Rotary tube cutter
- 1/4 Turn Angle Ball Stop Valve for 1/2 pipe, sweat joint
- A piece of ceramic tile to catch any solder drips
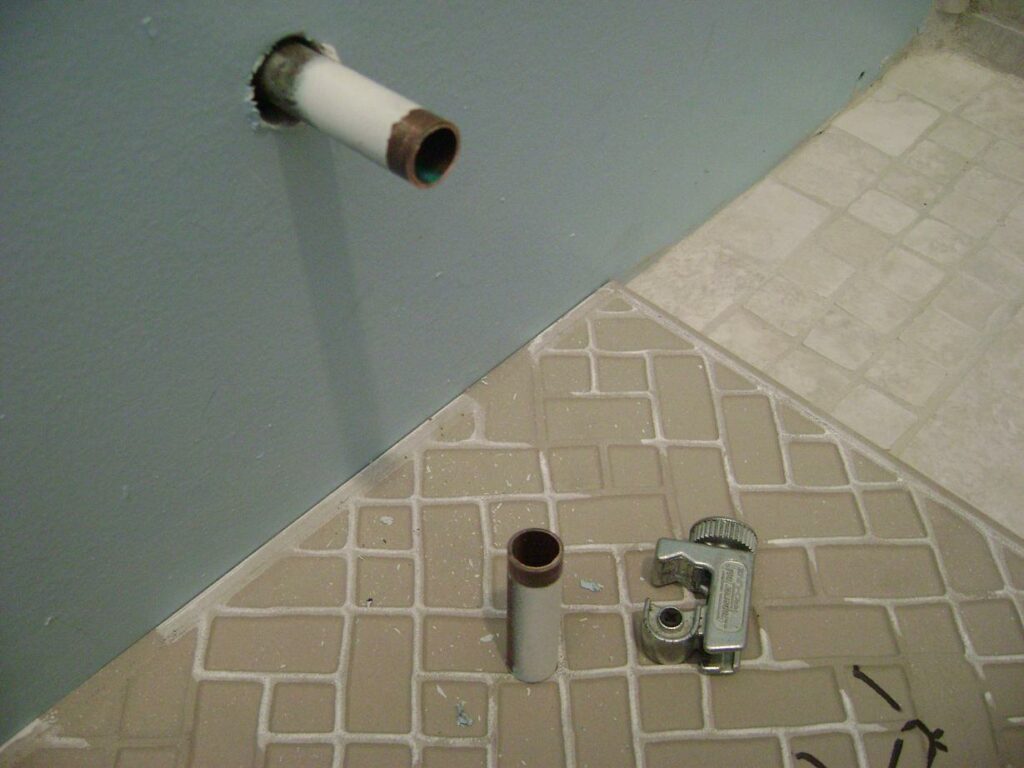
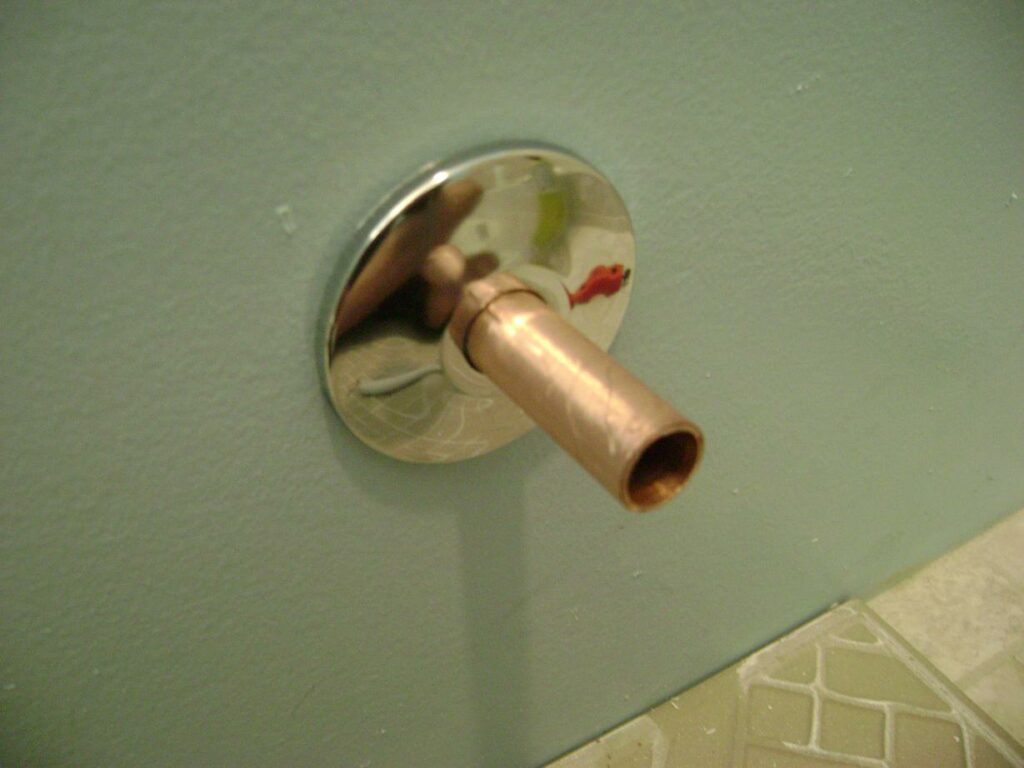
The roughed-in copper pipe stub is cut to about 3 inches in length from the wall using the rotary tube cutter:
The completed pipe cut:
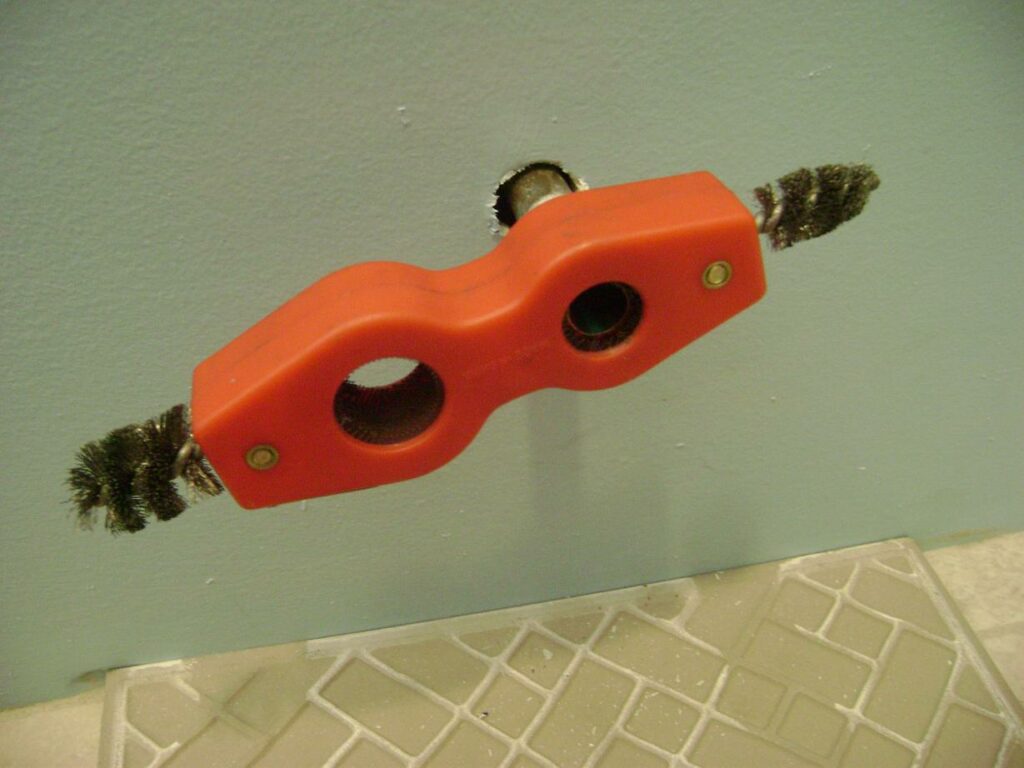
The paint and dirt are removed from the copper pipe with a 4-in-1 pipe brush in preparation for soldering on the stop valve:
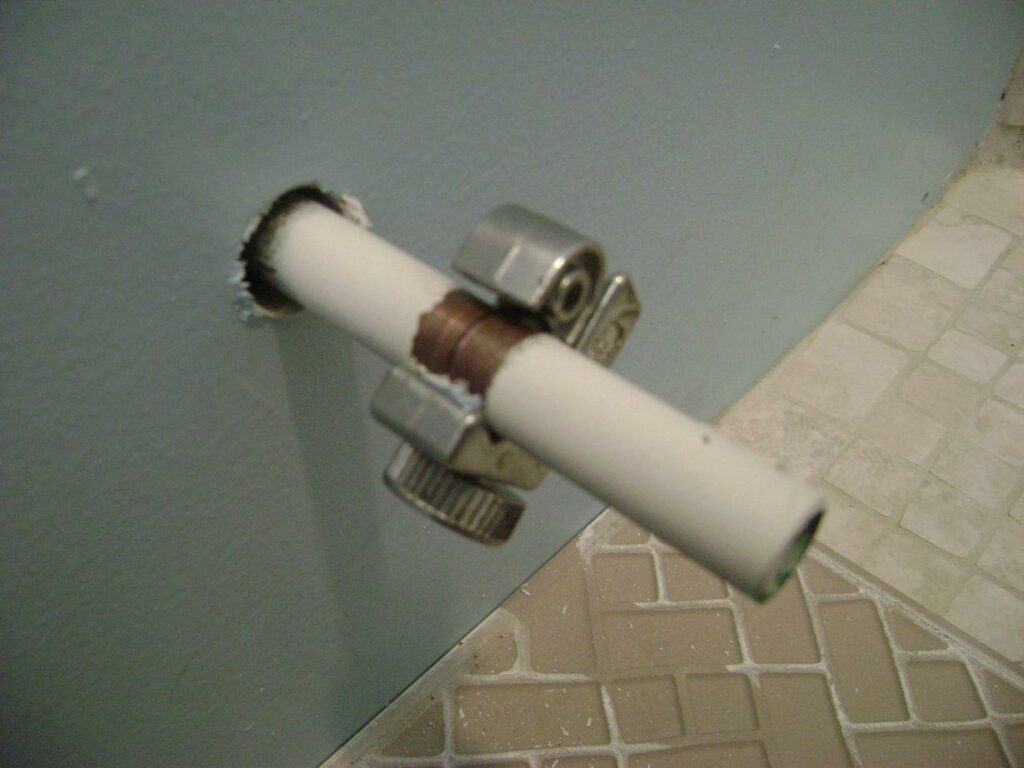
The water stop valve escutcheon is slipped over the cleaned pipe stub:
The toilet stop valve is cleaned to remove any metal oxides before soldering:
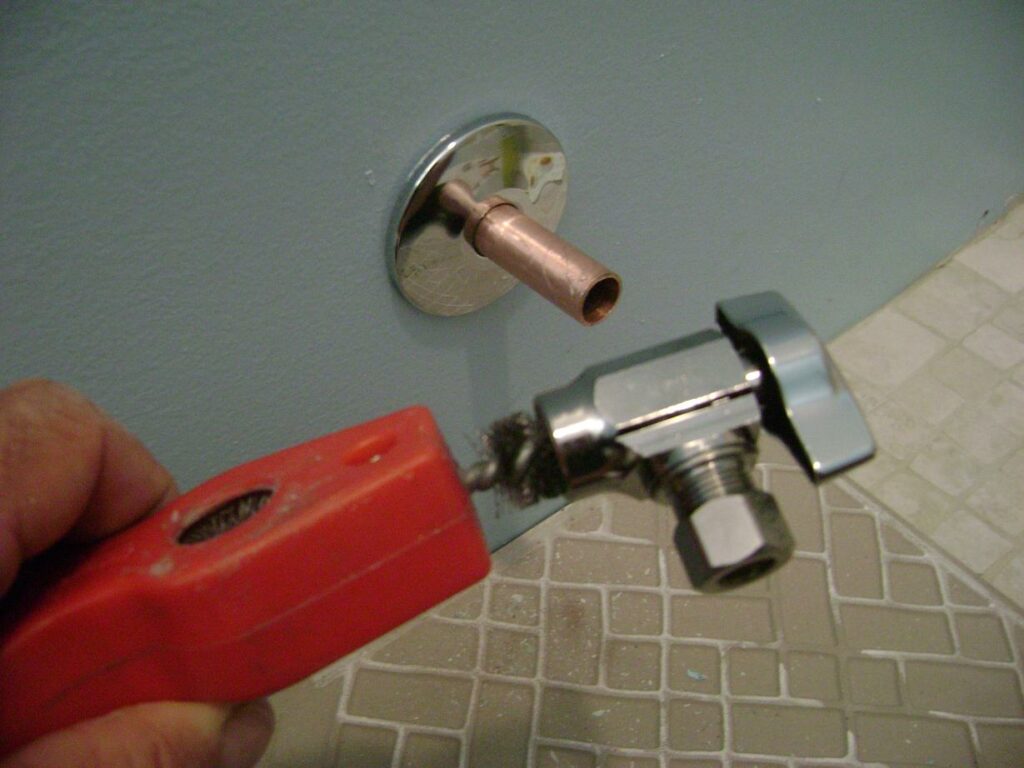
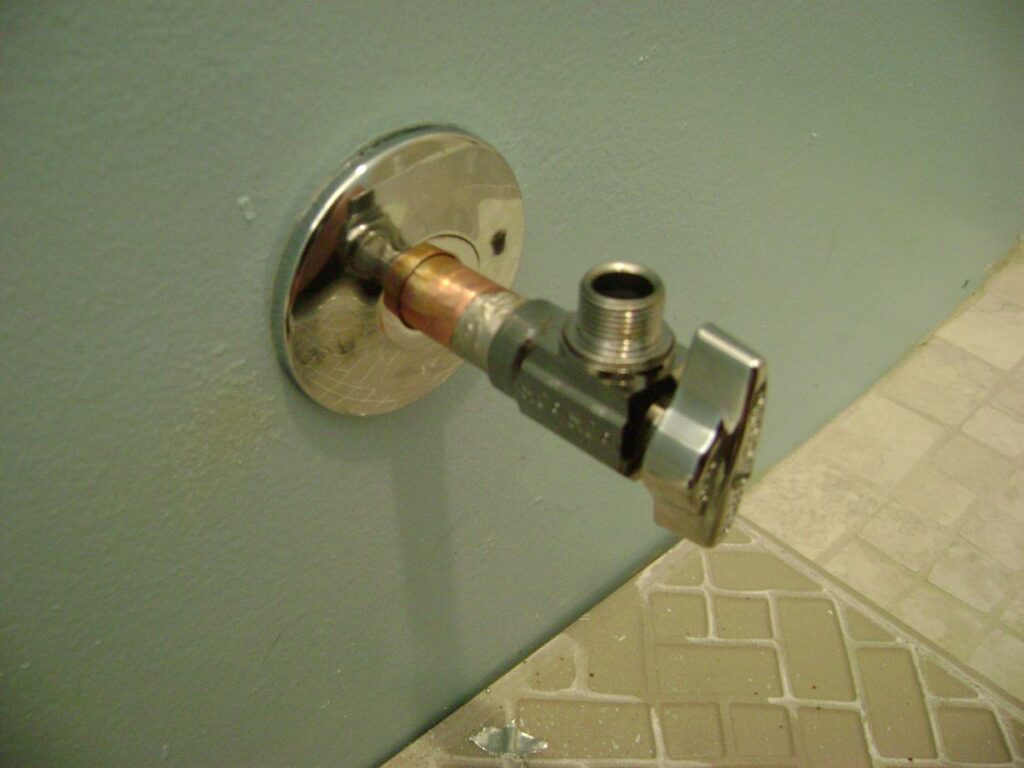
A light coat of solder paste is smeared on the copper pipe then stop valve is fully seated, heat applied with the torch and soldered. Move the propane torch around the joint for even heating. The solder will be wicked (drawn) into the joint when the proper temperature is reached. If you’ve not soldered copper plumbing before, practice on some scrap pipe and fittings. If the solder beads up like water droplets, the joint isn’t hot enough. Here’s the soldered water shutoff valve for the basement toilet:
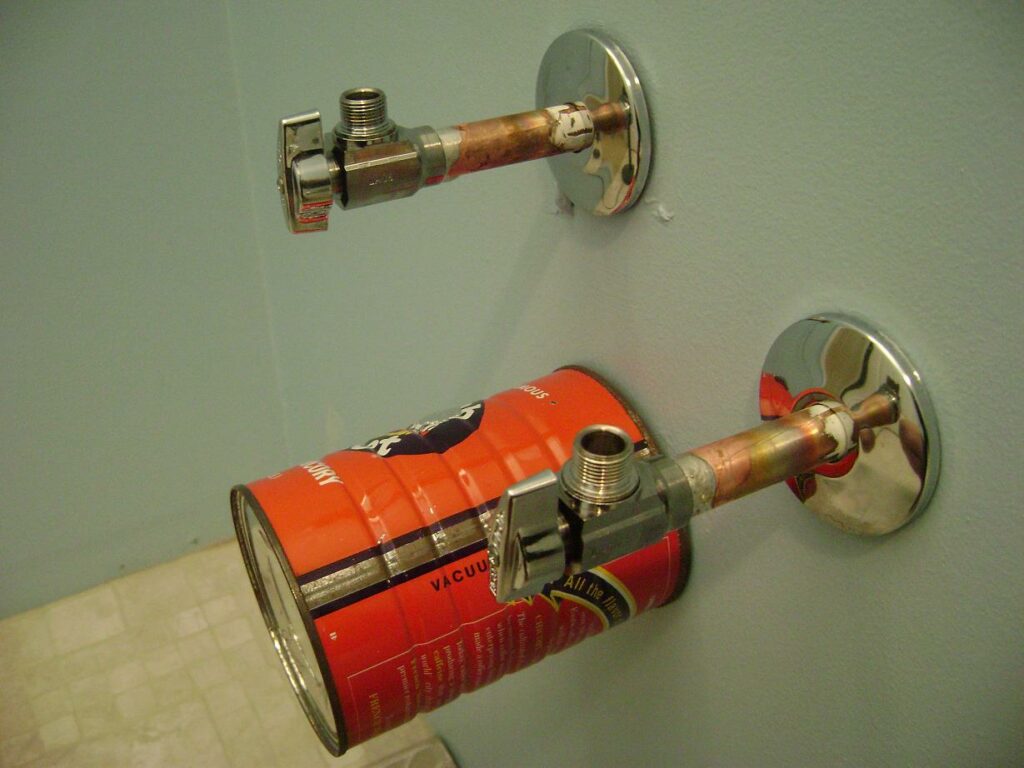
The process is repeated to install the ball stop valves for the hot and cold water supply pipes for the vanity. A coffee can is stuffed with aluminum foil is to protect the PVC drain pipe from the propane torch:
This project is continued in How to Finish a Basement Bathroom – Part 7.
Regards,
Bob Jackson