The the roof-to-wall apron flashing installation steps over the shed roof extension on the side of the house are described in detail. This project is continued from Hail Damaged Roof Replacement – Part 10.
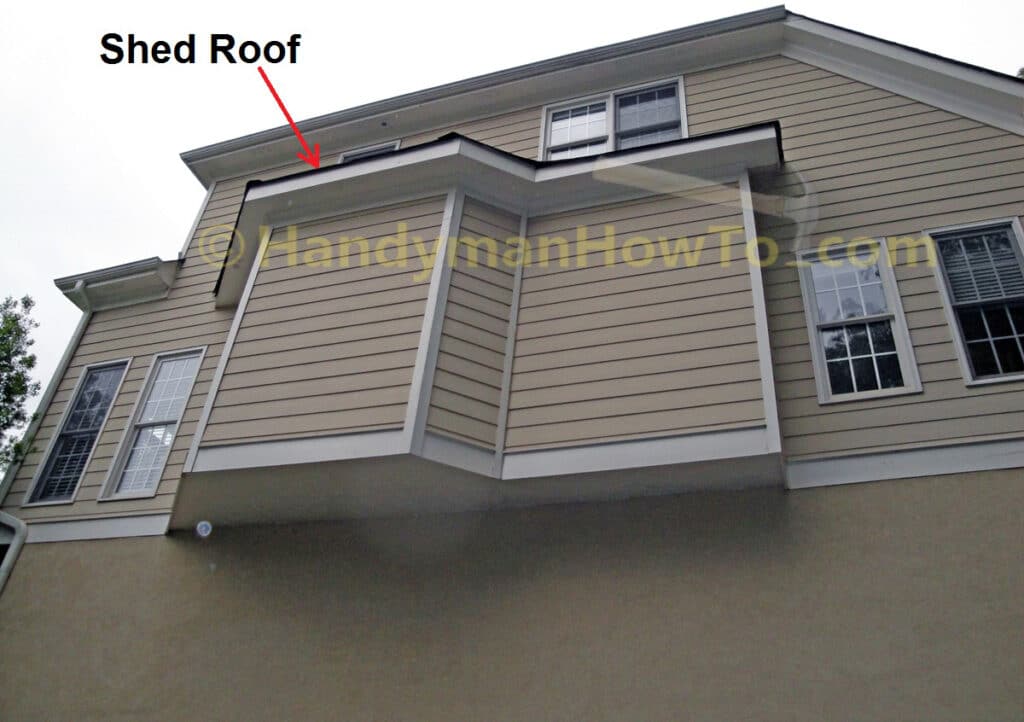
Shed Roof House Extension
The 1st floor of house extends outward from the main wall for extra floor space and is covered by a small shed roof. I’m not sure if “shed roof” is the correct terminology for the this architectural feature as it could possibly be described as a “pent roof”. Let me know if there’s a more correct description.
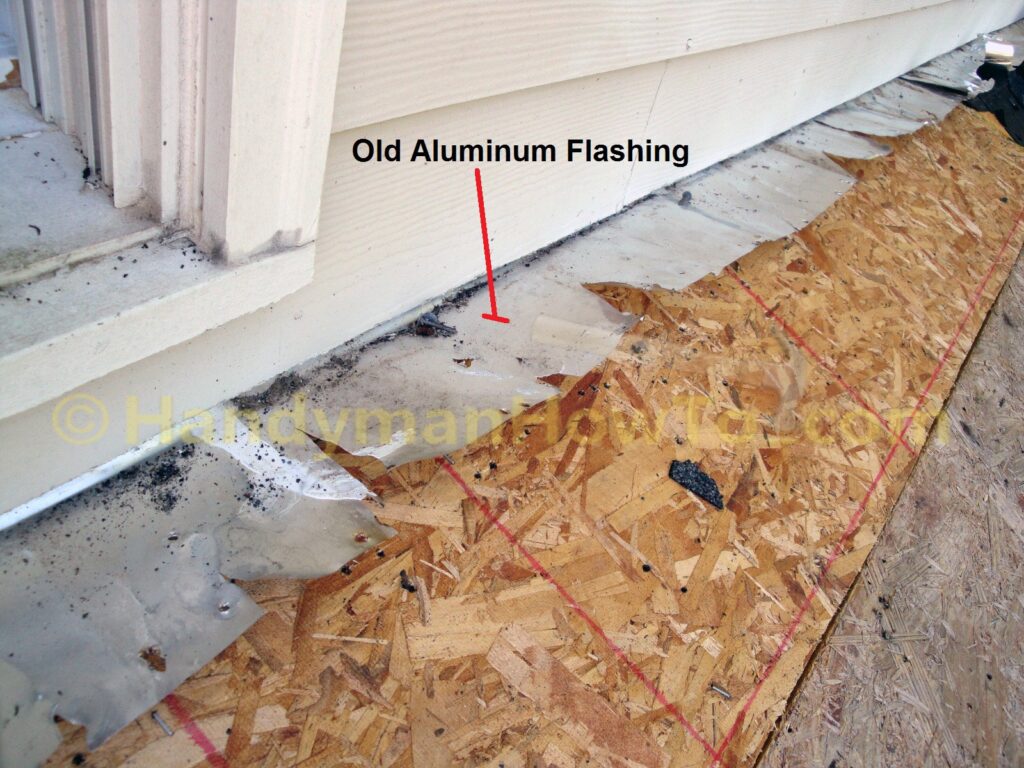
Aluminum Headwall Flashing
The aluminum headwall roof flashing is shredded and full nail holes after the asphalt shingles are torn off in the photo below.
If you’re not careful in your roofing contract specifications, the roofer will often install the new roof reusing the torn aluminum flashing and apply liberal amounts of roofing caulk in an attempt to seal it. Why? Because it’s the cheap way of doing the job and you can’t see it. I’ve seen this happen to houses in my neighborhood. You probably won’t know the new roof was installed over the shredded aluminum flashing because it’ll be covered by a course of shingles. Correction: You may realize the mistake only too late when your roof is leaking and the contractor’s phone is disconnected! If in doubt, lift up a shingle to inspect the flashing.
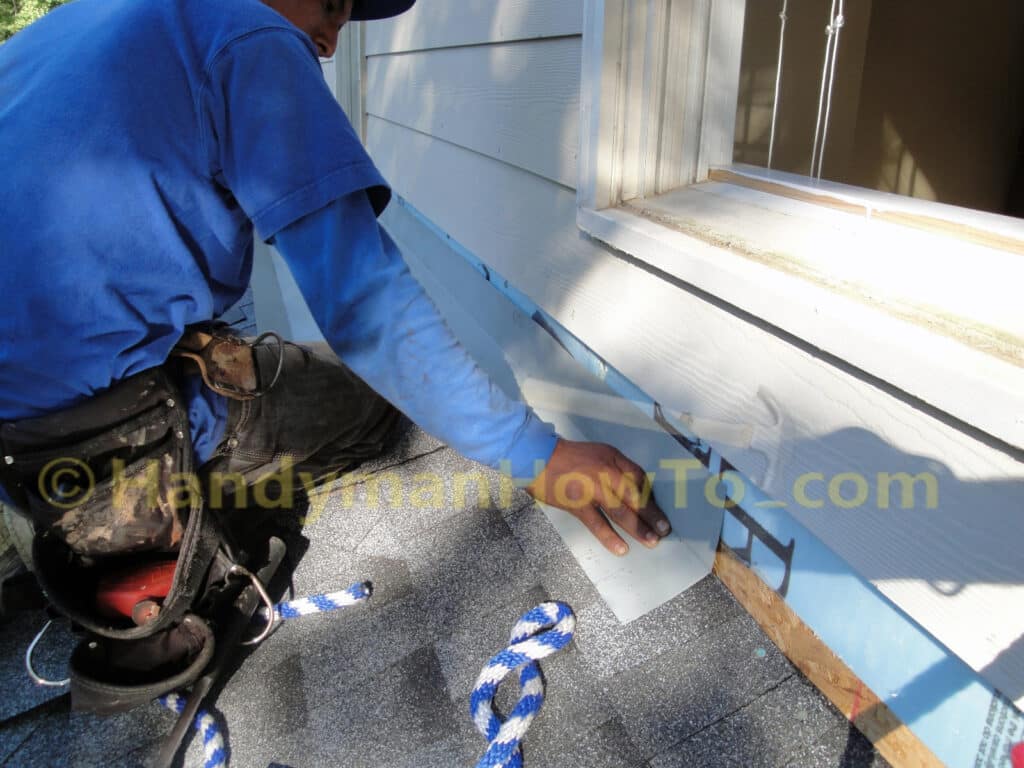
Install New Apron Roof Flashing
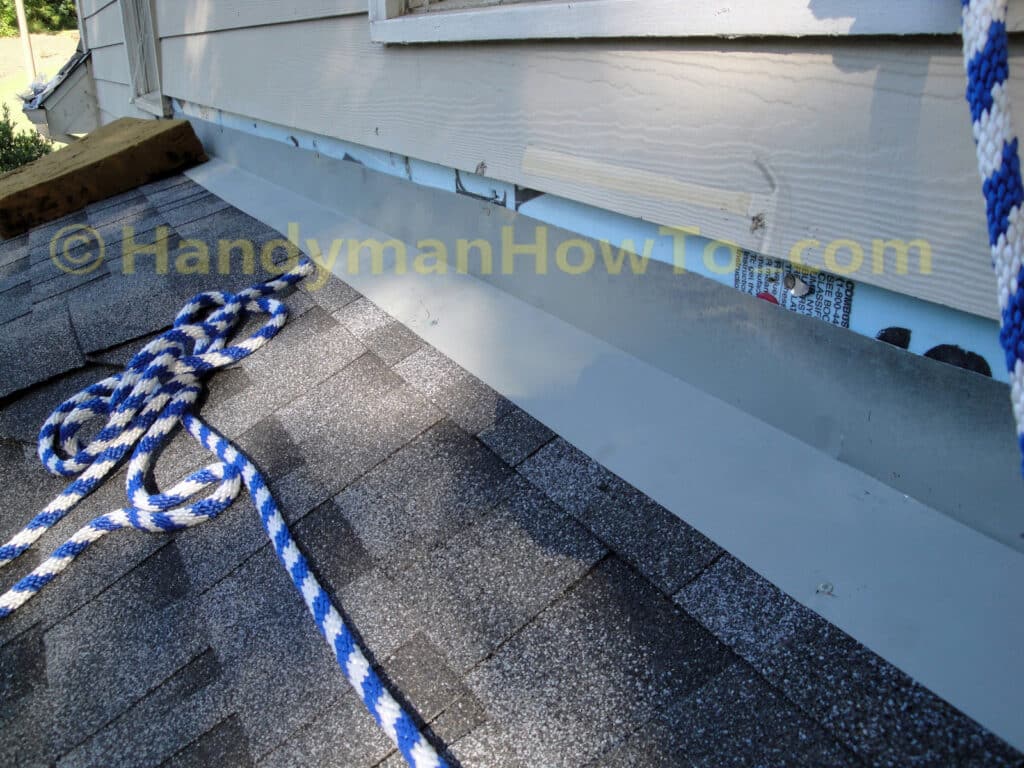
The proper way to flash this roof-to-wall joint is to remove the bottom row of HardiePlank lap siding and install new apron flashing (also known as headwall flashing). The bottom row of HardiePlank has been pulled off in the photo below. This board will be tossed in the dumpster because the cement siding board tends to crack, especially around the nail heads and edges when pried off the wall.

Long sections of galvanized steel apron flashing with a 110 degree factory break (angle) is installed behind the siding and over the new shingles. The apron flashing was painted gray with roof flashing spray paint to blend with the roof.
The apron flashing is fastened to the wall studs with roofing nails and tacked to the roof to make it lay flat on the shingles. The roofing crew was able to slip the far end of the flashing behind the next section of HardiePlank siding.
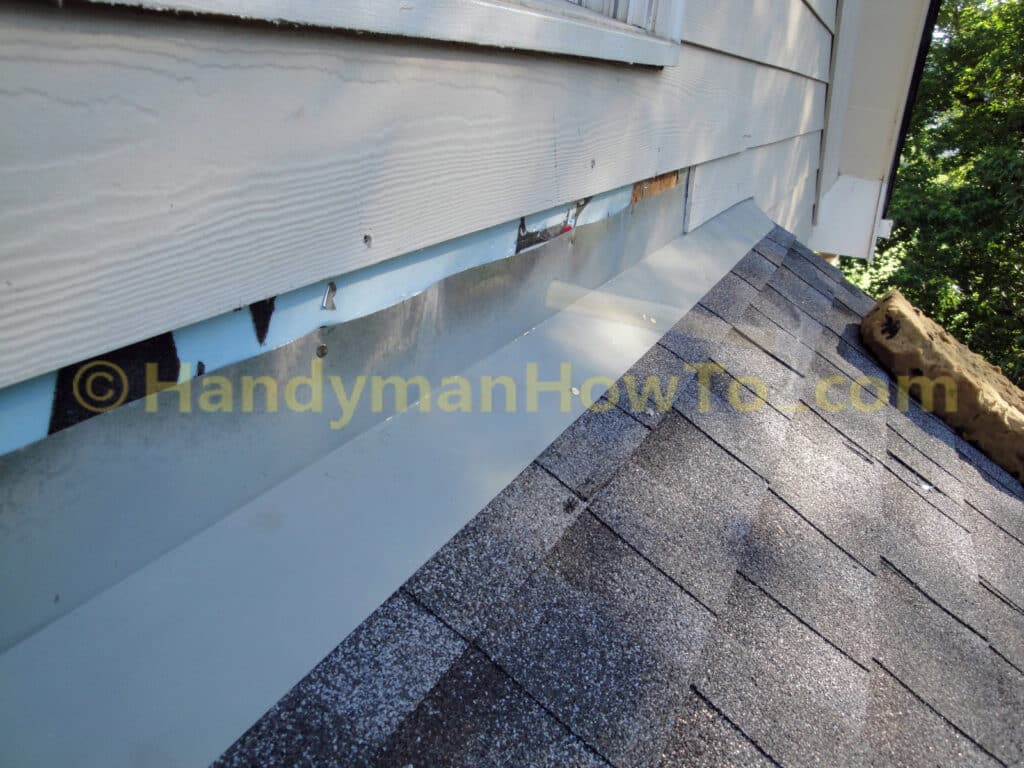
View of the apron flashing in the other direction:
A new section of HardiePlank siding board is cut and installed over the apron roof flashing to seal and shed water over the roof-to-wall joint. If you recall from the chimney roof installation, the roofing contractor delivered a dozen new HardiePlank siding boards to be used for this purpose. The nail heads and flashing overlap are sealed with BASF SONOLASTIC NP1 caulk. The siding and flashing are given a touch-up coat of matching paint.
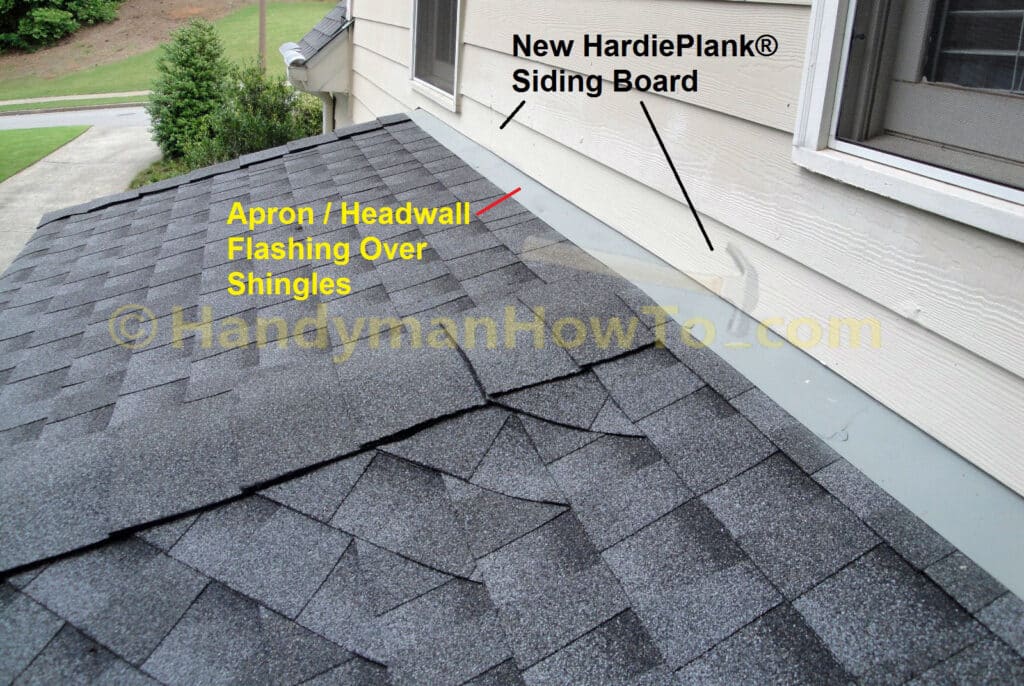
New lap siding and apron flashing installation. Looks nice!
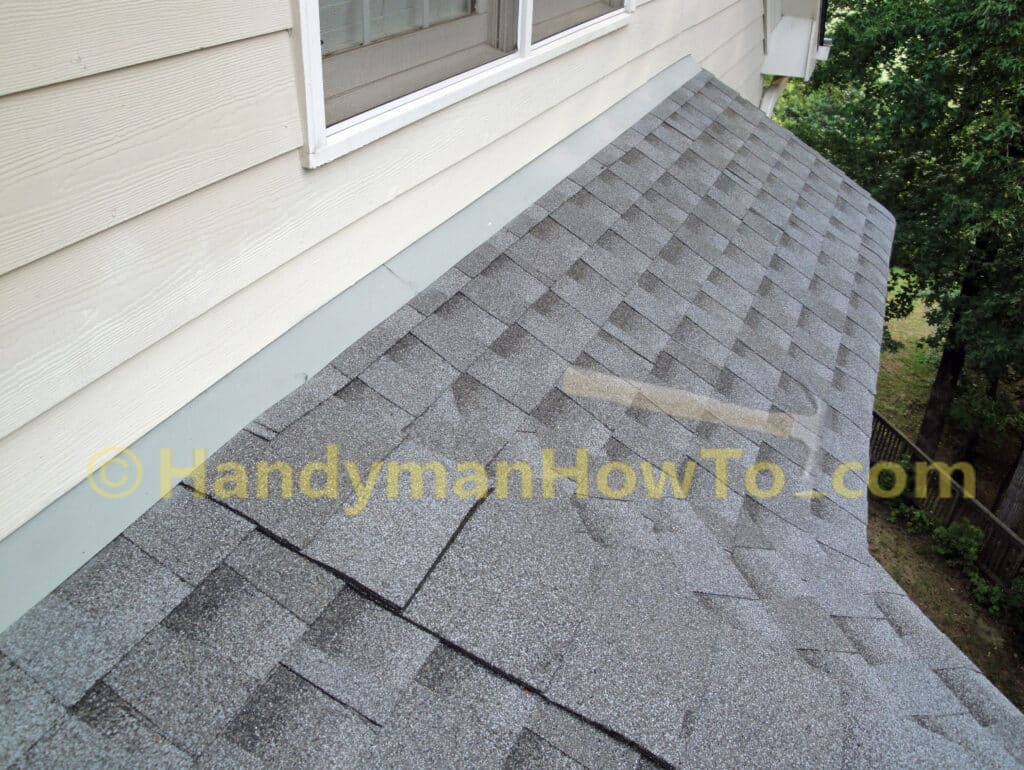
A piece of galvanized kickout flashing is installed at the ends of the roof to divert water away from the wall. New step flashing (not visible) was slipped behind the siding on this sloping section of roof, too.

This series is concluded in Hail Damage Roof Replacement – Part 12.
Thanks for reading,
Bob Jackson