This project shows how to build a cement entrance ramp over concrete steps for easy access to the basement storage area.
The basement double-doors opened to a large unfinished room that would be perfect for storing the riding lawnmower and utility cart. Problem was, the room couldn’t be accessed by wheeled vehicles because of a concrete step. The solution: build a cement entrance ramp!
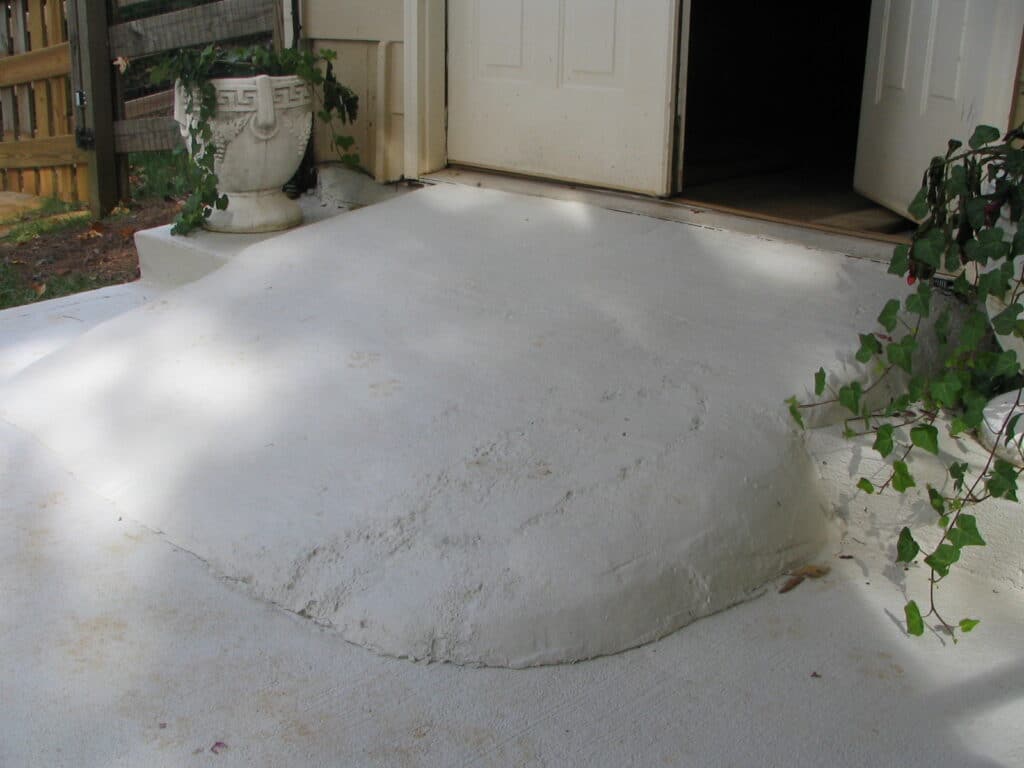
The finished cement entrance ramp:
How to Build a Cement Entrance Ramp
I used the following materials and tools to build the cement entrance ramp over the concrete steps:
- One to two dozen 60 lb. bags of Quikcrete cement. More on estimating follows below.
- Concrete trowel
- 5 or 6 foot length 2×4 lumber
- Shovel
- Pencil
- 6 foot section of ~1 inch diameter flexible PVC conduit with press-open seam
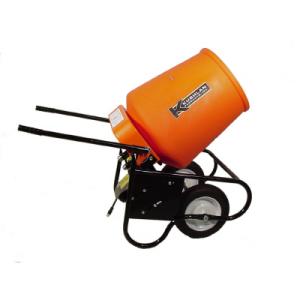
- Portable electric cement mixer – or rent from Home Depot or Lowes
- Benjamin Moore Acrylic Latex Concrete Stain 072 or this one available from Amazon
Cement Mix Materials Estimate
Decide where the ramp will begin. Lay a long board down to determine the slope of the ramp. The ramp should not be short and steep or your equipment will get ‘high centered’, that is, the riding mower / golf cart / wagon / etc. will get stuck at the top of the ramp on the threshold with the front wheels in the air. Mark a line where the ramp will begin on the concrete slab.
Example dimensions of the ramp and stair
| Length (in) | Width (in) | Height (in) | Volume in3 | Volume ft3 | |
| Ramp | 72 | 72 | 14 | 36,288 | 21 |
| Stair Step | 72 | 12 | 7 | 6,048 | 3.5 |
Use this formula for the volume of a wedge:
VolumeWedge = 1/2 * width of ramp * height of ramp * length of ramp
In this example,
VolumeWedge = 1/2 * 72 * 14 * 72 = 36,288 in3
Next, measure the width, height and length of the existing concrete step in inches. In my case there as only one step. The volume of a step is:
VolumeStep = width * length * height = 12 * 72 * 7 = 6,048 in3
The volume of material needed for the ramp is:
VolumeRamp = VolumeWedge – VolumeStep = 36,288 – 6,048 = 30,240 in3
Divide the ramp volume calculated in cubic inches by 1728 to convert cubic inches to cubic feet.
VolumeRamp ft3 = 30,240 in3 / (1728 in3 / ft3) = 17.5 ft3
A 60 lb bag of cement equals 0.45 cubic feet (ft3). To figure the number of bags, use the formula:
# of 60 lb bags of cement = VolumeRamp ft3 / 0.45 ft3 = 17.5 ft3 / 0.45 ft3 = 39 bags (rounded up)
For my particular job in the above photo, I used about 26 bags of Quikcrete cement.
Concrete Surface Preparation
The existing concrete slab and stair step must be clean and dry. If the stair is painted, look closely to determine if has a roughened “broom finish” – as shown in my photos here. You can pour the ramp over a rough broom finish slab and it will not move – move on to “Mixing and Pouring”.
If the existing concrete step is smooth and/or covered with an enamel paint, you should chemically stripping the old paint or try sandblasting to reveal bare concrete. If stripping is not feasible, drill holes and and hammer in couple of short lengths of rebar in to the existing slab and stair step. Keep the rebar short and well beneath the surface of the ramp. Six inches deep and 2 inches above the existing concrete surface will be sufficient.
Cement Entrance Ramp Mixing and Pouring
No forms are needed to build the ramp. The concrete is stiff enough to hold the ramp shape.
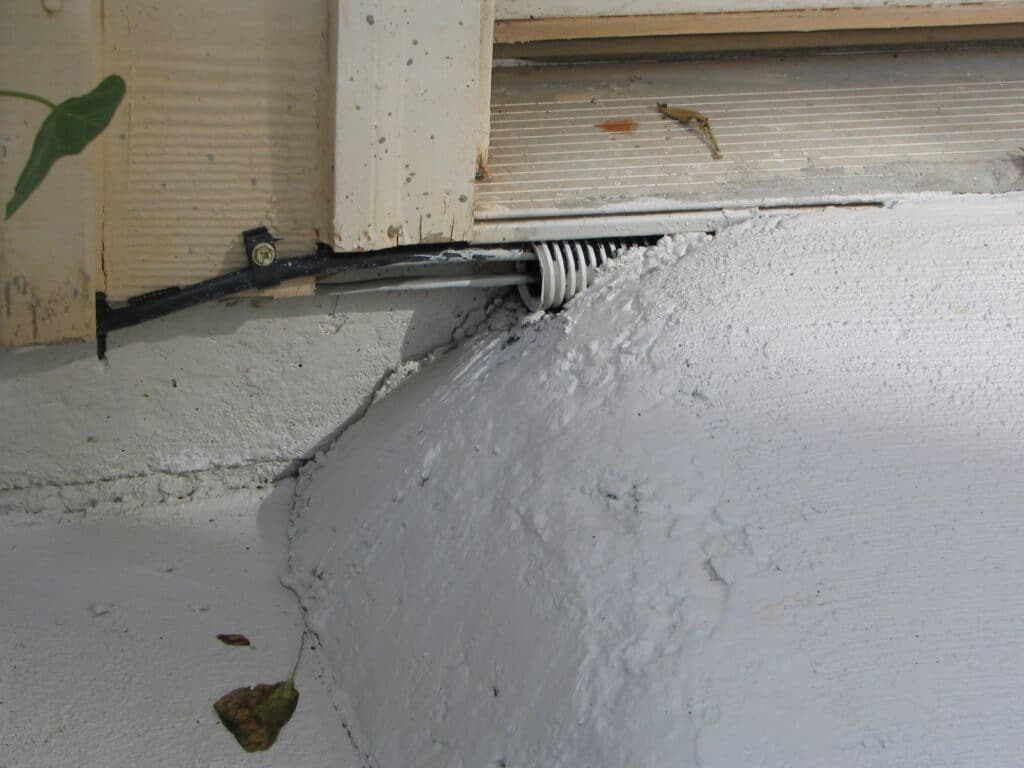
- Install the flexible PVC conduit around any existing phone or TV cables. In my case, I had phone and DirecTV lines running underneath the threshold lip. In the future, I might need to repair or run new cables and didn’t want these embedded in concrete. See the closeup photo below.
- Mix two bags of Quikcrete according to the instructions on the bag in the electric mixer. You do not want to mix this amount of concrete by hand! Keep the mixture a bit on the stiff side.
- Starting at the center of the step, pour the cement onto the step. Notice the cement mix can be maneuvered and and tipped like a wheel barrow. Keep the drum turning while pouring or the cement will tend to stick inside the drum.
- Use the shovel to knock down high spots and distribute the concrete into the corners.
- Continue mixing and pouring, working from the door center to the sides.
- As you near the final dimensions of the ramp, work the 2×4 across the ramp face from top to bottom to produce an even slope. That is, one end of the of 2×4 will be laying on the door threshold and the other end will be on the line you marked earlier for the bottom of the ramp. Use the concrete trowel toss cement into low spots.
- Contour and float out the ramp face and sides using the concrete trowel.
- Drag a broom across the face of the concrete to roughen of the surface slightly for traction. This is called a ‘broom finish’.
- Keep the concrete damp and allow to cure according to the instructions on the bag for that mix and outside temperature.
This is a closeup of the flexible PVC conduit that was applied around the existing TV and phone cables. This allows for easy maintenance and repair in the future.
After the concrete had cured for 30 days, I rolled on a coat of Benjamin Moore Acrylic Latex Concrete Stain 072. I’ve had great results with this over the years, with no evidence of peeling.
Hope you found this project helpful!
Bob Jackson