How to Fix a Leaky Shower Drain photo tutorial. Clean the shower drain, install new rubber gasket and shower drain body to complete the repair. This repair is continued from How to Fix a Leaky Shower Drain – Part 3.
Clean the Shower Drain
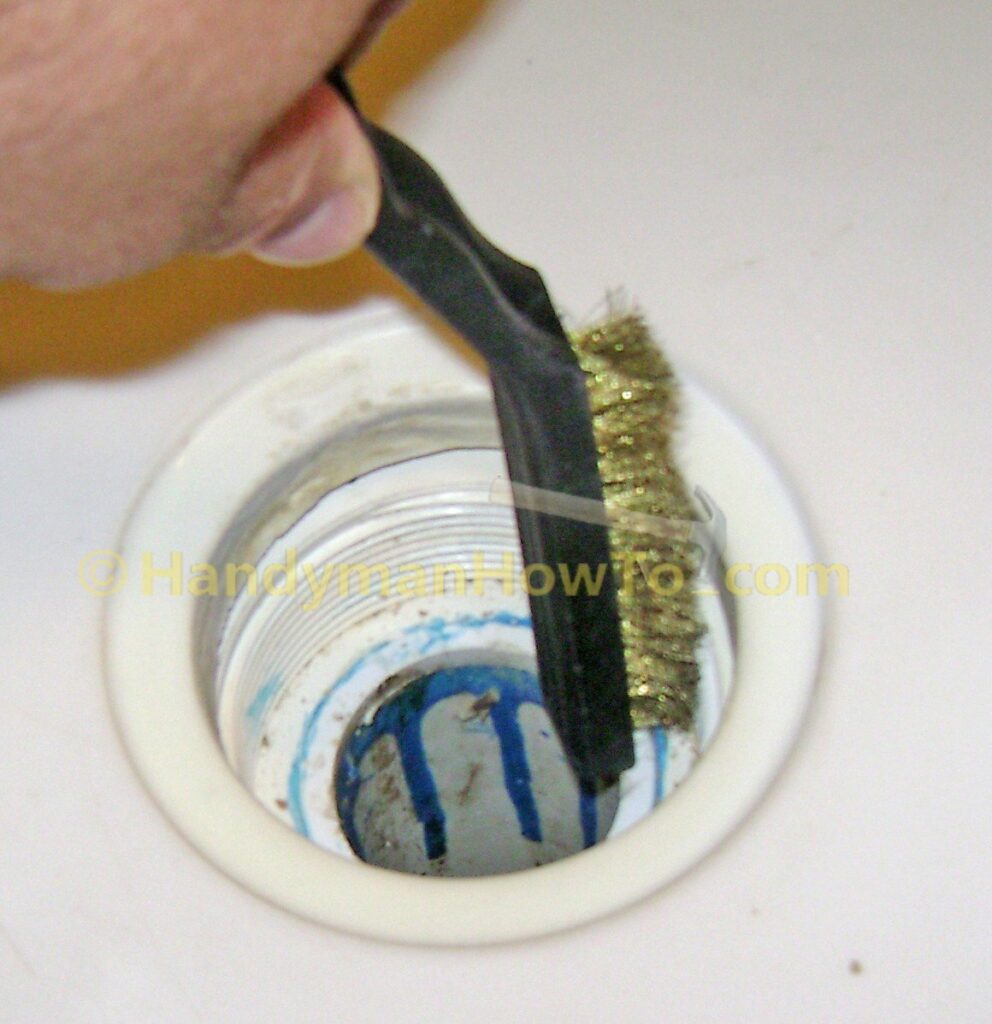
After cleaning the rim of the drain body and bottom of shower pan for the new rubber gasket, I removed the old plumber’s putty from the threads of the drain body with a brass wire brush. I could have stuffed an old rag in the drain pipe to catch any bits, but there wasn’t enough to worry about.
Install the Shower Drain Gasket
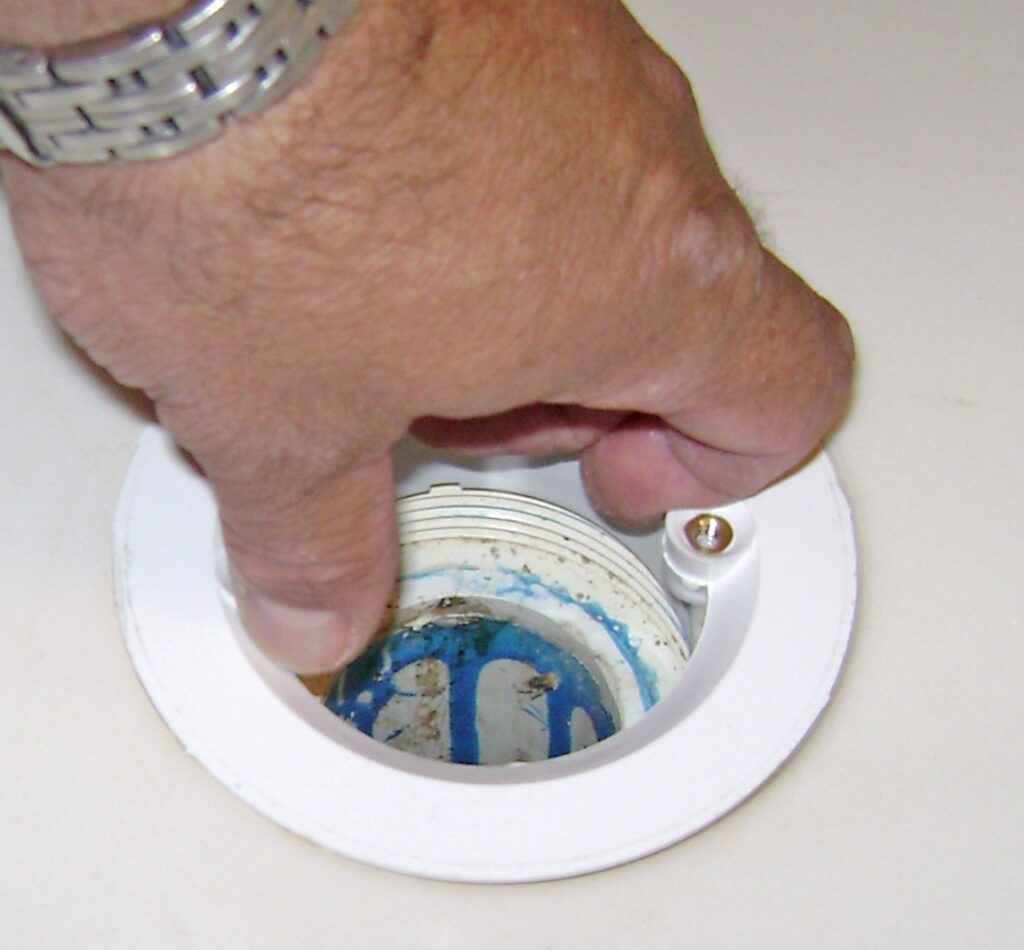
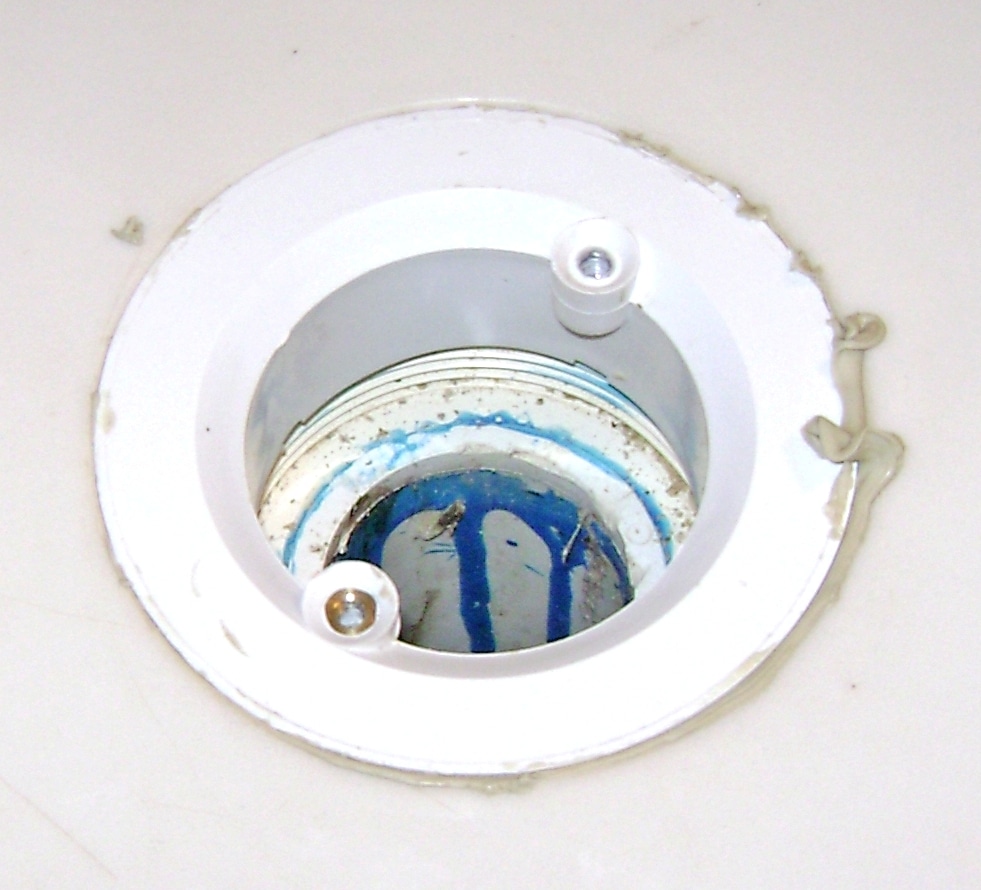
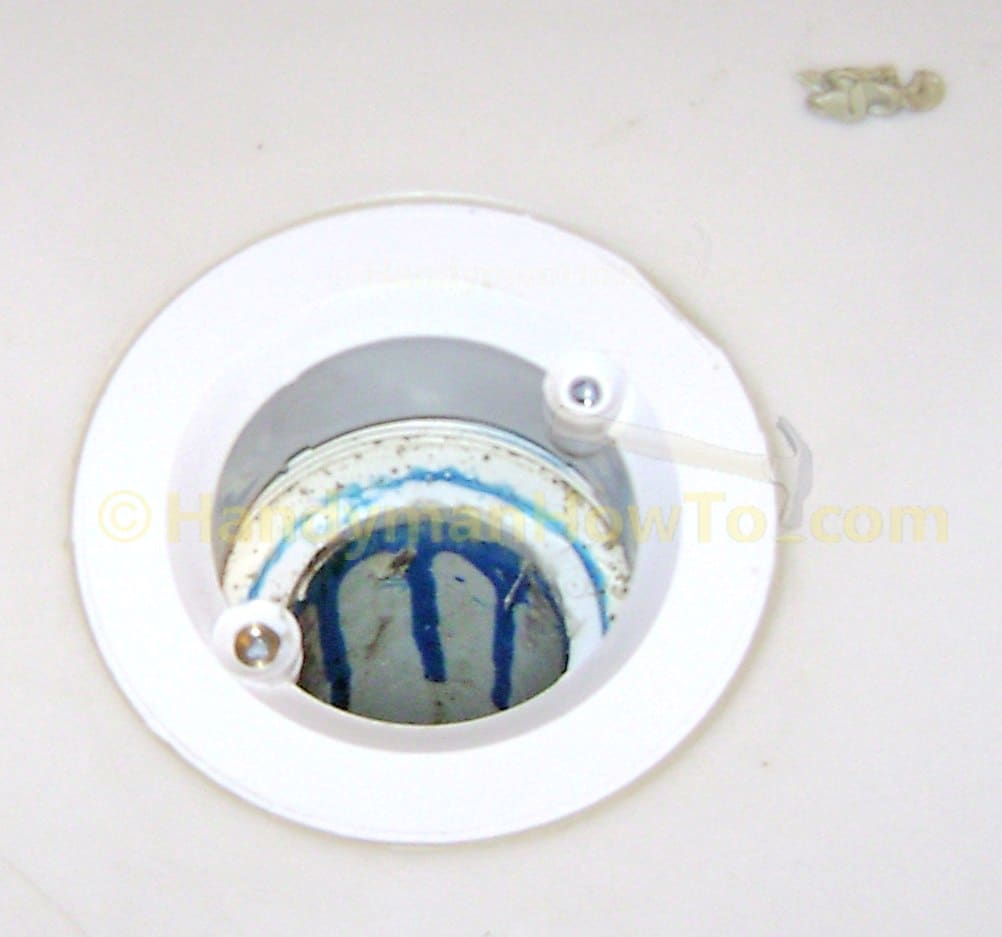
The drain is now cleaned up and ready for reassembly with new parts. In the next photos, I’ve moved the drain to one side so you can see the flat rim of the drain body. The gasket sits on the flat rim to seal against the bottom of the shower pan.
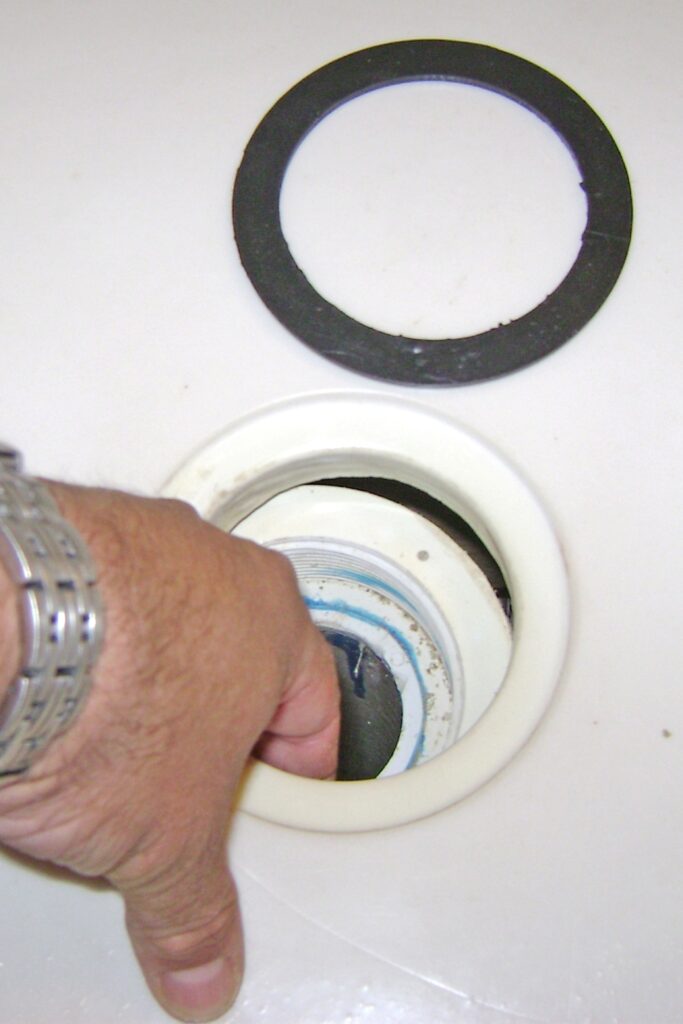
The new rubber gasket is placed between the drain body and bottom of the shower pan.
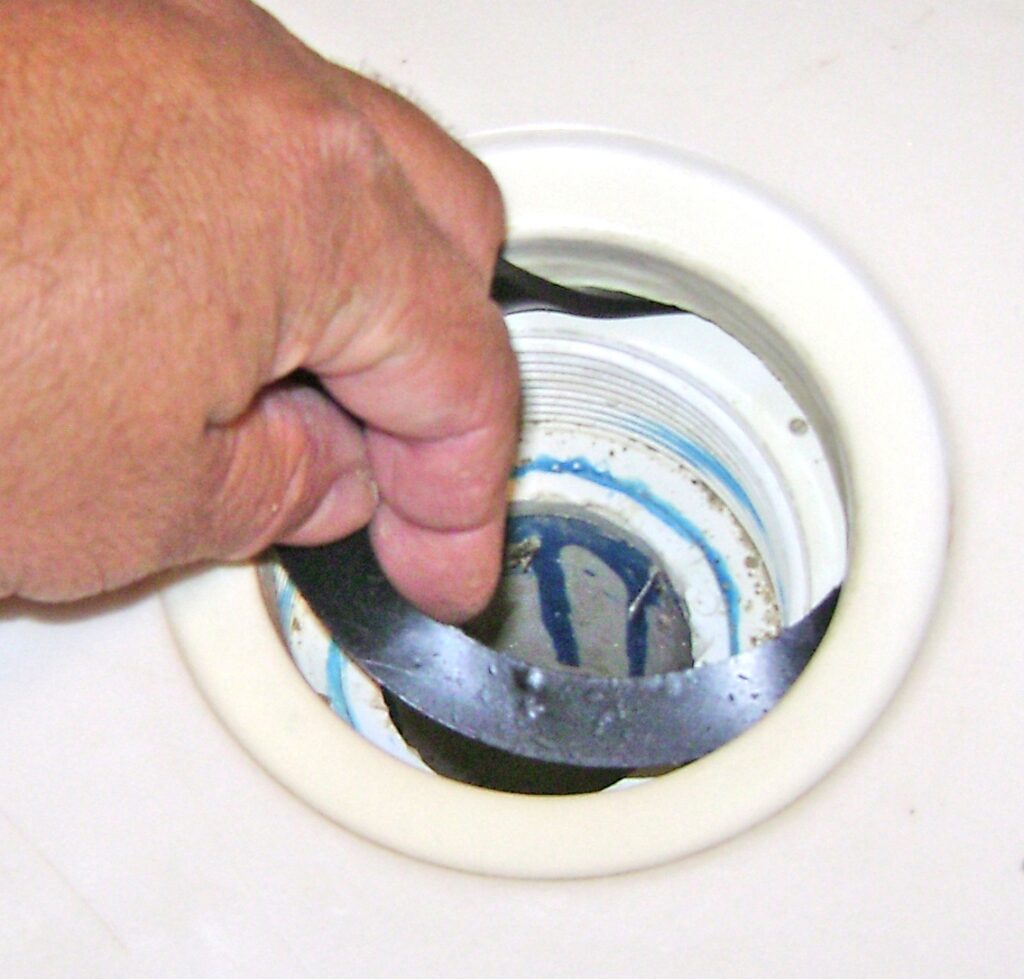
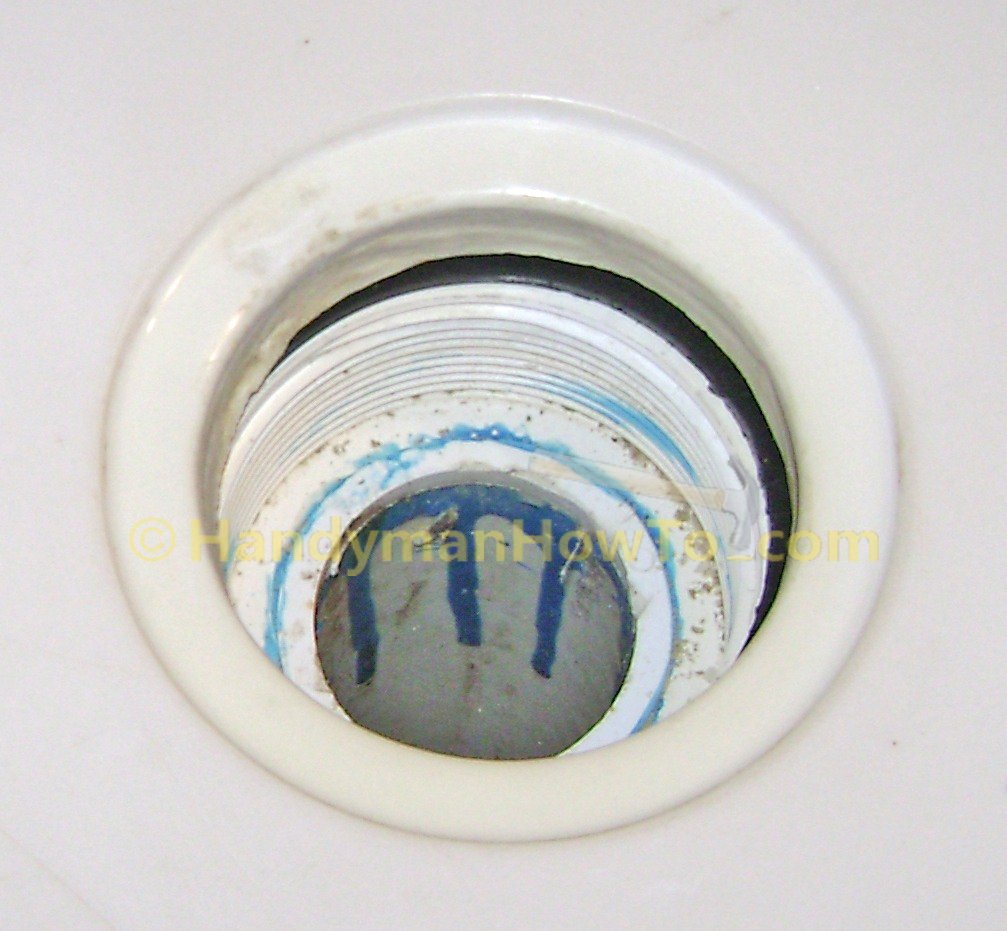
For a top-side repair such as this, the anti-friction ring should not be installed because it serves no purpose. Why? Because when a new shower is first installed in the home, the drain body is screwed on from the bottom and it would rub against the black rubber gasket possibly tearing if it weren’t for the anti-friction gasket as a buffer. In a repair job such as this, the drain body is stationary because it’s glued to the drain pipe and we’re screwing in the strainer body from the top. Study these shower drain installations to better understand why the anti-friction gasket isn’t needed in a top-end repair.
Shower Drain: Plumber’s Putty or Silicone Caulk?
Different shower drain manufacturer’s installation instructions may specify Plumber’s Putty or Silicone caulk to seal the shower drain. Some manufacturer’s say it’s OK to use either product. My shower drain manufacturer approves both and since it was originally installed with Plumber’s Putty use that.
The purpose of Plumber’s Putty or Silicone caulk in this application is to act as a “thread locker” to prevent the shower drain strainer body from backing out and relieving pressure on the black rubber gasket. Silicone caulk is a better choice if no preference is stated by the drain manufacturer because it holds better.
Plumber’s Putty is a caulking and sealing compound that is the consistency of stiff Play-Doh. It supposed to be non-shrinking and non-hardening and widely available at any hardware store.
A Better Idea: Sta Put® Ultra™
A reader asked me (see the comments section below): “The plumbers putty like the one in your picture says not to use on plastics (strainer is plastic). What do you use in these situations?
” – Fred.Plumber’s Putty contains vegetable and fish oils. While it’s possible the oils could attack some plastics, the main concerns appears to be it could cause staining. While I’ve never seen a problem with PVC plastic like this shower drain, the best advice is to follow the manufacturer’s instructions.
Oatey, Inc. recommends Sta Put Ultra, an oil free non-staining plumber’s putty that safe for use on porous surface such as plastics, fiberglass, stone, granite, grout, etc.
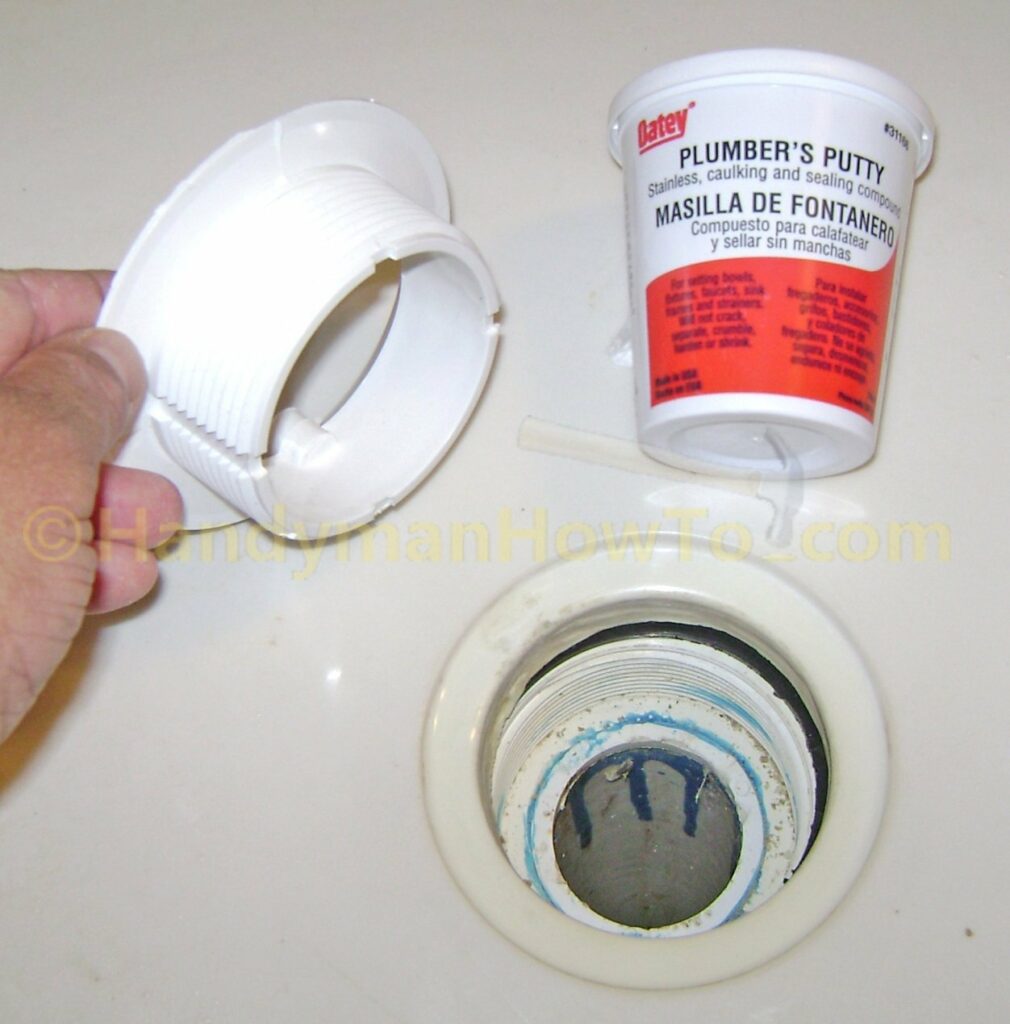
Pinch off a glob of plumber’s putty and knead it into the threads and under the rim of the shower strainer body.
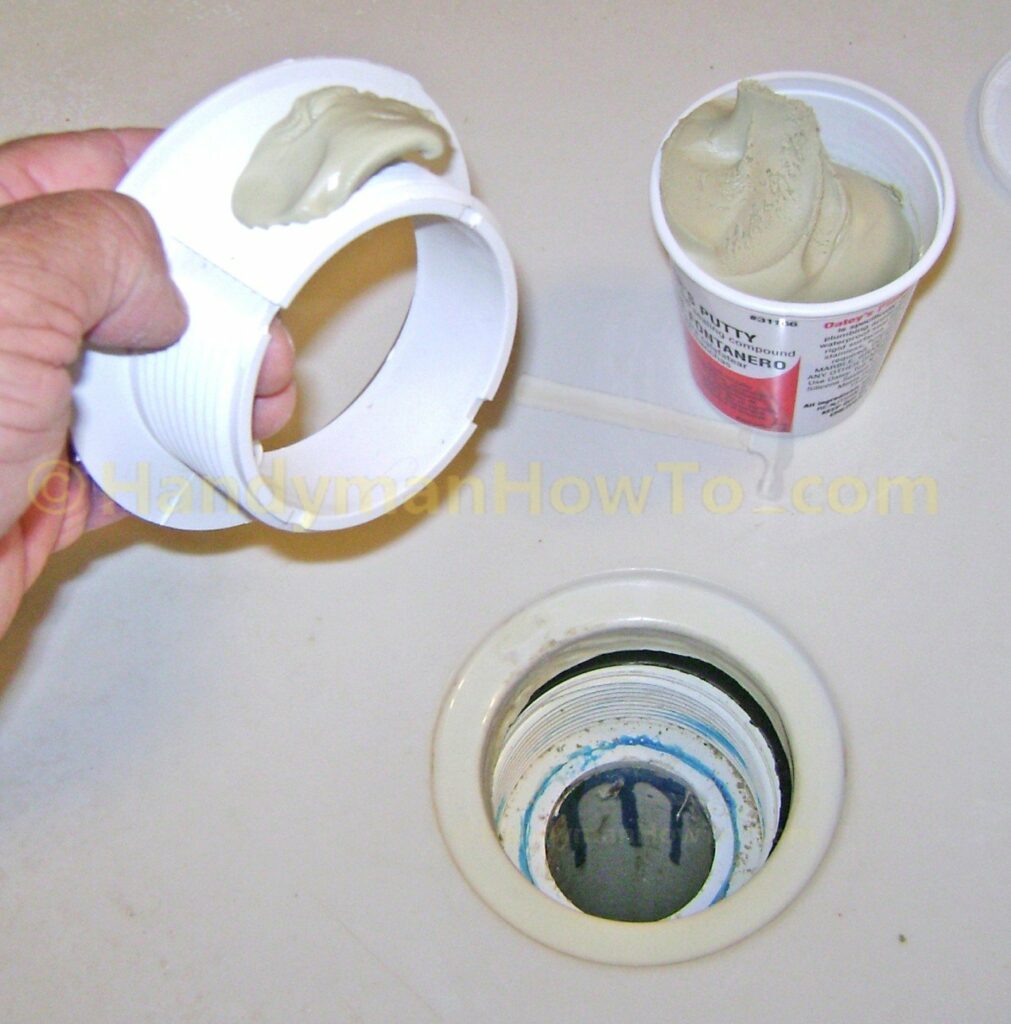
The shower strainer is coated with plumber’s putty, ready to be screwed into the shower drain. You want to have an excess of plumbers putty to get a good “squeeze out” when the strainer body is screwed in for a watertight seal.
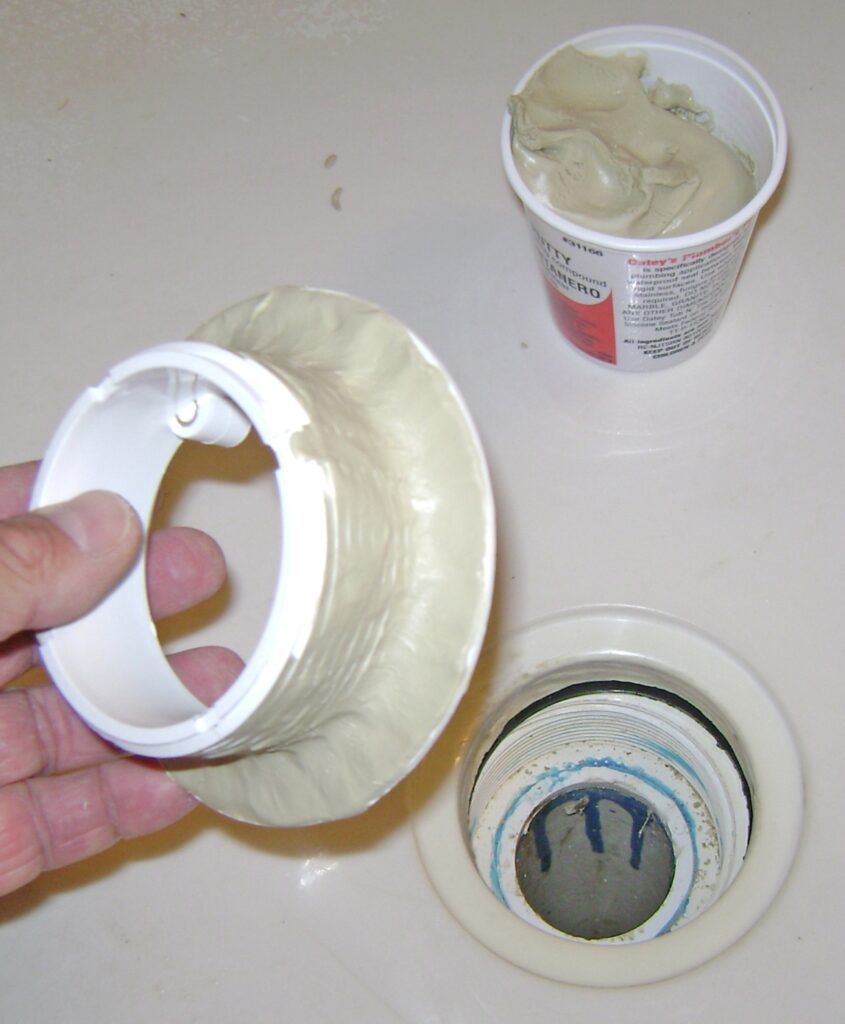
Shower Drain Repair: Final Assembly
Take care to align the strainer body in the shower drain, then screw in turning clockwise.
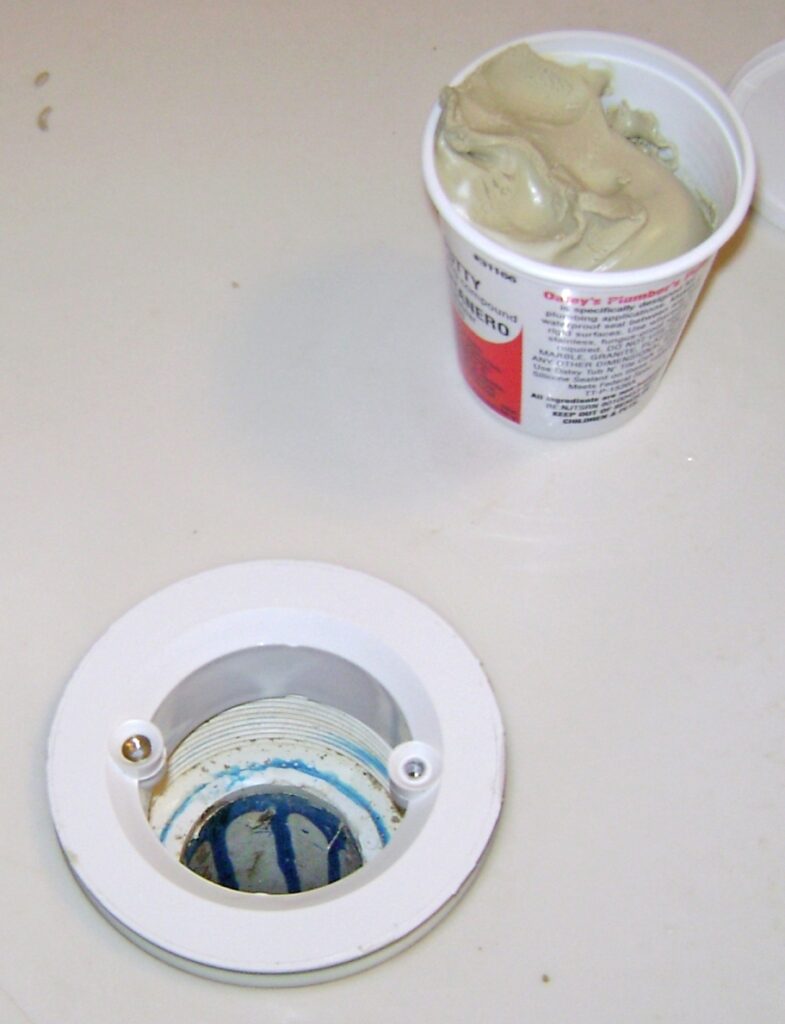
Screw the strainer body into the drain. Use your thumbs to apply more torque as the drain gets seated. You need to compress the black rubber gasket and squeeze out the excess plumber’s putty. I added a 1/2 to 3/4 quarters turn extra after it was firmly seated in the molded recess of the shower pan.
A good squeeze-out of plumber’s putty around the rim – this ensures a watertight seal for the black rubber gasket between the drain body and shower pan.
The excess plumber’s putty is trimmed away. Wait 5 or 10 minutes to see if more putty squeezes out, tighten the drain a slight bit more and trim away the excess. The drain is now watertight.
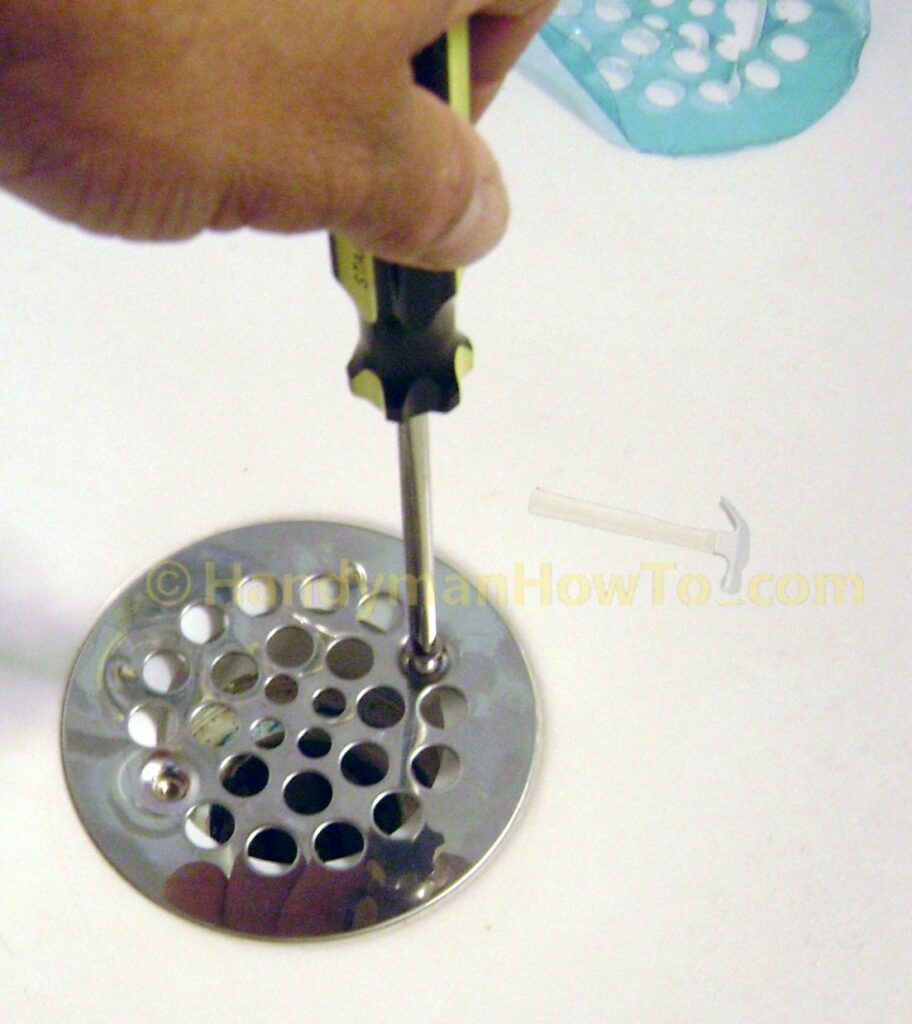
The strainer is reattached with two screws.
Verify the Shower Drain is Watertight
I left the aluminum pan in place to catch any drips and confirm the new drain is leak free. It’s been over a week 3 years since the repair and the drain is watertight. Next I’ll paint the basement ceiling to cover the water stain.
Repair the Drywall Ceiling Water Leak Damage
I repaired the drywall ceiling in this project: How to Repair Drywall Ceiling Water Damage.
More Leaky Shower Drain Repairs
A HandymanHowTo.com reader was frustrated because his shower drain continued to leak after several attempts to fix it. This adventure is covered in How to Fix a Leaky Shower Drain – Part 5.
Hope this helps,
Bob Jackson