How to Fix a Leaky Shower Drain – correct a failed shower drain repair by taking apart the drain, clean up the excess Plumber’s Putty and install a new drain.
A HandymanHowTo.com reader attempted to repair his leaky shower drain as described in Parts 1 to 4 of this project series, but was frustrated because the shower drain kept leaking. He realized that we both live in the Atlanta, GA area – only 30 minutes apart in fact – and asked if I’d help fix the drain or he’d have to call a plumber. I agreed if I could document and publish the repair. So I packed up my tools and camera for a visit.
Shower Drain Leak & Drywall Ceiling Damage
The shower in the master bathroom on the first floor was leaking onto the drywall ceiling of the finished basement. The leak was quite large as seen by the water stains on the ceiling. The homeowner enlarged the hole in the ceiling to gain access to the PVC shower drain plumbing.
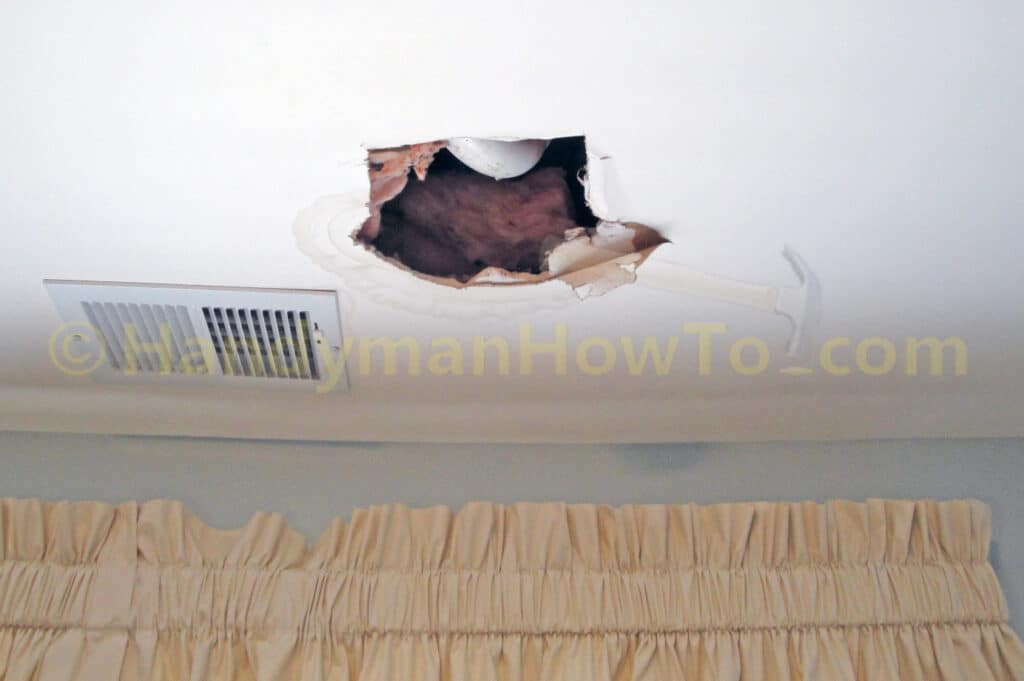
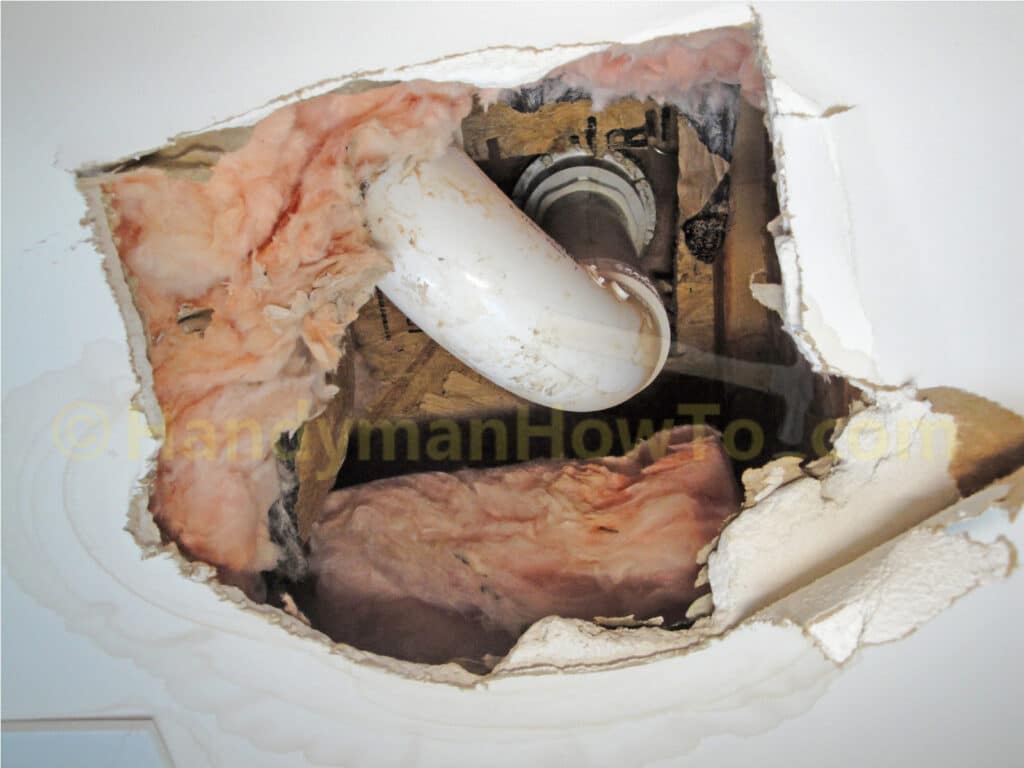
This is the shower drain and 2″ PVC P-trap as seen through the ceiling. This was a significant leak that may have gone unnoticed for some time which weakens the drywall and causes it to crumble. It’s best to first cut a small inspection hole, and if you need to enlarge it, try to make square cuts aligned with the wall, working carefully to minimize the damage to the drywall ceiling. A square or rectangular hole that’s aligned with (i.e. parallel to) the wall is easier to cover with an access panel or false air grill for a neat appearance.
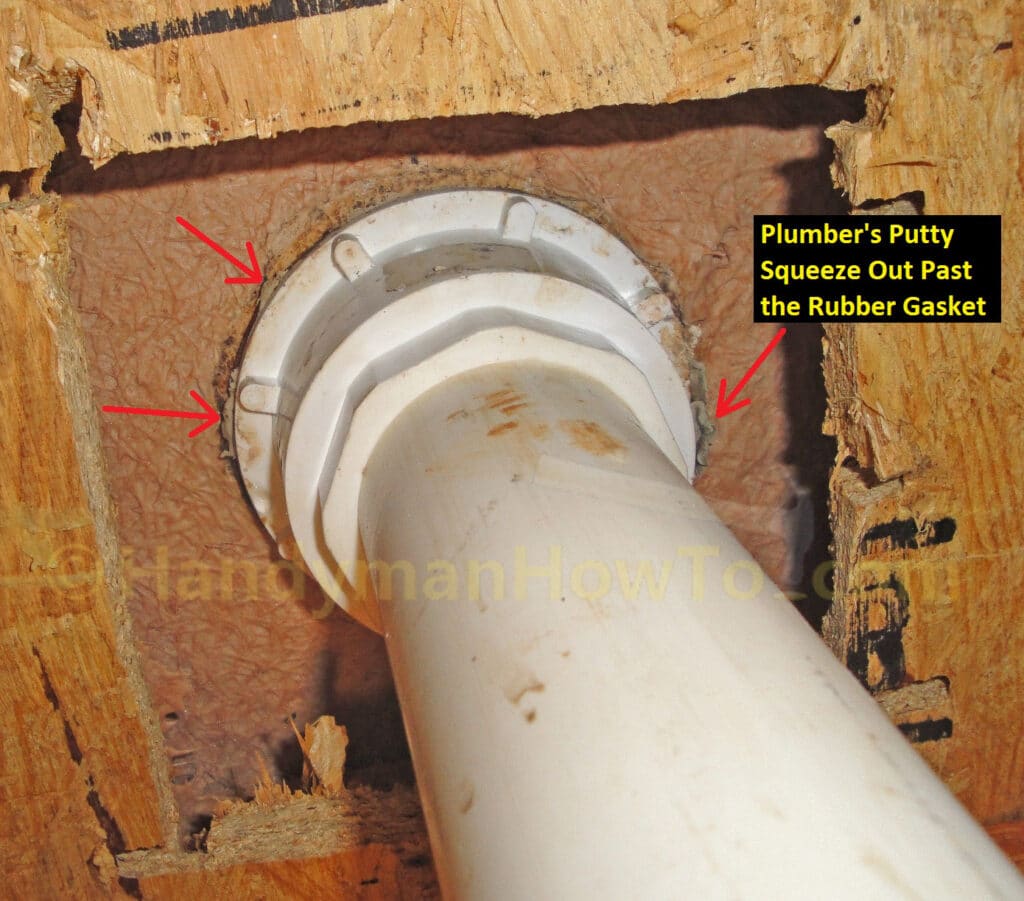
A closeup of the homeowner’s repair reveals that plumber’s putty has squeezed out past the rubber gasket (which forms the watertight seal) between the fiberglass shower pan and shower drain body. The shower drain continued leaking in this condition:
We removed the glass doors from the fiberglass shower for easy access to the shower drain.
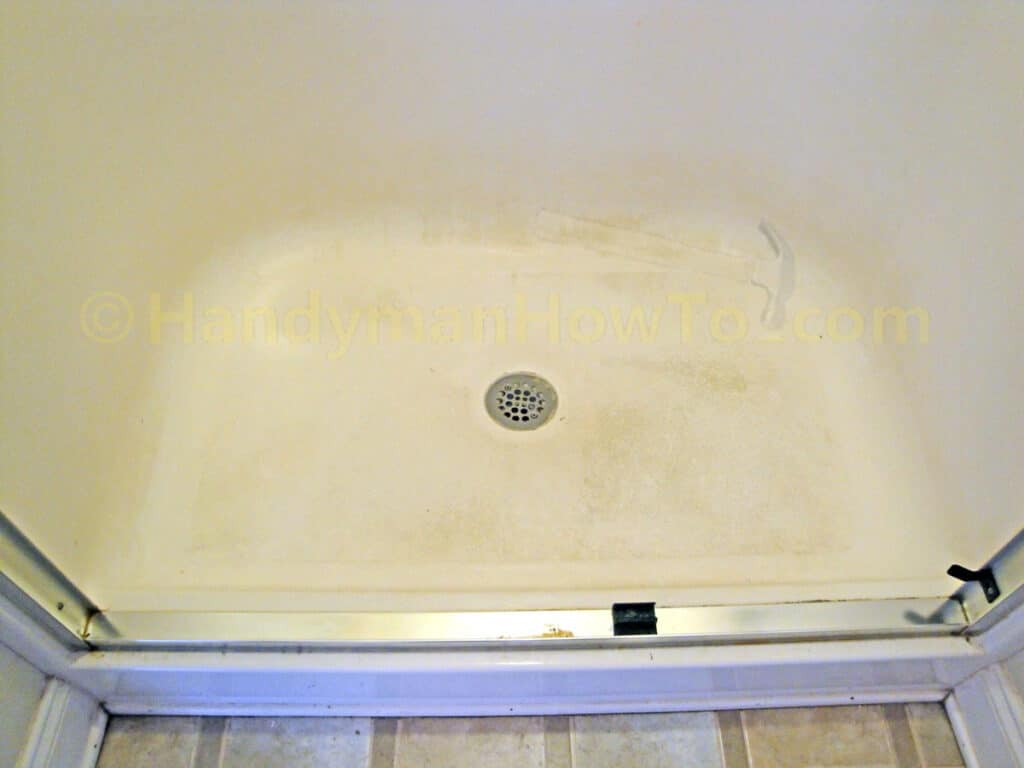
There was a lot of plumber’s putty around the shower drain. Putty that’s above the edge of the drain should be trimmed off and discarded.
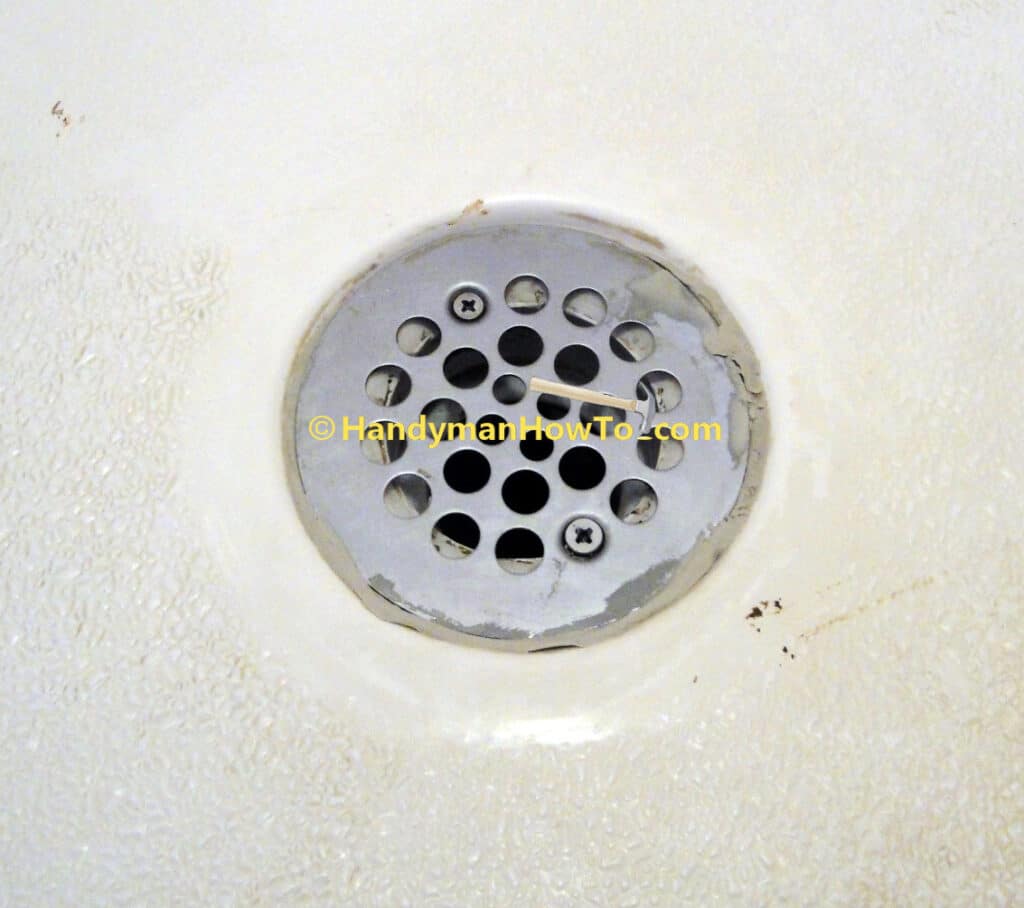
Shower Drain Inspection & Repair
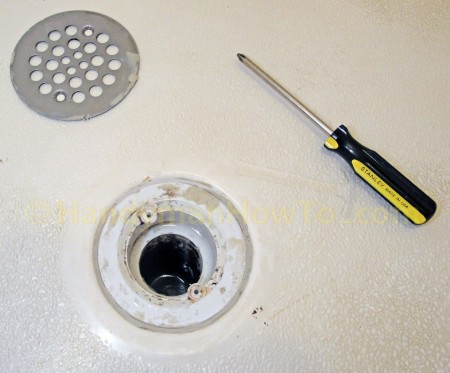
The first thing to do is disassemble the shower drain, clean everything up and inspect the drain and shower pan for cracks or broken parts. I began by remove the two screws from the strainer and lifting off the strainer:
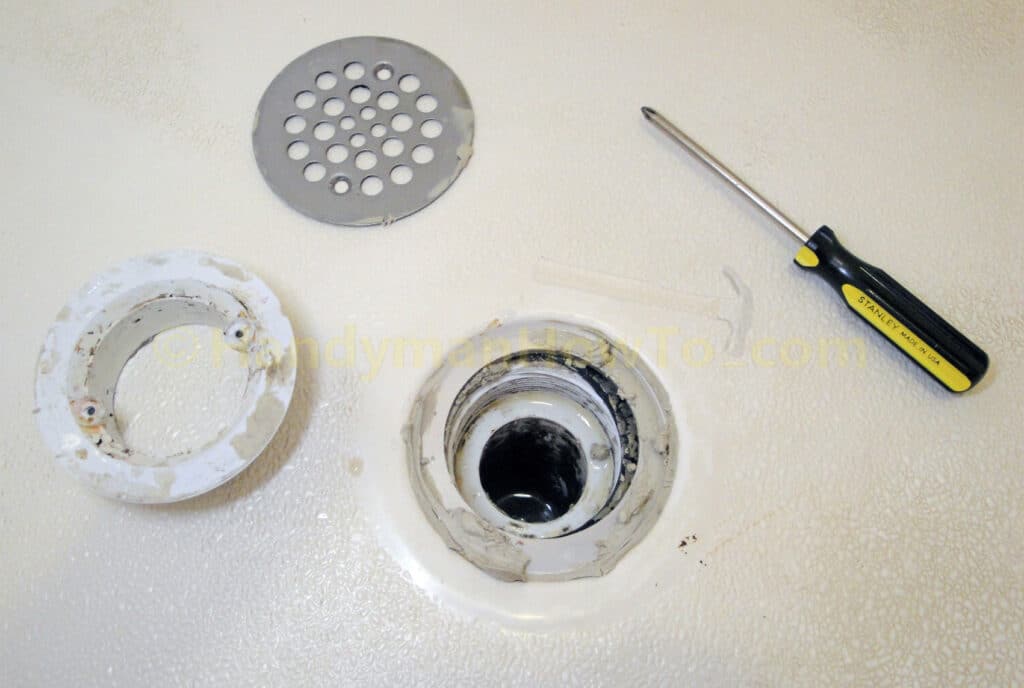
The shower drain body was unscrewed by turning it counter-clockwise (“lefty loosey”) and removed.
This repair is continued in How to Fix a Leaky Shower Drain – Part 6.
Thanks for reading,
Bob Jackson