This tutorial explains how to install a hardwired smoke alarm in a bedroom drywall ceiling. The smoke alarm is wired and mounted to the ceiling box. This project is continued from How to Install a Hardwired Smoke Alarm – Part 5.
Smoke Alarm Ceiling Box Wiring
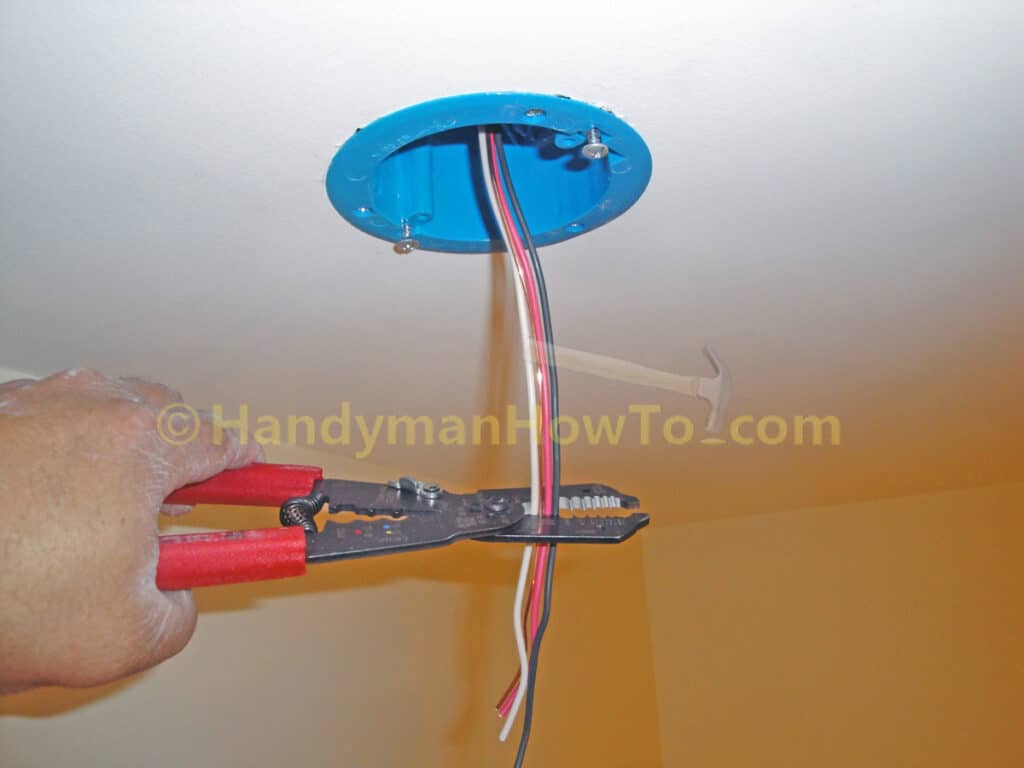
With the Carlton B618R old work ceiling box now mounted in the drywall ceiling, the NM-B 14/3 wires are trimmed to about 6 inches long past the box face. NEC 300.14 requires the wires must extended at least 3 inches beyond the box face, however longer wires are easier to work with:
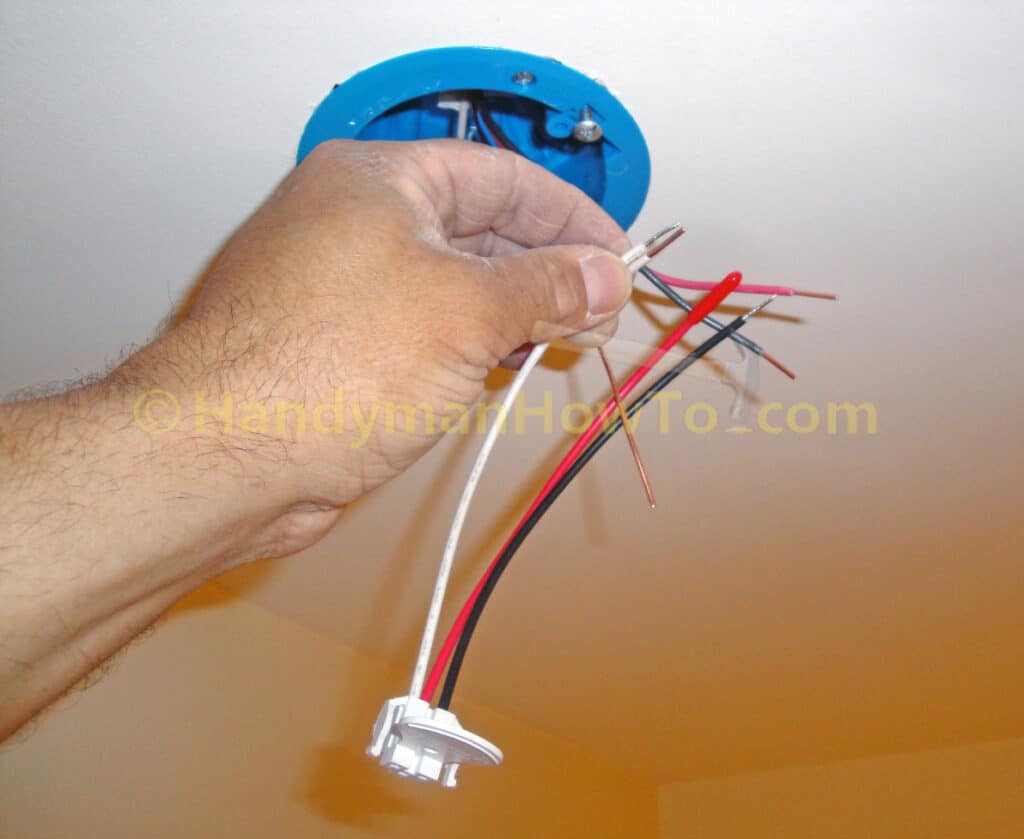
The Kidde/Firex PI2010 AC Quick Connector is wired by matching colors with the NM-B 14/3 wires in the ceiling box. The AC Quick Connector uses braided wire which is much more flexible compared to the 14 gauge solid copper NM-B wires. Twisting the wire ends together is not really necessary because the AC Quick Connector wire is the flexible stranded type; just hold the ends evenly as shown and twist on a wire nut of the appropriate size. An Ideal 73B Orange Wire Nut that is rated for a maximum of two 14 gauge wires is the right size.
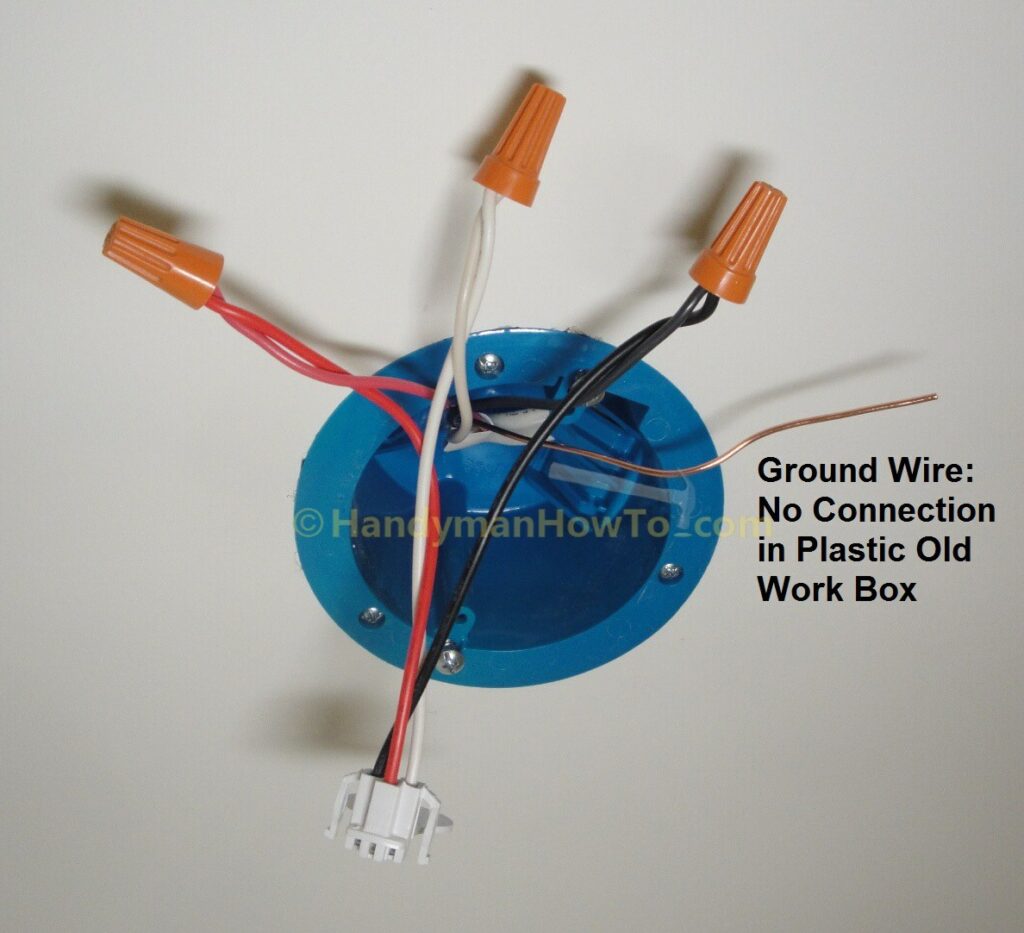
Give each wire a light pull to verify it is securely nutted together. The smoke alarm does not have a ground wire connection and plastic junction boxes do not require grounding, therefore the NM-B 14/3 ground wire has no connection:
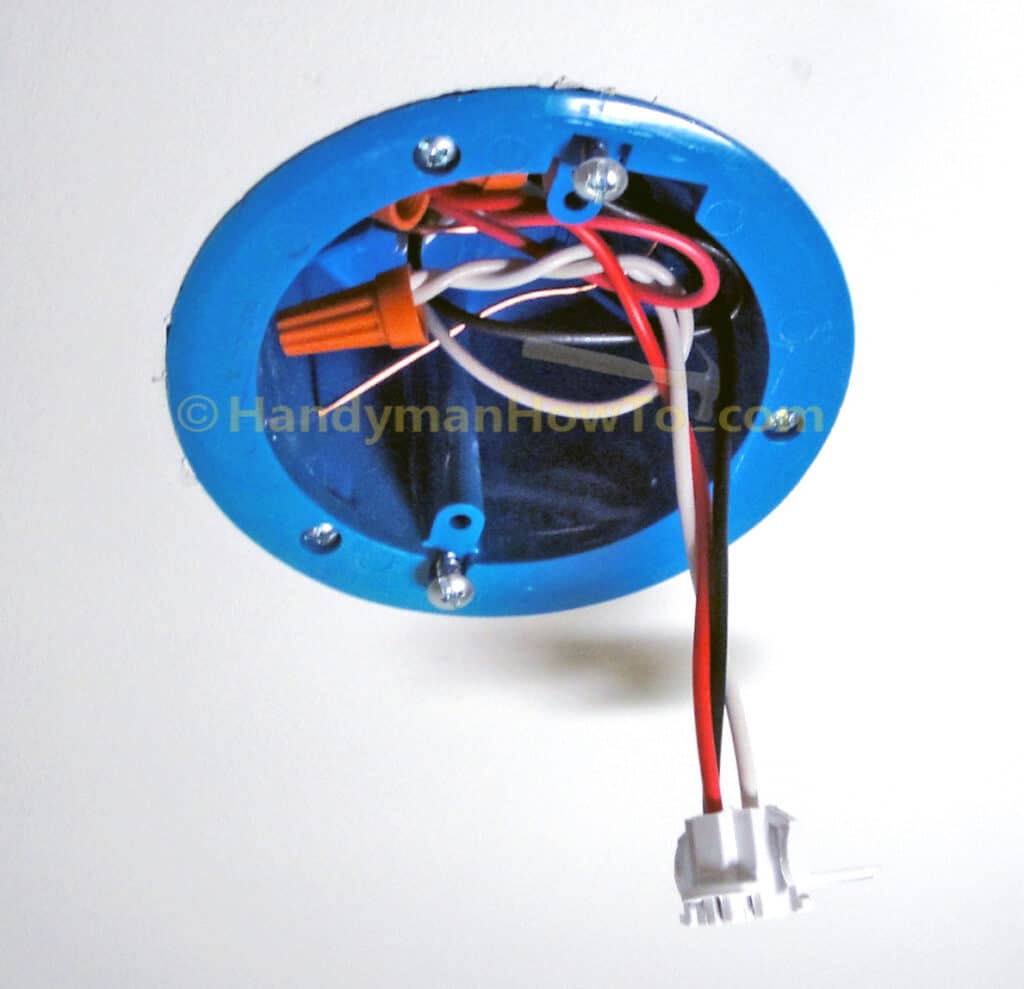
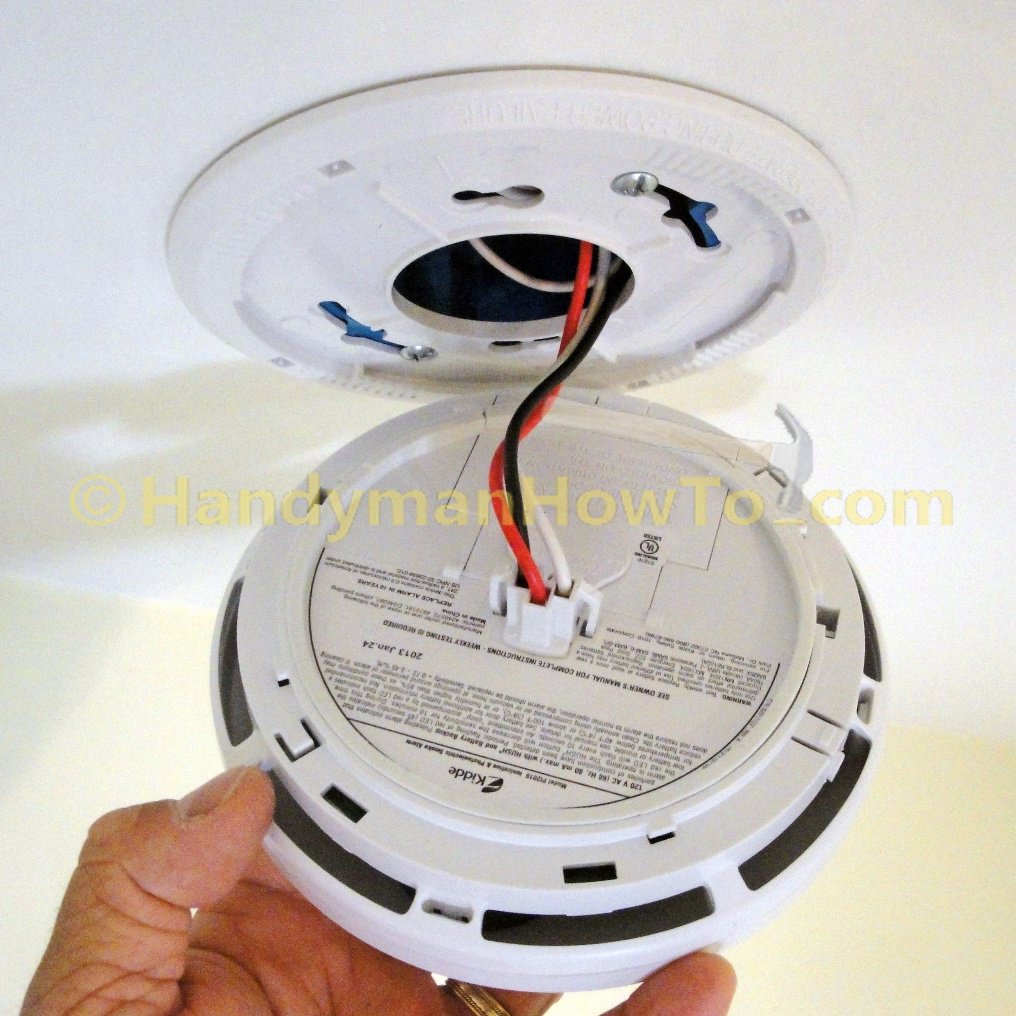
Fold the wires into the ceiling box with the AC Quick Connector hanging down:
Smoke Alarm Ceiling Box Hookup
Slide the smoke alarm trim ring over the two ceiling box mounting screws and tighten the screws. Pull out the yellow tab on the smoke alarm unit to activate the internal battery:
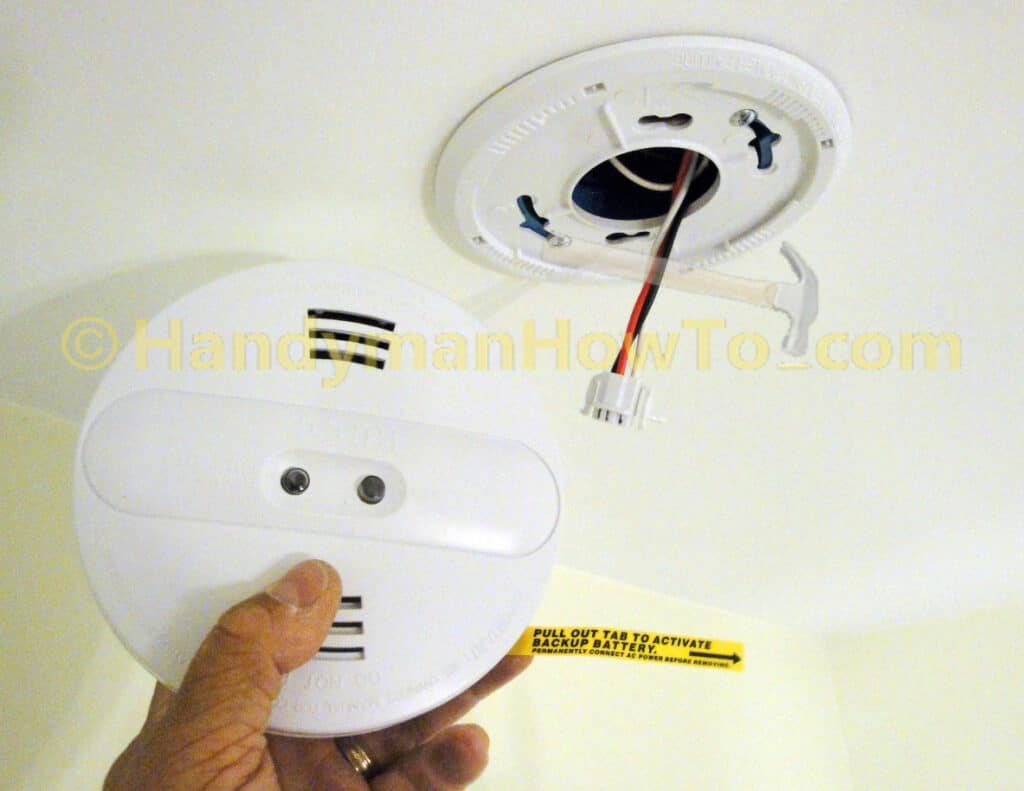
Plug in the AC Quick Connector, then mount the smoke alarm to the trim ring and twist the unit until it locks in place:
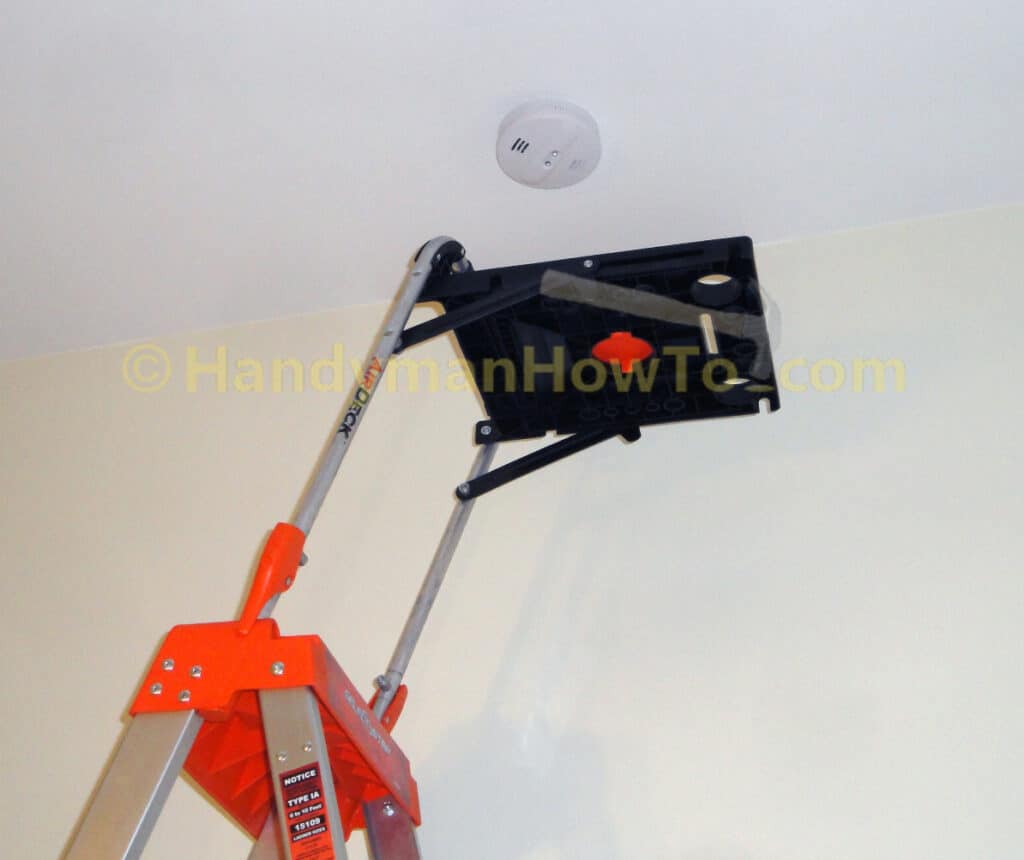
The smoke alarm ceiling box wiring and mounting in the new bedroom is complete. Note the smoke alarm branch circuit is not powered (circuit breaker is shutoff); the white glow of the smoke alarm LEDs is due to the camera flash:
The new smoke alarm circuit is wired to the main junction box in How to Install a Hardwired Smoke Alarm – Part 7.
Take care,
Bob Jackson