This project illustrates how to install a new HVAC air vent and ductwork in a suspended drywall ceiling.
How to Install an Air Duct in a Suspended Drywall Ceiling
My finished basement has 14 feet high suspended drywall ceilings because the house sits on a hillside and the basement is deep. The finished basement is cool and pleasant in the summer, but needs more heat in the winter in the main room with many windows and french doors.
The room is served by two 4″ in air ducts mounted high on the wall. The problem is the heated air blows horizontally across the ceiling and doesn’t reach floor level. I found it easy to install a Speedi-Boot™ air vent in the suspended drywall ceiling pointing downward where the heated air is needed. Speedi-Boot made this possible where a raw vent boot would’ve been very difficult here.
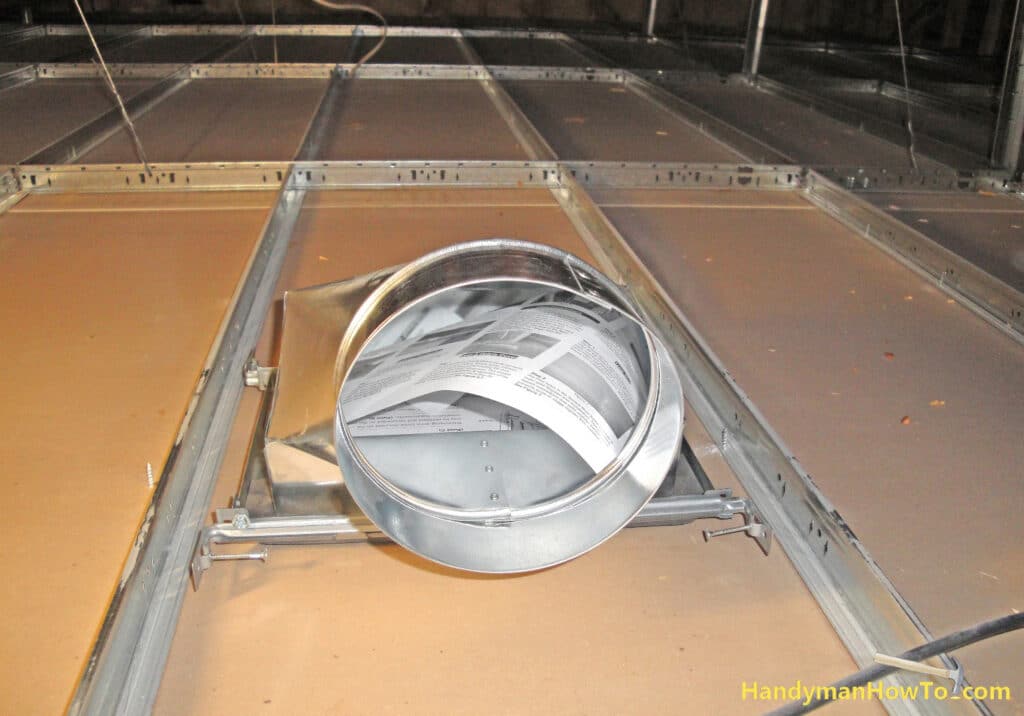
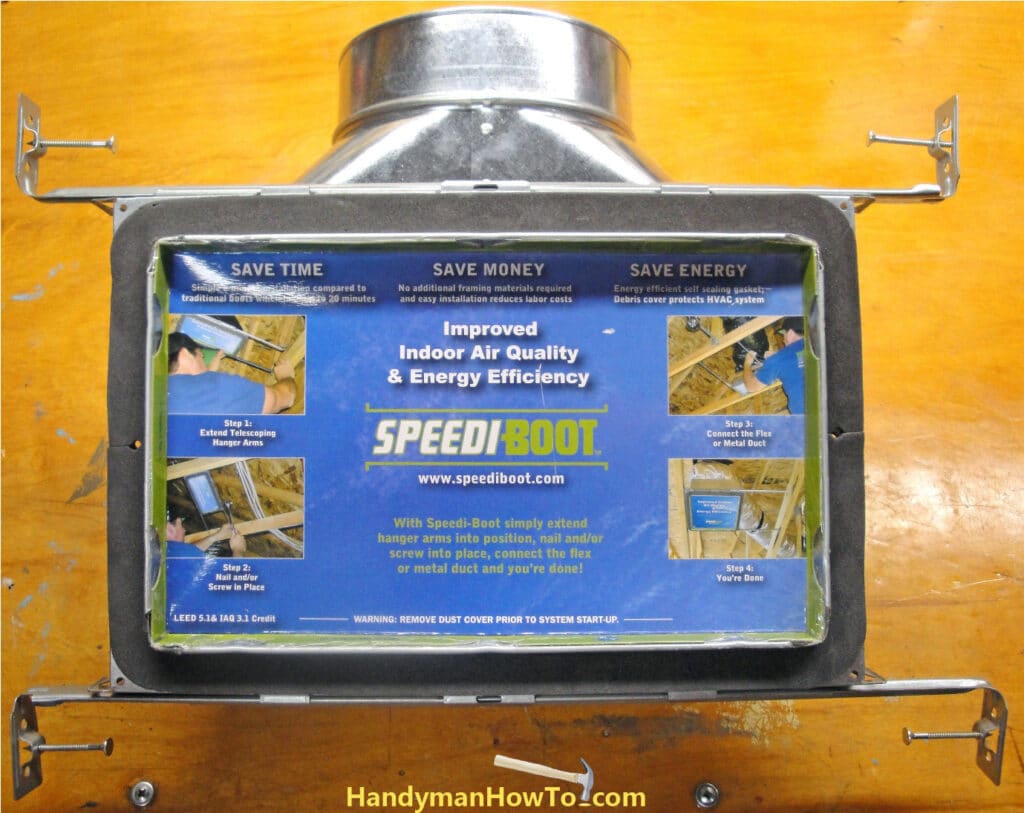
Speedi-Boot™ Air Vent
The new air vent is the Speedi-Boot 90° 6″x10″ model with a 6″ round duct collar. Speedi-Boot features include telescoping arms that easily adjust to fit between the studs, trusses and suspended ceiling steel runners; an integral mud ring and foam gasket; and can be fastened with the pre-installed nails or screws. I found it to be an excellent project for old work and remodeling jobs.
For an in-depth look at Speedi-Boot and the necessary ductwork installation materials and tools, see this installation project.
Speedi-Grille™ Ceiling/Wall Register
The Speedi-Boot air vent accepts any standard air register, however I’ll be using the Speedi-Grille companion product.
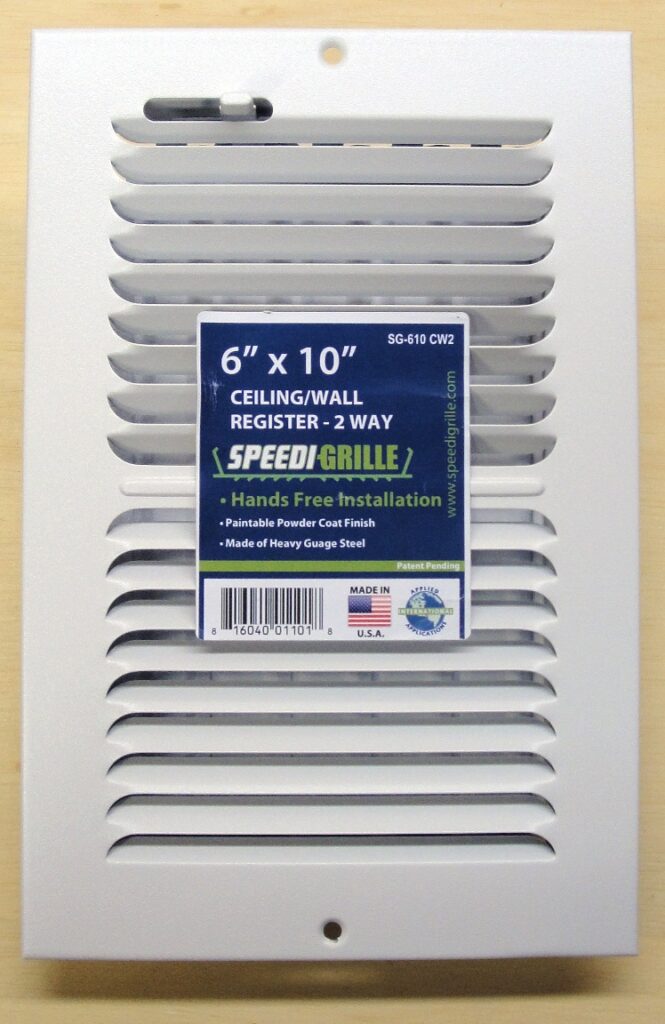
Speedi-Grille is made of heavy gauge steel with a paintable white powder coat finish and smooth non-jamming louver action to adjust the air flow volume. However, the distinguishing feature of Speedi-Grille are the two metal mounting tabs along each side for hands-free installation.
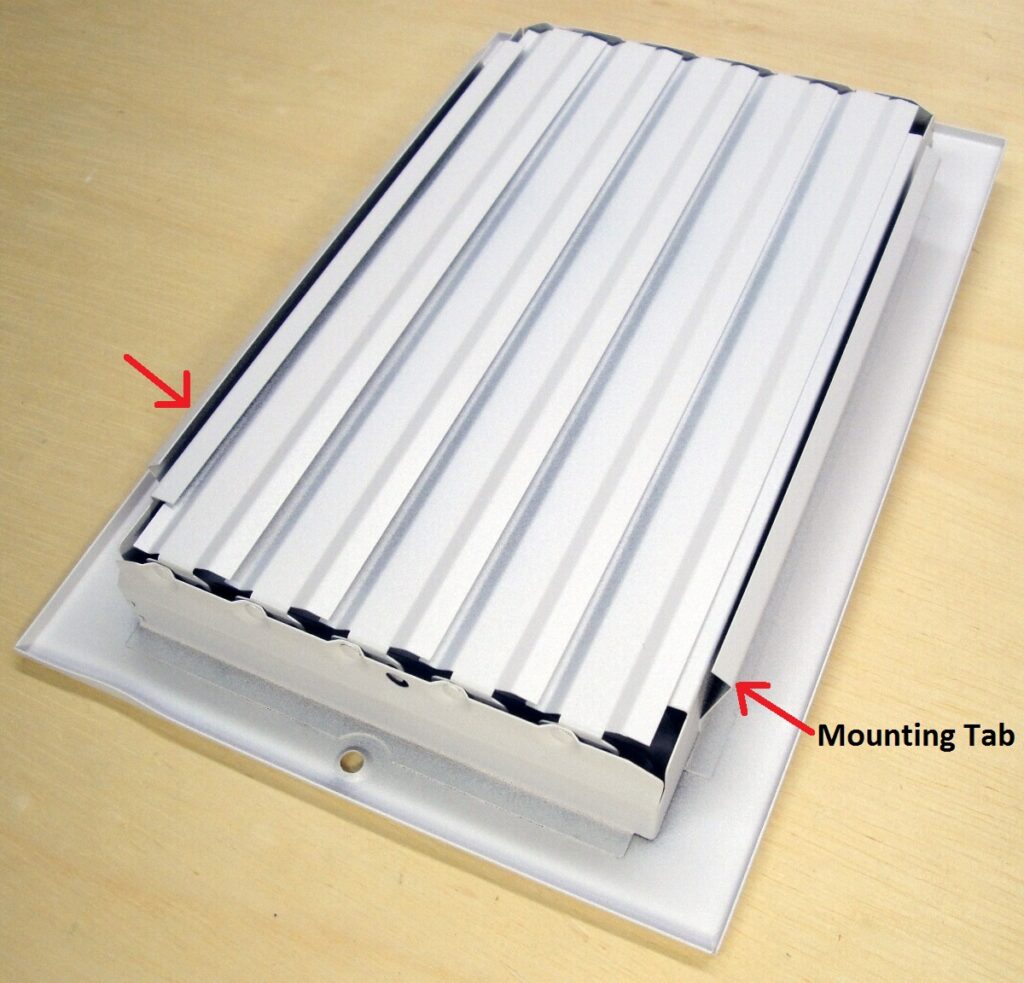
Just snap the Speedi-Grille into the Speedi-Boot and your hands are free to insert the permanent fastening screws. If you’ve ever been balanced on a ladder awkwardly holding a standard register against the ceiling while trying to drive a screw and wishing you had a “third hand”, you’ll appreciate this hands-free mounting feature.
Suspended Drywall Ceiling Air Vent Installation
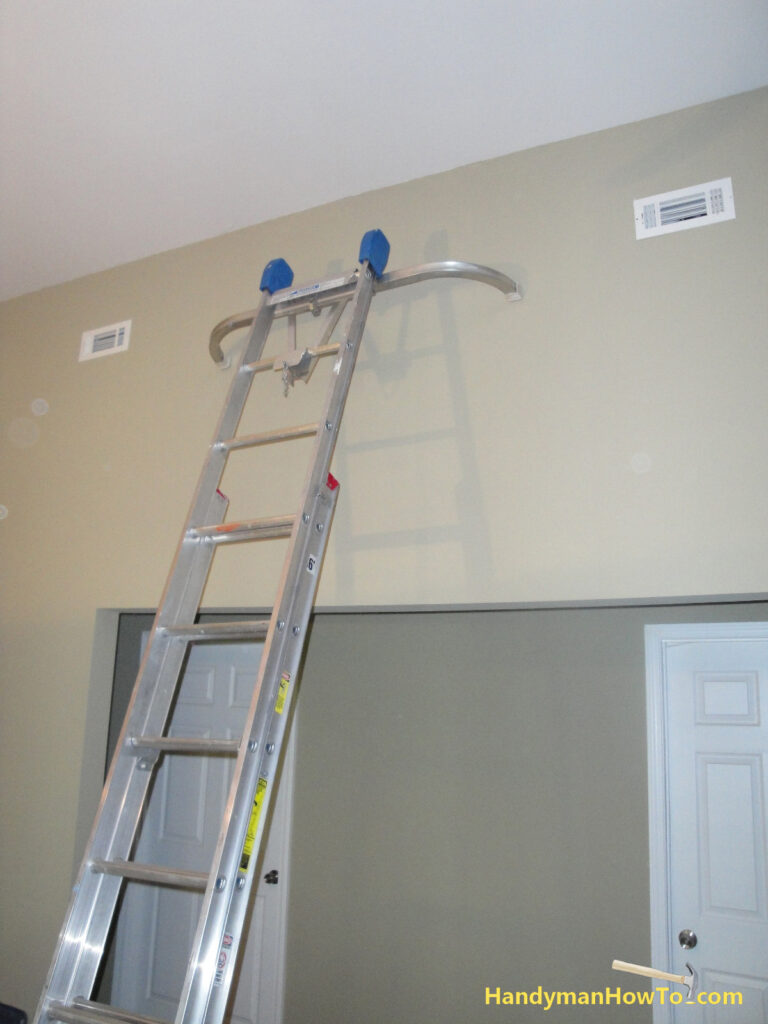
The new 6″ air vent will be set in the ceiling midway between the two exiting 4″ air vents. An extension ladder is used to reach the 14 foot high ceiling in the finished basement.
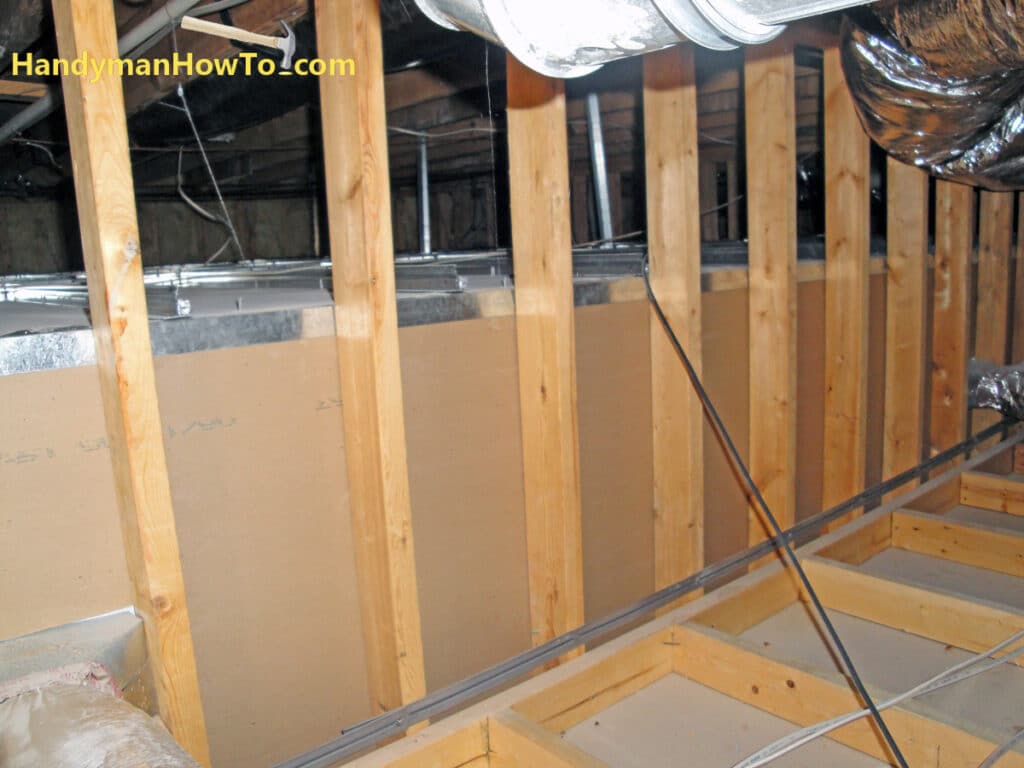
This is the crawlspace above the hallway and suspended drywall ceiling. I was careful to walk only on the 2×4 framing members because the drywall isn’t strong enough to take a persons weight. The most difficult part of the job is working in a crouched position while balanced on the 2×4 framing.
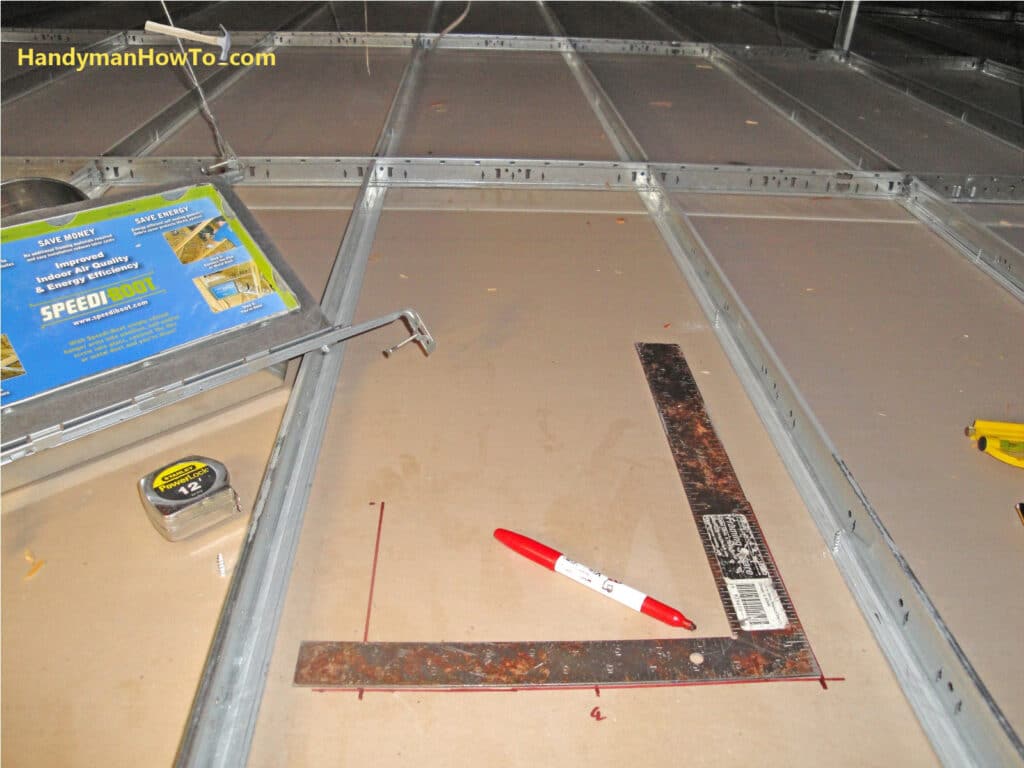
The steel ceiling runners for the suspended drywall ceiling are “true and square” to the walls; I was therefore able to layout the vent with a relative to the ceiling runners. I set the vent about 12 inches away from the wall and drew the rectangle for the Speedi-Boot cutout with a carpenter’s square and felt tip pen.
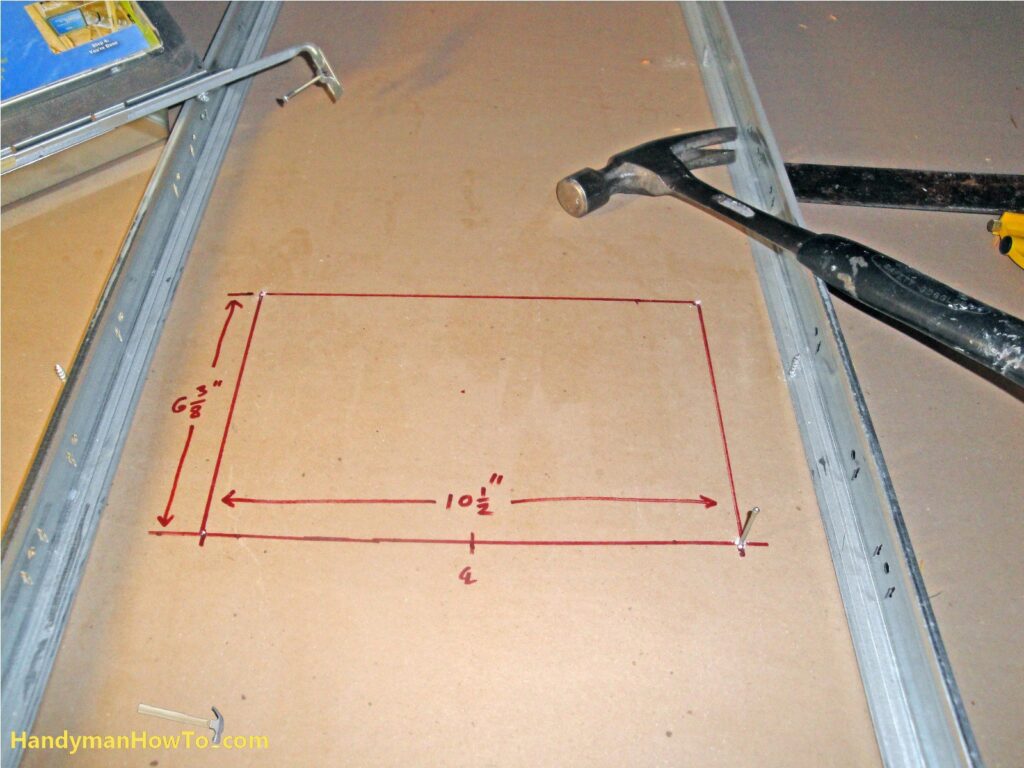
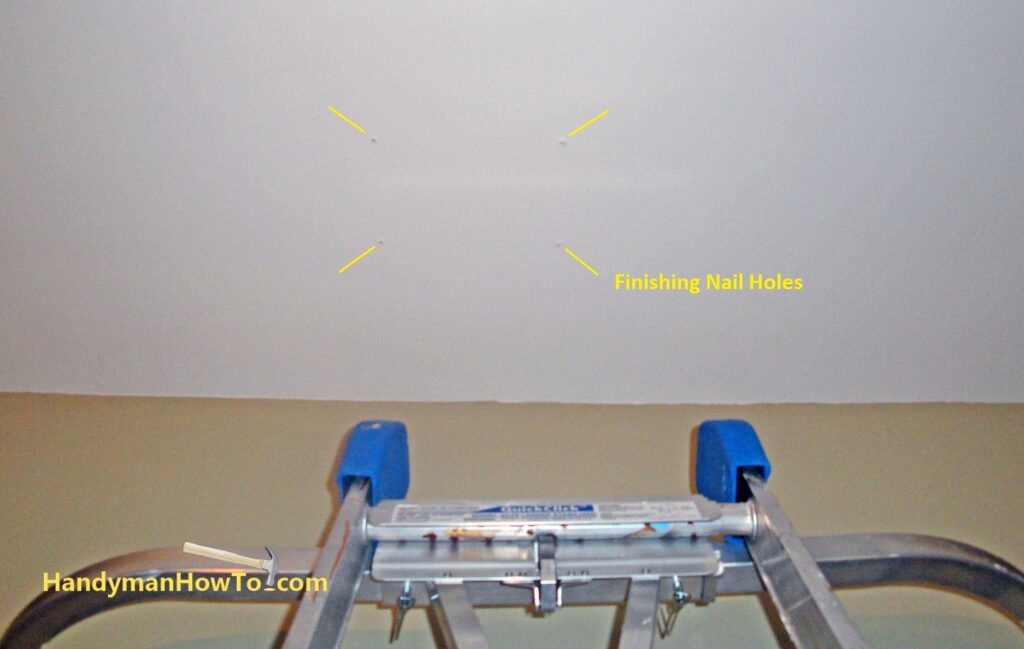
The inner rim of the Speedi-Boot 6″x10″ vent required a rough-in cutout of 6-3/8″ by 10-1/2″. Notice the finishing nail in the lower right-hand corner of the marked rectangle. I drove the finishing nail in each corner of the red rectangle to make a small hole as a validation check for the vent location. I’ll look at my corner holes from the room below… just to be extra certain the cut for the new vent would “look right”. The small holes made by the finishing nail are easy to fill with a bit of spackle in case my measurements are off and I need to relocate the vent cutout.
The four corner holes I made with the finishing nail are square with the wall – see the yellow lines in this next photo. Time to go back to the ceiling crawlspace and cut the hole for the new air vent.
My teenage son was finally out of bed on this weekend morning. He “cheerfully” volunteered to hold a plastic tub to catch the drywall dust from my sawing. Yes, I could saw the hole while standing on the ladder, but dust would go everywhere. This way there’s no mess and no cleanup.
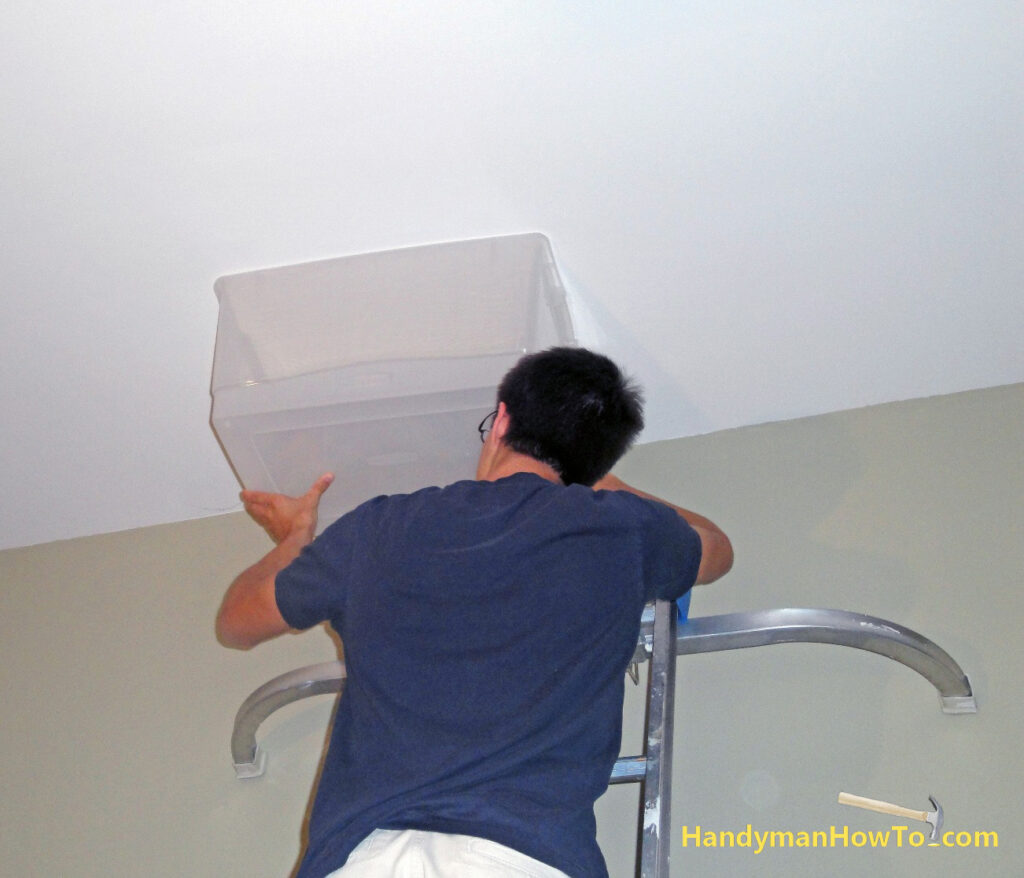
A drywall jab saw makes quick work of sawing the hole for the new air vent. The plastic tub held against the ceiling catches the dust.
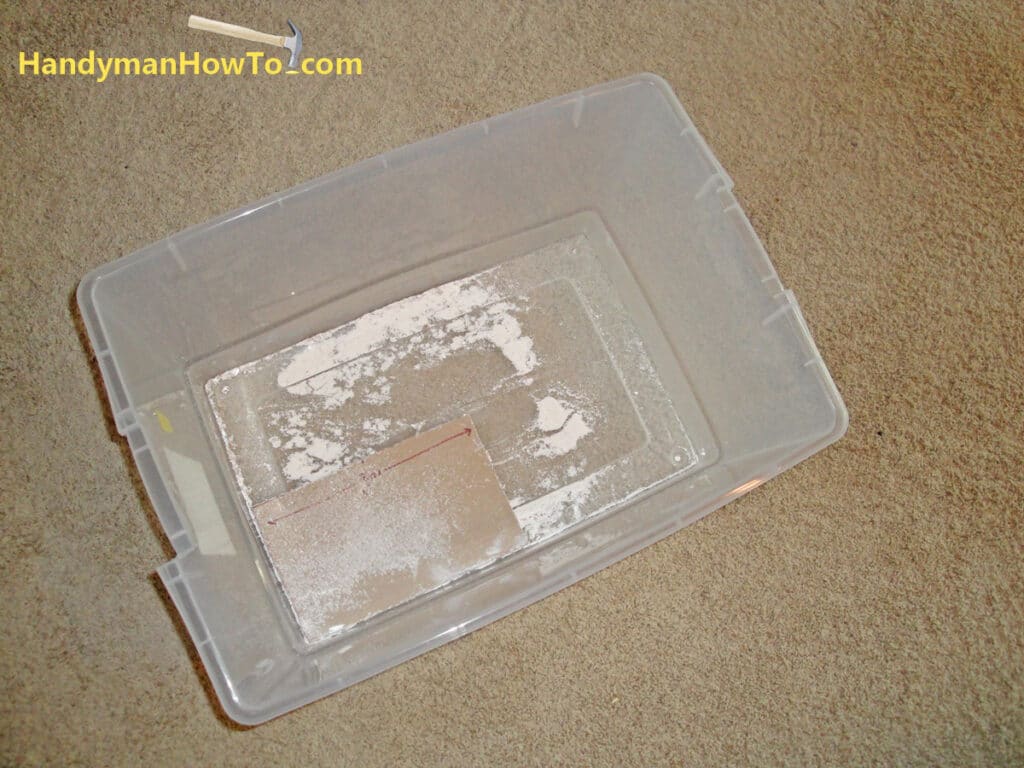
Tip: Jab a pocket knife blade or screw driver into the saw kerf on the opposite side of the drywall panel before making the final cut. This will hold the panel in position to eliminate any chance of it falling prematurely and tearing the paper face of the drywall as you finish sawing.
The plastic tub worked well for catching the saw dust.
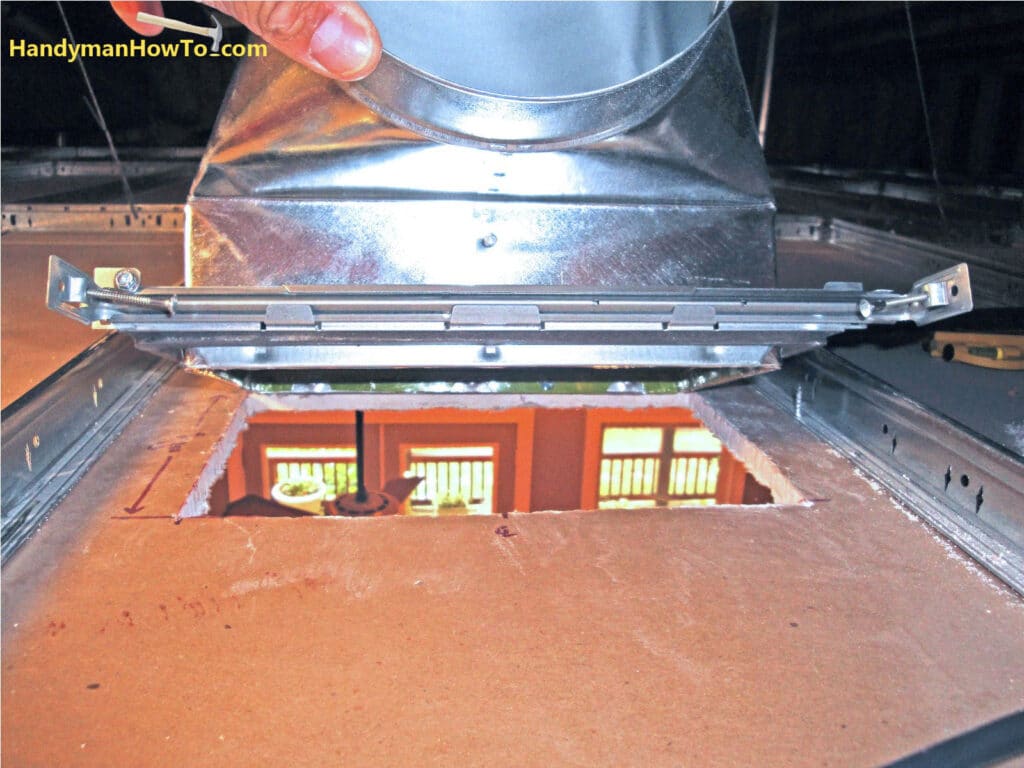
The Speedi-Boot fits nicely in the ceiling rough-in. Notice the gray foam gasket around the inner rim and that makes an air tight seal against the drywall.
This project is continued in How to Install an Air Duct in a Suspended Drywall Ceiling -Part 2.
Thanks for reading,
Bob Jackson