This project explains how to install faux wood window blinds in this final update of How To Build a Basement Closet. The bi-fold closet doors were installed in the previous project.
Faux Wood Window Blind Installation
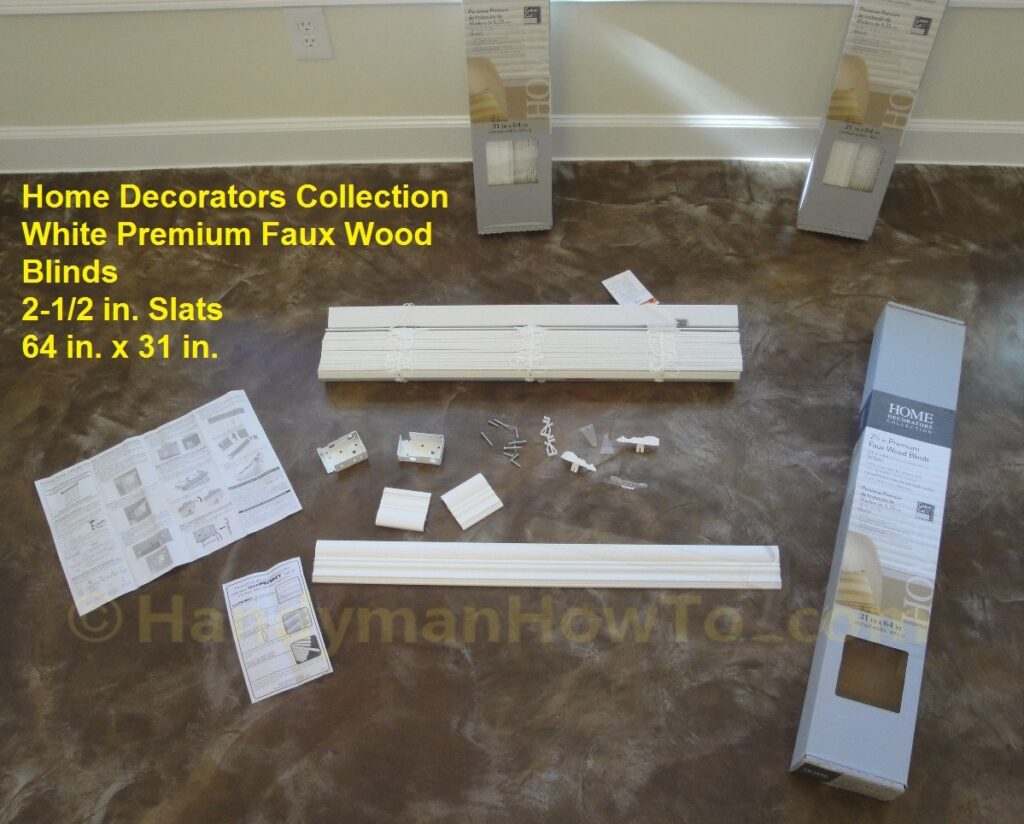
I measured the basement bedroom windows per the Home Depot Window Treatment Measuring Guide for inside mount window blinds. The windows blinds in my home are inside mount, which means the windows blinds fit inside the window frame for a better degree of privacy.
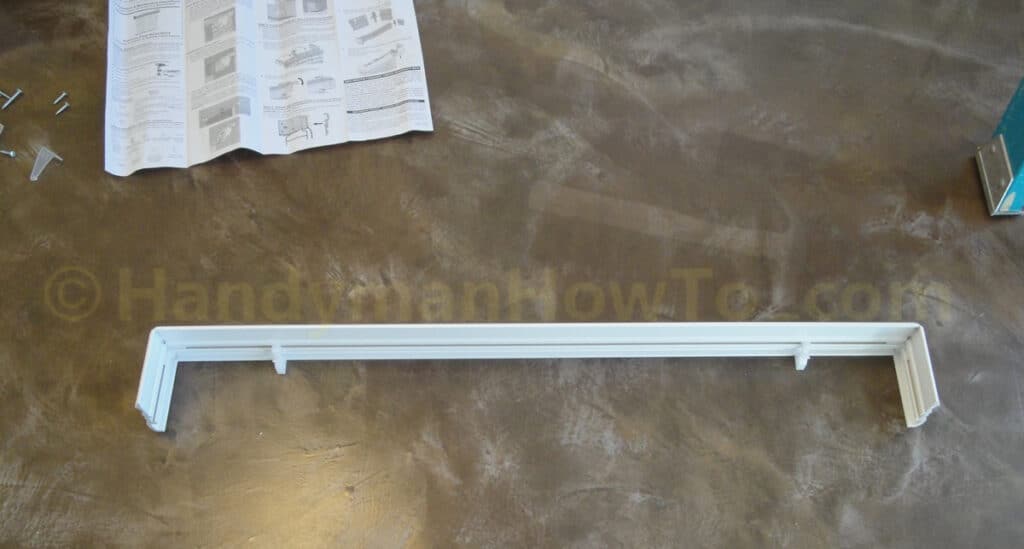
I purchased three sets of the Home Decorators Collection White Premium Faux Wood Blind 2-1/2 in. Slats, (measure and purchase the width that fits your windows).
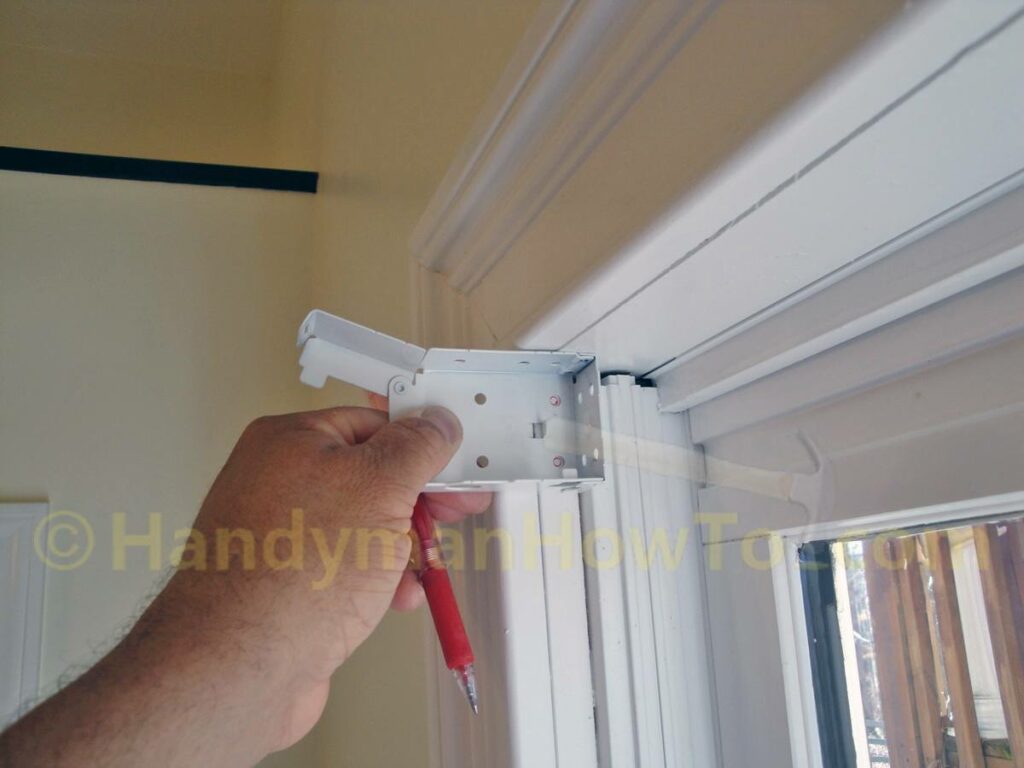
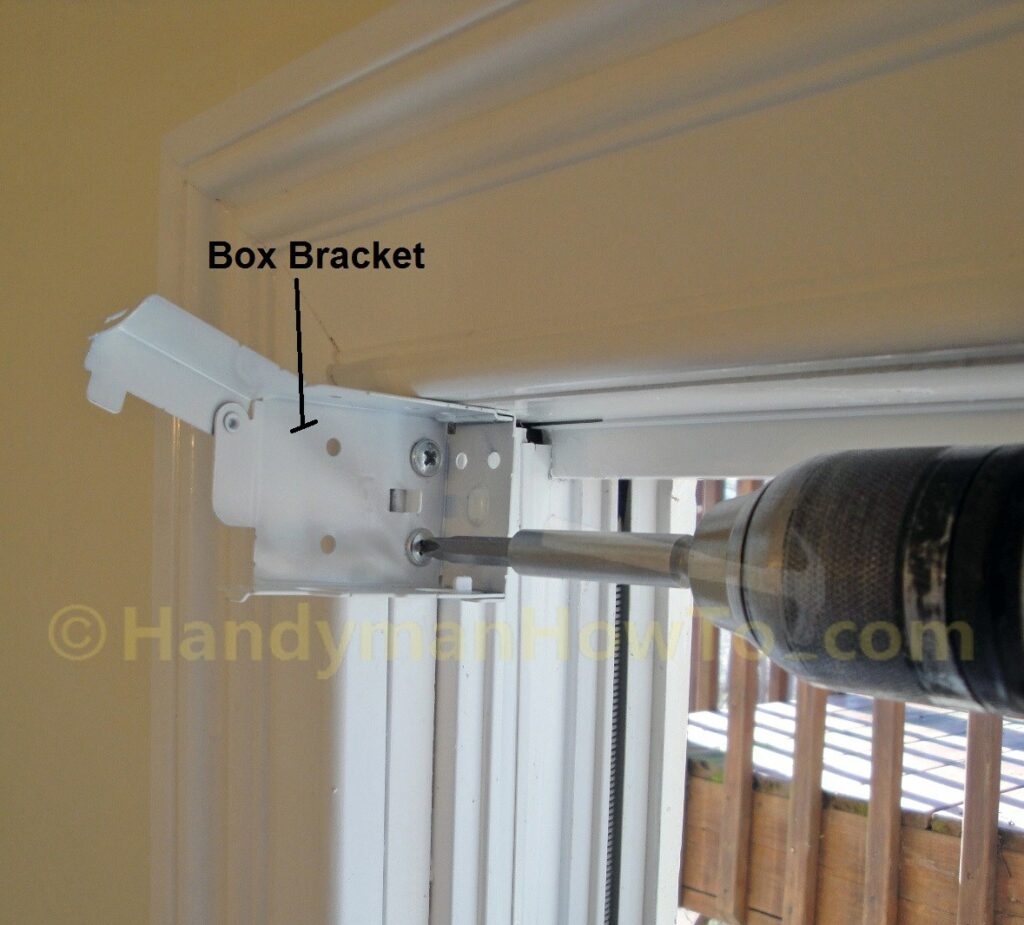
The box brackets are installed first in the top corners of the window frame. Open the box bracket by pressing on the locking tab – the hinge swings upward – and mark the mounting holes inside the window frame:
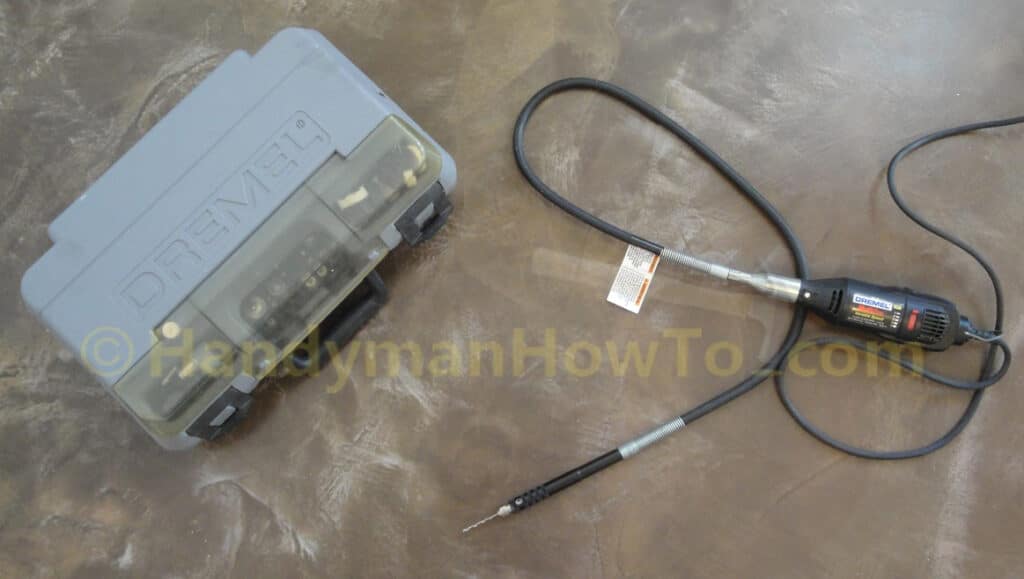
Because the box bracket will be attached to the 3/4 inch thick window frame board with screws, I elected to drill 1/8″ pilot holes for strain relief to avoid splitting the board when driving the mounting screws. My DeWalt cordless drill/driver was too bulky to drill the top mounting bracket hole, so I grabbed my Dremel Tool and Flex Shaft attachment to drill the pilot hole:
The window blind box bracket is fastened to the window frame with two Simpson Strong-Drive SD8X1.25 wood screws instead of the smaller screws included with the blinds:
Install the box bracket for the other side of the window the same way.
The headrail slides into the box brackets, then the bracket snaps shut to secure the headrail:
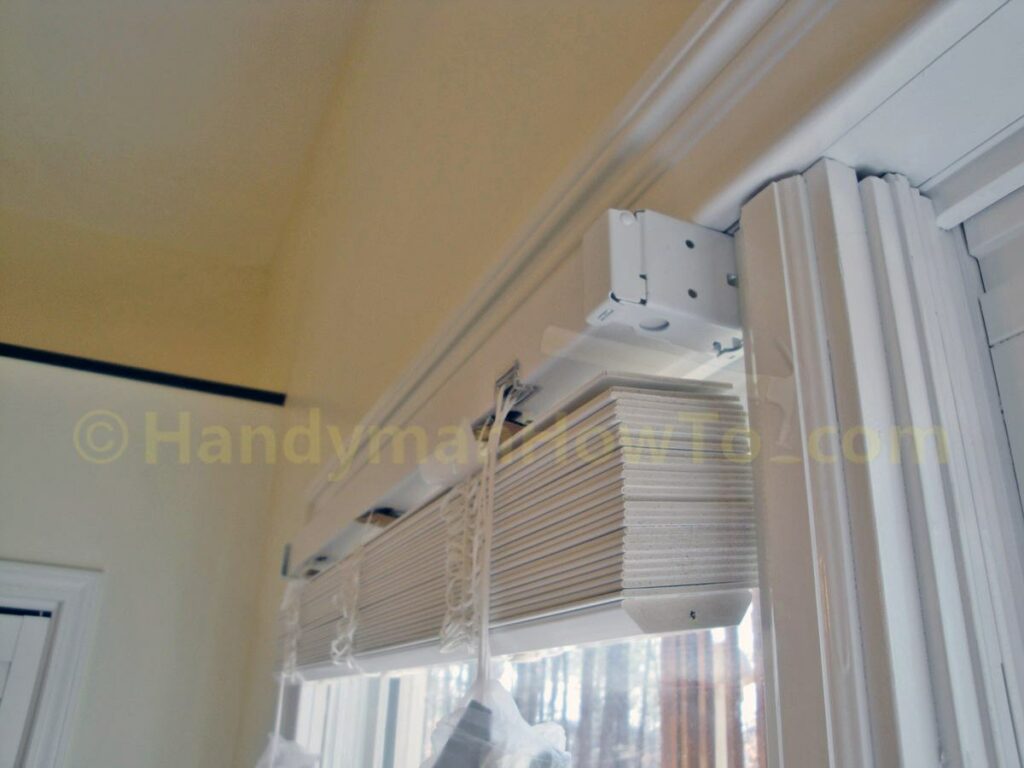
The wrap-around crown valence is assembled with clips:
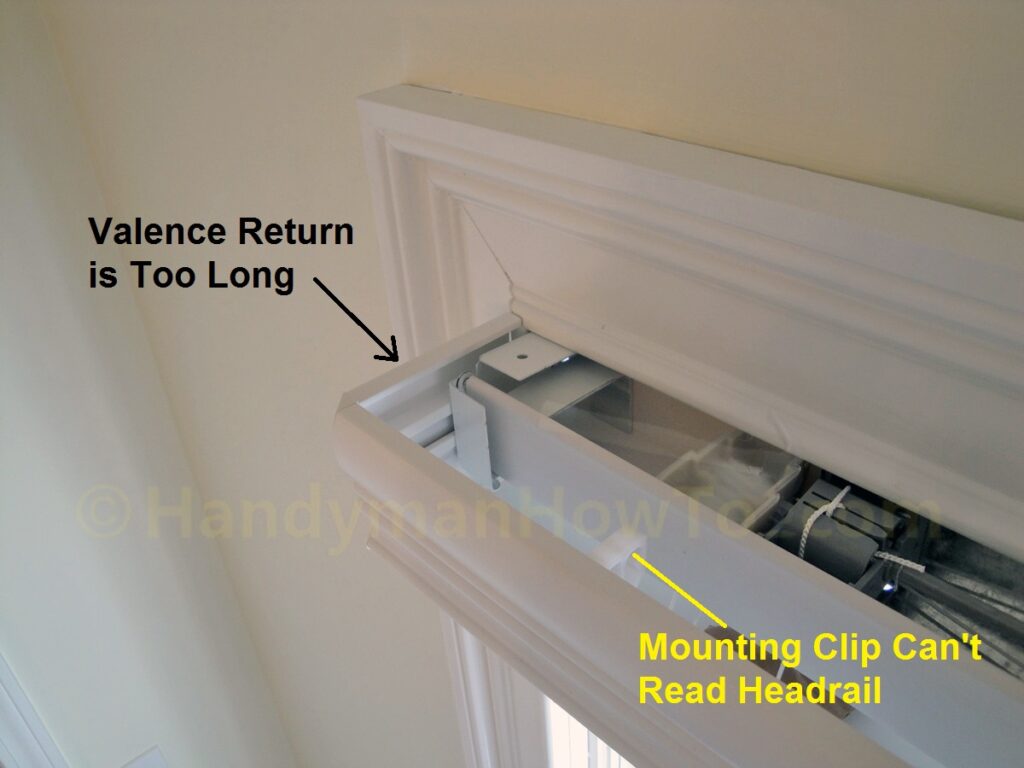
I had a small problem when attempting to mount the crown valence to the headrail; the valence returns which resulted in an ~1 inch gap between the valence mounting clips and the headrail. To fit the valence to the headrail:
- I removed the valence returns from the main valence.
- Mounted the valence to the headrail with the provided clips.
- Measured the distance from the window casing to the valence.
This is the (shorter) required length for the valence returns. - Cut the valence returns to the necessary length on my DeWalt compound miter saw.
- Re-attached the valence returns to the valence.
- Clipped the valence to the headrail.
Other than shortening the valence returns, the blinds were easy to install.
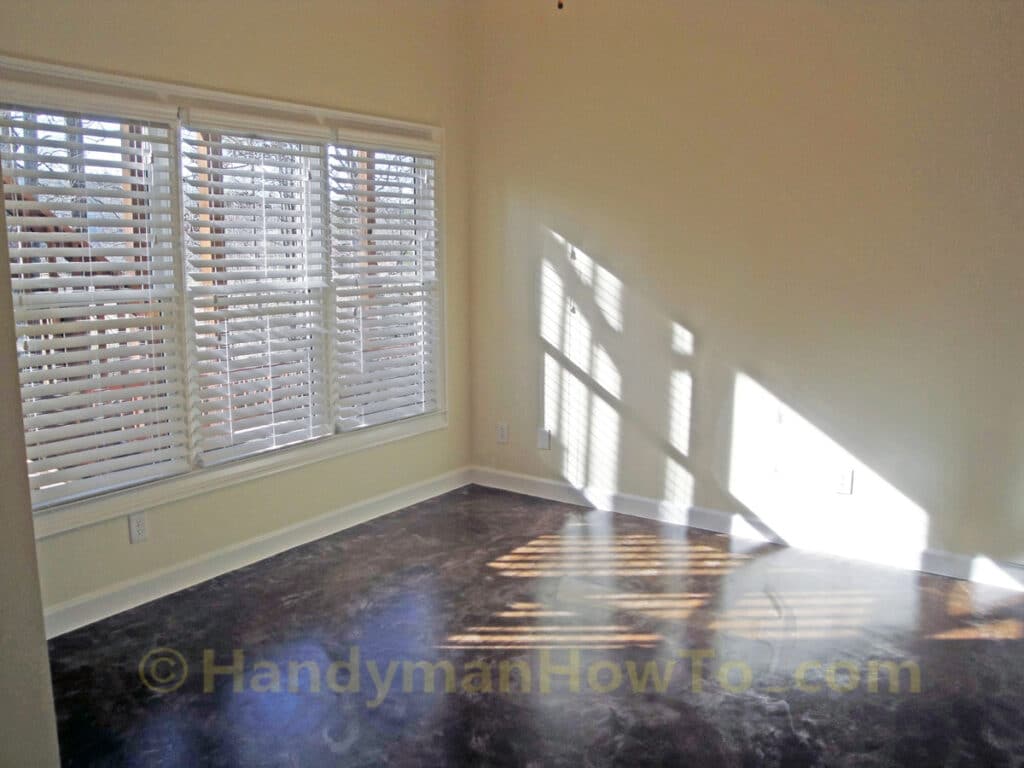
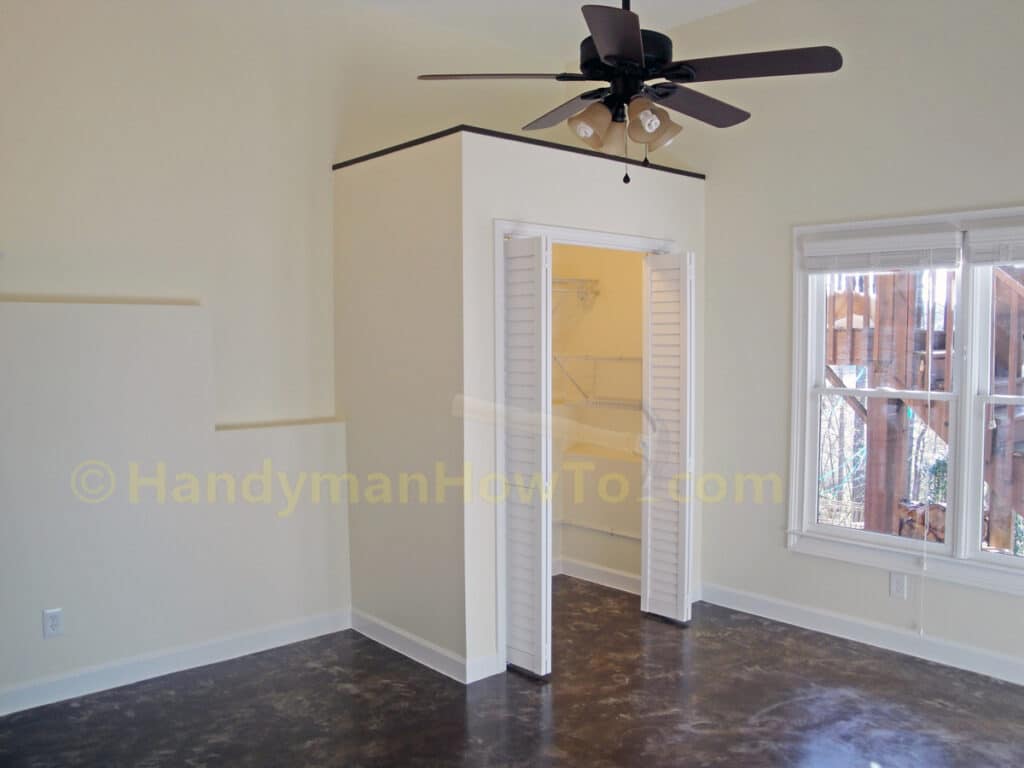
Finished Basement Bedroom
The basement bedroom remodeling project is now complete! Time to go shopping for bedroom furniture.
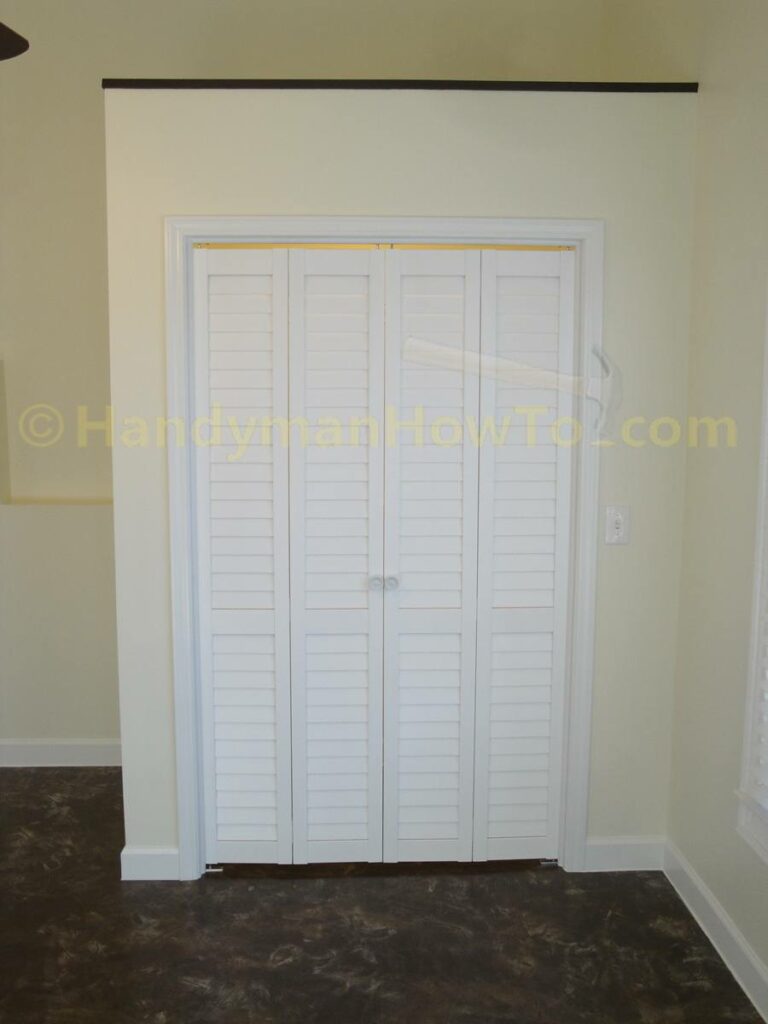
The basement bedroom closet:
Basement Closet Bi-Fold Doors:
Perspective view of the semi-free standing basement bedroom closet:
Take care,
Bob Jackson