The rubber vent boot cracked causing a roof leak at the PVC vent pipe. I hired a roofer to replace the vent boot flashing and install a rain collar for extra leak protection. This repair is continued from How to Repair a Leaky Roof Vent Pipe Flashing – Part 1.
Cracked Roof Vent Boot Flashing Repair
I called several roofing companies in my area about the cracked vent pipe flashing but none were available due to the once in 500 year flooding rains that fell in September. One company said they’d received 600 calls on Monday and most could only put me on a waiting list for a call back. I was quoted $125 to install lead pipe flashing for labor and materials, but no one could promise when they could get to it.
I was able to buy an Oatey Galvanized Base No-Calk Roof Flashing that fit a 2″ inch vent pipe. I would have preferred a lead pipe flashing because it’s the best and longest lasting flashing solution that avoids the problem of cracked rubber boots. I can always hire a roofer when they’re not so busy and have lead flashing installed.
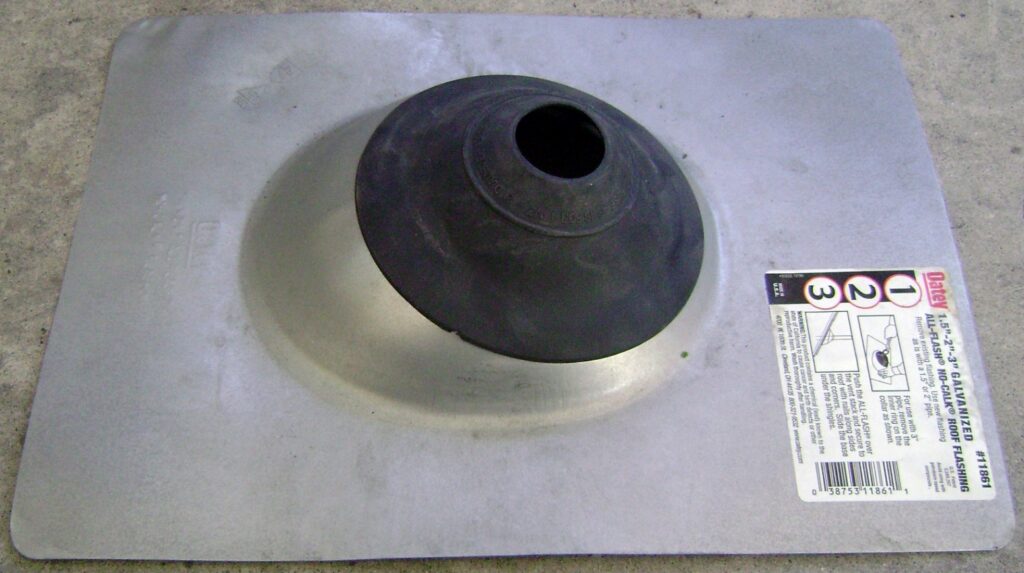
Replace the Roof Vent Pipe Flashing
The steps to remove the old roof vent flashing and install a new one is simple:
- Pry up the roofing nails used to attach the old flashing.
- Gently lift up the shingles above the flashing.
- Lift the flashing off the vent pipe.
- Slide the new flashing over the vent pipe.
- Tuck the uphill part of the flashing under the shingles.
- Fasten the new flashing with galvanized roofing nails.
- Apply a dab of roofing sealant to the nail heads and bottom tabs of the shingles that were disturbed.
The entire job takes less than 15 minutes. It seems easy and it is, unless you have a high and steep roof like mine. A 40 foot ladder is necessary to reach the roof from the ground and I’m not comfortable working so close to the edge of the roof. Time to hire a professional roofer but none were available on short notice. What to do?
I got lucky and noticed a roofing crew working in the neighborhood. I asked the foreman if I his crew would install the new vent flashing. He said they were almost finished with the current job and could send someone over in 45 minutes. He asked if I had the new vent flashing, I said yes and showed him the Oatey No-Caulk flashing. He said he would install my flashing and add a rubber rain collar for extra protection for $50. The Oatey 14206 2-Inch Rain Collar is available from Amazon.
Two men from the roofing crew a short while later as promised. They setup a 16 foot ladder by the garage and bear crawled up the hip ridges with a big block of foam rubber (couch cushion) wearing regular tennis shoes with amazing agility! The roofer is getting into position to begin work:
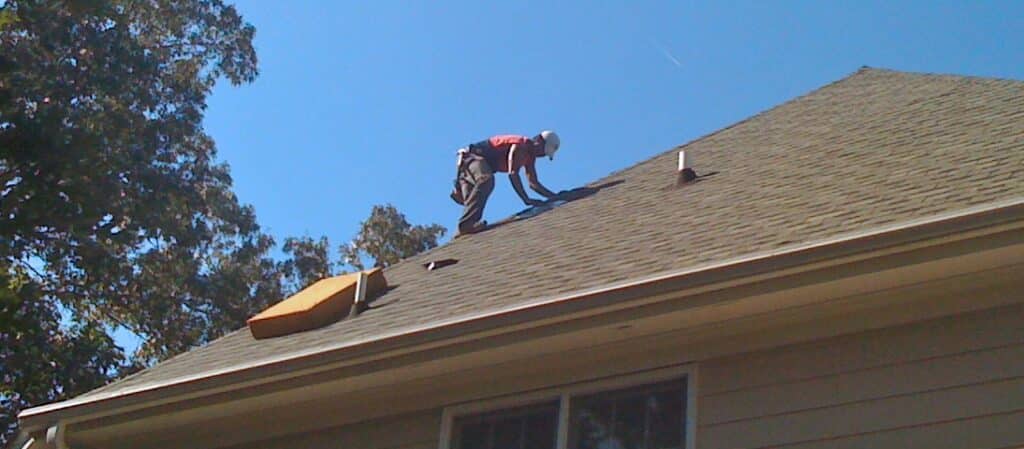
The roofer pried up the nails and is removing the old vent pipe flashing. The block of foam rubber grips the roof so he doesn’t fall. The new flashing is tucked under the edge of shingle above him so it’s doesn’t slide away:
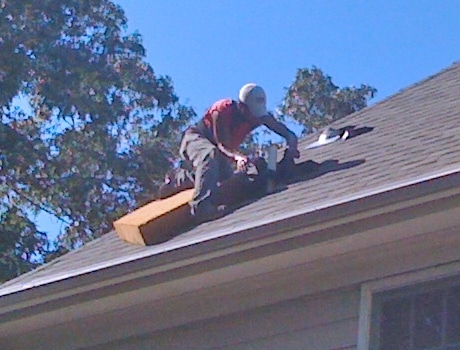
The new flashing is slide over the pipe, tucked under the shingles on the high side, and nailed to the roof.
MasterSeal NP 1 polyurethane sealant is applied to the nail heads and bottom tabs of the roof shingles that were raised to install the flashing. This makes everything waterproof and ensures the shingles are glued to the next row so they won’t be lifted by the a strong wind.

Rain Collar – Roof Leak Repair in the Rain
Rain & Repair Pipe Collars are a the rubber boot that acts like an umbrella to shed water over a cracked pipe flashing. The rain collar can be installed while it’s raining or wet for an emergency fix. No caulking necessary because it stretches over the pipe for a water tight seal.
This is the new roof vent flashing with a rain collar for extra protection from the sun’s UV light and weather:
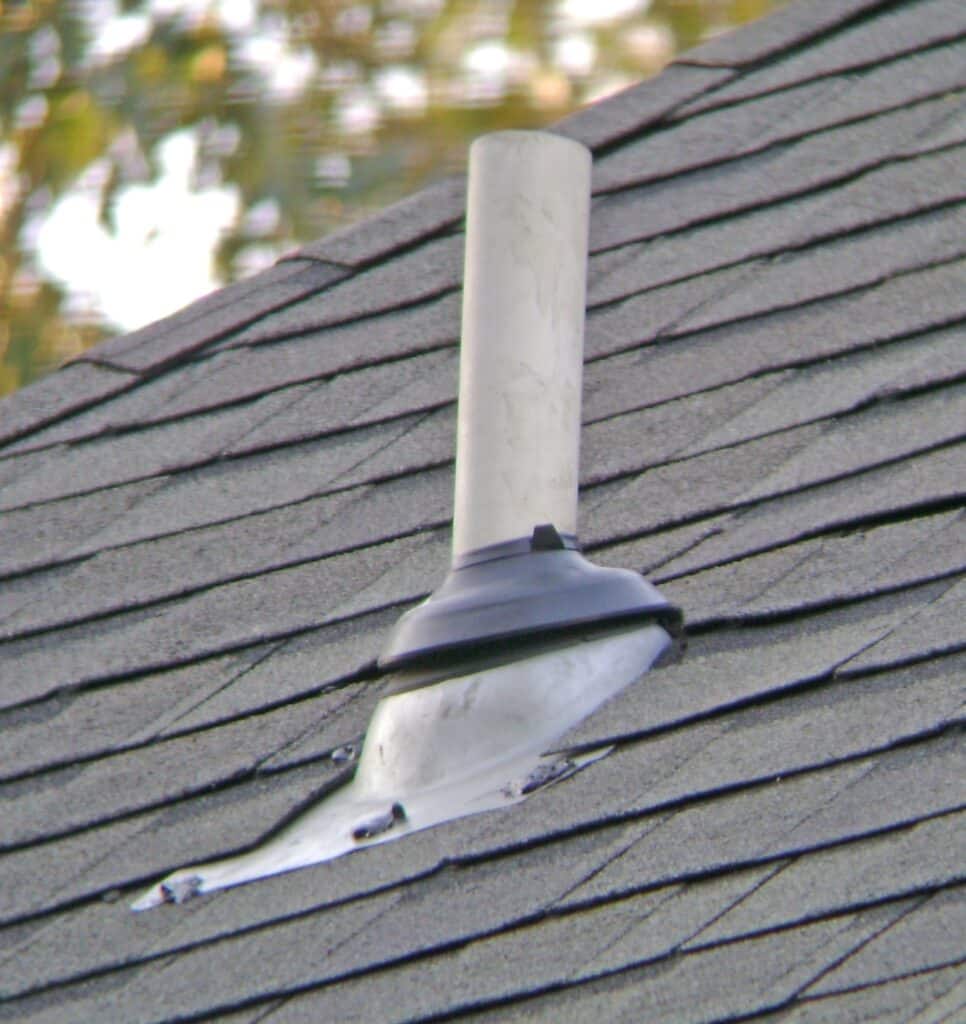
Cracked Roof Vent Pipe Flashing
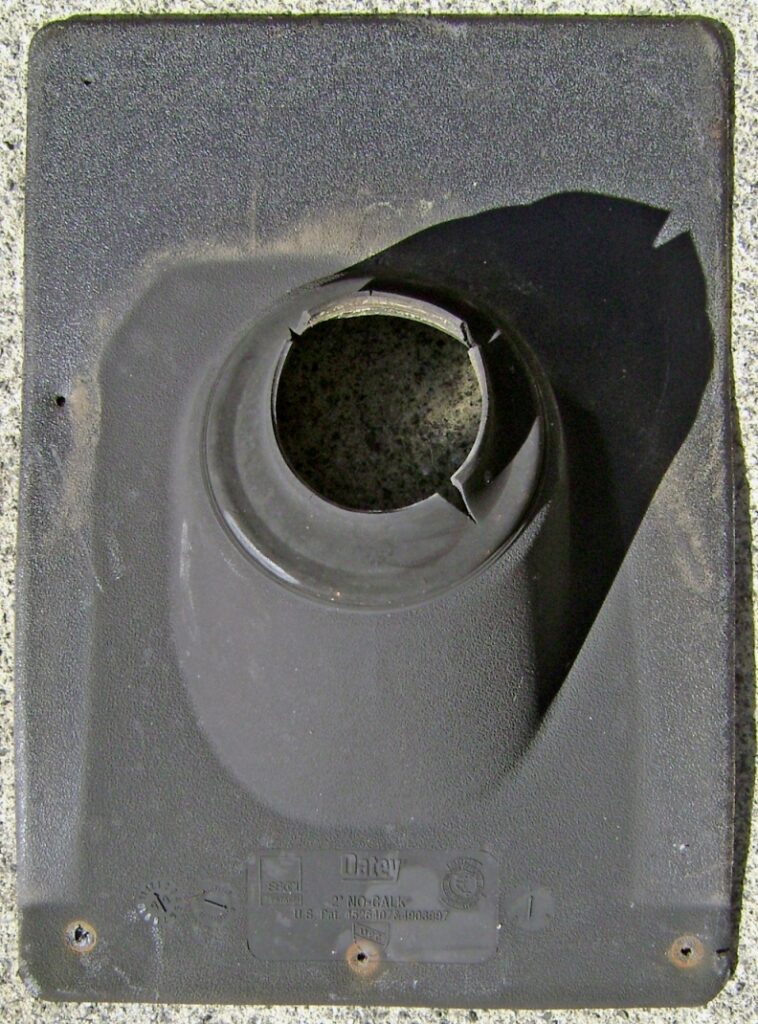
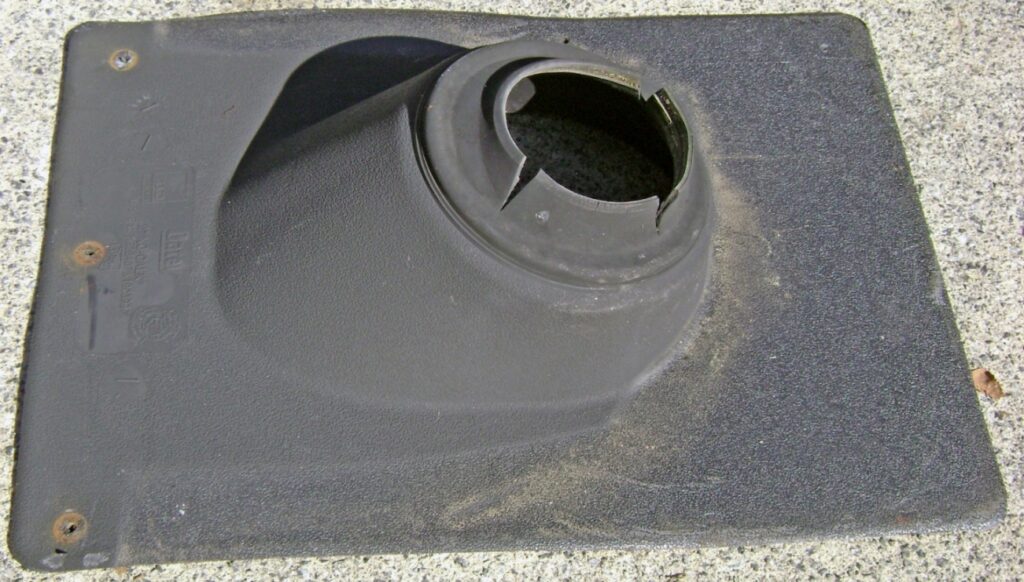
The boot on the old Oatey all-plastic vent flashing was severely cracked/split in the places. This broke the watertight seal around the 2″ PVC vent pipe and allowed rain water to leak in and run down the vent pipe onto the drywall ceiling. This vent boot failed after about 10 years on the southern exposure of the roof:
Side view of the cracked rubber vent pipe flashing:
Roof Vent Pipe Boots: A Better Method
My roof was later damaged in a hail storm and had to be replaced. The roofing company recommended Perma-Boot “A permanent solution for leaking pipe boots” which are installed over the standard pipe flashing. I like the Perma-Boot because it’s covers the vent flashing rubber boot and does a good job preventing squirrels from gnawing on the vent boot.
Take care,
Bob Jackson
Does the vent pipe after replacing the vent rubber boot need to have a cap on the top of tge roof vent? Where does the rain water go that hits the opening of the vent pipe?
I hope I get your reply. Thank you.
Ronlbrown@rogers.com
Hi Ron, vent pipes do not need caps or goosenecks as they are meant to drain through the sewer system. If there is trouble when it comes to animals trying to store nuts or things of that nature, then a cap may be advisable.
Does the vent pipe need a cap to prevent rain water going in it?
Hi Ron, vent pipes do not need caps or goosenecks as they are meant to drain through the sewer system. If there is trouble when it comes to animals trying to store nuts or things of that nature, then a cap may be advisable.