How to Repair Drywall Ceiling Water Damage – measure, cut and install the drywall repair panel then finish the drywall ceiling. This repair is continued from How to Repair Drywall Ceiling Water Damage – Part 2.
Measure and Cut the Drywall Repair Panel
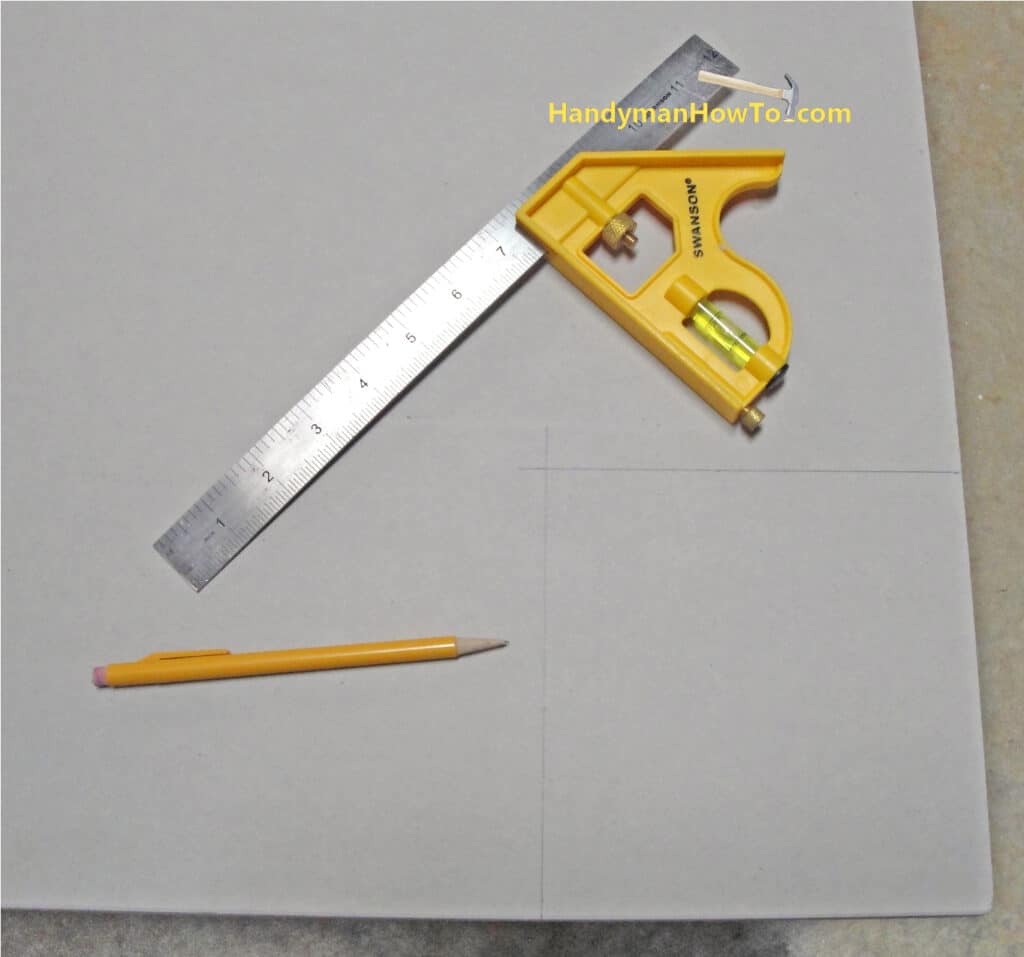
I purchased a 2ft x 2ft x 1/2in drywall panel for about $4 and marked a 6in by 6.5in square section to fit the hole I cut in the basement ceiling. Make the repair panel about 1/8 to 3/16 inch smaller (length and width) than the ceiling hole so the panel doesn’t bind. If you have a scrap piece of drywall laying about, that will also do fine. The curve in the edge of the panel in this photo is a fish-eye artifact from the camera lens.
Install the Ceiling Drywall Repair Panel
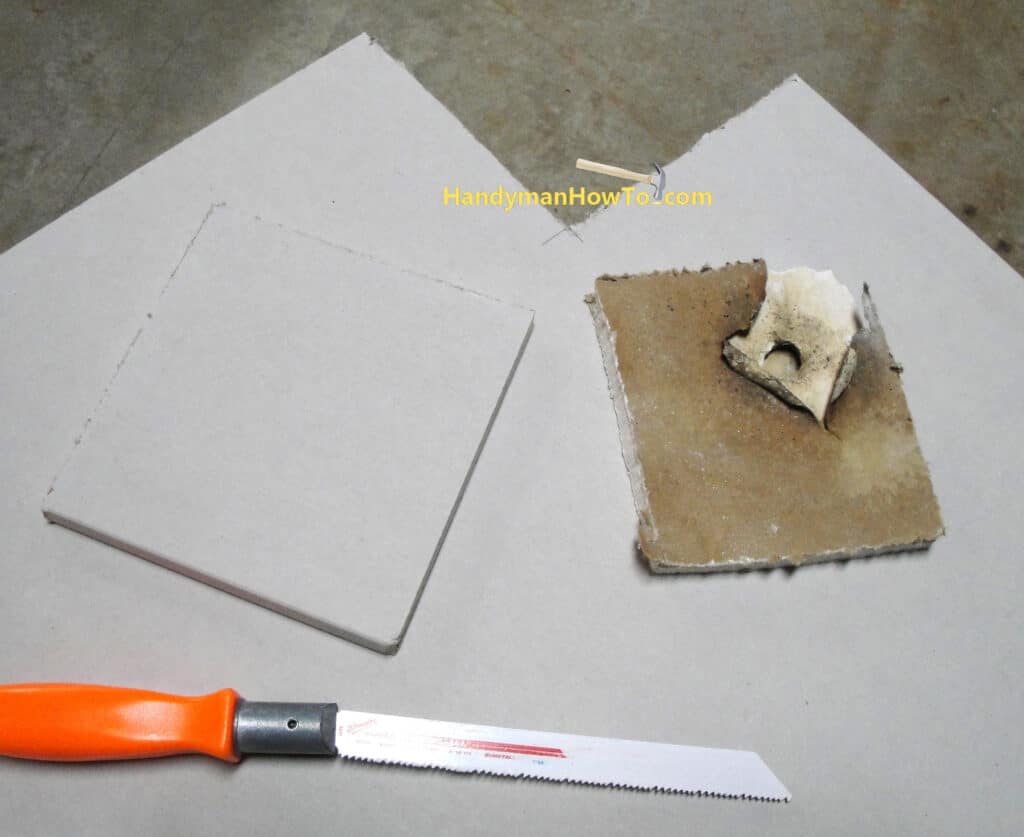
Here’s the drywall repair panel compared to the water damaged drywall section cut from the ceiling. I used a sawzall blade to the cut the repair panel because it has finer saw teeth for a cleaner cut.
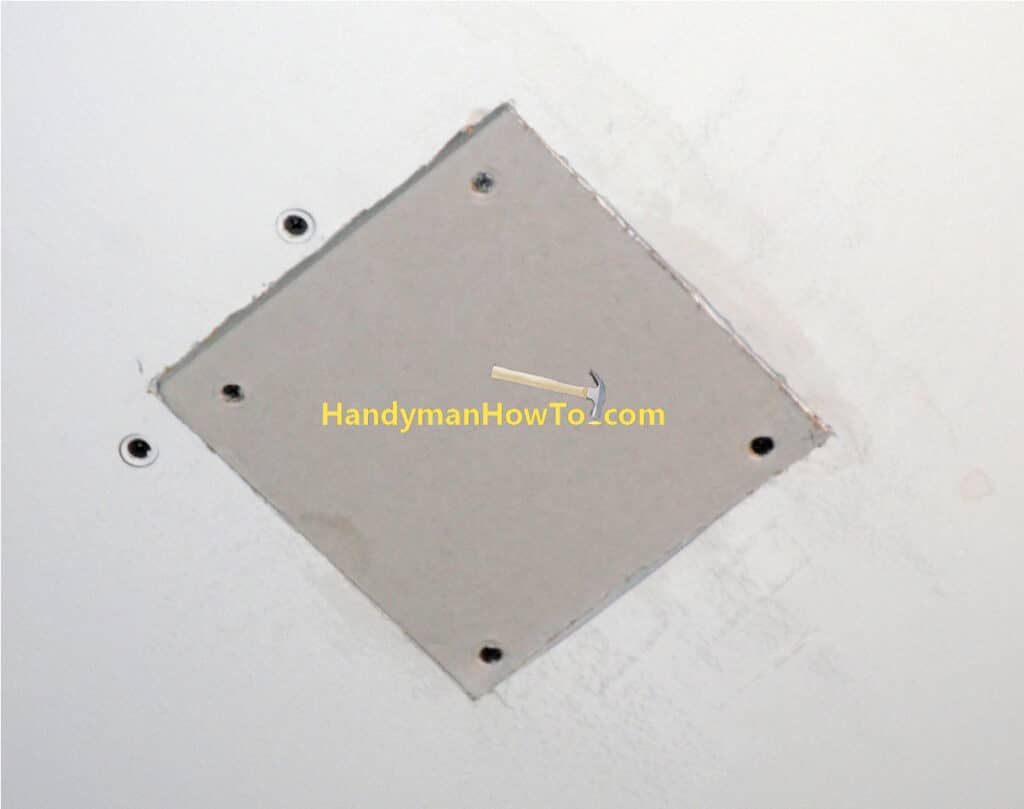
The drywall repair panel is trimmed to fit with the utility knife and fastened with four drywall screws to the plywood backer board and the suspended ceiling metal runners:
Tape and Mud the Drywall Repair Panel
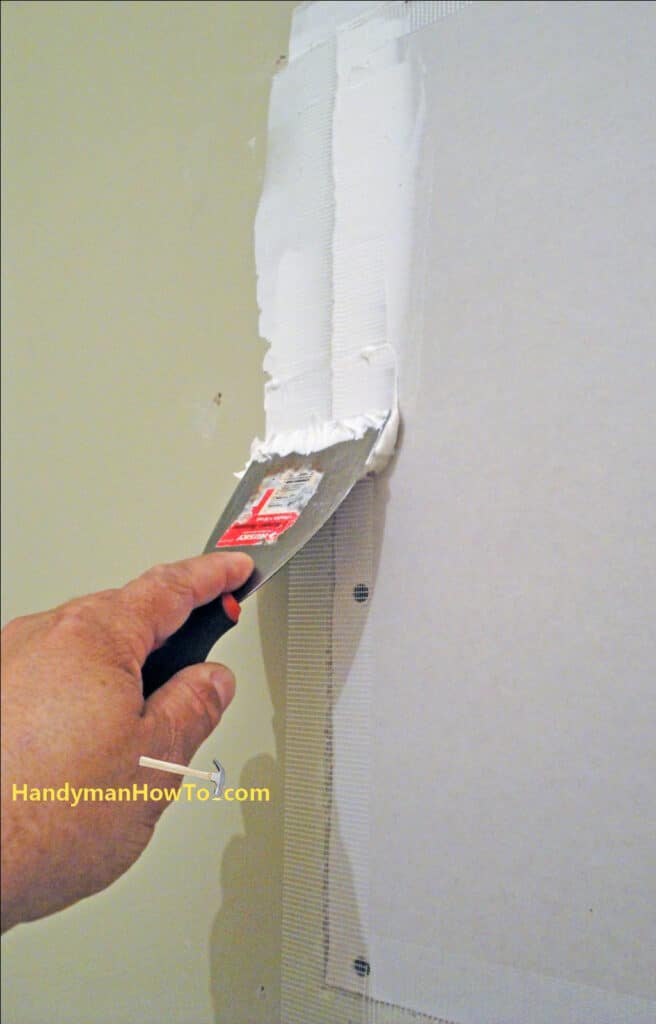
Self-adhesive fiberglass drywall joint tape is applied to the four joints of the repair panel. A thin coat of joint compound applied with a 4″ or 6″ blade. You can see the weave of the fiberglass tape if you look closely:
I forgot to take a photo of the fiberglass joint tape before I applied joint compound to the ceiling. This next photo illustrates the process from a job I was doing on the wall:
Apply Finish Coats of Joint Compound
Immediately after the fiberglass tape joints are mudded (“mud” is slang for drywall joint compound), spread a thin coat of drywall compound using the 12-inch blade and feathering the edges. Don’t delay because those feather thin layers of mud start to dry in minutes and will gum up the blade leaving gouges in the finish.
Tip: With drywall compound, “less is more“. The less you put on the less sanding you’ll have to do later.
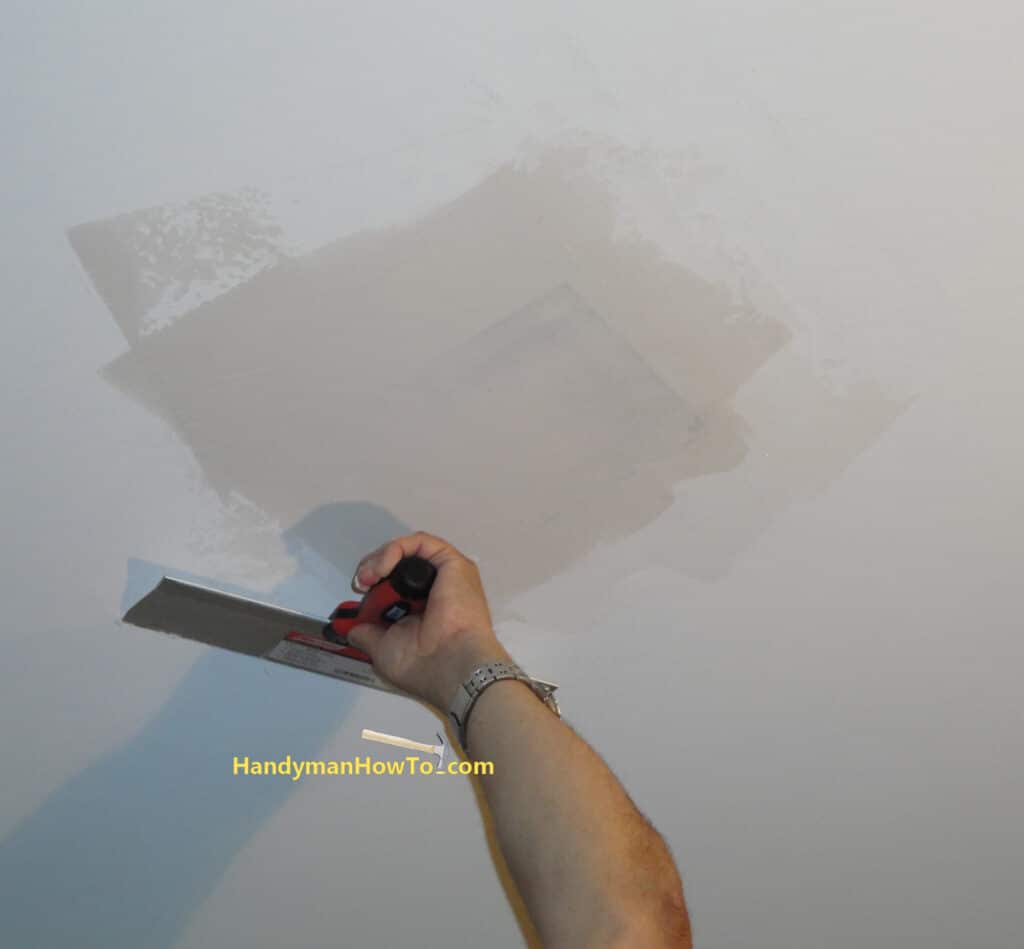
The next photo is the ceiling patch after the first application of drywall compound with the 12 inch blade. I let this dry overnight before sanding:
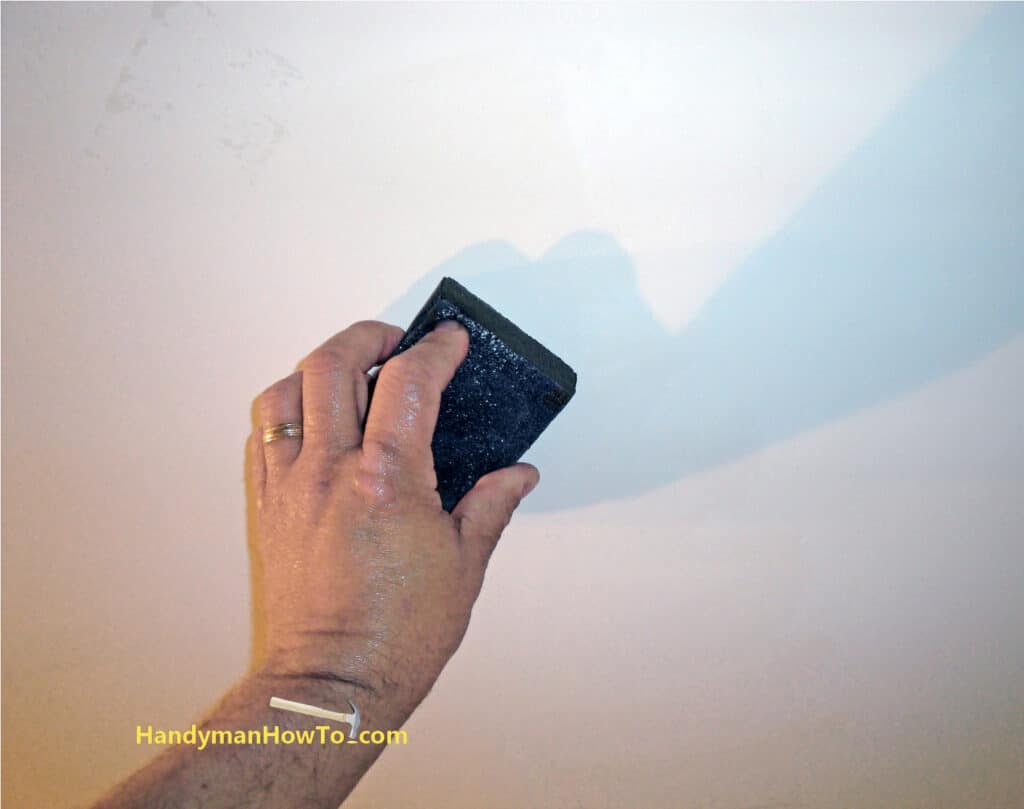
Drywall Finishing – Wet Sanding
The next day, I used a wet sanding sponge to smooth the high spots and feather the repair into the main ceiling. A drywall sanding sponge is a sponge made with an abrasive surface. Dip the sponge in a bucket of water, squeeze out the excess water so it’s damp but not dripping then sand with almost no dust. Rinse the sponge in water as needed to remove the joint compound that will clog up the sponge:
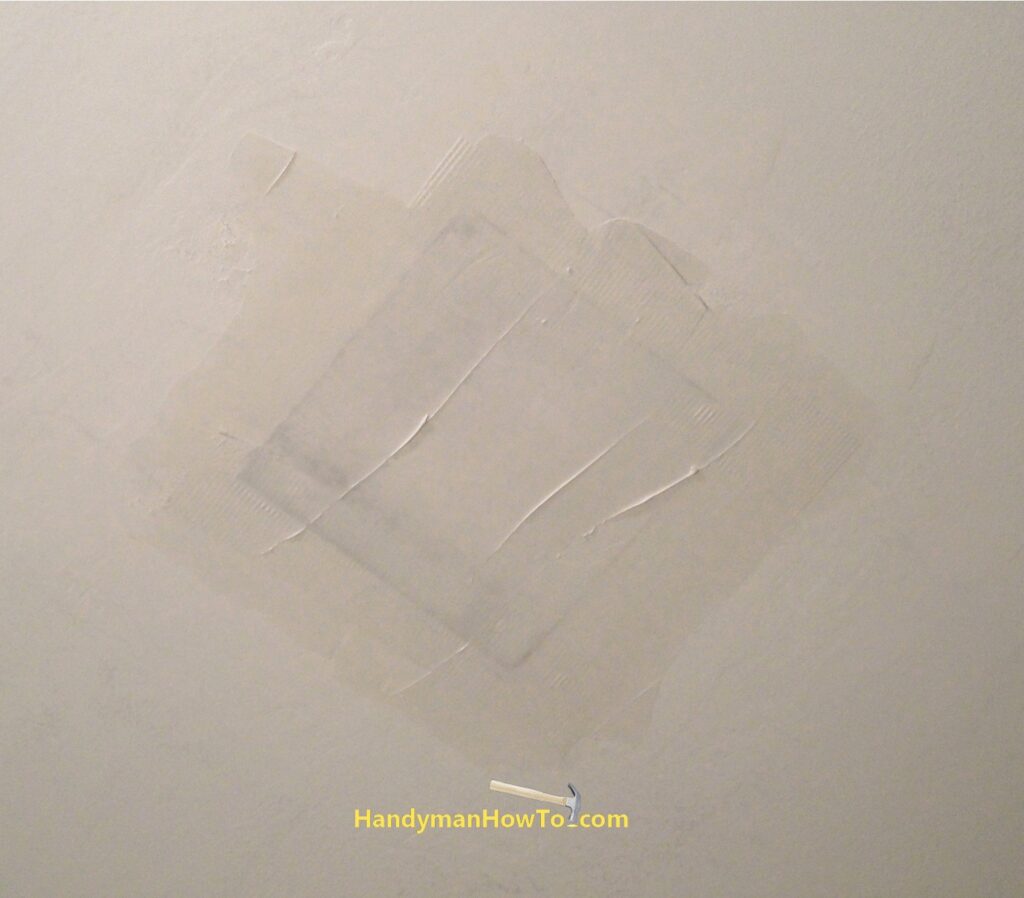
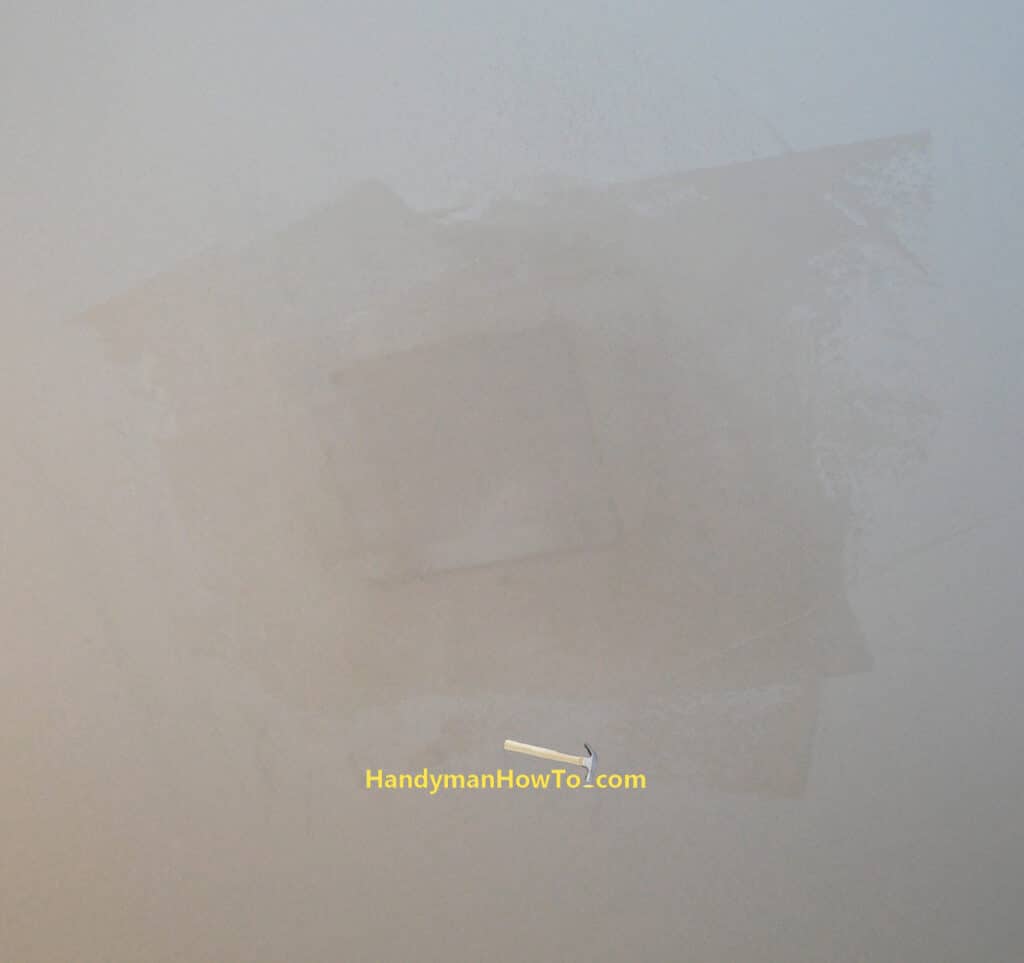
After sanding I applied a very thin second coat of joint compound with the 12 inch blade, let dry and wet sanded. Here’s the ceiling patch ready to be painted. The nearly white-on-white doesn’t contrast well for the camera:
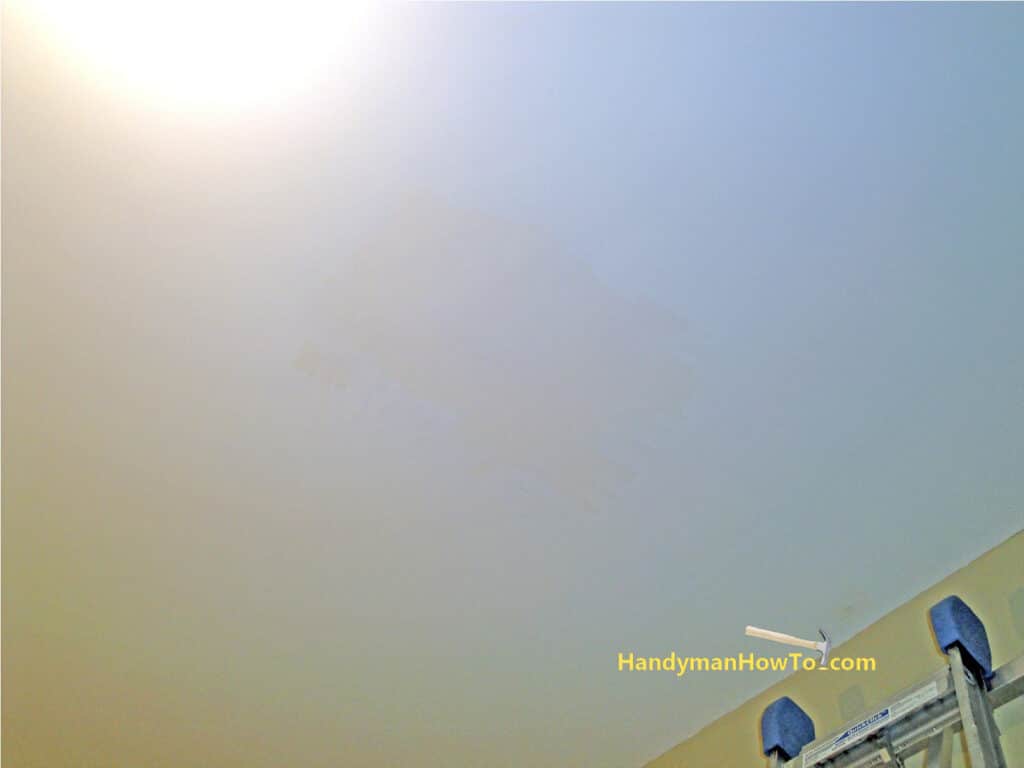
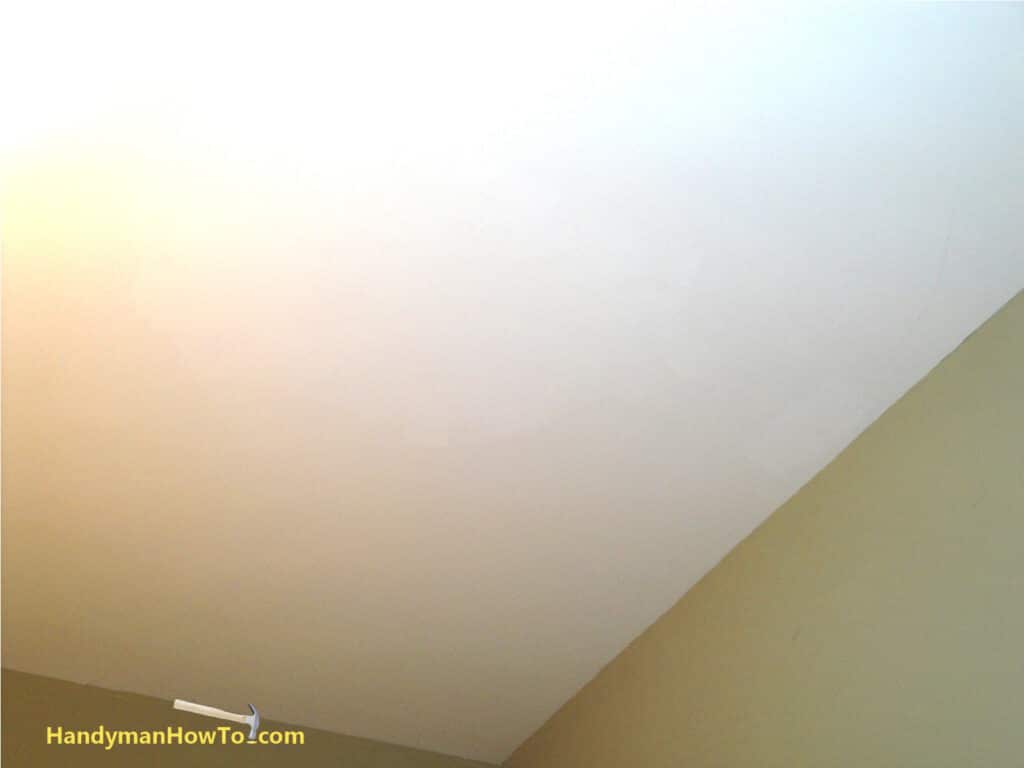
If you look closely (click on the photo for a larger view) you can see the brighter edges of the where I painted the ceiling patch. I took a small sample of the ceiling to the local paint store for a computer color match, but as the salesman explained, the computer isn’t perfect and whites are especially hard to make an exact color match.
Hope this project saves you some money!
Take care,
Bob Jackson