The old 3 inch vent duct is traced from the bathroom ceiling to an interior soffit in the garage where it connects to the outdoor vent. Locating and accessing the old duct is necessary to remove it before installing new insulated 4 inch duct. This project is continued from How to Replace a Bathroom Exhaust Fan and Ductwork – Part 1.
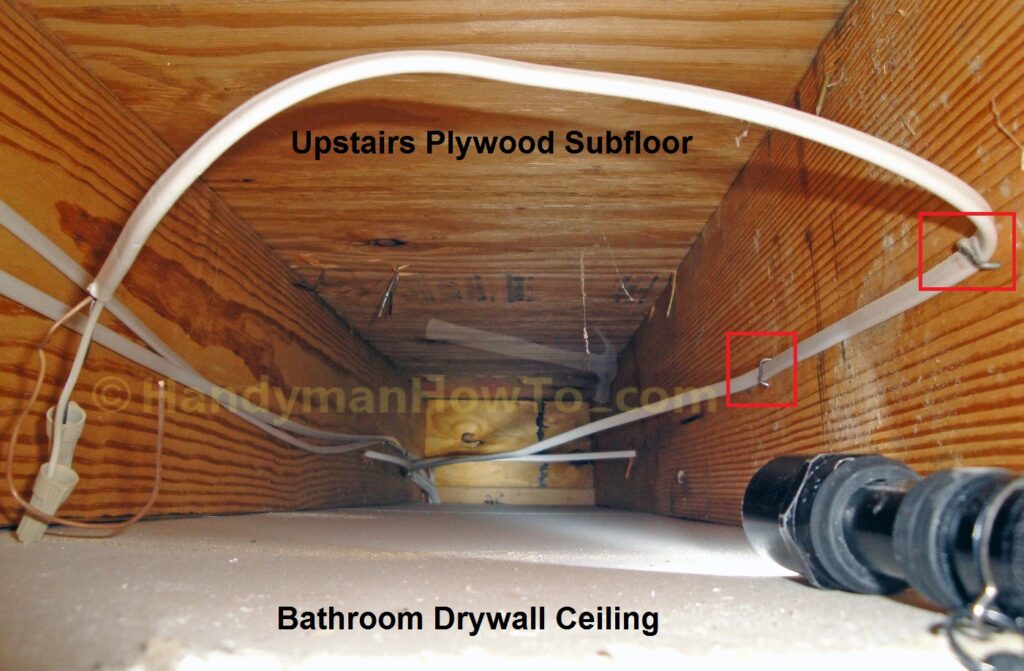
Having removed the old bathroom ceiling vent fan, I can now see into the space between the joists for the 1st and 2nd floors to get a look at the ductwork and wiring.
Bathroom Ceiling Ventilation Fan Electrical Wiring
The bathroom electricity was shutoff before removing the vent fan. Since I don’t like working in the dark, I twisted wire nuts on the disconnected black (hot) and white (neutral) NM-B 14/2 electrical wiring to protect against electrical shock. Give the wire nuts a tug to verify they’re secure and won’t fall off! I then turned on the electricity at the circuit breaker panel:

I pushed the bathroom ceiling fan wiring out of the way and looked into the space between ceiling joists. The 2nd floor is supported by 2 x 10 inch wood joists spaced on 16 inch centers. I checked the new Panasonic WhisperCeiling FV-11VQ5 wiring hookup and determined the NM-B 14/2 electrical cable wouldn’t be long enough to reach the junction box on the far side of the Panasonic bathroom fan unless I remove the two wire staples in the red boxes and reposition the electrical cable to the floor joist on the left side of the photo. I pulled out the cable staples with a pair of pliers being careful not to damage the insulation. It was awkward standing on a step ladder with just one arm reaching through the hole in the drywall ceiling:
Bathroom Ventilation Fan Duct Removal
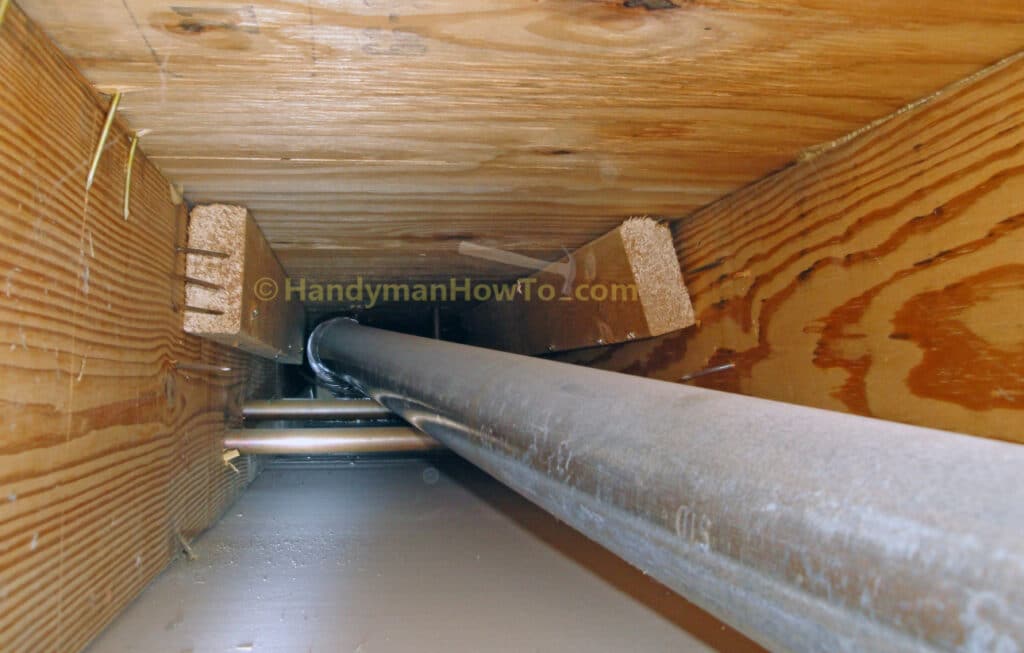
Looking the other way between the floor joists towards the garage there is an ~8 feet long section of 3 inch galvanized duct pipe connected to 3 inch flexible duct. I don’t like the galvanized duct pipe resting on the hot and cold copper water pipes because metal-on-metal contact can transmit vent fan vibration and noise:
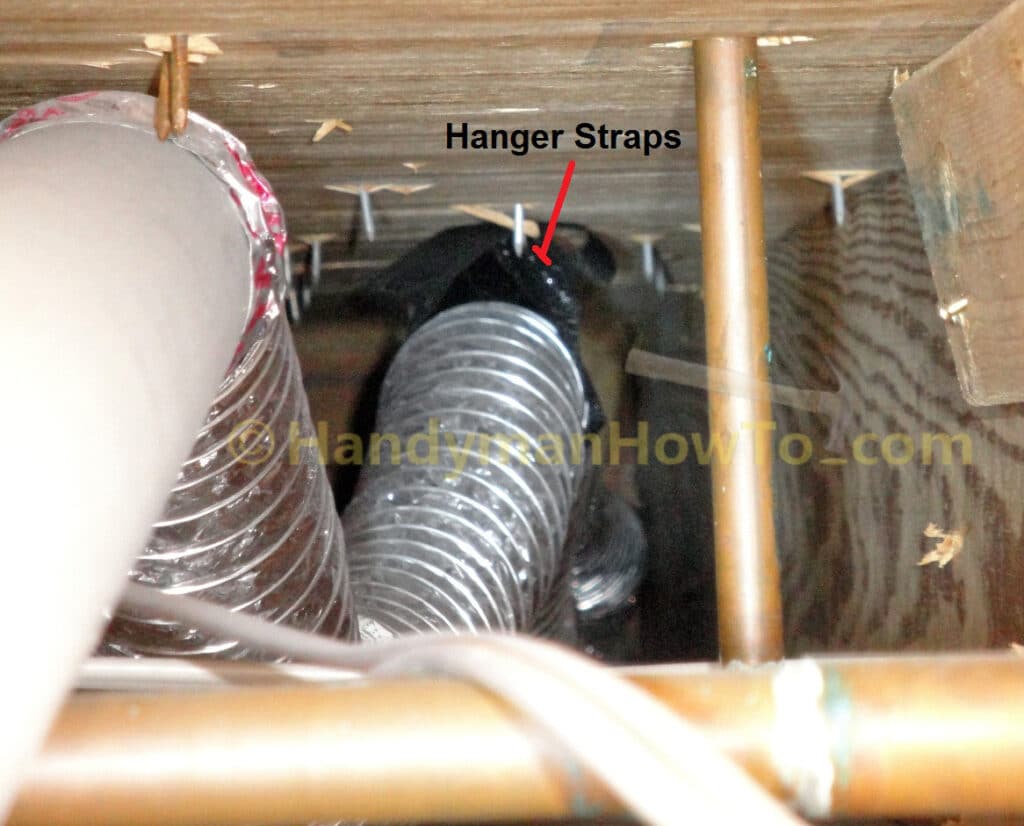
I moved the 3 inch galvanized duct pipe to the left and zoomed in with the camera to get a better look at the 3 inch flexible duct. The 3 inch flex duct is suspended from the plywood subfloor with two nylon hanger straps. I pushed my tape measure along the drywall ceiling to the far wall and found the total length of the galvanized and flexible duct to be about 17 feet.
It appears the flexible duct is routed into the garage on the other side the wall:
Interior Soffit for Concealed Ductwork
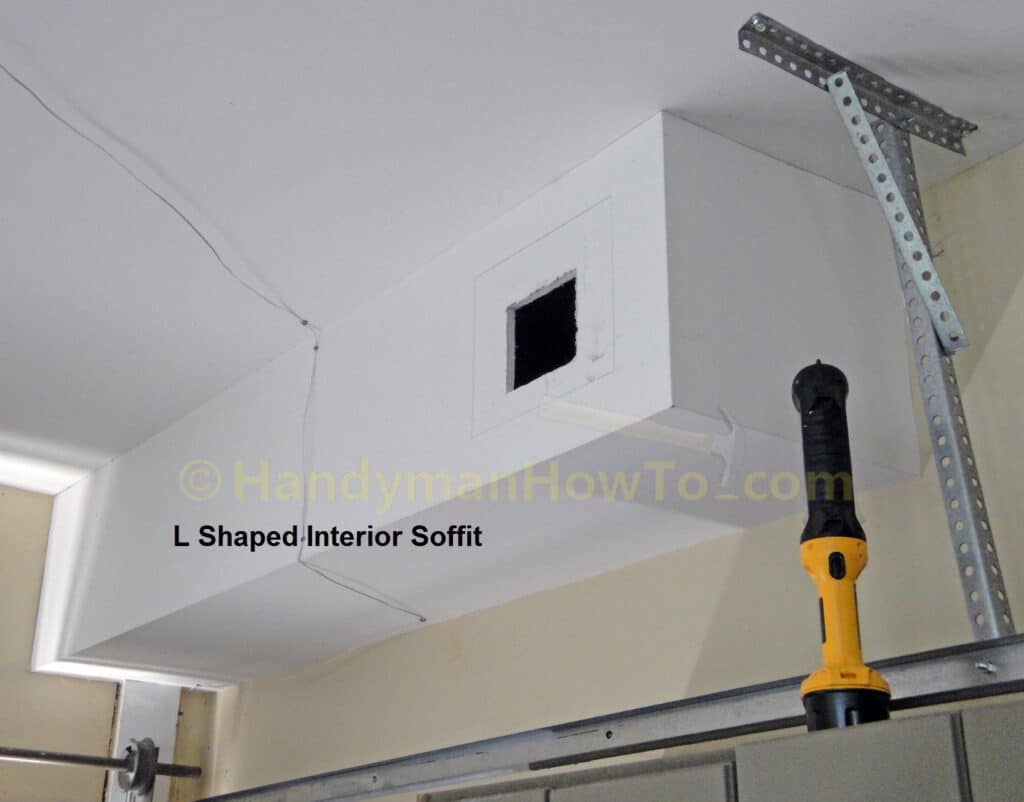
Inside the garage there is an L-shaped interior soffit built to conceal the bathroom ventilation fan duct. Checking the floor plan and ceiling duct, the interior soffit is positioned in the right place for this purpose:
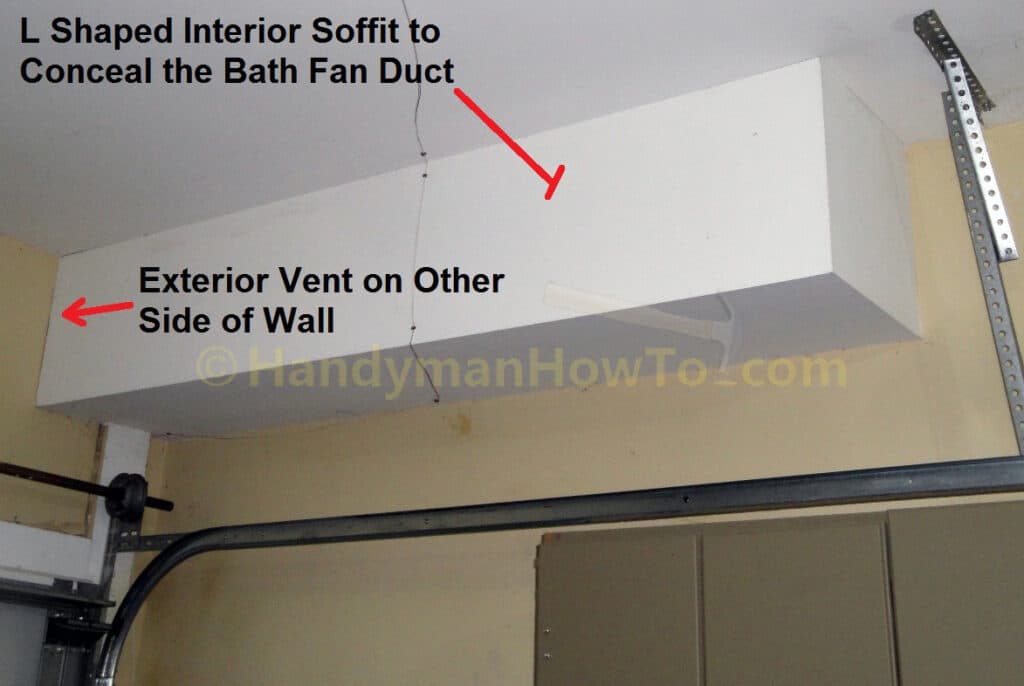
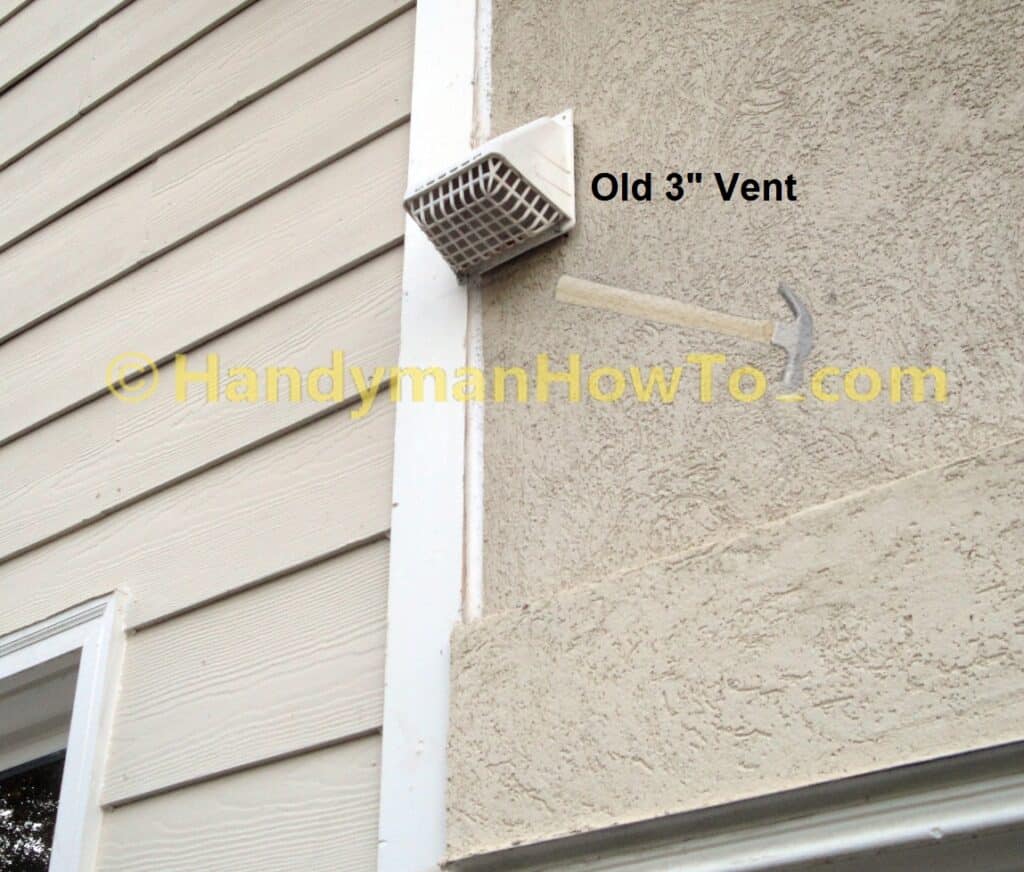
The old 3 inch bathroom ceiling fan vent is located above the garage door in a position aligned with the interior soffit:
Make a Drywall Access Panel
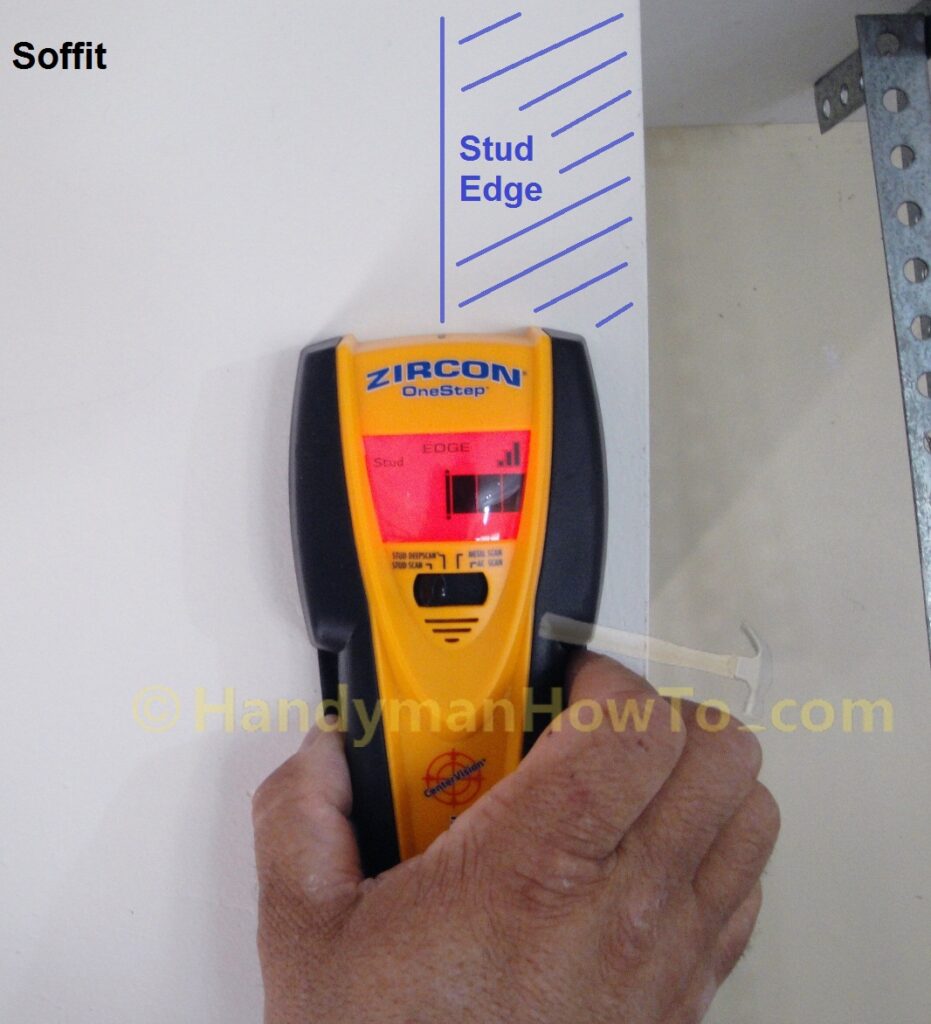
An inspection hole will be cut on the interior soffit and covered with a drywall access panel. The access panel is required to replace the old 3 inch vent duct with 4 inch duct required by the Panasonic WhisperCeiling FV-11VQ5. I located the edge of the soffit framing stud with my stud finder and electrical scanner. Don’t want to get shocked by accidentally sawing into a live wire hidden behind the drywall! In the next photo, I’ve located edge of the framing stud. I scanned to the left to locate the next stud and while scanning for live electrical wires:
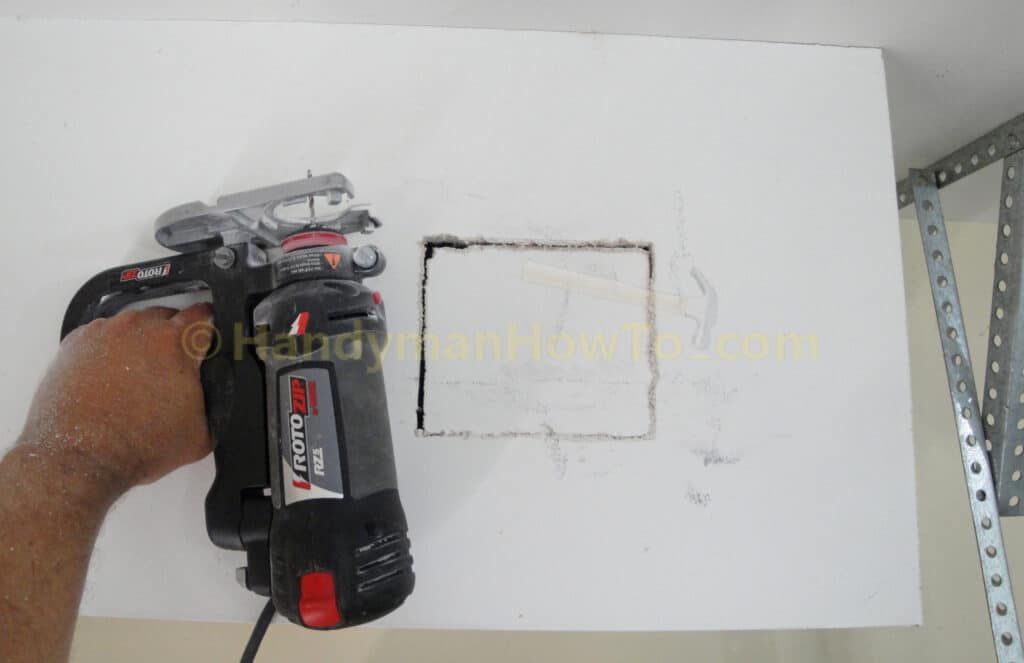
I cut a small inspection port on the drywall of the interior soffit with my RotoZip spiral saw to get a look at where the ductwork enters the soffit from the master bathroom:
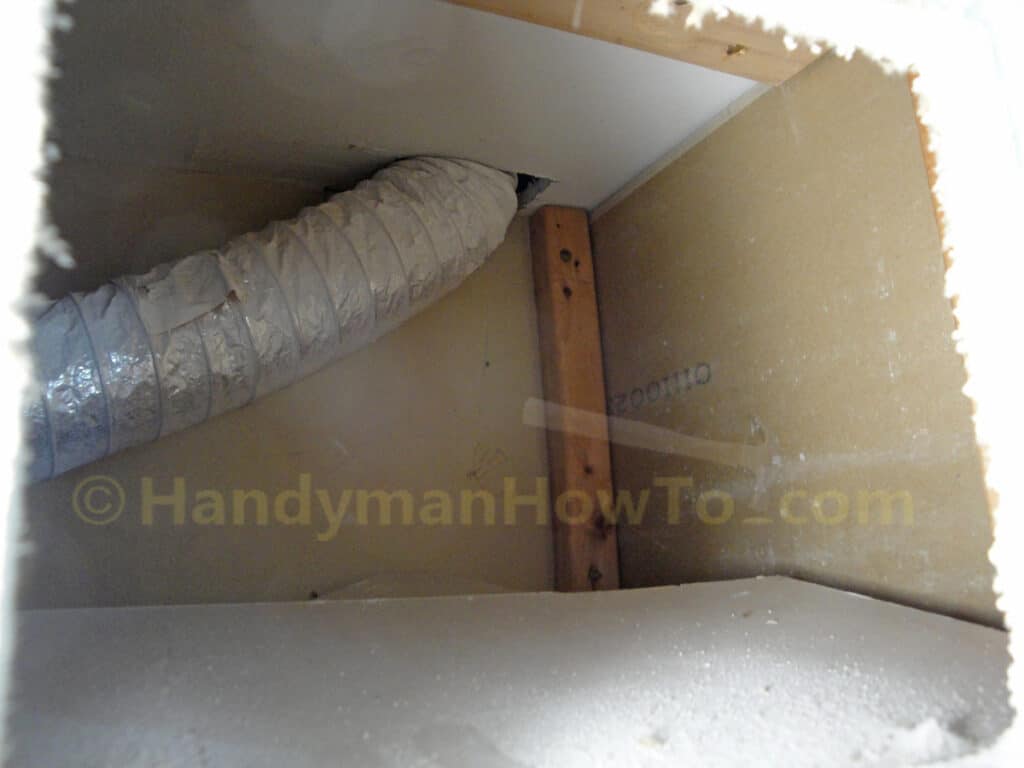
Success! The 3 inch flexible duct enters the soffit from the area above the master bathroom ceiling:
After verifying there were no obstructions, wiring or plumbing inside the soffit, I marked a 14 inch by 15 inch box for a drywall access panel on the interior soffit with a spirit level. The access panel will be large enough to enable me to work inside the soffit to replace the old 3 inch vent duct with new 4 inch duct.
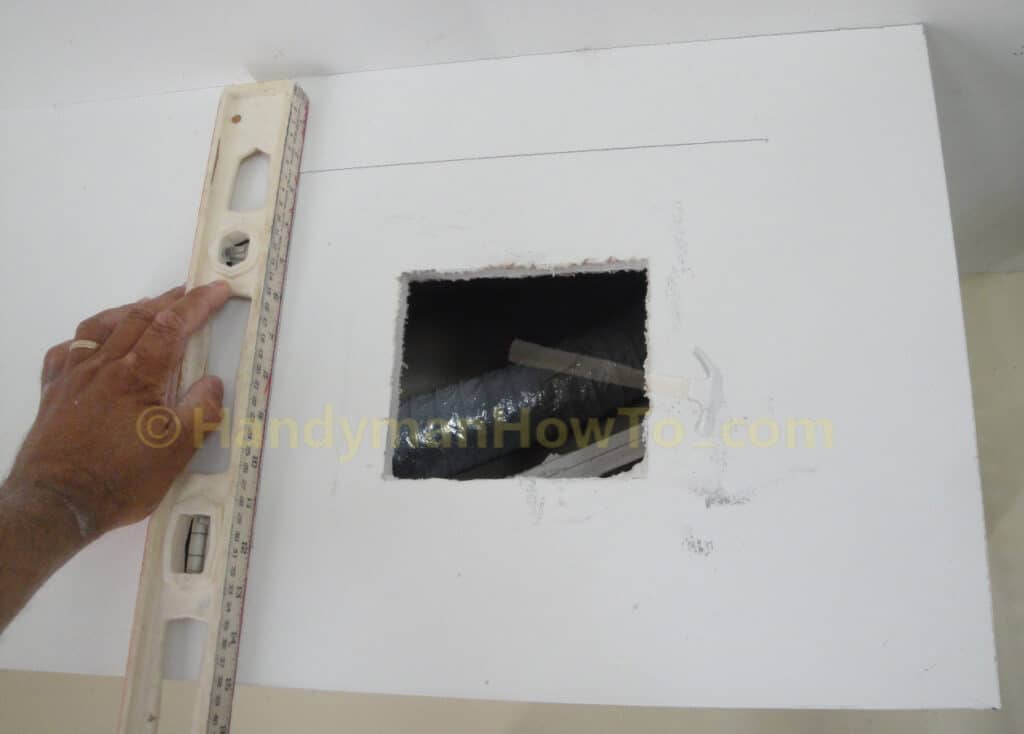
The dimensions of the drywall access panel as marked on the interior soffit in the garage:
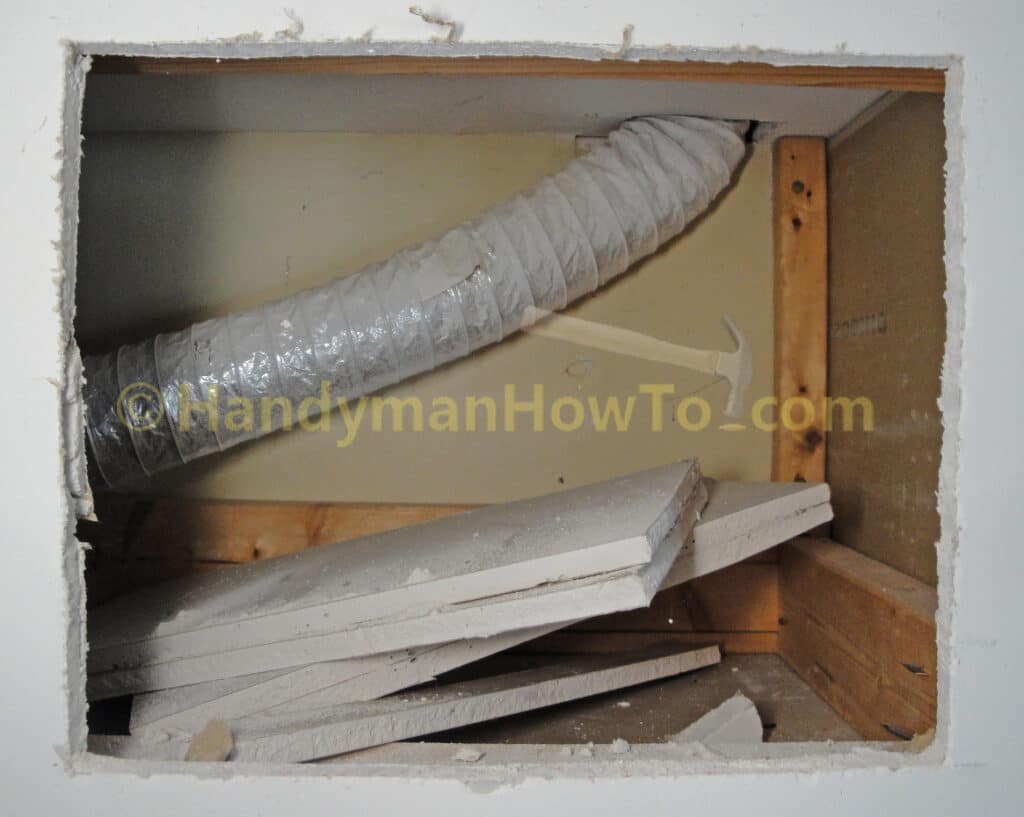
The drywall access panel opening is cut on interior soffit. It appears the drywall contractor was lazy and left scraps of drywall inside the soffit:
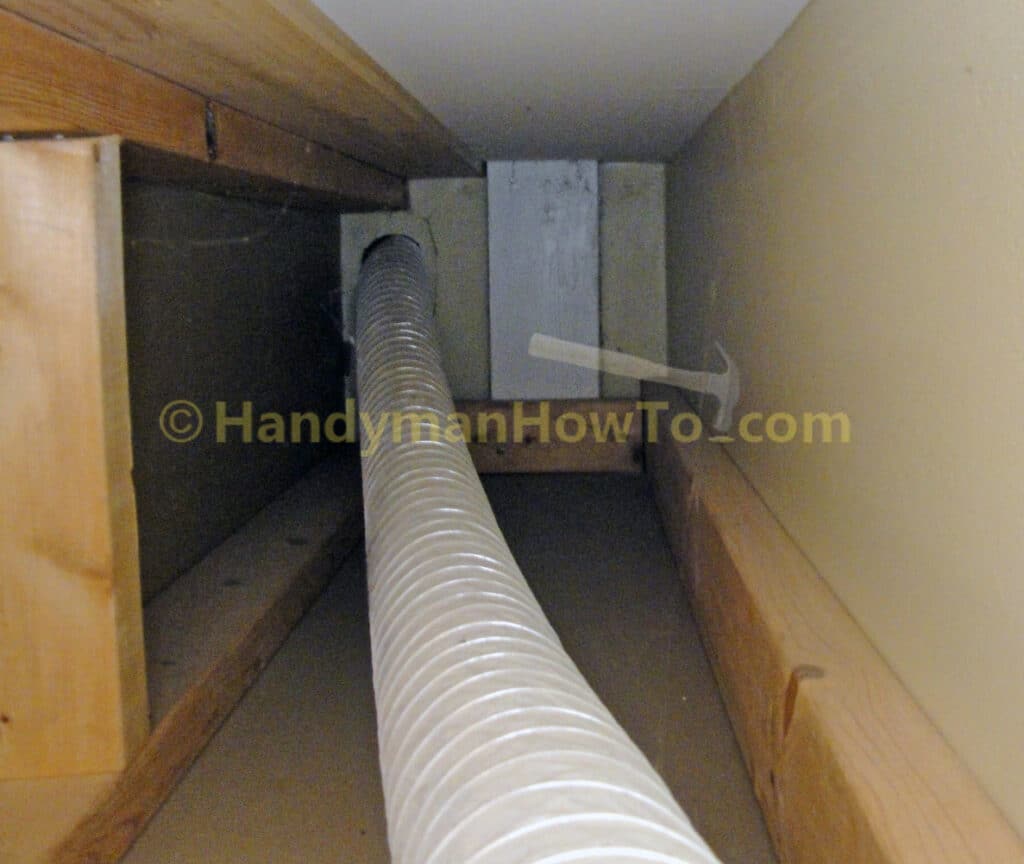
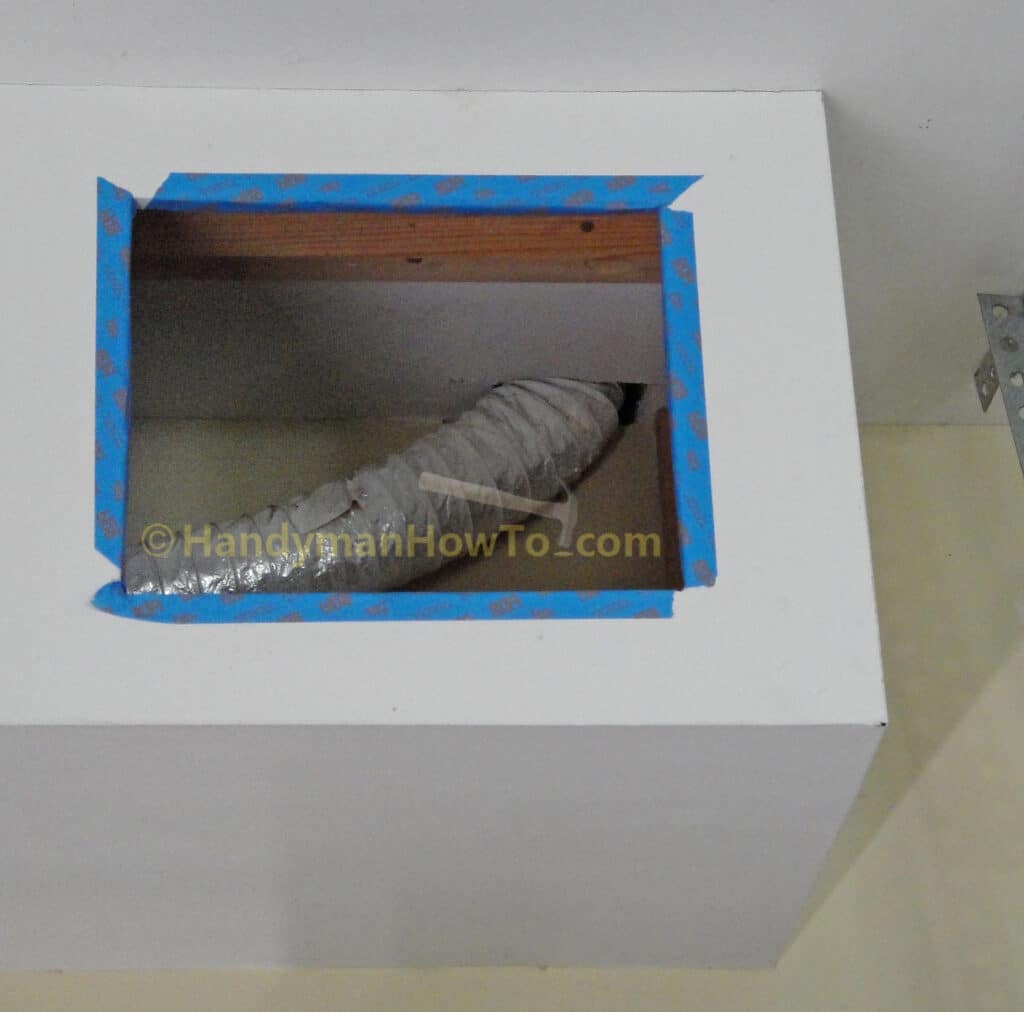
Looking inside the interior soffit, the 3 inch flexible vent duct runs to the exterior wall above the garage door. This is an example of the architect not taking into account bathroom ventilation requirements. The bathroom vent fan is located just 8 feet from the closest exterior wall but the floor joists run parallel to the bathroom wall the fan vent duct had to be run about 25 feet in an ‘L’ shaped route through the garage to get outside. Long duct runs, elbows and other turns increase the ductwork air friction losses and reduces the bathroom vent fan efficiency. Another problem is water condensation will form in the uninsulated duct run through the unheated garage which can pond and leak onto the drywall. I’ll install insulated duct to minimize condensation.
I sealed the edges of the drywall access panel opening with painters tape to keep the dust from rubbing off on my arms and hands:
This project is continued in How to Replace a Bathroom Exhaust Fan and Ductwork – Part 3.
Thanks for reading,
Bob Jackson