Pull the new 4 inch insulated flexible duct through the garage and cut a larger hole in the exterior wall to install the new vent cap.
This project is continued from How to Replace a Bathroom Exhaust Fan and Ductwork – Part 6.
Bathroom Ventilation Fan – Install the Vent Cap
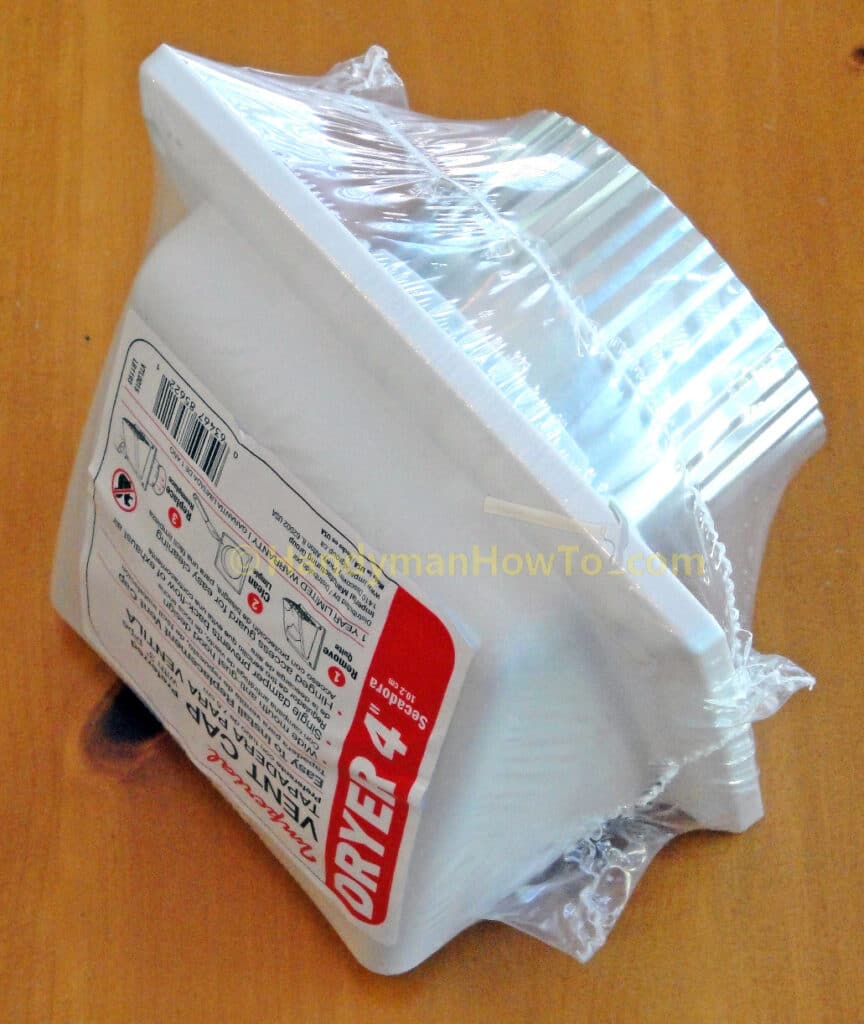
The old economy bathroom vent fan used a 3 inch diameter duct and vent cap. The new Panasonic WhisperCeiling model FV-11VQ5 exhaust fan requires 4 inch diameter duct and vent cap. I purchased a 4 inch vent cap with a bird guard and damper to prevent back-drafts:
This is the old 3 inch vent cap that will be replaced with the 4 inch vent cap:
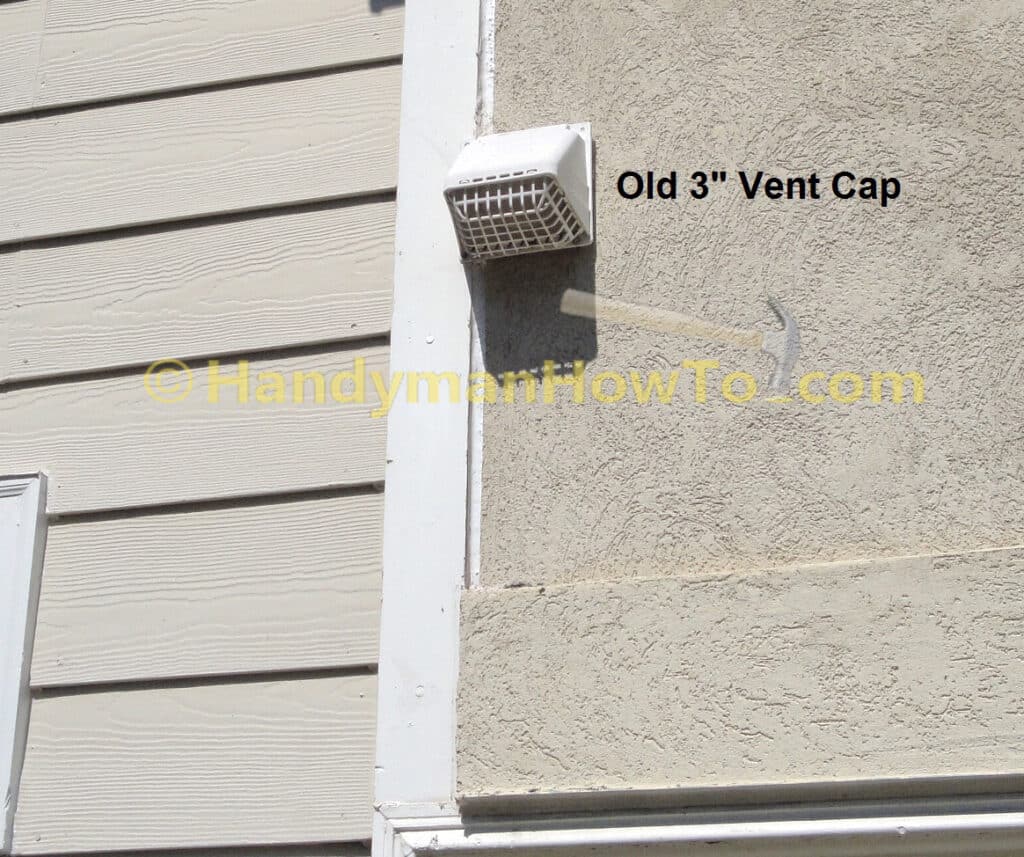
The old 3 inch vent cap was mounted to the exterior wall with three screws:
- Two screws were set in the wood trim.
- A 3rd screw wood screw was loosely set in the stucco wall at the bottom right position.
A masonry screw should have be used here instead of a wood screw. - No screw was present at the top right position on the vent cap. However, there is a rather large screw hole in the stucco wall.
The surprise was the vent cap was not taped and sealed to the 3 inch vent duct! A goober job by the low bidder with no quality control!
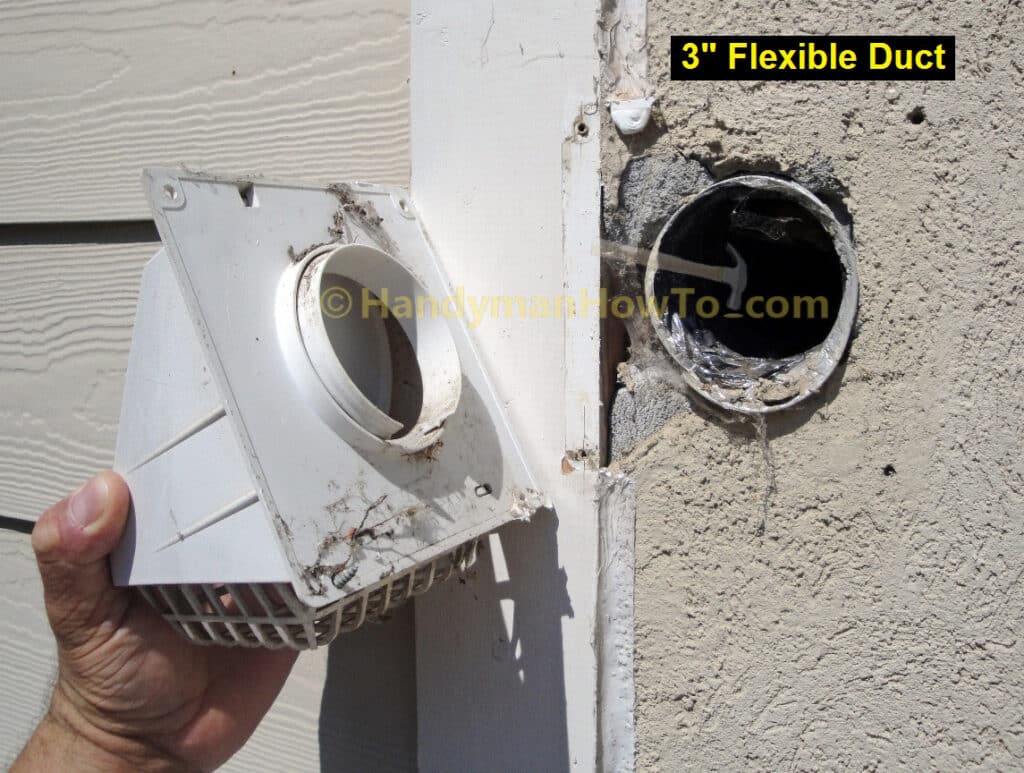
I pushed the old 3 inch flexible duct into the wall to see inside the interior soffit inside the garage. I looked and felt inside the old 3 inch duct hole to make sure no wires, plumbing, wall studs or joists were in the way before enlarging the hole to 4-1/4 inches with a hole saw.
Vent Cap Installation: Exterior Wall Hole Saw
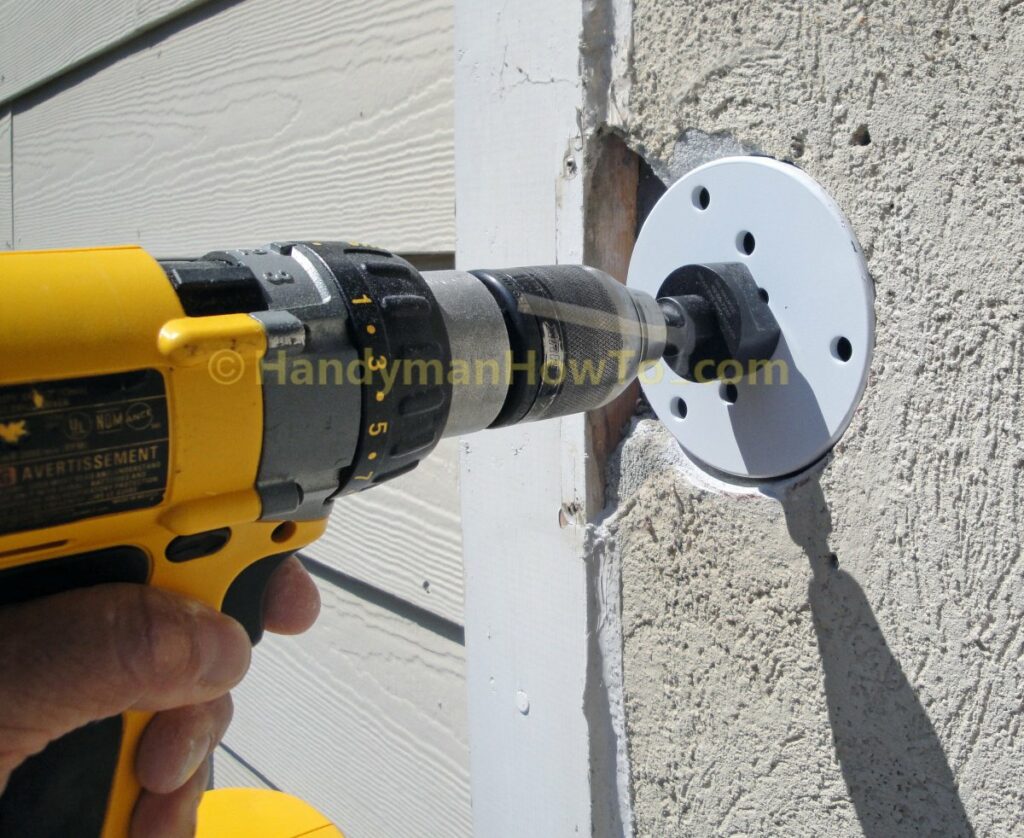
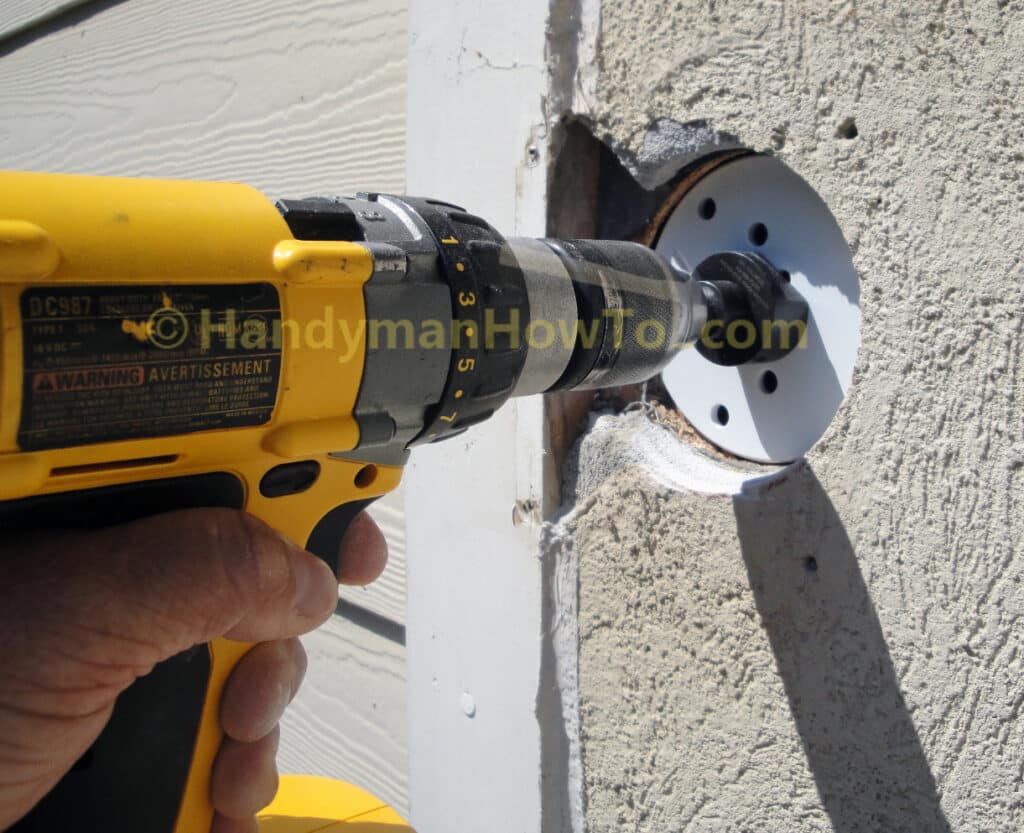
The old 3 inch hole in the exterior wall must be enlarged to 4-1/4 inches for the new 4 inch ductwork and vent cap. A 4-1/4 inch hole saw is perfect for the job. The extra 1/4 inch diameter translates to a 1/8 inch clearance (radius) around the 4 inch flexible duct:
The pilot drill bit in the center of the hole saw doesn’t help when enlarging the old 3 inch hole. To accurately drill the new hole, I held the hold saw centered and marked the hole saw outline with a red felt pen. I held the drill with both hands and began drilling at a slow speed until the blades cut groove. With the initial groove made in the wall to guide the blade I could drill at full speed:
Continue drilling until the hole saw cuts through the exterior and interior walls. I ruined the teeth on the wood-rated hole saw by cutting through cement stucco wall. The local hardware store didn’t stock a 4-1/4 inch masonry hole saw so I wrote it off as a cost for getting the job done:
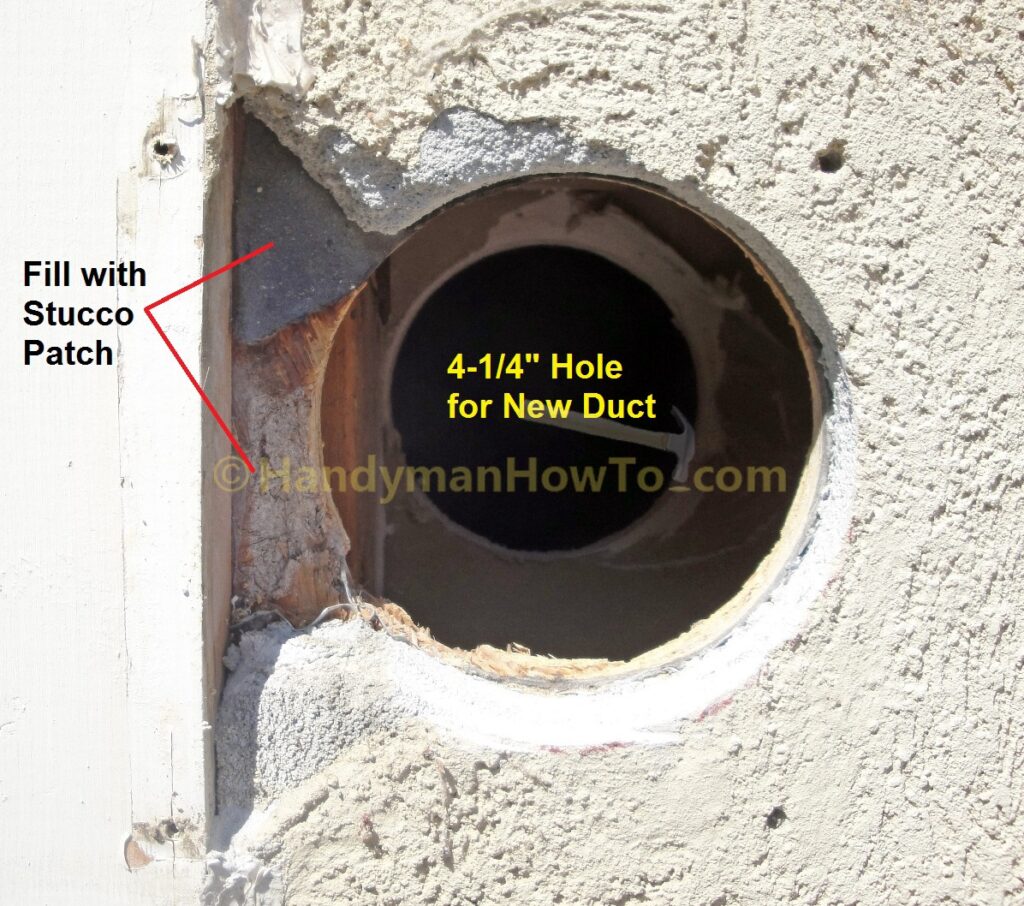
The hole saw did a fine job at making a perfect 4-1/4 diameter hole through the exterior and interior walls. A piece of the cement stucco broke off while drilling. I’ll fill this with stucco patch and caulk the seam next to the wood trim.
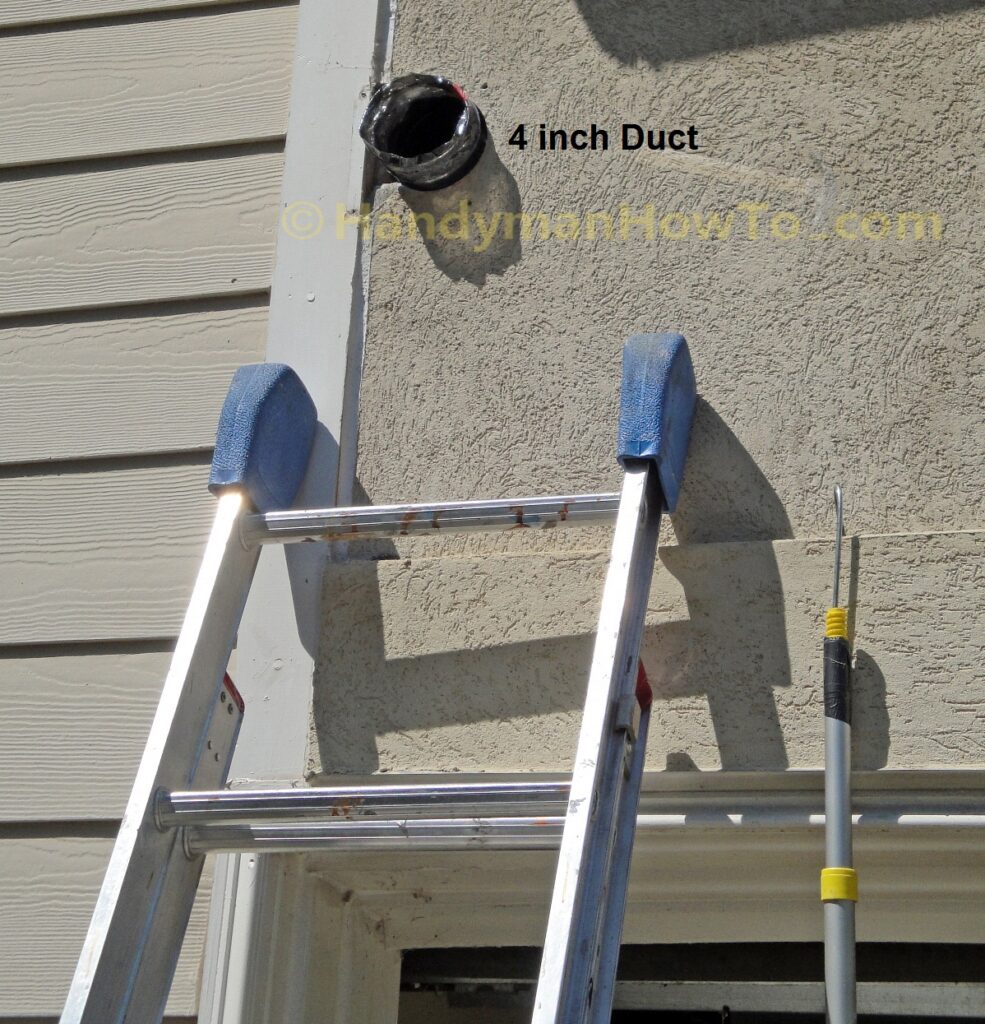
Fishing Flexible Duct
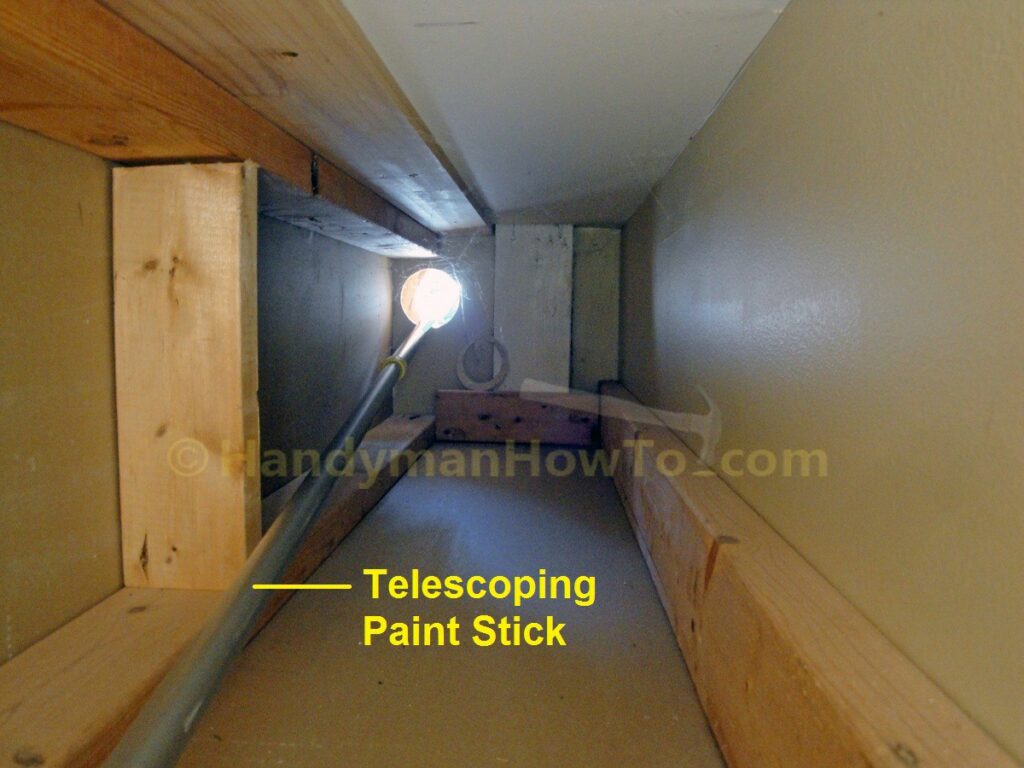
This is the view from from the garage interior soffit to the 4-1/4 inch hole drilled in the exterior wall. I pushed a telescoping paint stick through the exterior wall in preparation for pulling the new flexible duct through the soffit to the outdoor vent cap hole. Notice the drywall ring cut by the hole saw at the far end of the soffit:
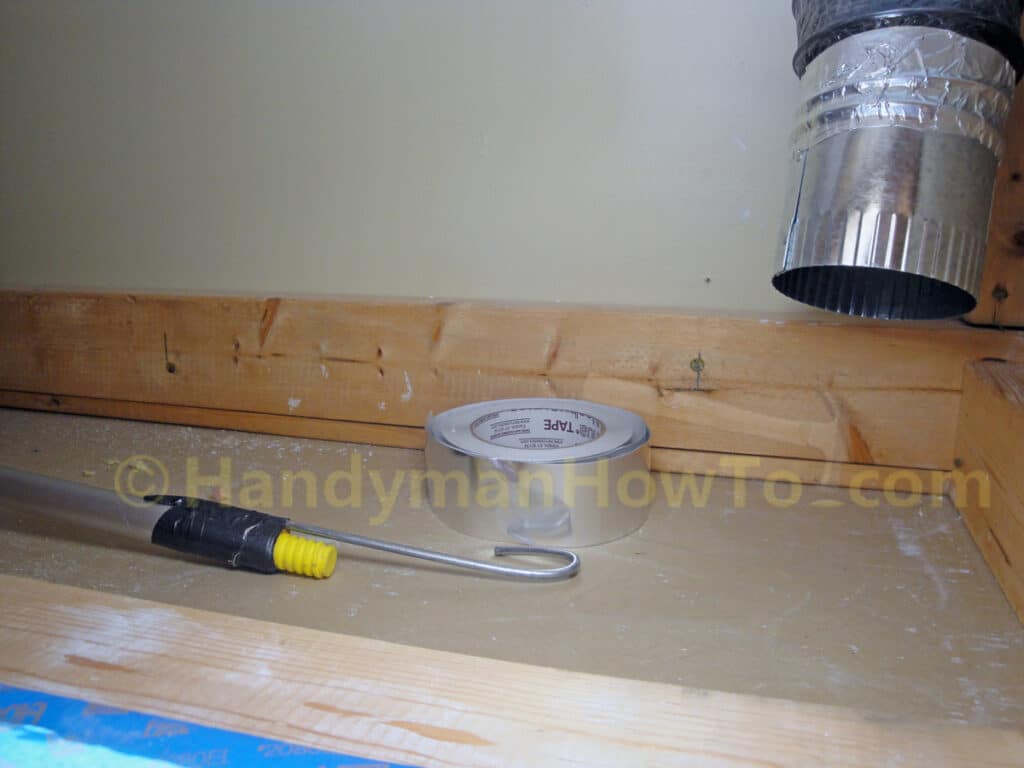
Looking through the drywall access panel made in the interior soffit, the paint stick with a hook will be used to fish (or pull) the new insulated flexible duct through the soffit:
I installed the new 4 inch flexible duct through the interior soffit by:
- Attach the flex duct to the paint stick hook and secured it with a piece of duct tape so the hook won’t slide along the duct wire coil and tear the flex duct plastic liner.
- While my helper fed the flex duct through the drywall access panel, I pulled the flex duct through the soffit with the paint stick.
- When the flex duct was fished to the exterior wall, I reached through the 4-1/4 hole in the exterior wall pulled the flex duct inner core outside.
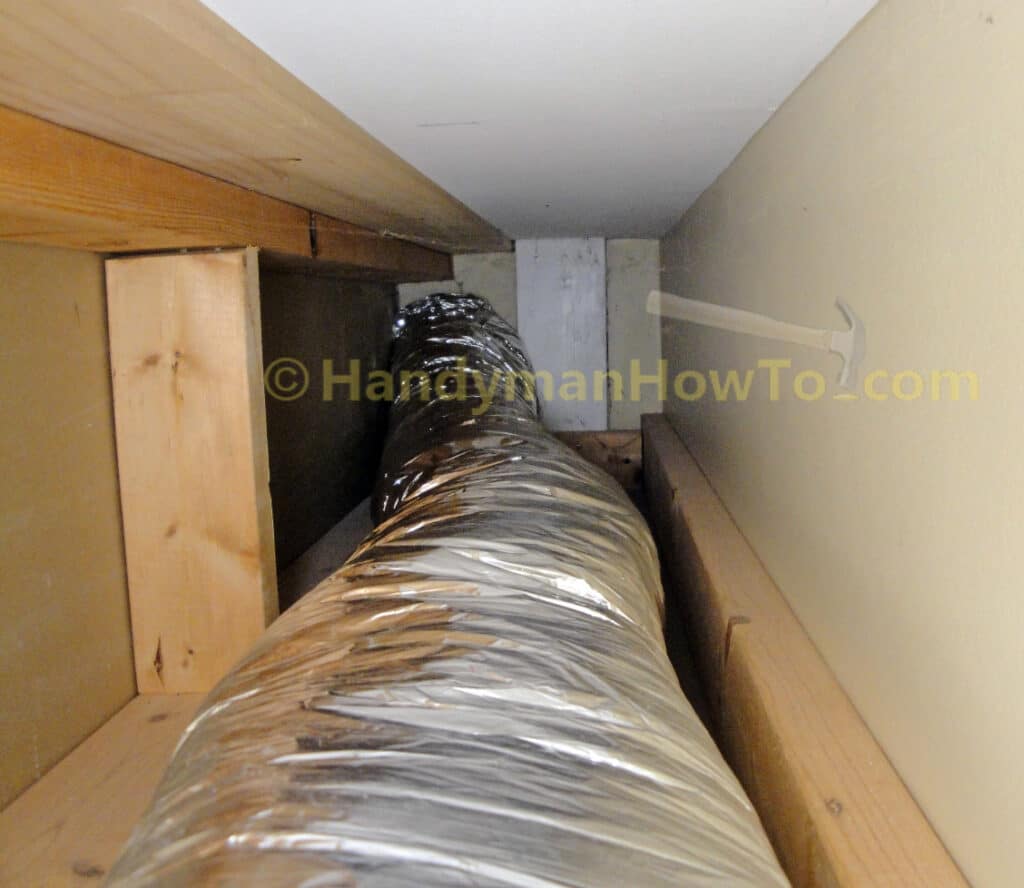
The new 4 inch flex duct inner liner extends a couple of inches past the exterior wall so I can tape and seal it to the vent cap:
Install the Vent Cap
The flexible duct inner liner is slipped onto the 4 inch vent cap and taped with two layers of metal foil HVAC tape. A worm gear metal band is desirable after sealing with HVAC tape, but there is no room for the band clamp inside the hole:

I filled the old screw holes in the stucco with stucco patch, then fastened the vent cap with two wood screws to the wood trim. I only used to wood screws to mount the vent cap because:
- Two wood screws are more than sufficient for the light plastic vent cap.
- There is large almost 5/8 inch between the right side of the vent cap and the stucco wall because the wood trim extends beyond the stucco wall and the vent cap sits flush with the wood trim. Driving screws in the stucco would only make more holes and warp the vent cap. Due to the lack of planning by the home builder, I couldn’t relocate the vent cap to rest wholly on the stucco wall because the wall studs are in the way… and it’s not a good idea to cut the load bearing studs.
I filled the gap between the stucco wall and vent cap with foam backer rod then caulked the perimeter of the vent cap to make a watertight seal in How to Replace a Bathroom Exhaust Fan and Ductwork – Part 8.
Thanks for reading,
Bob Jackson