This project is continued from How to Replace a Pop-Up Sink Drain – Part 2.
The rubber drain gasket and steel washer are stuck to the bottom of the bathroom sink. It was easy enough to pull out the old rubber gasket with my fingers.
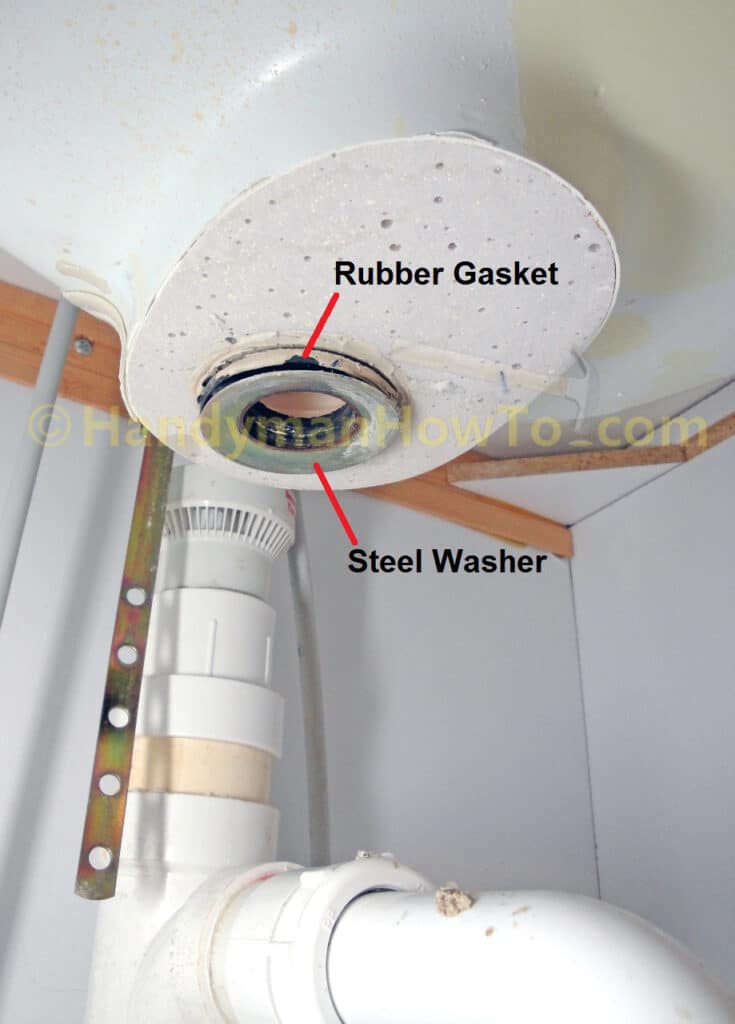
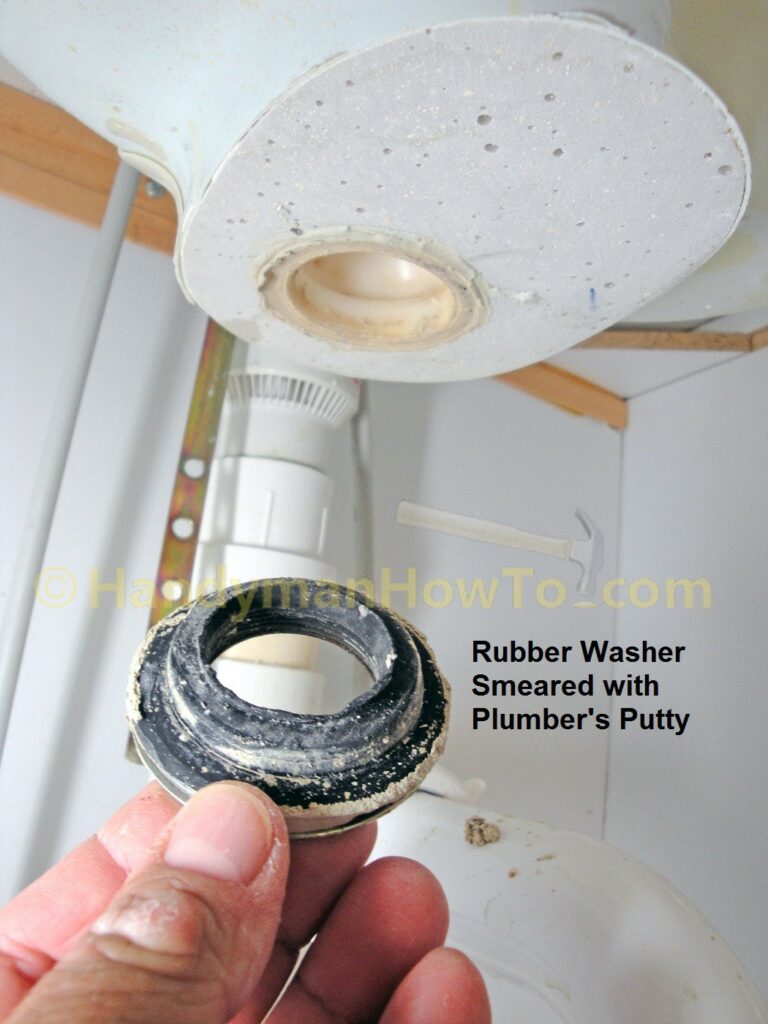
It looks like someone smeared Plumber’s Putty on the rubber gasket – an unnecessary effort – because the rubber gasket is flexible and seals just fine by itself when compressed by the lock nut and metal washer. Plumber’s Putty should only be used to seal the joint between two hard and inflexible surfaces when a rubber gasket isn’t present; for example between the sink drain flange and faux marble sink as explained in this project.
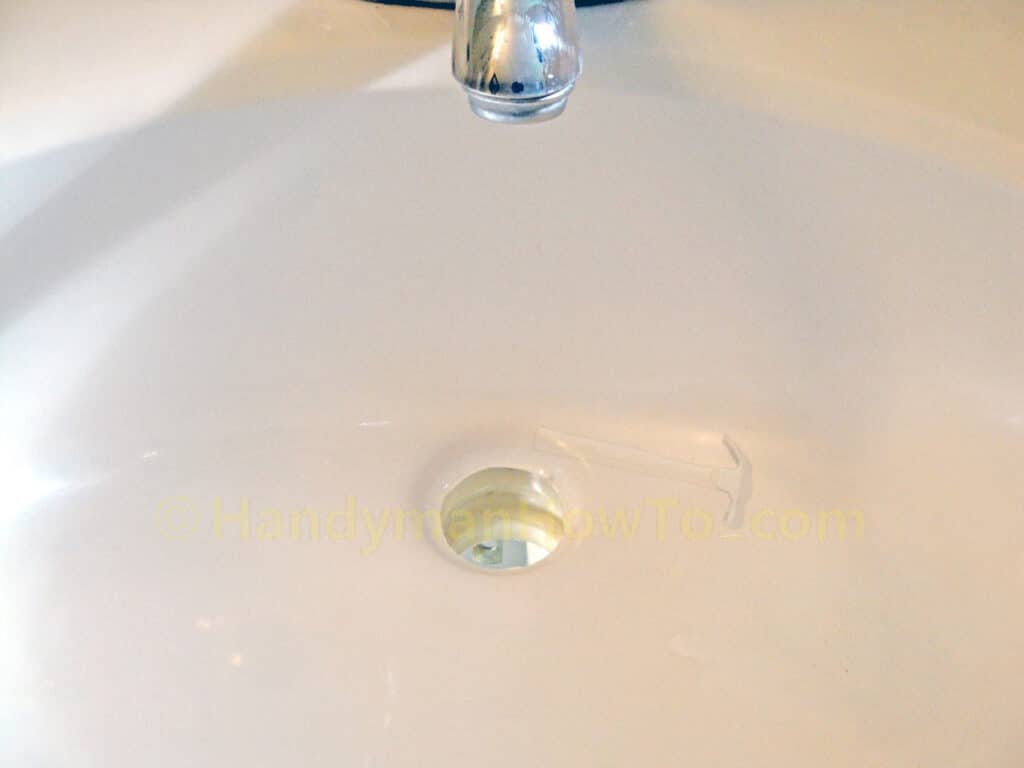
Wipe the old Plumber’s Putty out of the sink drain hole with paper towels until the faux marble sink drain is clean and polished.
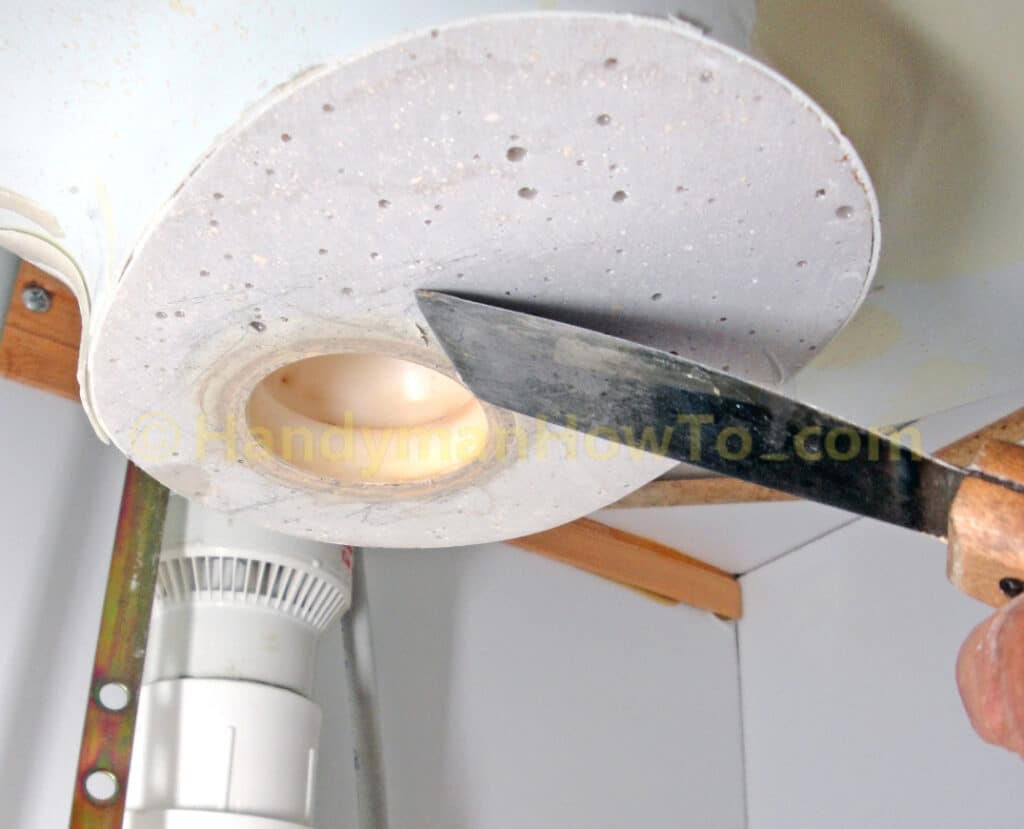
Scrape the plumber’s putty and crud off the sink bottom with putty knife so there’s nothing to interfere with the seal between the sink and the new rubber gasket:
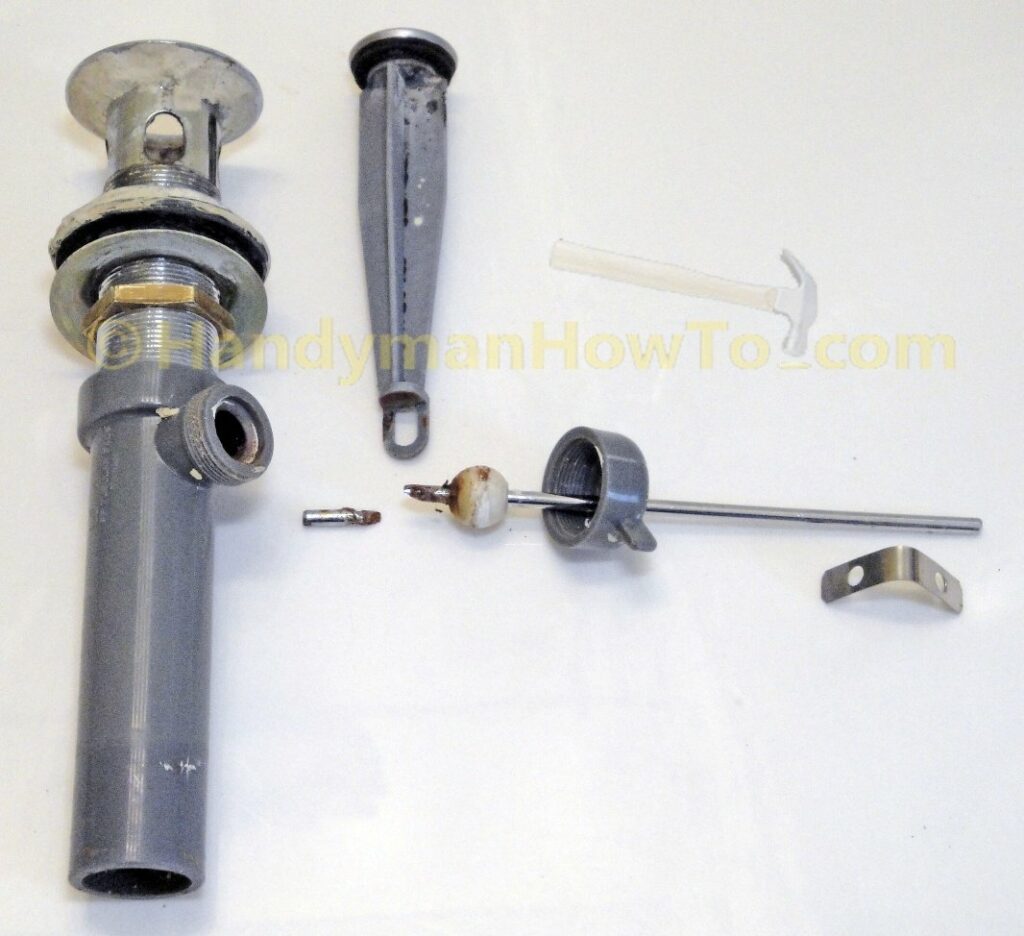
Here’s the old pop-up sink drain assembly showing the rusted pivot rod end that cause the pop-up stopper to stick in the drain:
Install the New Pop-Up Drain
It helps to familiarize yourself with the various parts of the new Dearborn Brass 1-1/4″ Pop-Up Sink drain model #H756-1 and how it fits together:

The white plastic anti-friction washer rides on top of the lock nut so it doesn’t stick to the black rubber gasket as the lock nut is tightened.
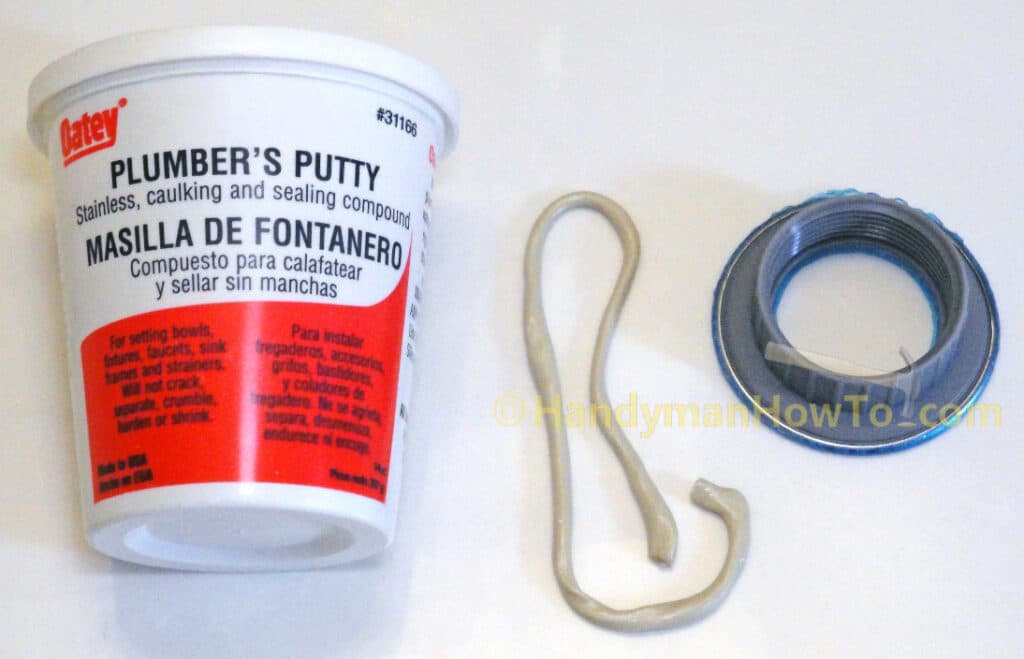
The new pop-up sink drain is installed by applying a generous bead of Plumber’s Putty on the bottom rim of the drain flange (shown upside down):
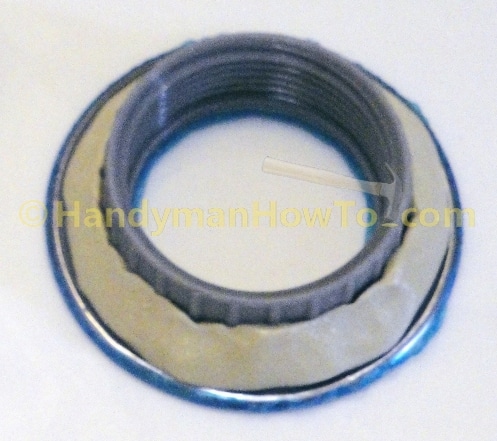
The bead of Plumber’s Putty pressed against the bottom of the sink drain flange:
There’s a technique for installing a pop-up sink drain and it’s important to do it correctly. The installation steps are:
- Insert the pop-up drain body up through the bottom of the sink.
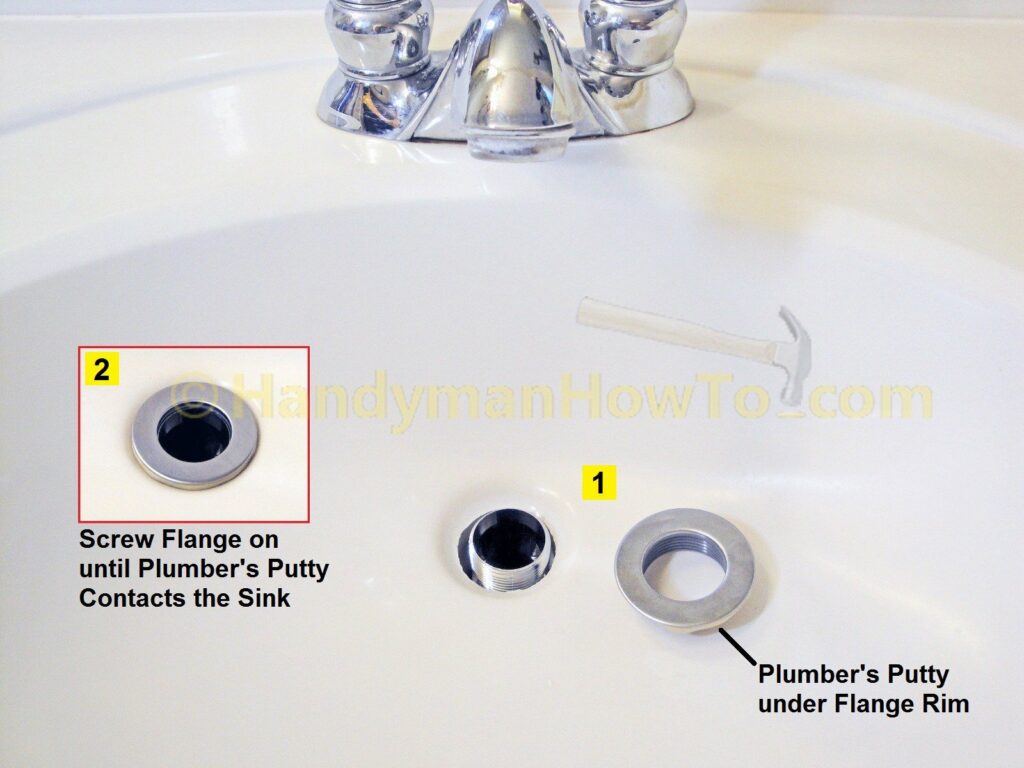
- Screw on the drain flange on the drain body until the Plumber’s Putty just makes contact with the sink.
- While holding the drain body, tighten the lock nut to compress the black rubber washer and drawn the drain flange down against the sink.
These steps are illustrated in the following photos.
Note the lock nut, anti-friction washer and black rubber gasket (in that order) are set at the lowest position on the drain body. Insert the drain body up through the sink drain hole. Turn the drain body so the rod opening faces the back of the sink to later mate with pivot rod. Hold the drain in this position against the bottom of the sink.
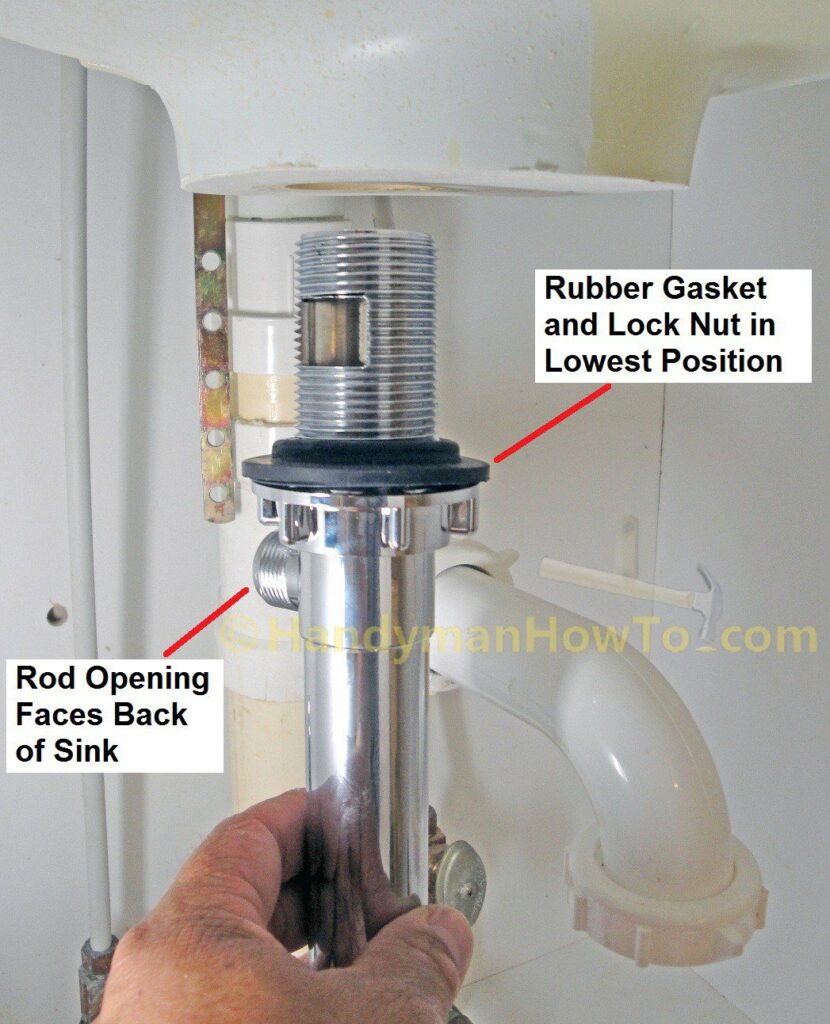
The threaded drain body extends up through the sink drain hole. While holding the drain body in place with one hand under the sink, reach over in the sink bowl and screw on the drain flange until the Plumber’s Putty just touches the sink surface as shown in the #2 photo inset:
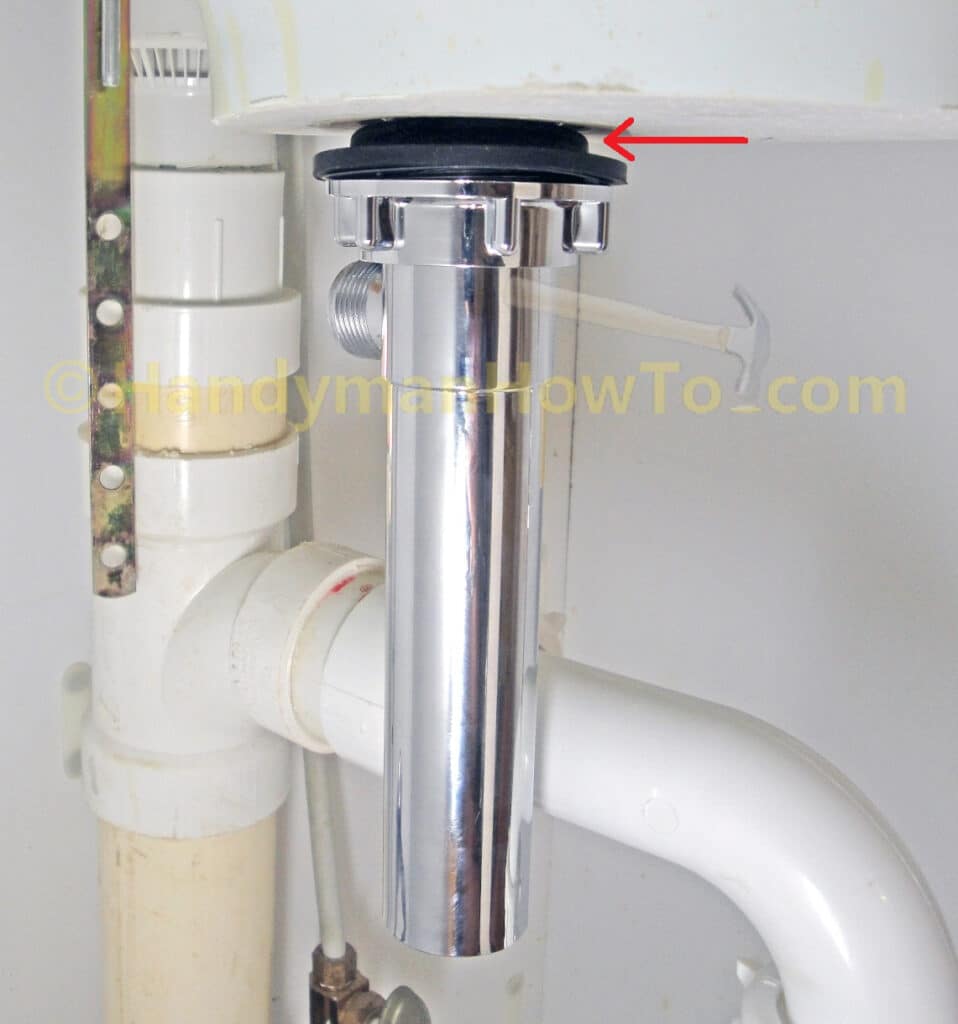
At this point the rubber gasket (red arrow) is lightly touching the bottom of the sink drain after screwing on the drain flange:
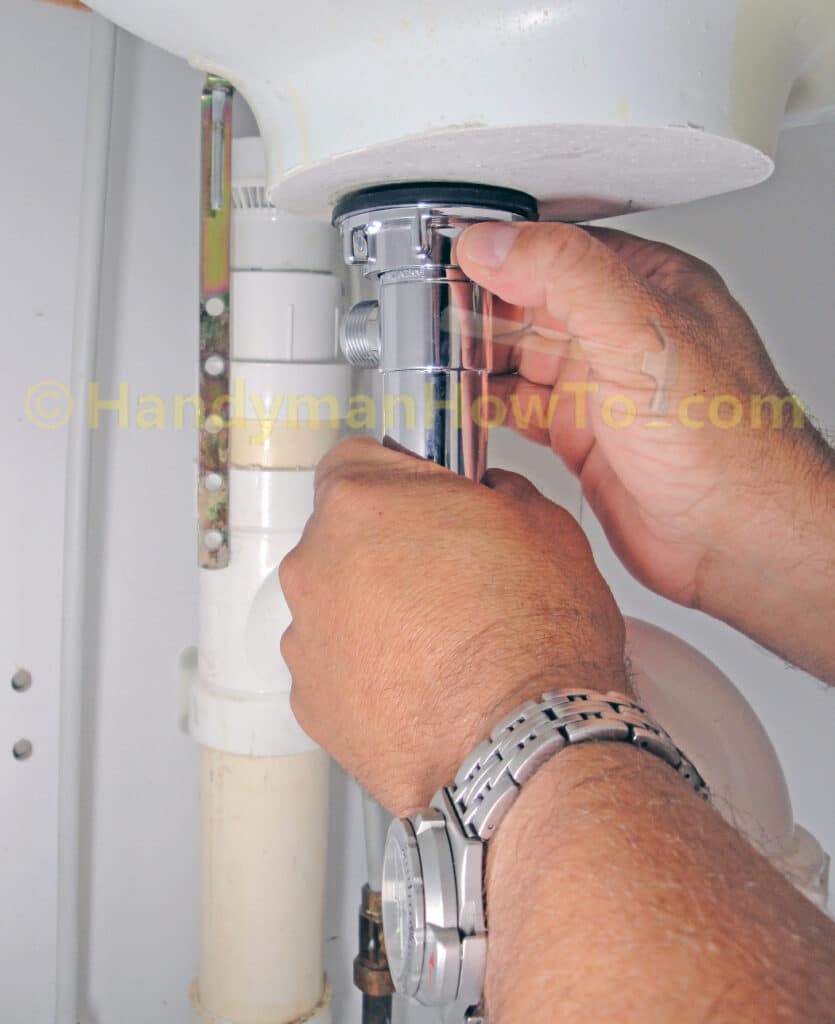
While holding the drain body so the rod opening faces the back of the sink, tighten the lock nut. This will simultaneously:
- Compress the rubber gasket – and –
- Pull the drain flange down against the sink drain, squeezing out the Plumber’s Putty
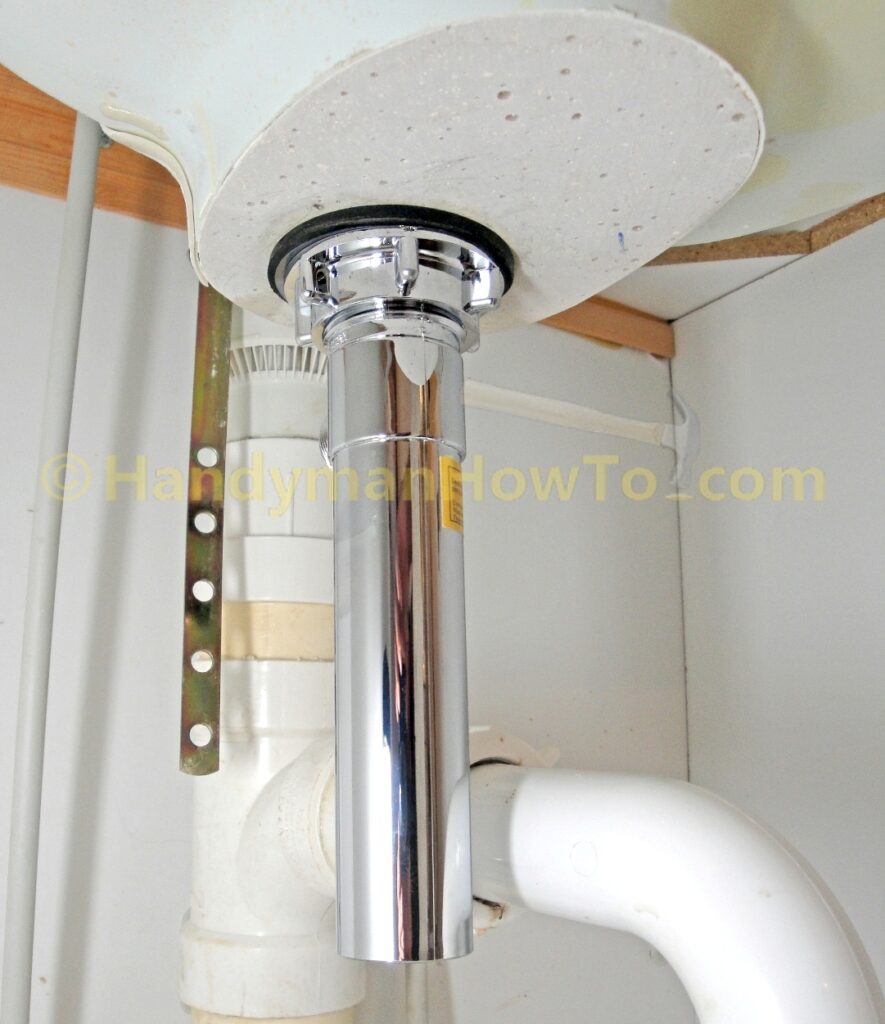
If you look closely the translucent anti-friction gasket can be seen on the left between the black rubber gasket and lock nut. The anti-friction gasket prevents the rubber gasket from being torqued (i.e. twisted) as the lock nut is turned:
Turn the lock nut until it compresses the black rubber gasket evenly against the bottom of the sink drain. This requires strong hands to tighten the nut. You’ll see the gasket bulging slightly to make a water tight seal:
Update: Brass Metal Drain
If you’re installing a brass metal the drain, remember to seal the tailpiece threads with pipe joint compound as shown in the update to Part 1 of this project.
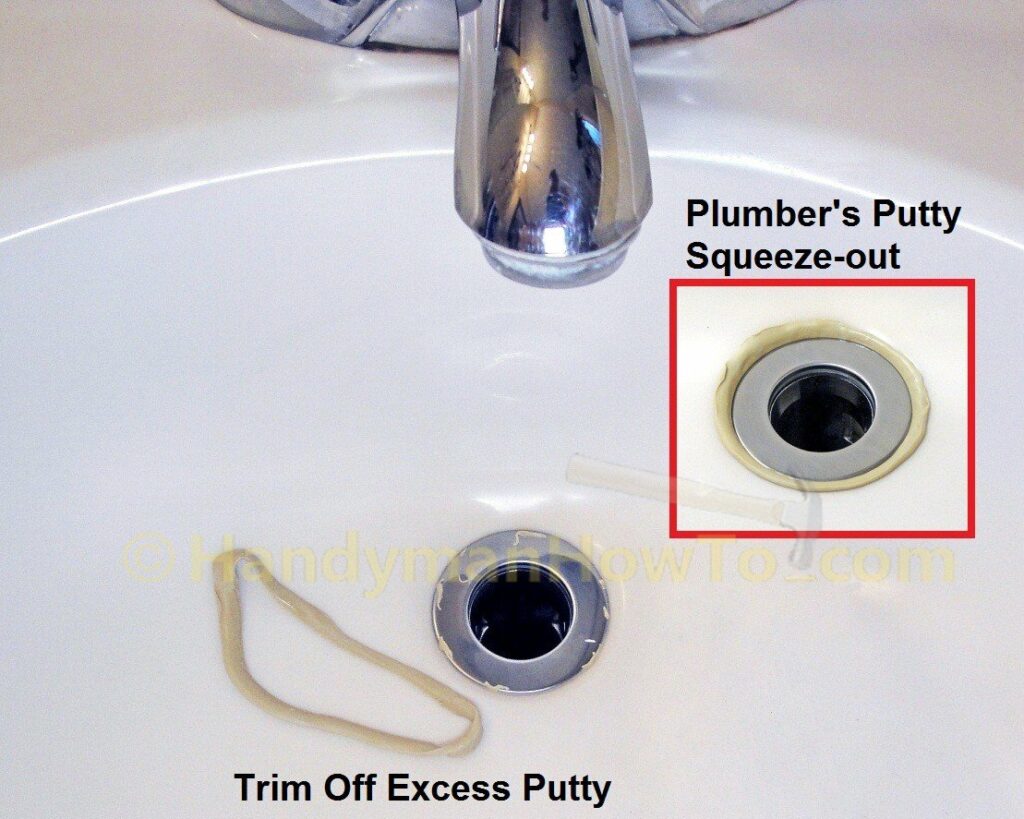
The Plumber’s Putty will squeeze out around the drain flange as the lock nut is tightened. Trim off the excess Plumber’s Putty with the putty knife and wipe off the sink flange with a paper towel:
What is the purpose of Plumber’s Putty on the sink drain flange?
Plumber’s Putty forms a water tight seal between the hard surfaces of the drain flange and sink bowl so the sink will hold water when the pop-up stopper is closed. Without putty water would slowly leak around the flange and go down the drain when you filled the sink with water. This is mainly a convenience in case you want to soak something in the sink for a long time.
Note that Plumber’s Putty is not applied to the black rubber gasket on the sink bottom because the gasket flexes and seals between the sink and drain body.
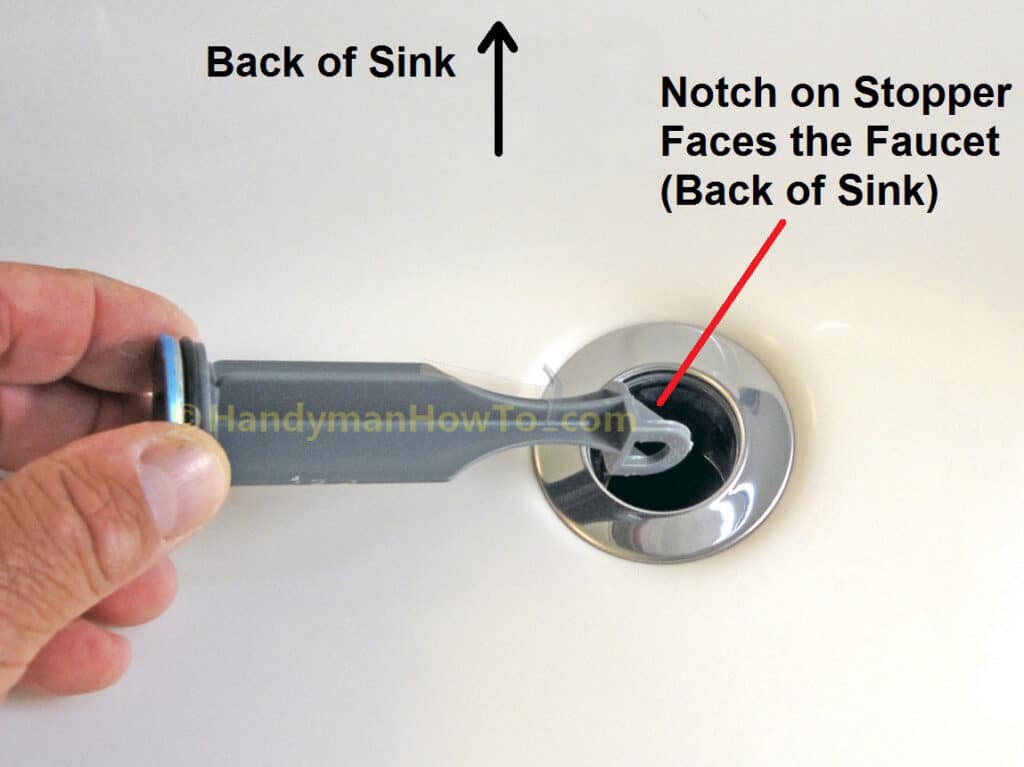
Set the new pop-up stopper in the sink drain so the notch faces the back of the sink as shown:
This project is concluded in How to Replace a Pop-Up Sink Drain – Part 3.
Thanks for reading.
Bob Jackson