How to Replace an Exterior Door – install the new pre-hung exterior door, seal the threshold, shim the door jambs and fasten with screws.
This project is continued from Part 2.
Install the New Exterior Door
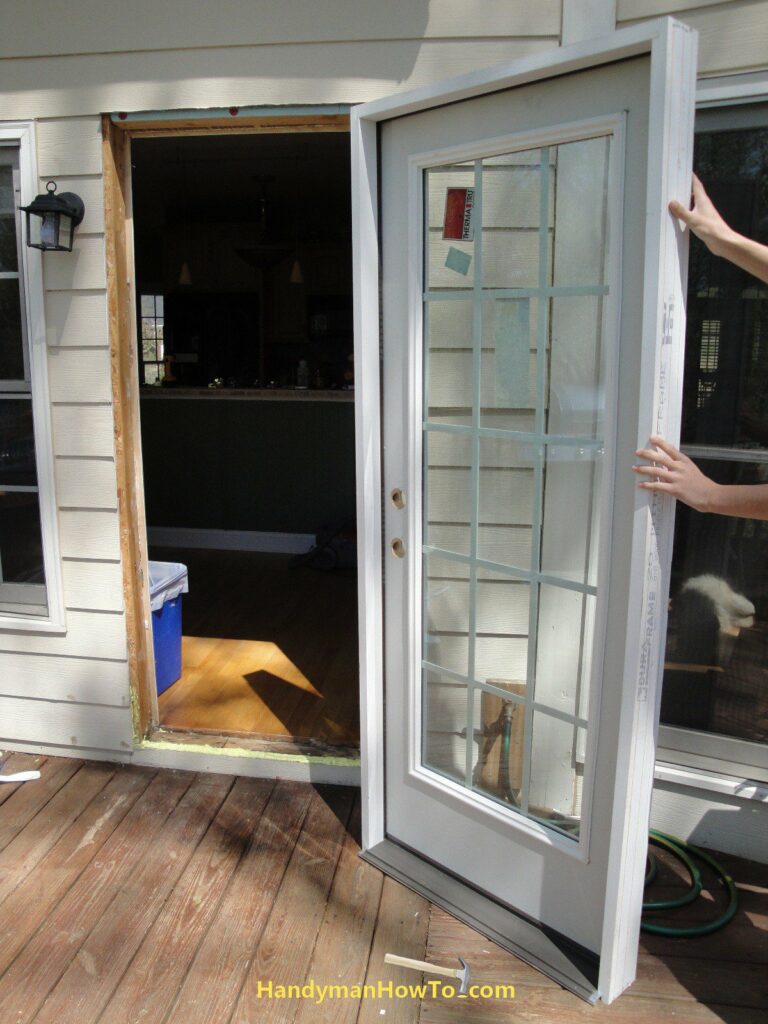
After sanding down the lock-side of the subfloor with an belt sander so it was level, we stood the new Therma-Tru® Traditions® pre-hung door in the rough opening to check the fit and clearances. The door is just sitting in the rough opening here – no screws or fasteners.

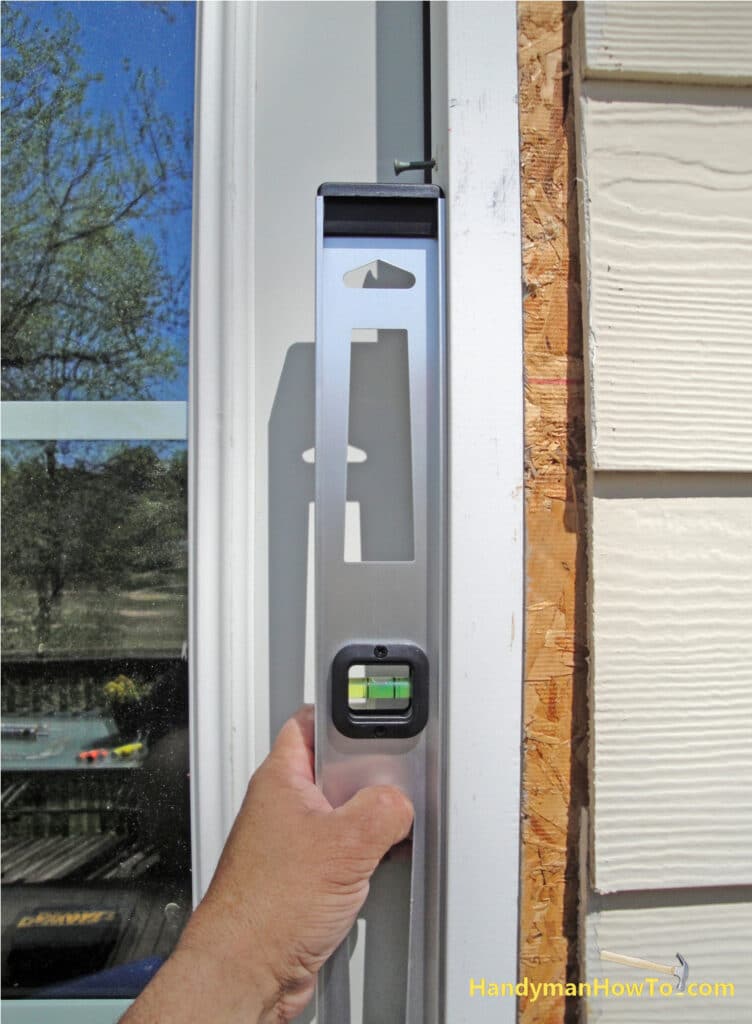
I checked the door frame with the square and level to see how well the un-shimmed “natural fit” was going to be inside the rough opening, tapping here and there to make minor adjustments. Everything looked OK.
Final Exterior Door Installation
We removed the door to prepare the rough opening for final installation. Notice there is no brick mould on the door because I ordered the door with the brick mould “loose”, i.e. as separate pieces that I will cut and nail on later.
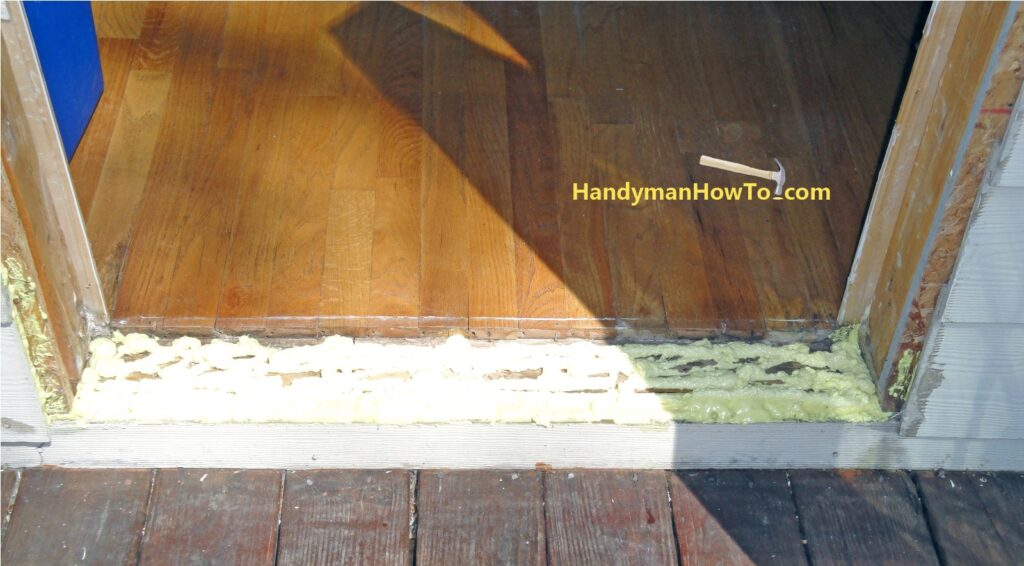
Notice the yellow bead of GREAT STUFF Window & Door foam along the edge of the subfloor in the rough opening in the above photo.
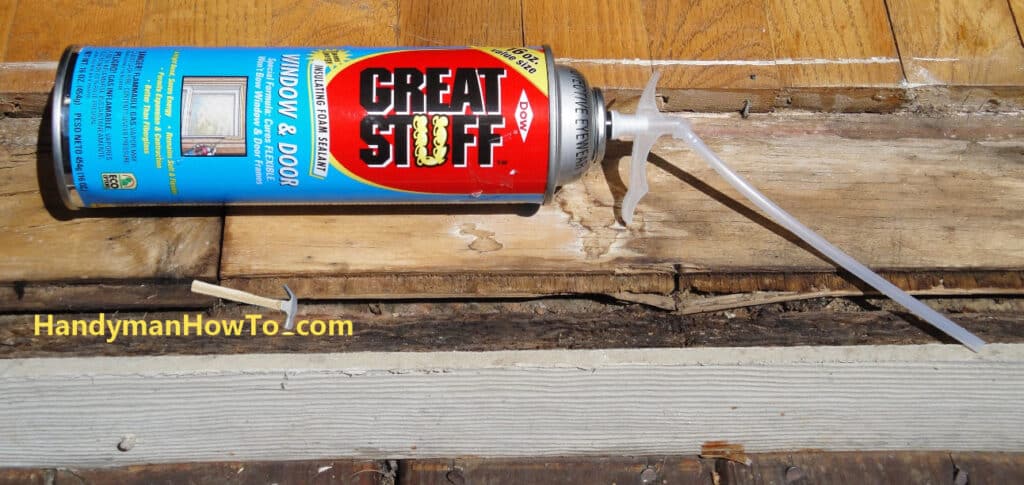
The Therma-Tru instructions call for several large beads of caulk along the subfloor and the bottom of the door sill. That wouldn’t quite work for me because I had a large gap between the edge of the plywood subfloor and the OSB sheathing as seen in the photo below. I applied a large bead of GREAT STUFF Window & Door foam to seal and close this gap. The GREAT STUFF™ Window & Door foam is a low pressure minimally expanding formula that won’t bend or bust your door and window frames. The Window & Door product expands gently like a marshmallow.
Do not confuse the Window & Door foam with the GREAT STUFF™ Gaps & Cracks product because the Gaps & Cracks foam will expand hard and bend your door frame!
After the initial edge bead of GREAT STUFF was almost tack-free, I applied more foam along the entire subfloor area and inserted the pre-hung door inside the rough opening for final installation.
Rain is ever going to get under that door sill!
Plumb and Shim the Door
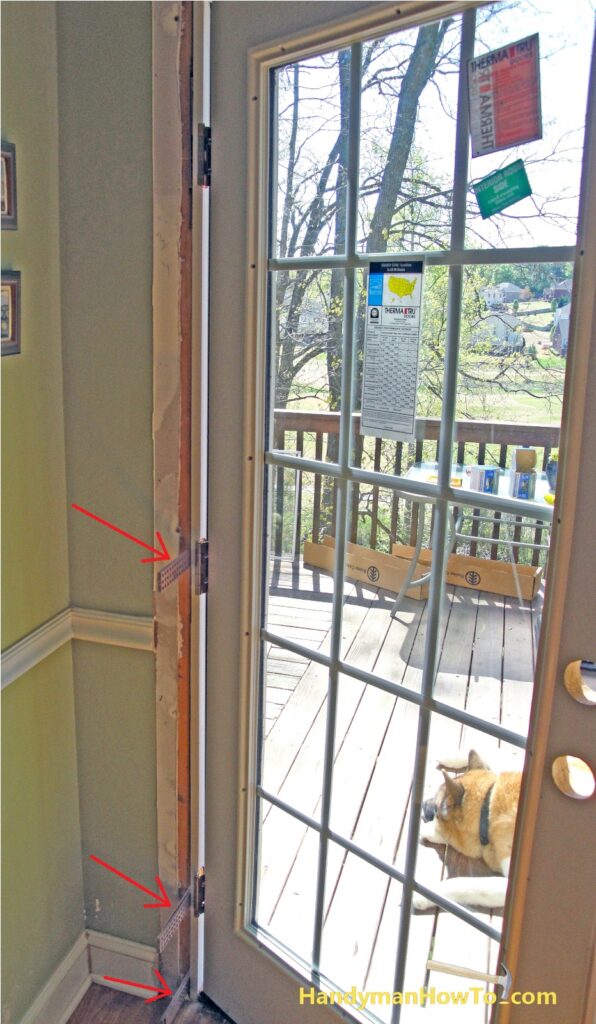
Per the Therma-Tru Door installation instructions, the door frame is temporarily fastened with exterior grade corrosion resistance wood screws below the hinges. The screws are not driven all the way in to make adjustments. Check all sides, faces, top and bottom of the door frame with the carpenter’s square and spirit level, shimming and tapping as needed to achieve perfect alignment.
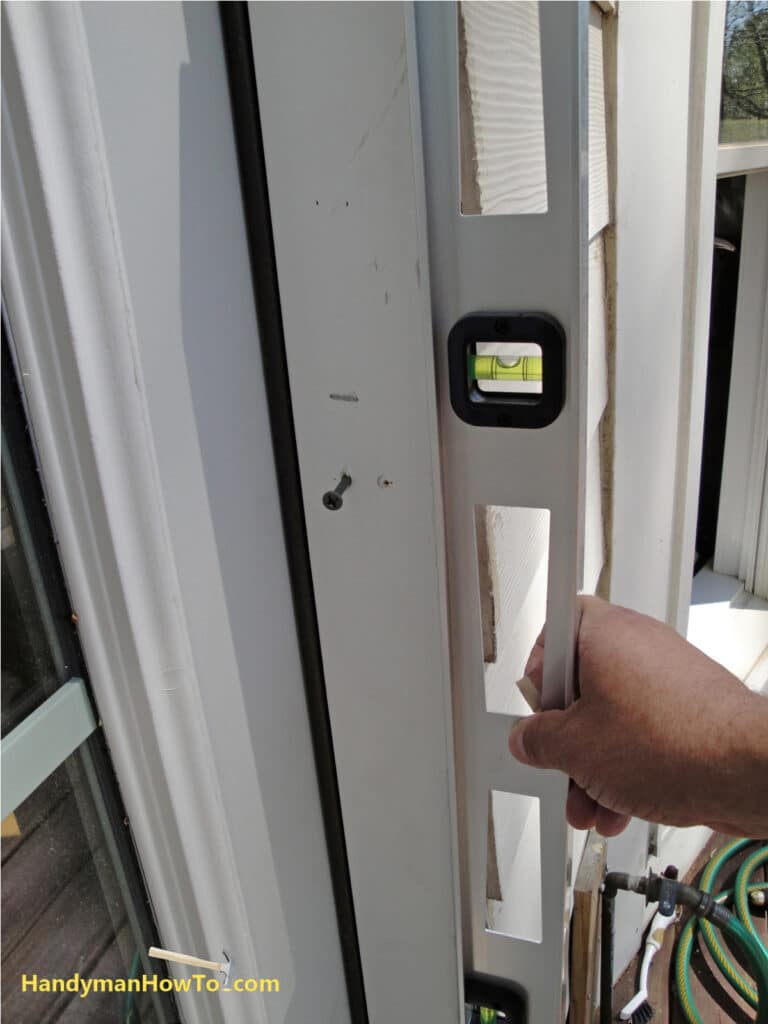
Shims are indicated by the red arrows. The door frame at the top hinge is flush against the 2×4 jack stud and didn’t need shimming. After shimming the hinge side, do the same for the lock side. Here I’ve already removed the transport clip and checking the operation of the door. Satisfied that everything is aligned, I fastened the door frame with screws.
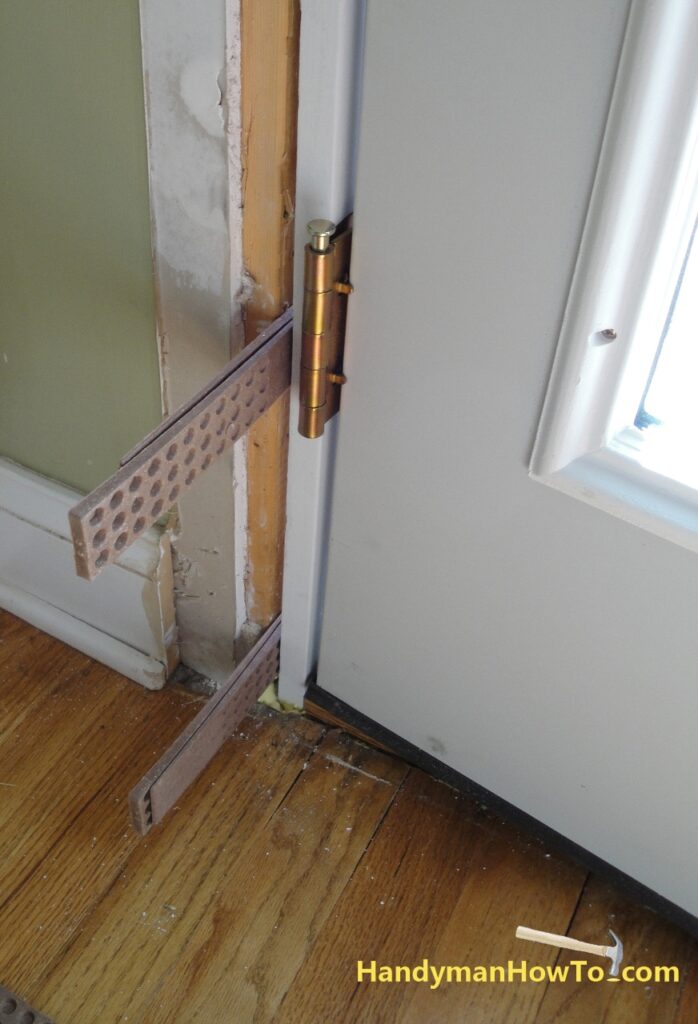
Install the shims so they’re reversed against each other to provide a flat bearing surface between the 2×4 wall stud and the door frame. I prefer plastic shims over wood because they break by hand evenly with the frame – no need for sawing!
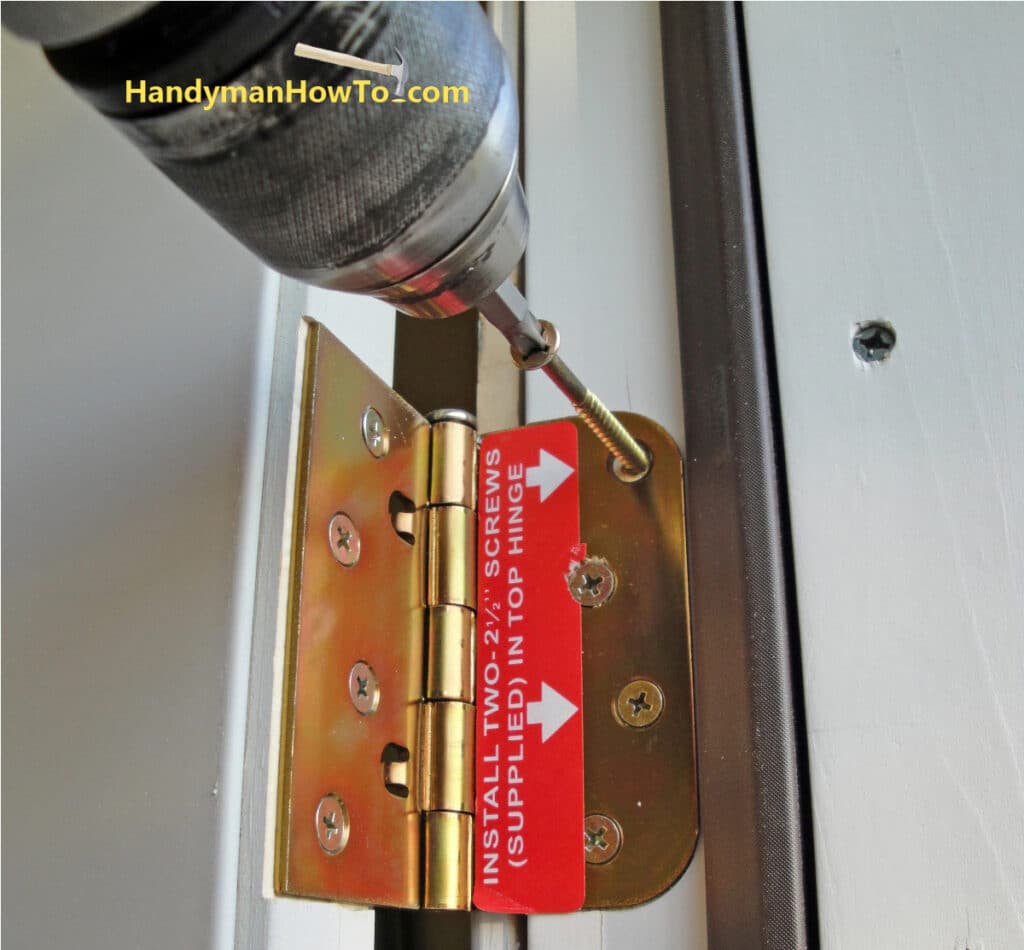
Therma-Tru provides two extra long 2-1/2″ hinge screws to prevent the door from sagging. These are installed in the top hinge as indicated.
This project is concluded in Part 4.
Thanks for reading,
Bob Jackson