How to Replace an Exterior Door photo tutorial – saw and install the brick and base shoe moulding.
This project is continued from Part 3.
How to Install Brick Mould
The Therma-Tru® Traditions® pre-hung entry door is now installed in the rough opening and it’s time to install the brick mould. The door can be ordered with the brick mould already fastened to the door frame or ordered “loose”. I ordered it loose because this gave me the most freedom in adjusting the door for imperfections in the wall. I received two side and one top piece of moulding with the door.
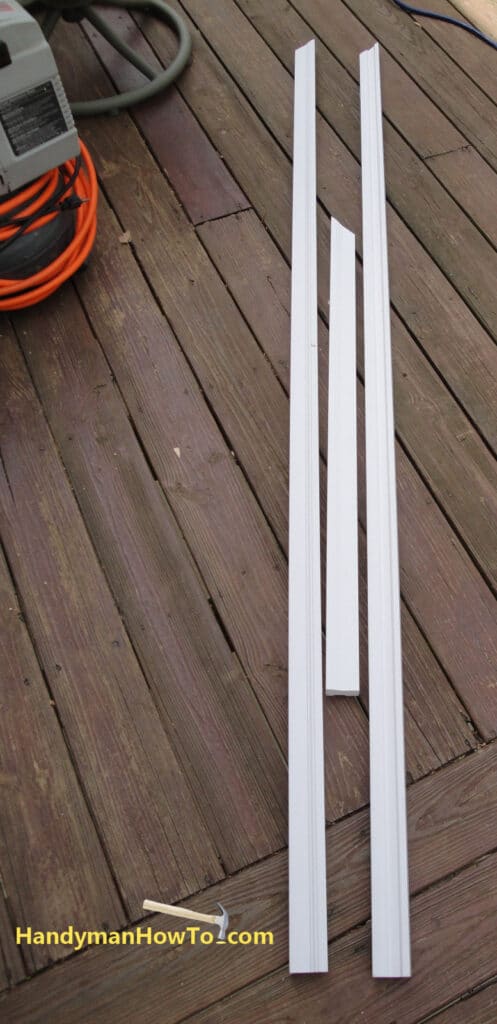
The Therma-Tru Door brick mould is a very nice PVC composite material that won’t rot and can be saw and nailed just like wood.
Weather Seal the Door Jambs and Rough Opening
Before installing the brick mould, I sealed the spaces between the door frame and 2×4 rough opening with more of the GREAT STUFF™ Window & Door foam to stop drafts and insulate around the door. You could also stuff pieces of fiberglass insulation in the cracks though this won’t seal as well as GREAT STUFF.
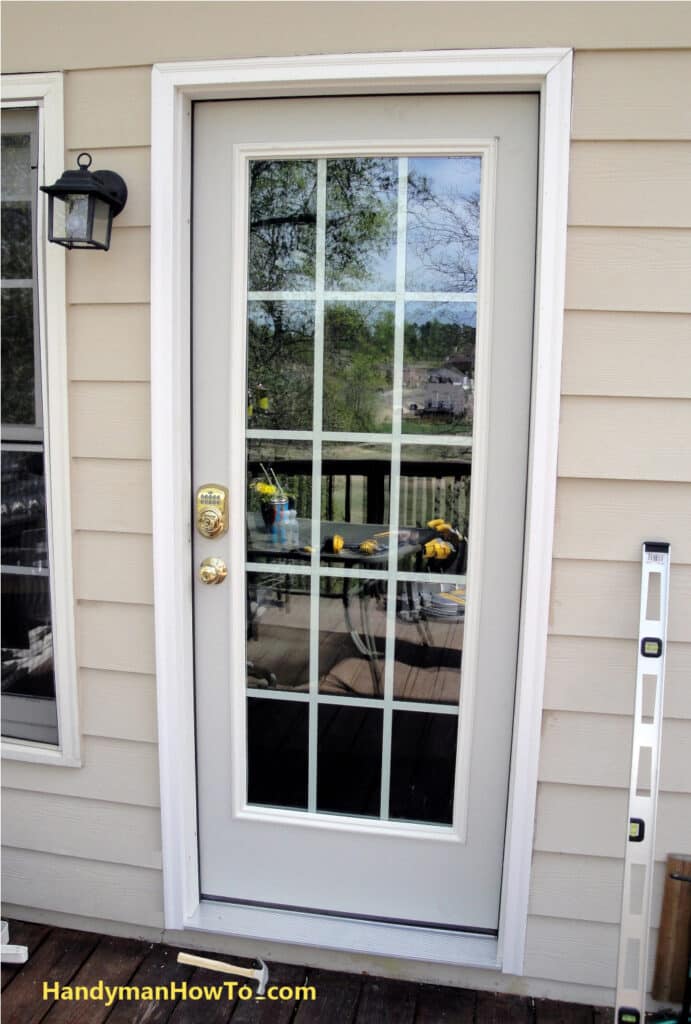
The two vertical sections of brick mould are fastened with the brad nailer on each side of door frame. These sections were already the right length and needed no additional work. The brick mould is butted against the edge of the HardiePlank siding and fastened with a brad nailer. The brad nailer makes the work so fast and easy compared to hammering in finishing nails, counter sinking the nail heads and bouncing the work piece all over the place with each hammer blow.
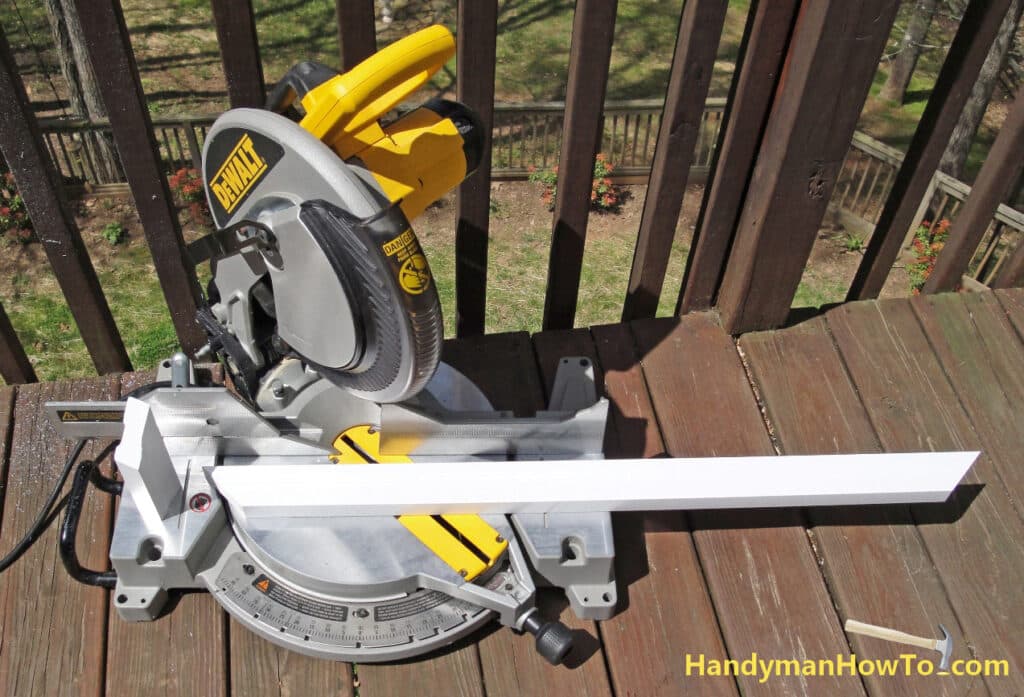
The brick mould for the door top is purposely shipped longer than necessary to be cut to your exact measurements. Here I’ve saw about 6″ section off the brick mould to fit my door.
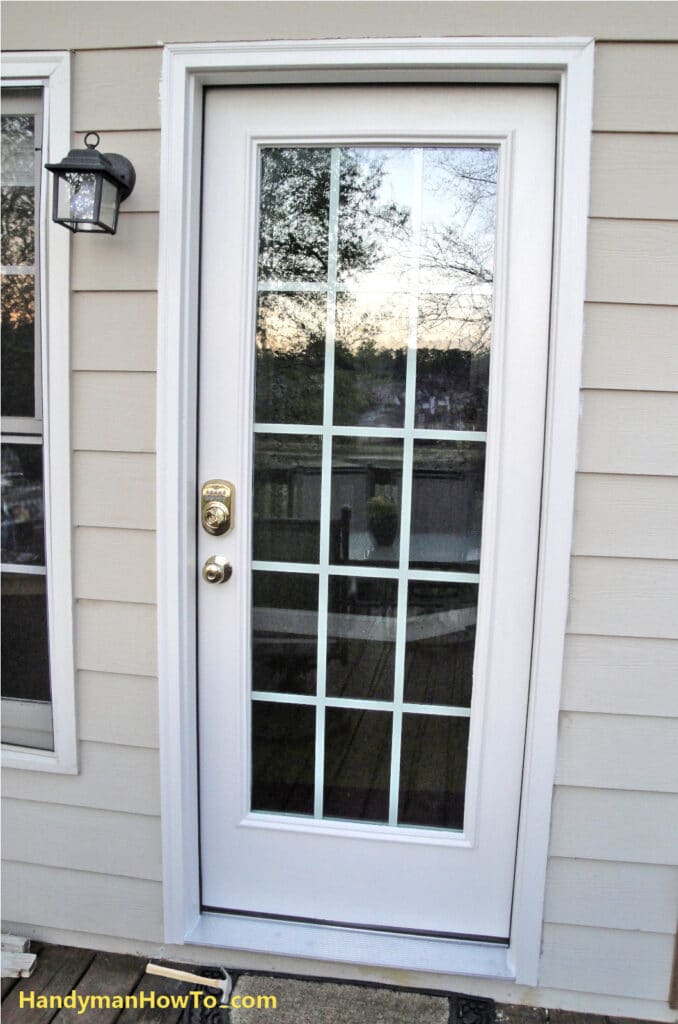
The brick mould installed on the door frame before caulking and painting. I’ve also reinstalled the lockset hardware.
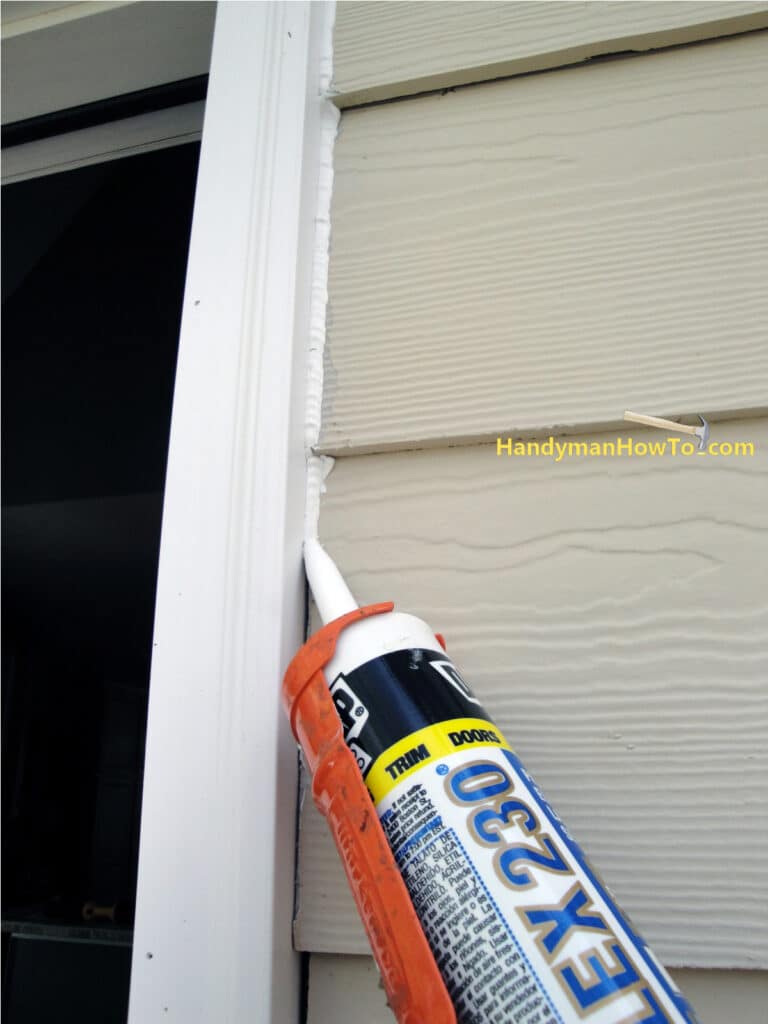
The brick mould is caulked to seal it against the HardiePlank cement board siding. Smooth the caulk with either a wet finger or a caulk tool.
Always be careful to choose a paintable caulk. Latex caulks are paintable but you have to be careful if using a silicone caulk because many silicone caulks are not paintable – the paint won’t stick and beads up. Read the label to ensure it says “paintable” in big bold letters.
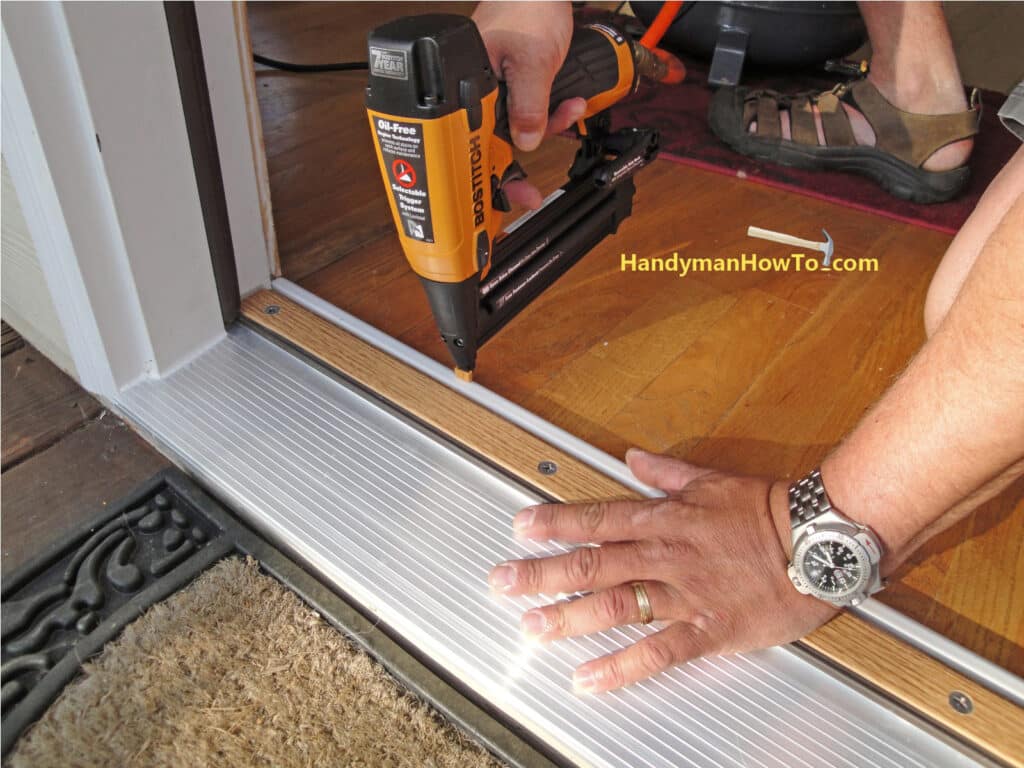
The gap between the hardwood floor and the threshold cap is finished off with a semi-oval section of PVC composite base shoe moulding. I ran a bead of caulk under the moulding before nailing it with the brad nailer. If you’re using finishing nails, I recommend pre-drilling your holes first because the moulding is slippery and it’s difficult to get a nail started by hand.
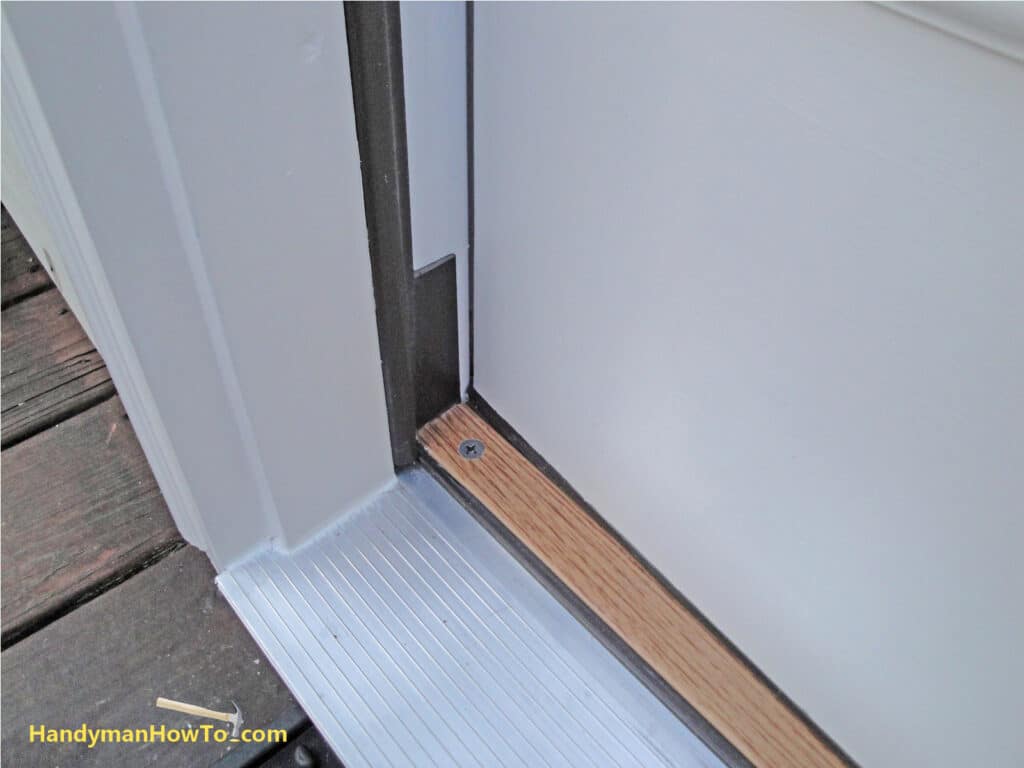
Closeup of the threshold and base shoe moulding.

Self-stick corner pads are installed at the bottom corners on each side to keep out driving rain.
The door installation is now complete! Tomorrow I’ll paint the door.
Overall this job required an afternoon to remove the old door and install the new door. We had the Therma-Tru door now for about 2 months and are very happy with it.
Old Door Disposal
Getting rid of the old door proved to be an unexpected challenge. The door was fine and would look great with a new coat of paint. I called Goodwill but they don’t take doors. My neighbor has rental properties and I offered it to him, but he didn’t need it. My garbage company said I needed to cut the door in half (it’s mostly glass!) for them to pick it up and the county landfill wanted to charge me $40 to drop it off.
I thought, someone can reuse the door, so I left it standing against the front wall of vacant shopping center next to a heavily traveled road. The door was gone when I passed by later that day.
Best regards,
Bob Jackson