Test the new under sink outlet, secure the NM-B 12/2 with cable staples and Building Permit sign-off. This project is continued from How to Wire an Electrical Outlet Under the Kitchen Sink – Part 7.
Under Kitchen Sink Electrical Outlet – Circuit Testing
At this point the circuit wiring is complete for the under kitchen sink outlet and I turned on the electricity at the 150 AMP service disconnect switch at the outdoor electric meter box.
Ground Fault Circuit Breaker Testing
Testing the ground fault circuit breaker is simple:
- Press the white “Test” button on (GFCB) the ground fault circuit breaker.
The switch tripped off to the middle position as it should. - Reset the circuit breaker by moving the ON/OFF switch to the full OFF then ON position.
Satisfied the GFCB was working fine, I replaced the door cover on the circuit breaker panel and secure it with the screws, being careful to keep my hands and fingers out of the panel.
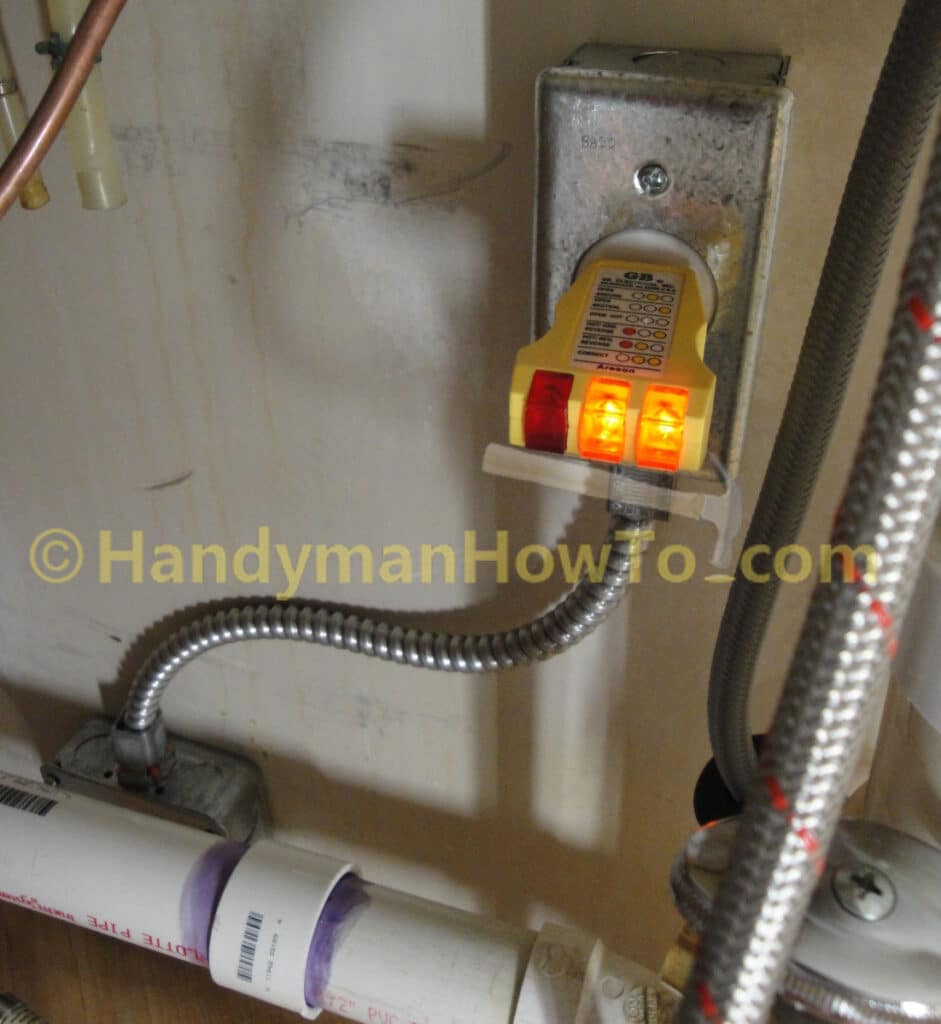
Receptacle Tester
A receptacle tester is used to verify the wiring is correct for the under kitchen sink outlet. Just plug in the tester and read the light pattern. The diagnostic patterns are printed on the tester label. The two yellow lights indicate the outlet is wired correctly:
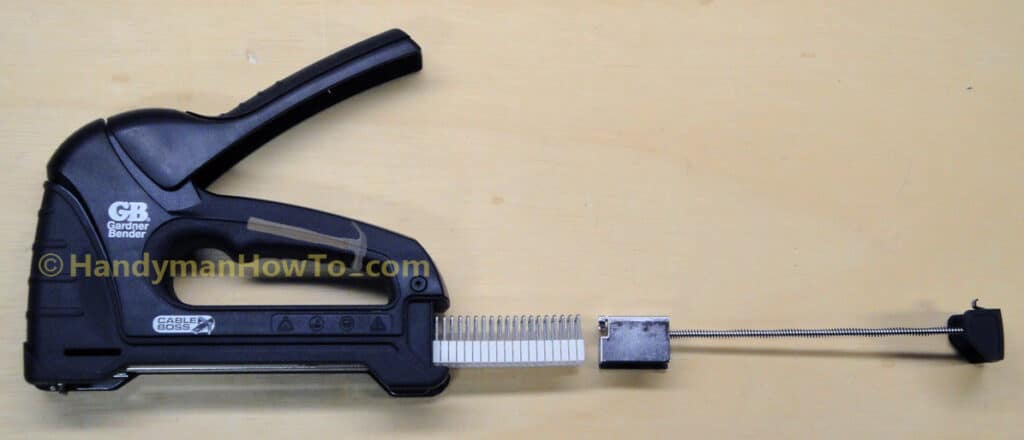
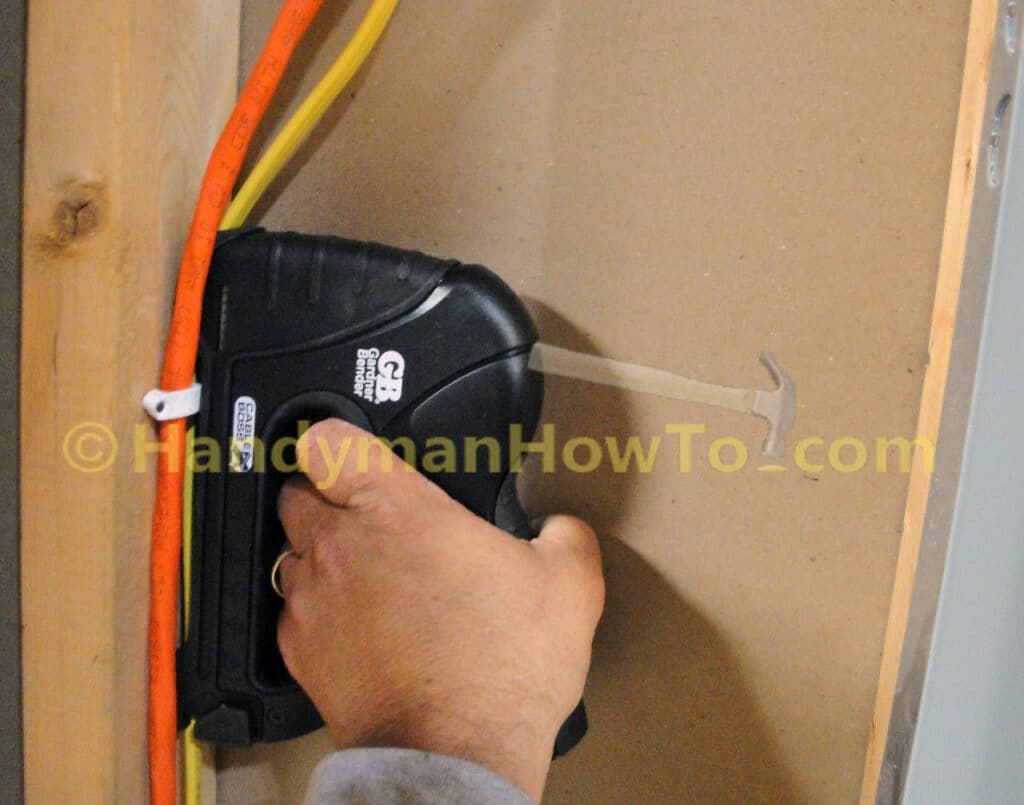
Gardner Bender Cable Boss Staple Gun
I purchased a Gardner Bender Cable Boss Staple Gun to secure the new run of NM-B 12/2 to the 2×4 basement wall studs. This promised to be a nice tool for faster cable installation and working cramped spaces where it’d be difficult to swing a hammer.
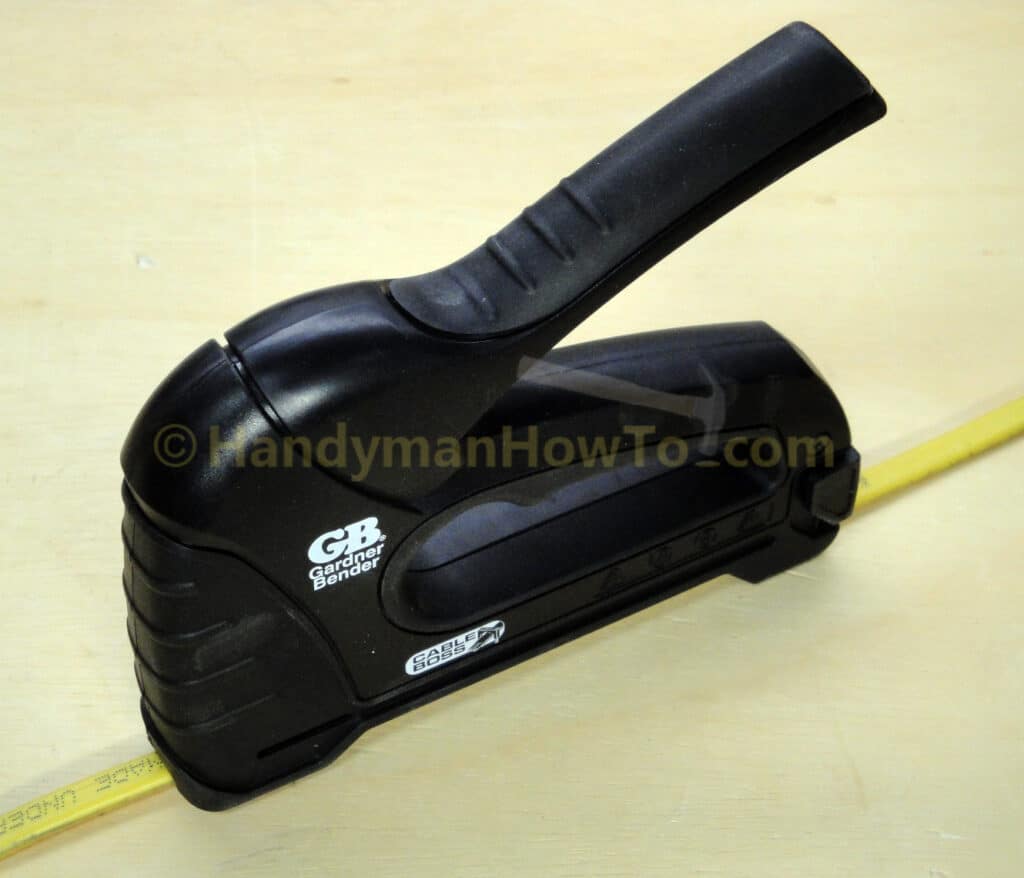
The Cable Boss staple gun uses accepts three sizes of insulated staples for NM, coax, voice/data and low voltage cable. I’ll be using the 3/8″ staples appropriate for RG-6 coaxial, Cat 6 Ethernet (and by implication Cat 5e), and NM cable 14/2, 14/3 and 12/2 sizes:
The staple gun is very easy to use. Staples are loaded in the normal way. You can see if you’re running low on staples through the slotted viewport on the side of the gun.
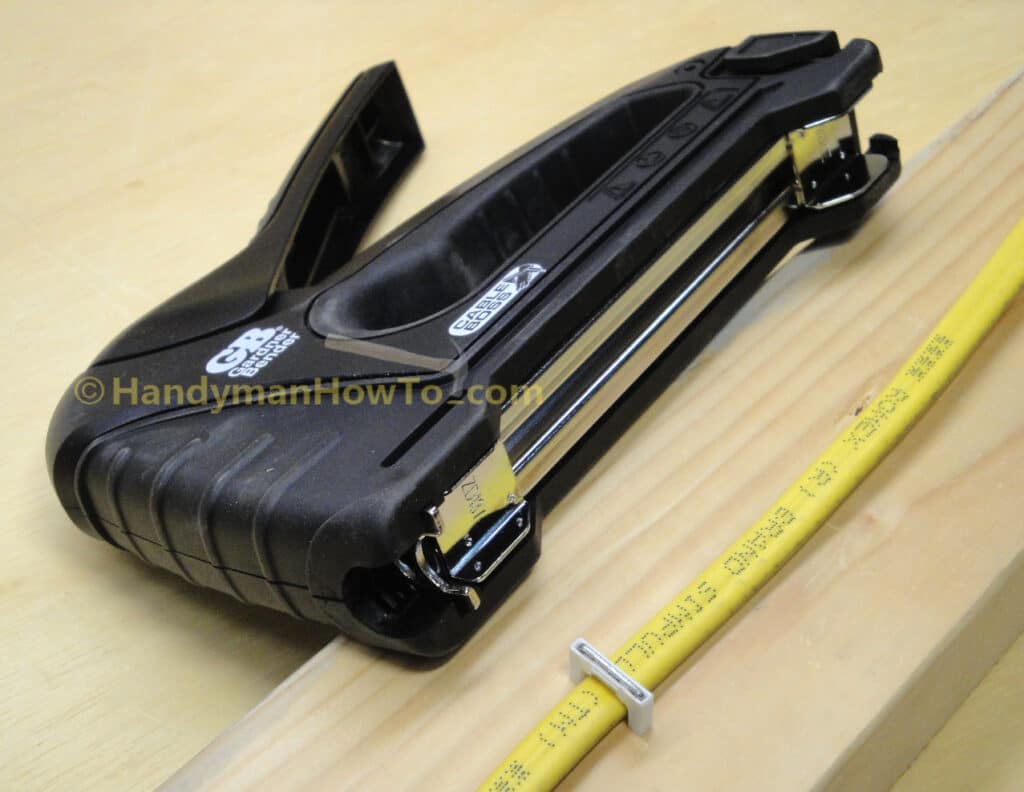
The Cable Boss has a channel under the staple gun to align and hold down the cable at the front and rear so there’s no danger of accidentally piercing the cable:
The Cable Boss staple gun sets the staple perfectly every time. Once in a while I did have to give the staple head a light tap with a hammer to fully seat the staple in extra hard wood. Still, the Cable Boss sure beats the traditional way of nailing staples with a hammer and I don’t miss the mashed fingers, dropped and bent staples. The plastic insulated staple is designed with support legs so you can’t over-drive the staple and crush the cable:
The Cable Boss staple gun made easy work of securing the yellow NM-B 12/2 cable to the 2×4 studs at 4 foot intervals. Quick and precise.
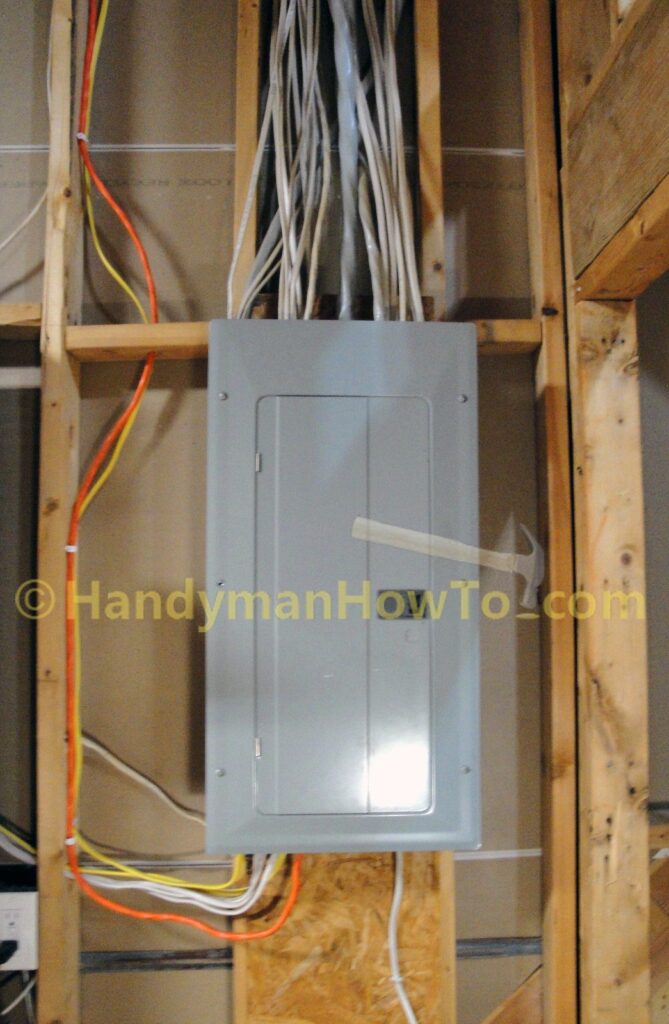
The yellow NM-B 12/2 cable is now properly secured with insulated wood staples to the 2×4 wall studs:
Building Dept. Electrical Inspection
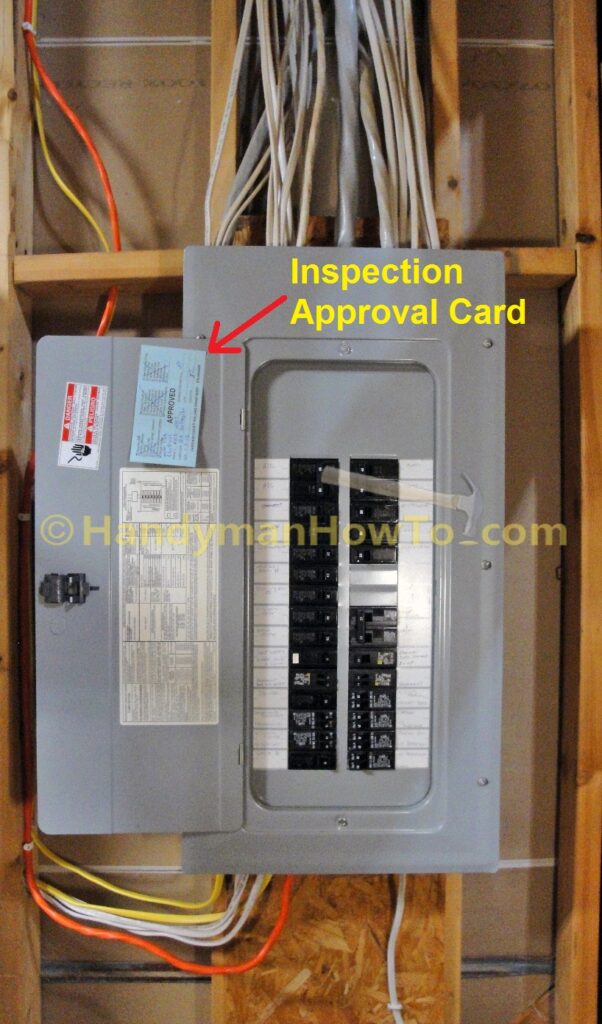
I called my local Building Department to request an inspection for the electrical work filed on my Building Permit. The inspector reviewed my work and was happy to answer several of my questions on a variety of electrical topics. Interestingly, the inspector looked and felt around all sides of the breaker box for any open knockouts. My guess is this has been a frequent problem on other job sites.
The inspector said “Nice job!” then signed the blue Approval card and stuck it to the circuit breaker panel:
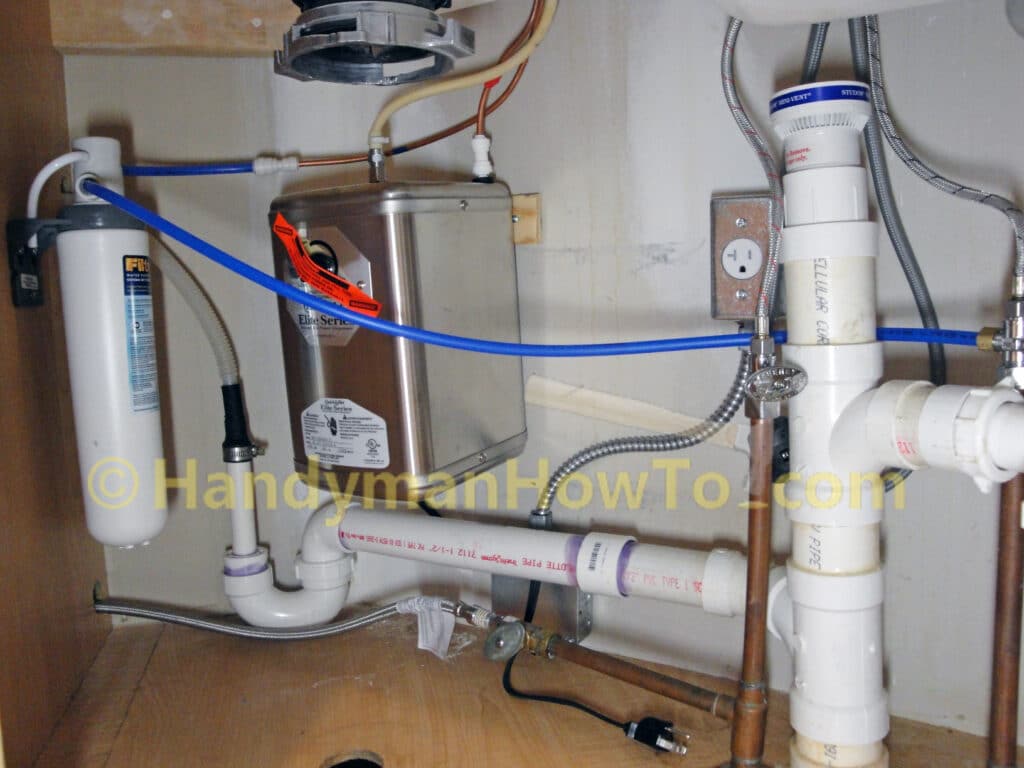
In the next installment of this project I’ll show how to install a Waste King Quick & Hot Elite Series Instant Hot Water Dispenser and Filtrete Water Filtration System under the kitchen sink. The instant hot water dispenser will be powered by the new 20 AMP outlet under the kitchen sink (center of photo):
Thanks for reading,
Bob Jackson