The round sheet metal duct pipe, adjustable elbows and metal duct strap are installed in this update. This project is continued from How to Install Round Sheet Metal Duct – Part 2.
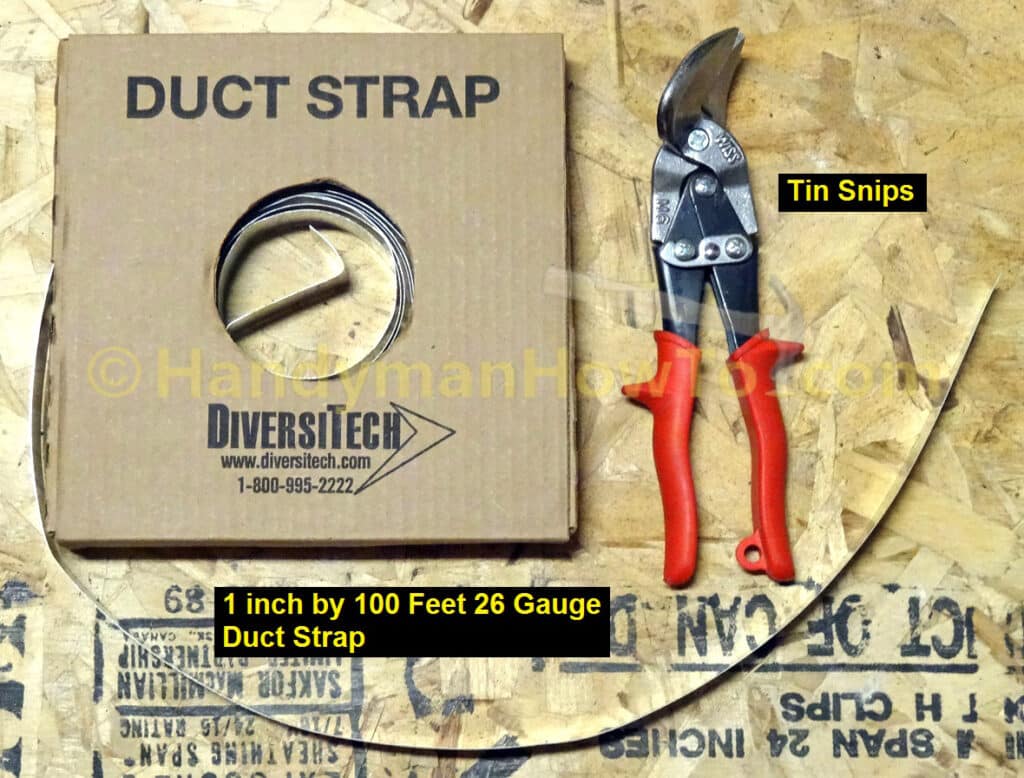
Duct Strap and Tin Snips
I purchased a 1 inch wide by 100 foot roll of 26 gauge steel duct strap to support the round sheet metal duct. Tin snips are needed to cut the duct strap to length.
Sheet Metal Air Duct Support with Duct Strap
The International Residential Code (IRC) states in article M1601.4.3 Support that metal ducts shall be supported at “intervals not exceeding 10 feet”. Most state and local building codes are based on the IRC.
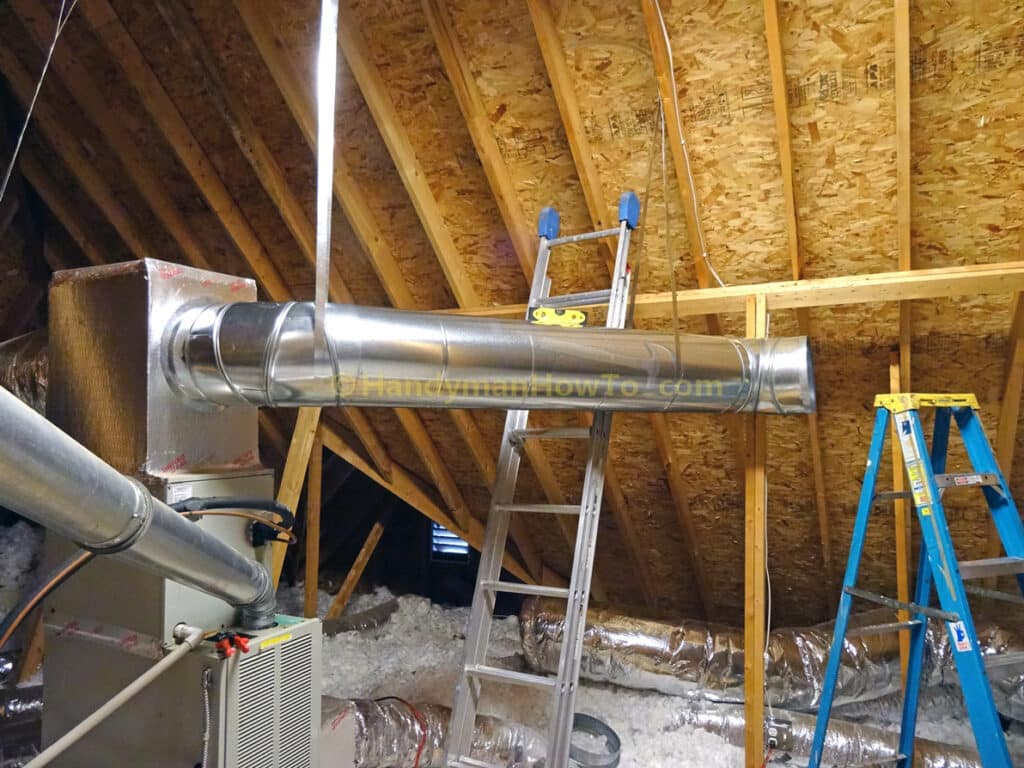
It’s important to support the sheet metal elbow with duct strap before installing the next section of duct pipe because the duct board plenum does not have much load bearing capacity. Without a support strap, the weight of the new 5 duct pipe would create a lever (bending moment or hinge effect) that could tear out the start collar.
To install the duct strap:
- I stood up the 16 foot extension ladder to reach the roof rafter.
- Lowered the plumb bob to locate the center of the 12 inch diameter sheet metal elbow.
Locating the center of the duct is important such that the duct strap doesn’t pull the elbow off to one side or the other. - Marked the corresponding center position via the plumb bob string on the face of roof rafter.
The mark is where the duct straps will be fastened to the roof rafter in an X style. - Used the tape measure to determine the approximate length of duct strap, plus an extra foot or two for a margin of error.
- Fastened the one end of the duct strap to the roof rafter with a 1 inch self-piercing sheet metal screw.
- Looped the duct strap under the duct elbow until snug – verify the elbow is horizontal with a spirit level – then fastened the strap to the rafter with another screw.
- Cut off the excess duct strap (if any) at the roof rafter with tin snips.

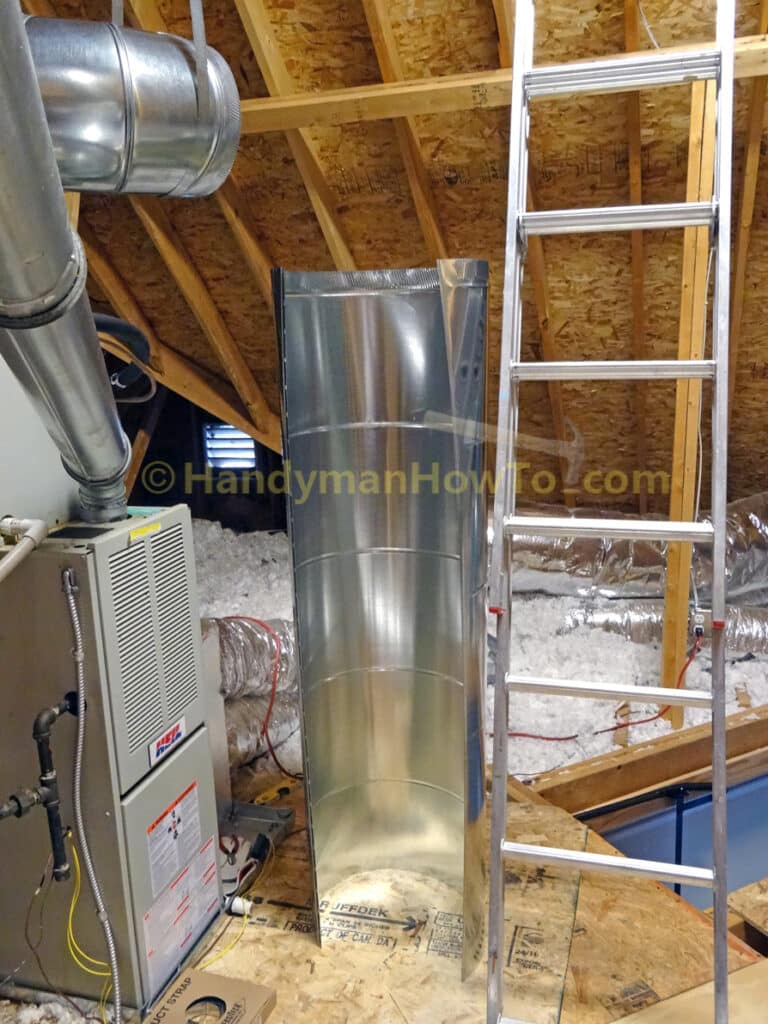
How to Install Round Sheet Metal Duct Pipe
The 30 gauge 12 inch diameter round sheet metal duct pipe is purchased in 5 foot long sections. This duct pipe has a snap-lock style seam that, well, snaps together for a permanent joint. I’m using Gray Metal South, Inc. No. 301 galvanized duct pipe that is precision made and easily snaps together.
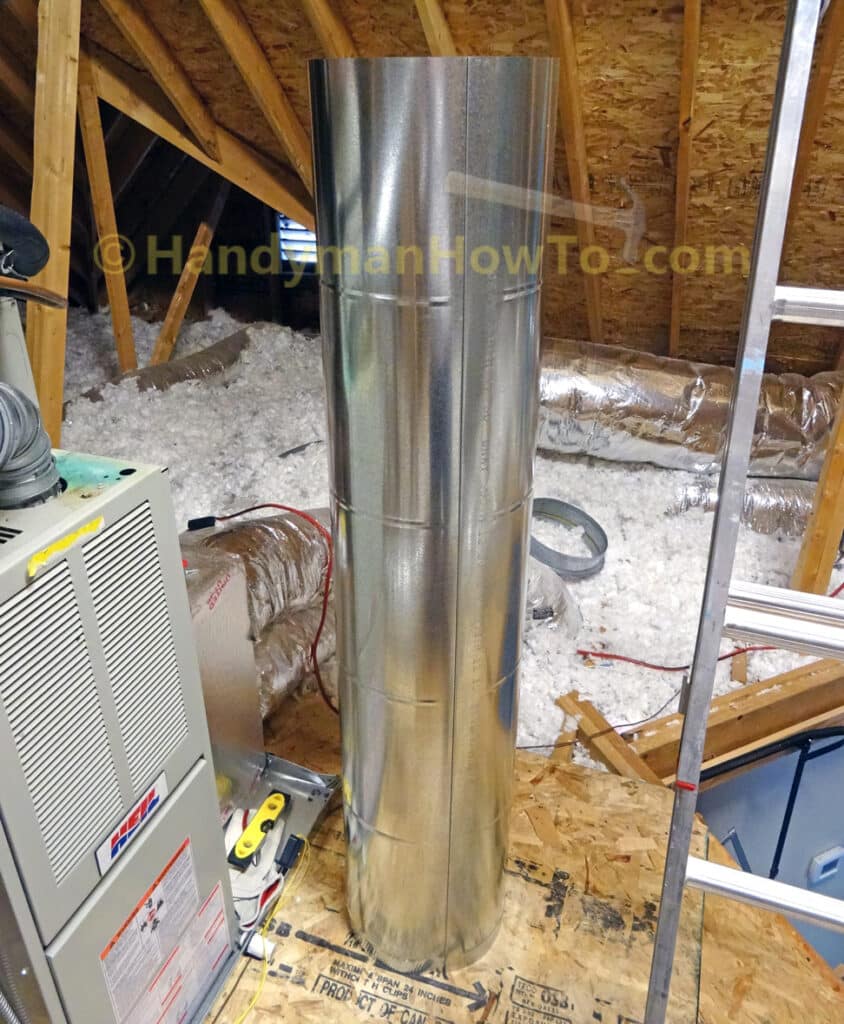
My ductwork diagram calls for a full 5 foot section of duct pipe here, so I snapped together the entire pipe. If you need to cut sheet metal duct pipe to fit a shorter section, do it before closing the snap lock seam.
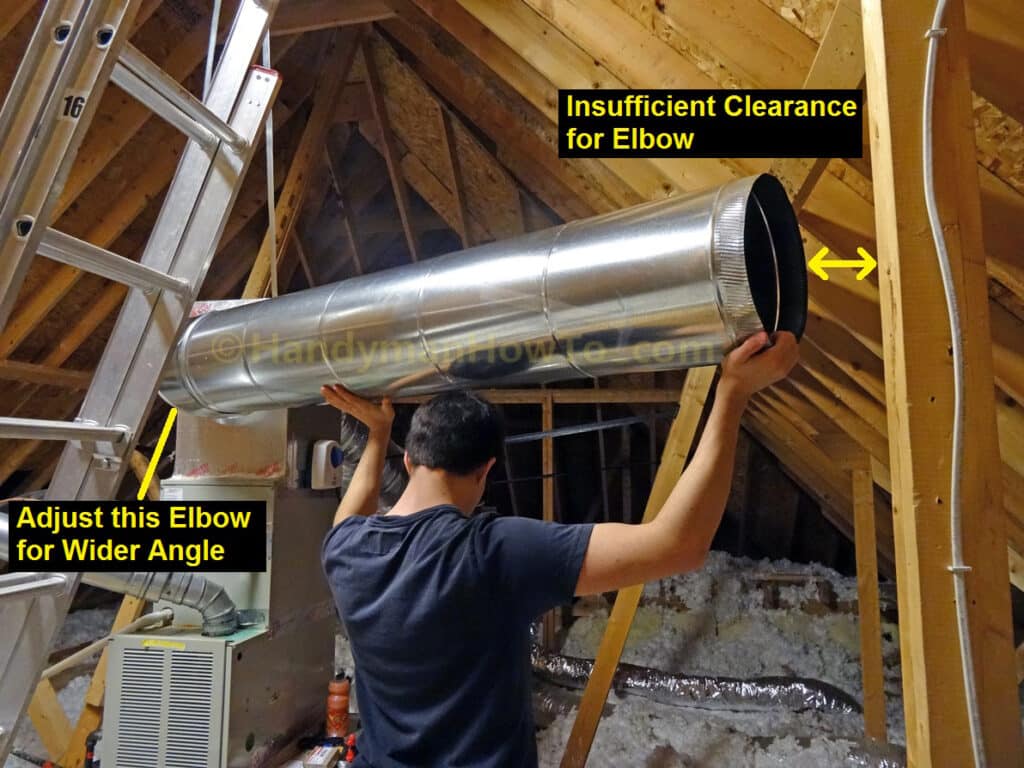
The new section of duct pipe is inserted over the adjustable elbow to check for alignment and clearance with the roof support post. There wasn’t enough clearance to fit the next elbow. The problem was solved by my son/helper holding the base of the elbow at the the plenum start collar (such that the duct board isn’t disturbed) while I increased the angle on the adjustable elbow to clear the support post. This process required two or three rounds of elbow adjustments, hold the duct pipe up and check for clearance. The adjustable elbow was wonderful for obtaining perfect alignment.
After temporarily fitting together the new section of duct pipe and elbows, the new pipe and elbow parts are removed, then reassembled by:
- Support the new section of duct pipe by hand.
- Insert the duct pipe into the 1st elbow by the supply air plenum (left side of the following photo).
- Fasten the duct pipe to the 1st elbow with sheet metal screws.
- Level the pipe with the magnetic level.
- Install a duct strap to support the right end of the duct pipe (see below).
- Attach the new adjustable elbow with sheet metal screws.
View of the pipe and 2nd adjustable elbow. Take care to allow for 2 or 3 inches of clearance between the elbow and support posts for the duct insulation sleeve that will be installed later.
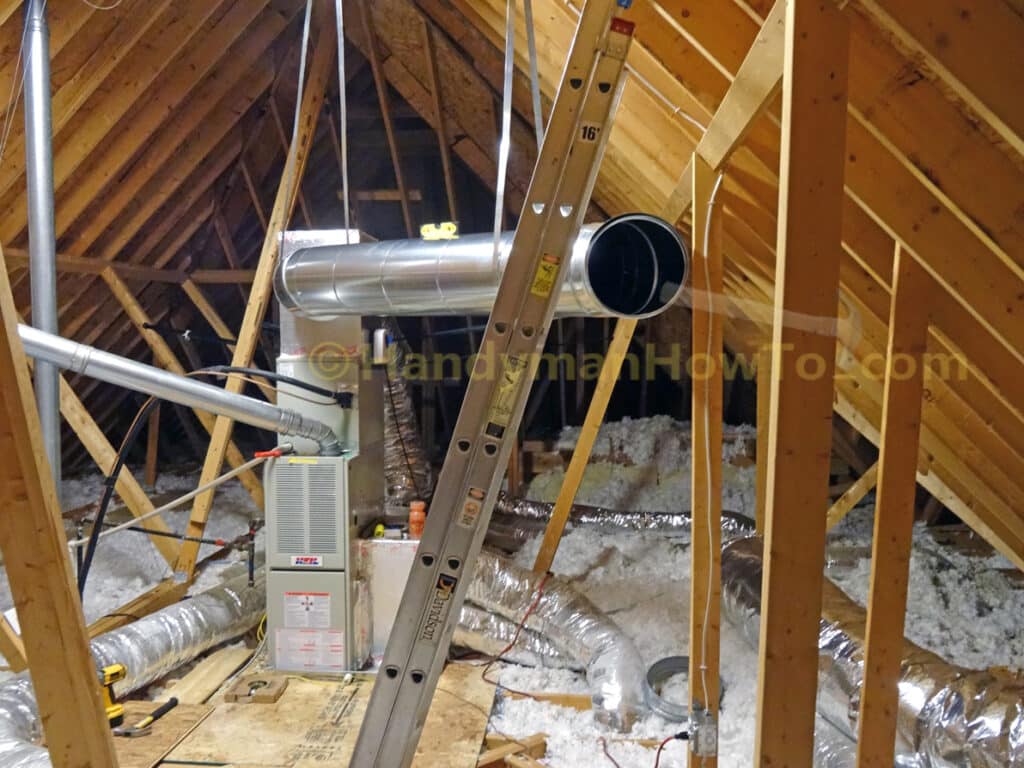
The next installation steps are:
- The 5 foot length of sheet metal duct pipe is attached the 2nd elbow, checked for level and supported with a metal duct strap.
- The old flexible duct start collar is removed from the duct board distribution trunk (lower right in the photo).
- A new sheet metal duct start collar is installed in the duct board trunk as was done for the duct board supply air plenum.
- An adjustable elbow is temporarily set on the start collar.
I adjusted the elbow angle to ~45 degrees by eyeballing what looked about right to meet the duct pipe.

Next up – fitting the next adjustable elbow and cutting snap lock duct pipe to fit a short pipe section. This project is continued in How to Install Round Sheet Metal Duct – Part 4.
Thanks for reading,
Bob Jackson