I’ve finish mounting and wiring the new Panasonic WhisperCeiling ventilation fan model FV-40VQ4 in the 2nd floor bathroom. Now I’ll install a new 4 inch soffit vent and insulated vent duct. This project is continued from Panasonic WhisperCeiling Bathroom Fan – Wiring and Mounting.
How to Install a Soffit Vent and Ductwork for a Bathroom Vent Fan
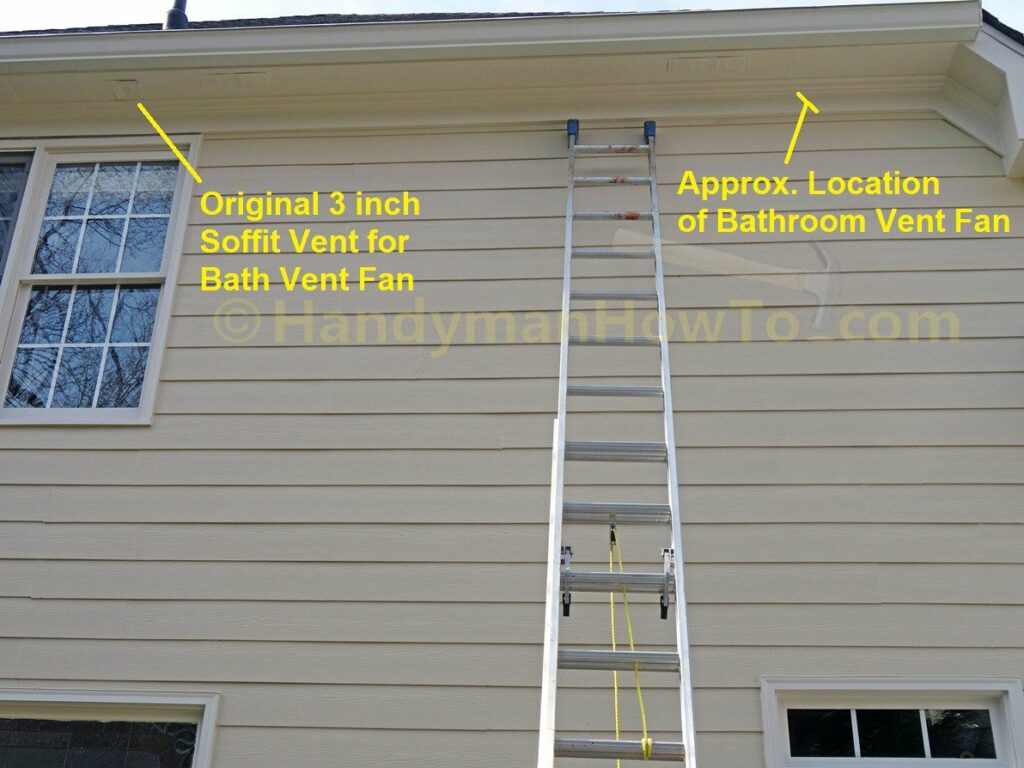
The contractor who installed the bathroom vent fan when the home was built was lazy and did a terrible job as explained here. The contractor apparently didn’t have a 24 foot extension ladder to install the soffit vent where it should be near the 2nd floor bathroom, so he put it where he could reach out the bedroom window:
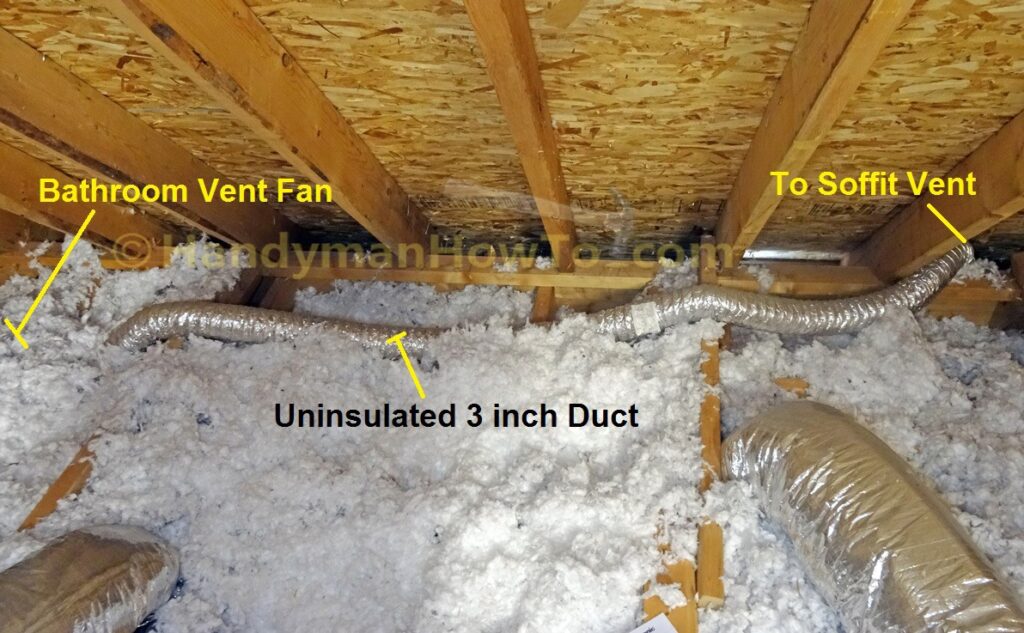
Uninsulated Bathroom Fan Vent Duct
Placing the original 3 inch soffit vent above the bedroom window resulted in an much longer than necessary duct length which increases air flow resistance and reduces the bathroom fan efficiency. Uninsulated vent duct will cause condensation of the moist air inside the vent duct which can pool, promote mold growth and might leak on the attic insulation and drywall ceiling. That long run of 3 inch duct is illustrates the problem:
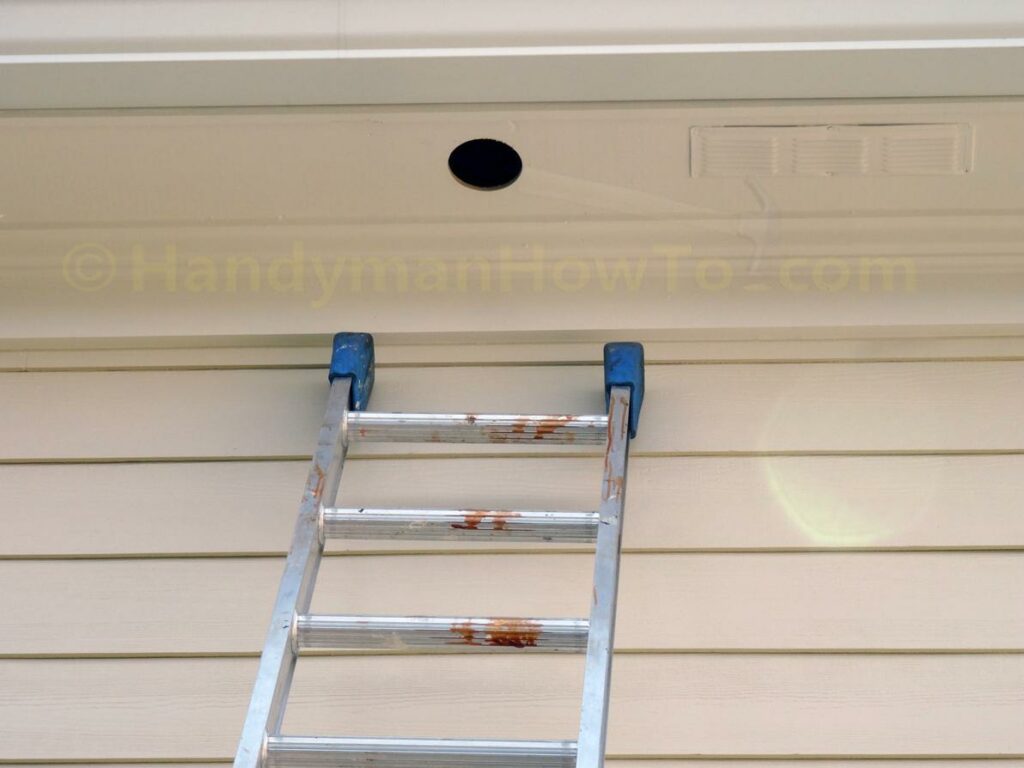
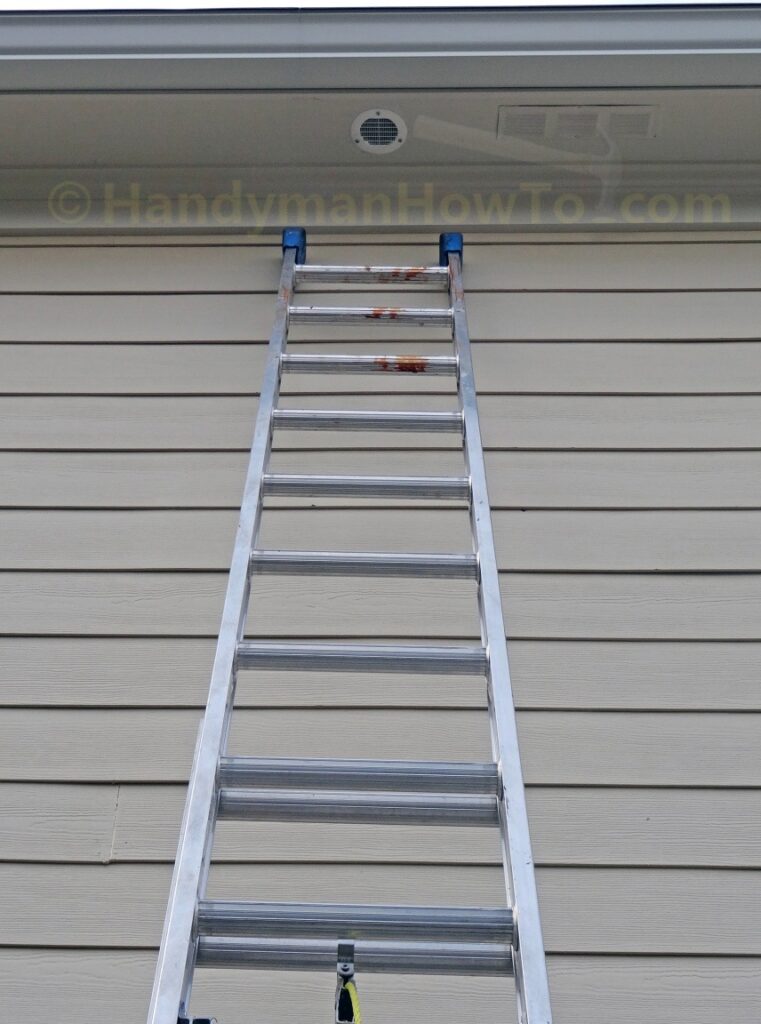
The new Panasonic WhisperCeiling bathroom fan requires a 4 inch soffit vent and 4 inch duct. I’ll install a new 4 inch soffit vent and insulated flex duct close to the 2nd floor bathroom at the top of the ladder in the first photo above.
Speedi-Products and Master Flow 4 inch Soffit Vents
There are many soffit vent products on the market – also known as “soffit exhaust vent” and “under eave vent” – with a wide range of features and prices. After reading the reviews I purchased the this Vent Model.
After I received the soffit vent, I decided that while the ~2 inch long neck could be taped to the vent duct I preferred a longer neck adapter. I rummaged around the Home Depot store and also bought this 4 inch Eave Vent only to get the metal duct pipe connector. You’ll also need two 4 inch worm gear band clamps and a roll of 2 inch wide metal foil HVAC tape.
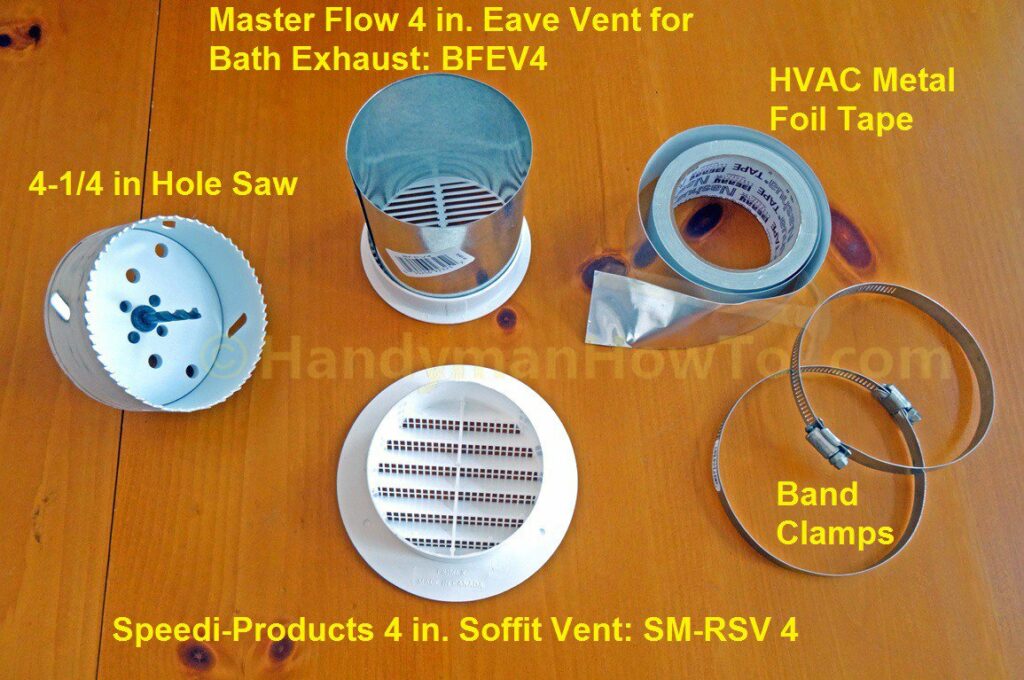
The 4 inch duct pipe connector isn’t fastened to the Master Flow eave vent and simply slides off the vent cap. The duct pipe connector is slightly narrower at the one end to fit the soffit vent. It also fit perfectly into the Speedi-Products SM-RSV 4 vent. The reasons for using parts from two different manufacturers are:
- The 4 vent:
- Has a wide flange to conceal the mounting hole sawn in the soffit.
This is important if you don’t have a hole saw for your drill to cut a perfect circle. - Is easy to fasten to the soffit plywood with three pan-head wood screws.
- Has a wide flange to conceal the mounting hole sawn in the soffit.
- By comparison, the Master Flow eave vent:
- Has a very narrow flange that just barely conceals a 4-1/4 inch diameter mounting hole drilled with a hole saw and only if it’s centered in the hole.
- The narrow flange can’t be fastened to the soffit plywood with wood screws.
It seems caulking is the narrow flange is the only option, however it’s nearly impossible to install because the bathroom vent duct will pull the vent sideways and out of the soffit mounting hole. You’ll end up with a smeared mess of caulk and a loose vent.
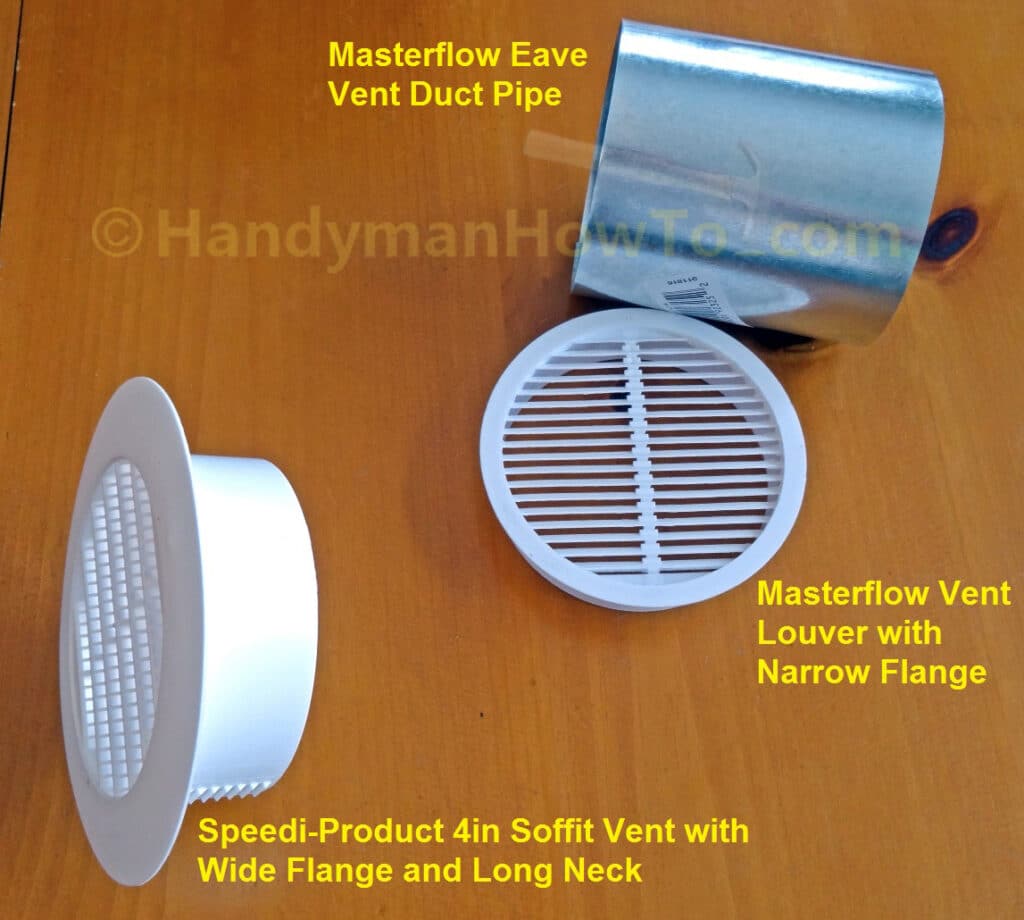
In retrospect, I think the Speedi-Products EX-EVML 04 4 inch eave vent would be a better choice because it combines the wide mounting flange with a long aluminum tail for the duct connection. Note the review on Amazon.com indicates it requires a 5 inch diameter mounting hole:
Install the Soffit Vent for the Bathroom Fan
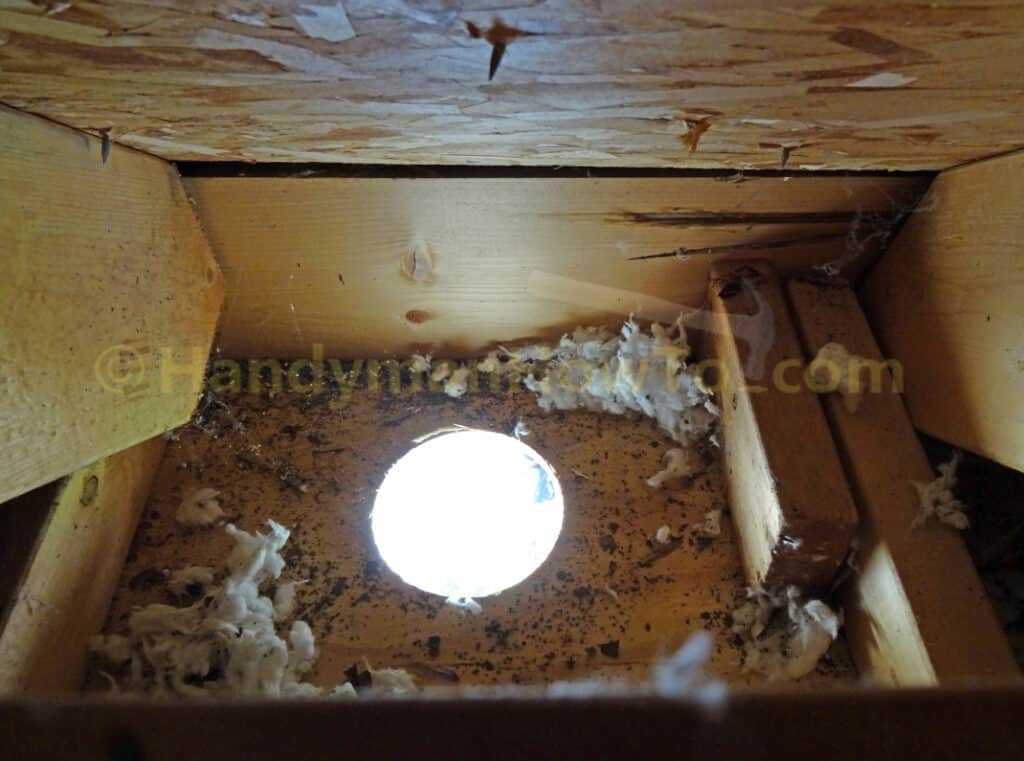
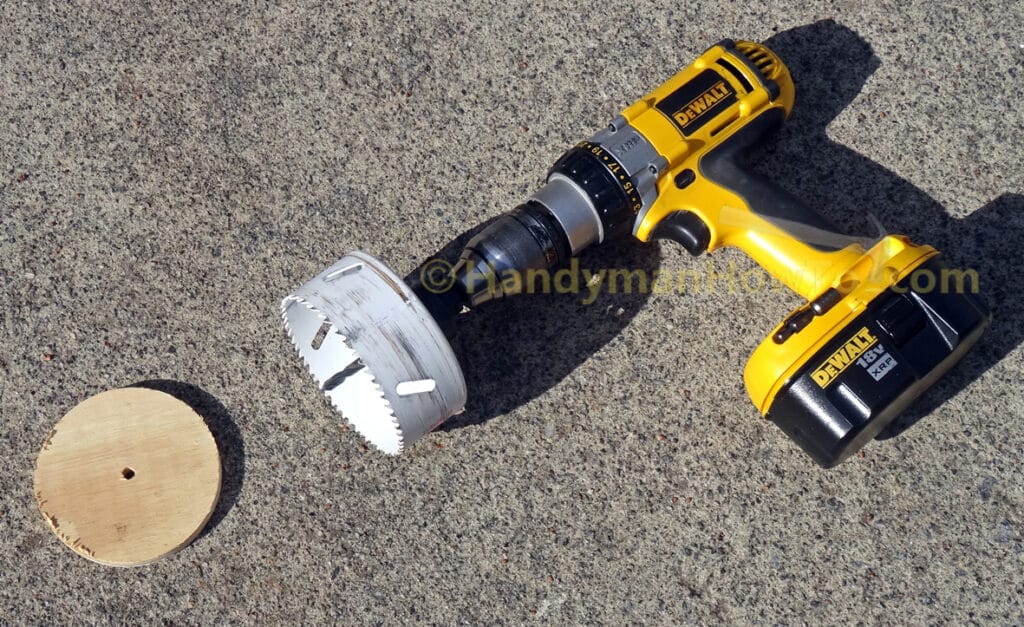
The new soffit vent will positioned between the roof rafters and lookouts. I took measurements inside the attic using the rectangular soffit vent in the adjacent rafter bay as my reference. Working on the ladder, I measured and marked the center for the new vent relative to rectangular soffit vent. I then cut the 4-1/4 inch hole for the vent with a hole saw on a my cordless drill/driver:
Attic view of the 4-1/4 inch mounting hole in the soffit between the roof rafters:
The 4-1/4 inch hole saw attachment for my cordless drill/driver cut a perfect circle in the soffit plywood. Hole saws are available at most home improvement stores.
Connect the Insulated Flexible Duct to the Soffit Vent
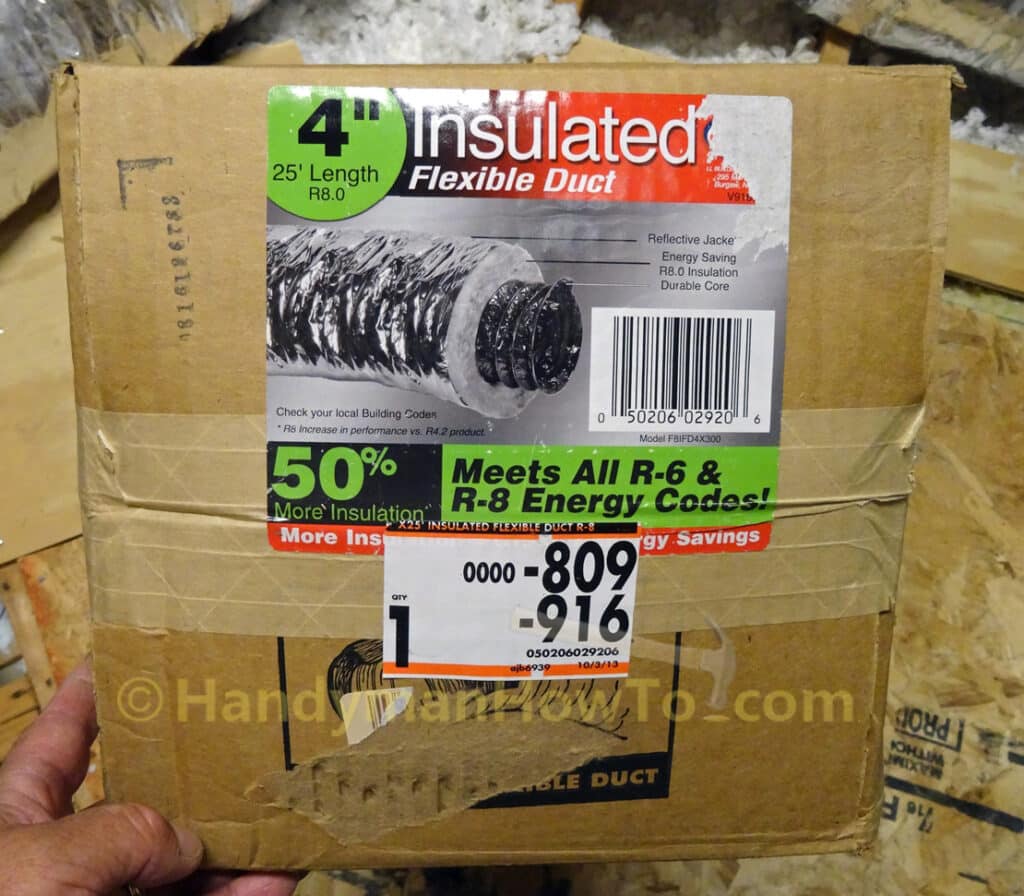
I’m now working in the attic to connect a new run of 4 inch insulated duct to the soffit vent duct pipe connector. I also purchased a 25 foot box of R-8 insulated flexible duct. This flexible duct can be used for running air conditioning ducts or bathroom exhaust vents:
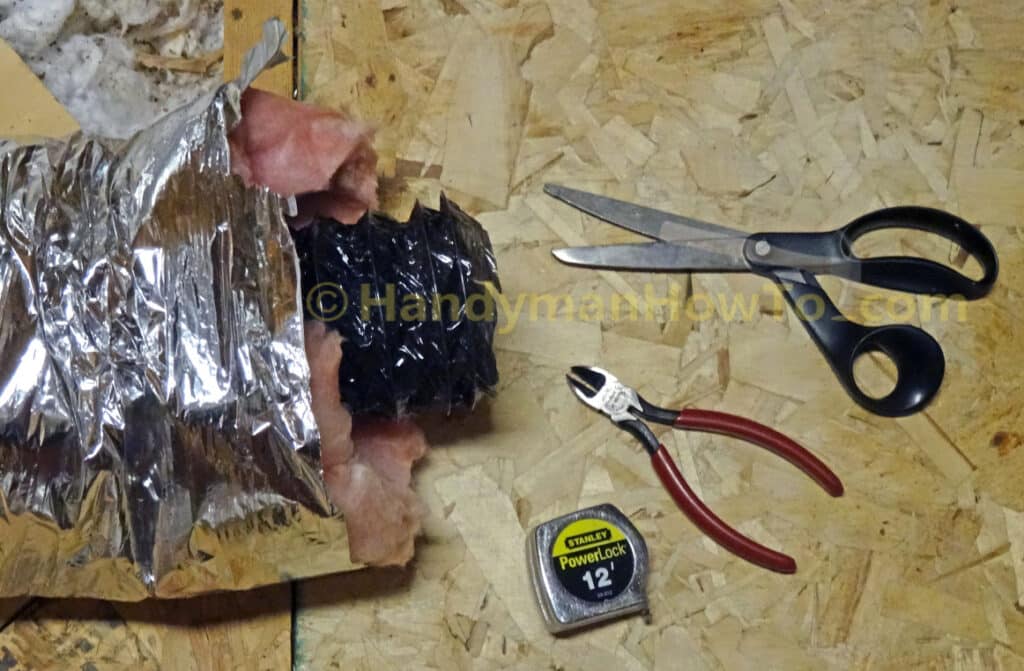
Workshop scissors, wire cutter and a tape measure are needed to install the insulated flexible duct. Gloves are recommended if your skin is sensitive to fiberglass insulation and above linked flexible duct comes with a pair of cut resistant gloves in the kit. Use the scissors to cut the silver jacket, pink fiberglass insulation and inner duct liner, then cut the duct liner wire with the wire cutters:
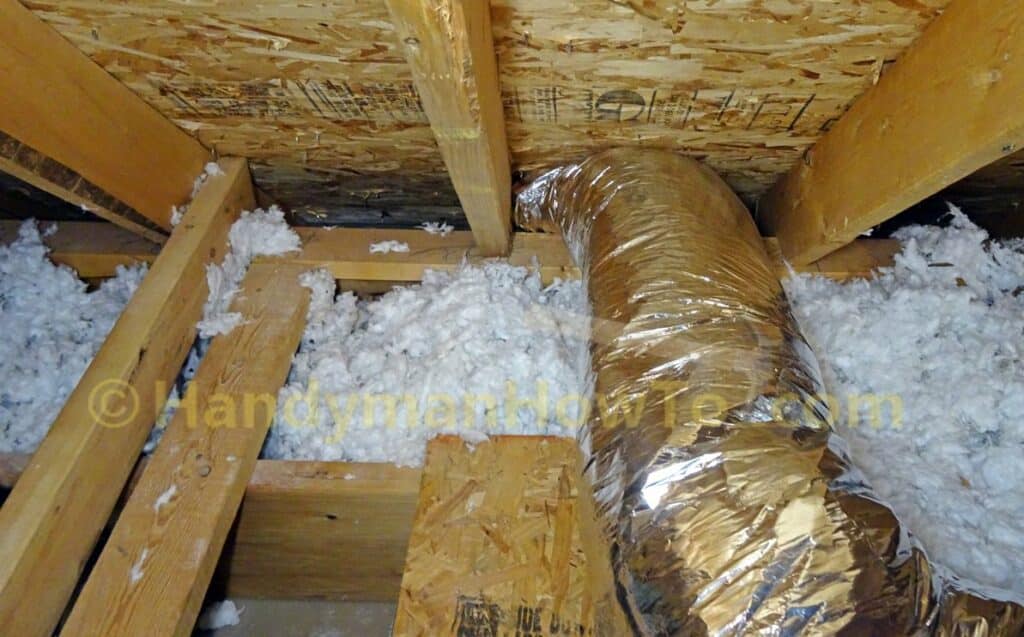
I pushed the 4 inch flex duct into the soffit where I drilled the mounting hole for the new vent. Take care not to tear the flex duct on the nails poking through the roof deck. BTW – the new bathroom fan is located beneath the 2×4 boards at the lower left corner of the photo:
Back outside on the ladder, soffit exhaust vent installation steps are:
- Reach into the soffit vent mounting hole and gently pull the flex duct inner line out about 6 inches.
- Slip the flex duct inner liner about 2 inches over the wider end of the metal duct pipe connector.
Remember, the slightly narrower end of the duct pipe connector fits into the soffit vent cap. - Seal the inner flex duct to duct pipe connector with two layers of HVAC metal foil tape.
- Slide a 4 inch metal worm gear band clamp over the taped joint and tighten the screw until snug.
While HVAC tape is usually sufficient to fasten the duct pipe to the duct liner, the band clamp provides extra mechanical support. - Slide the 4 inch vent soffit vent over the narrow end of the duct pipe connector.
The soffit exhaust vent must be pointed so it blows away from the house as shown.
Why? If the vent were to blow moist air against the house it would condense on the wall, promote mold and rot and freeze in the winter. - Seal the soffit vent plastic neck to duct pipe connector with two layers of HVAC metal foil tape.
Smooth all wrinkles for an air tight seal. - Push the duct pipe connector up into the soffit.
At this point the soffit vent is hanging loose on the duct pipe connector and flex duct:
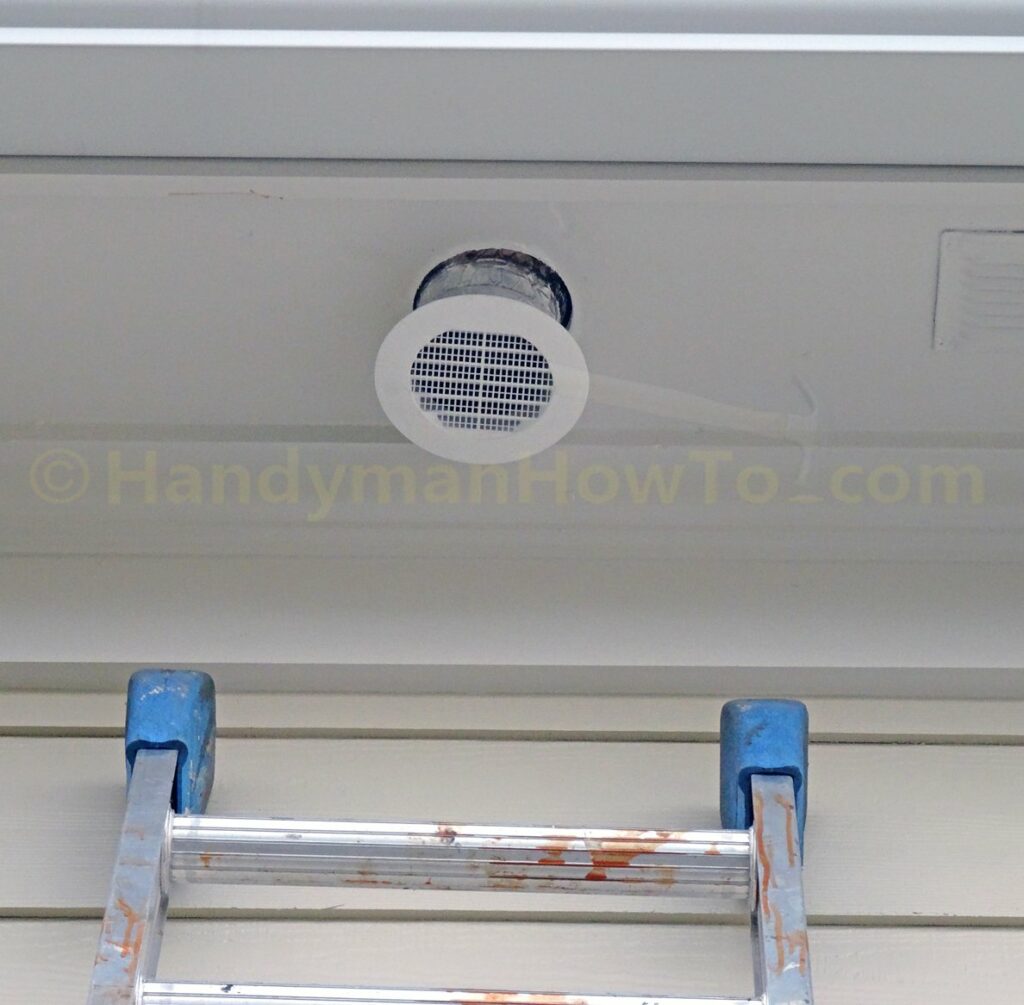
The soffit vent has three molded pockets equally spaced around the back of flange for screws. Mark the screw positions on the face of the vent because it’s nearly impossible to see these when the vent is against the soffit. Fasten the vent to the plywood soffit with three Simpson Strong-Tie SD8 #8 1-1/2 wood screws or equivalent pan head wood screws:
Connect the Flexible Duct to the Bathroom Vent Fan
Working in the attic, I measured and cut the 4 inch diameter insulated flexible duct to the needed length from shipping carton. The flexible duct is connected to the FV-40VQ4 fan by these steps:
- Remove the shipping tape from the fan exhaust backdraft damper if you haven’t already done so.
- Slip a 4 inch worm drive metal band clamp over the inner duct liner.
- Slide the flex duct inner liner over the fan duct adapter until it’s fully seated.
- Seal the inner duct liner to the duct adapter with two wraps of metal foil HVAC tape, overlapping the 2 inch wide tape equally on the duct liner and fan duct adapter. Press and smooth all tape wrinkles for an air tight connection.
- Draw the band clamp over the neck of the duct adapter and tighten until snug.
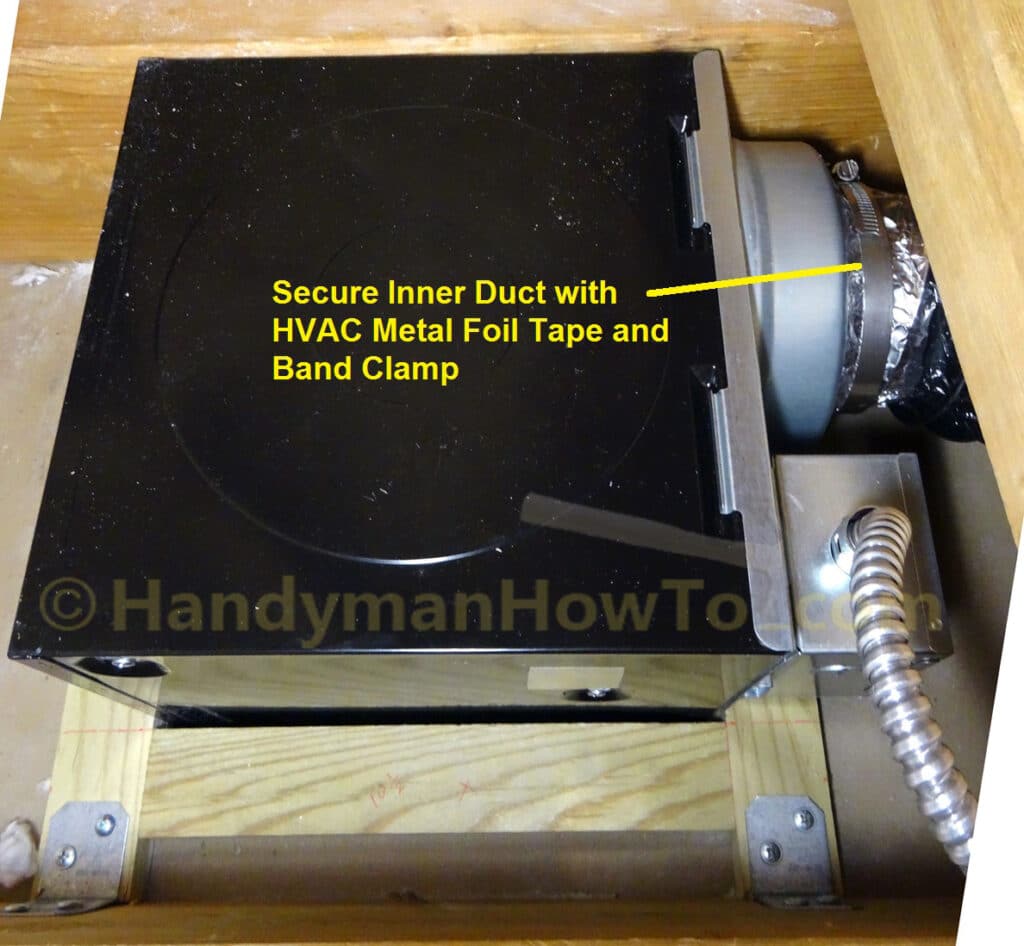
I then pulled the flex duct insulated jacket over the fan duct adapter against the fan body:
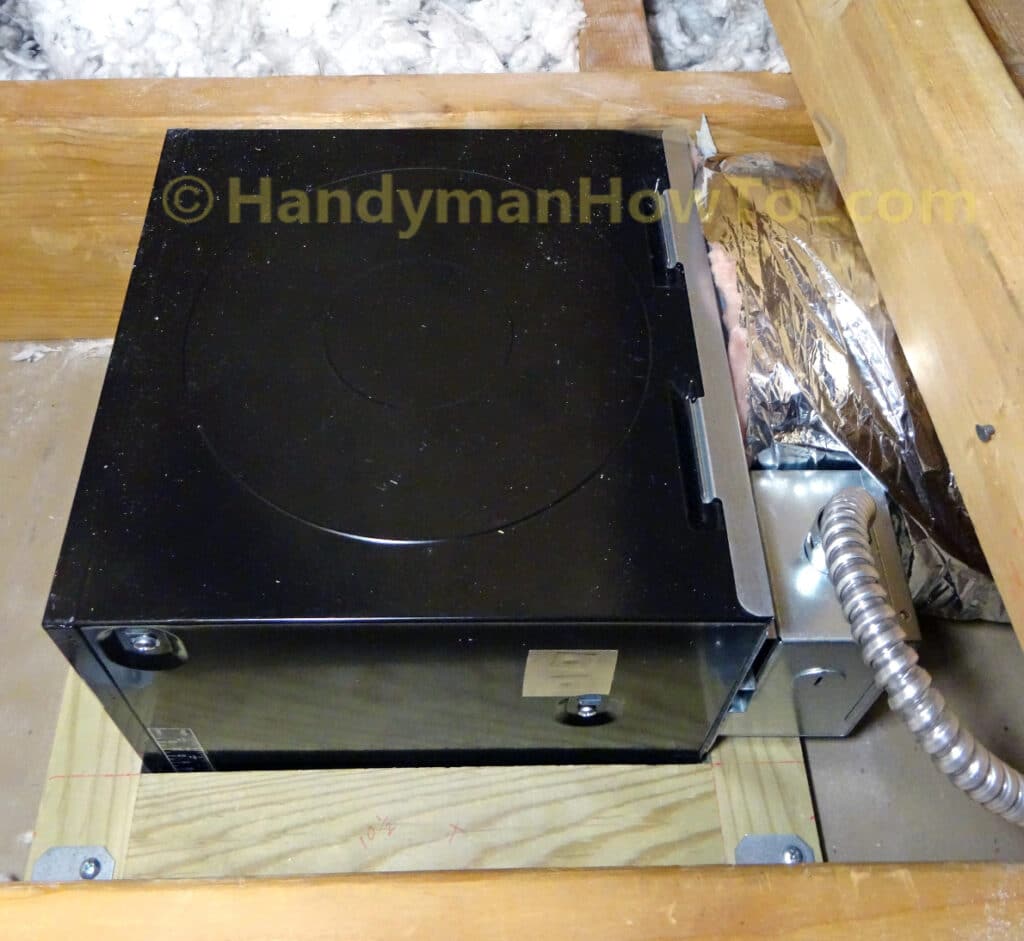
Here’s an overview of the new WhisperCeiling bathroom fan and flexible duct to the soffit vent. Keep the bends in the flexible vent duct gentle and wide; try to avoid sharp 90 degree turns and kinks. This new vent duct is at least 8 feet shorter than the original 3 inch duct installed by that goober contractor.
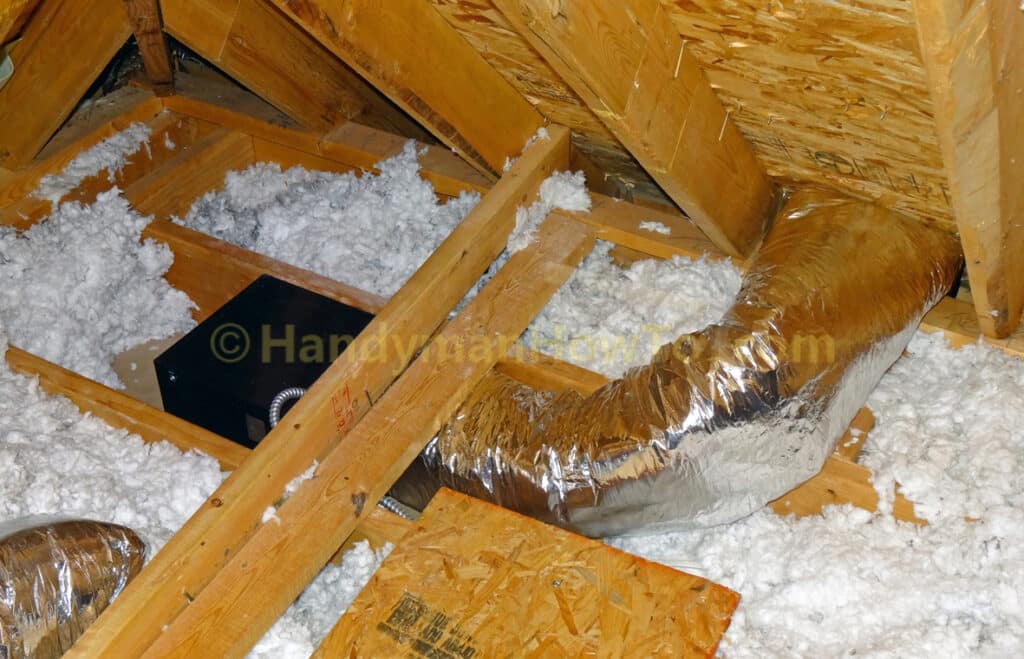
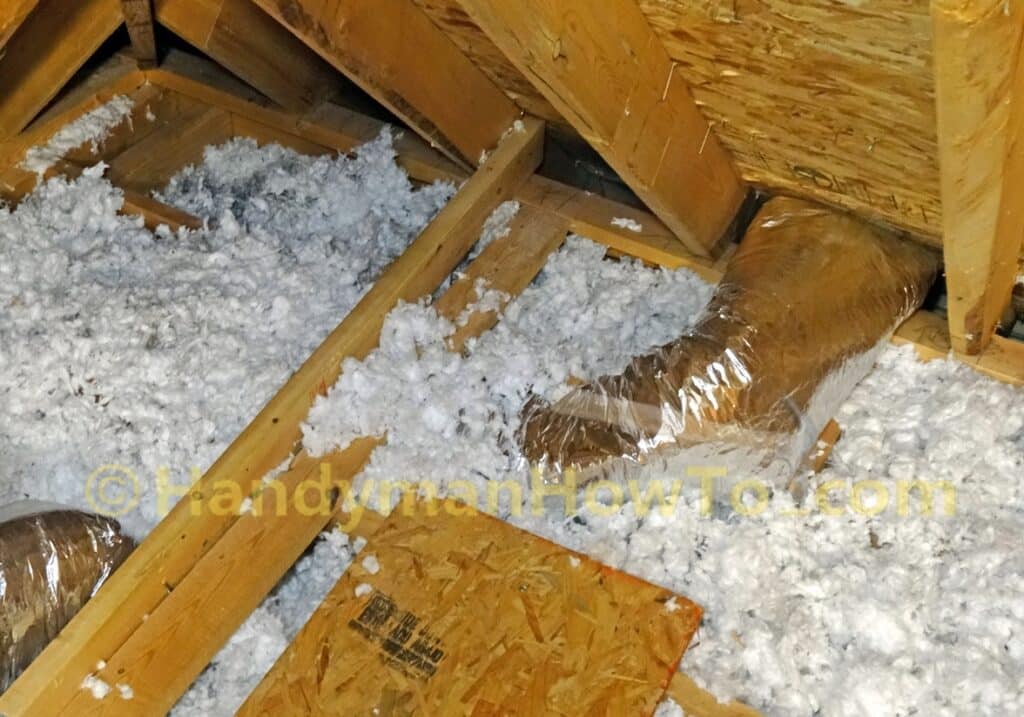
I pushed the loose fill fiberglass insulation back in place to complete the bathroom vent fan installation:
The bathroom exhaust fan is rated at 50 CFM (cubic feet per minute) which is correctly sized for this small bathroom which has only a shower and toilet because it’s part of a Jack and Jill bathroom. I placed a section of toilet tissue over the grille to demonstrate the fan operation:
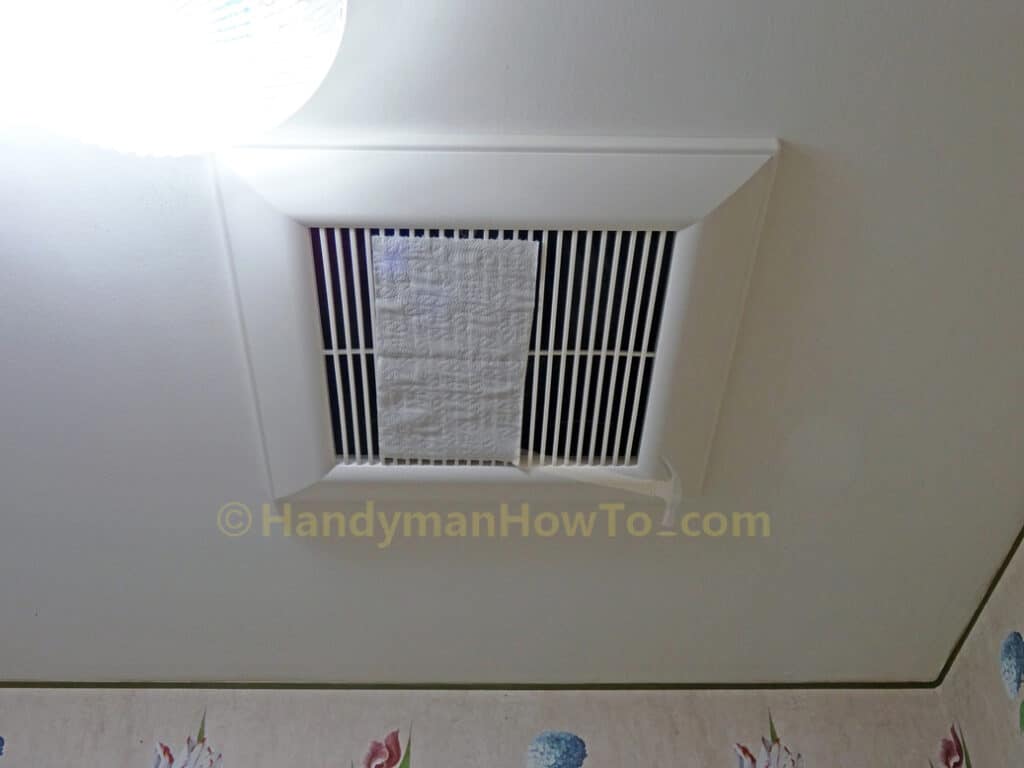
The old and noisy contractor-grade bathroom fan always left the bathroom steamy, which makes more work for the air conditioner during the summer. My teenagers say the bathroom is no longer steamy with new exhaust fan. It’s been a major improvement!
Hope you found this helpful,
Bob Jackson