Complete the Panasonic WhisperFit EZ fan installation – wall switch wiring: install an old work switch box, wire the new switches and install an blank off cover plate. This project is continued from Panasonic WhisperFit EZ Fan Old Work Ceiling Mount and Junction Box Wiring.
Project Series Index
The fan installation is covered in a four part series:
- How to Install a Panasonic WhisperFit EZ Bathroom Fan.
- Panasonic Bathroom Vent Fan Electric Cable Fishing.
- Panasonic WhisperFit EZ Fan Old Work Ceiling Mount and Junction Box Wiring.
- Panasonic WhisperFit EZ Fan Installation – Wall Switch Wiring. (You are here.)
Panasonic WhisperFit EZ Fan Installation – Wall Switch Wiring
Electrical Safety: Ensure the electricity is shutoff at the circuit breaker before working on the wires to avoid shock, injury, fire and/or death. Hire a licensed electrician if in doubt.
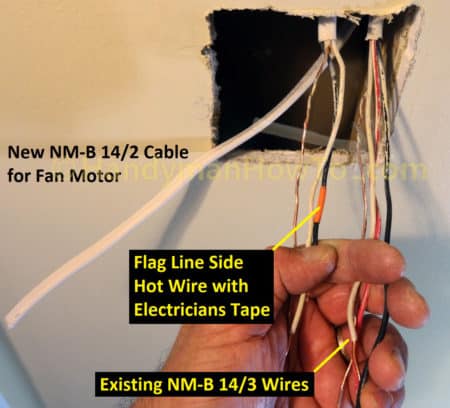
Recall that I removed the original double-gang electrical wall box to pull a new run of NM-B 14/2 cable for the fan motor because the Panasonic FV-08-11VFL5 needs three switches (fan, light and night light) and I needed a cable for the fan motor.
I flagged the line side black hot wire/cable with a piece of orange electrician’s tape (red tape is also good) to avoid confusion with the other NM-B 14/2 cable:
Old Work Switch Box: Allied Moulded Sliderbox SB-2
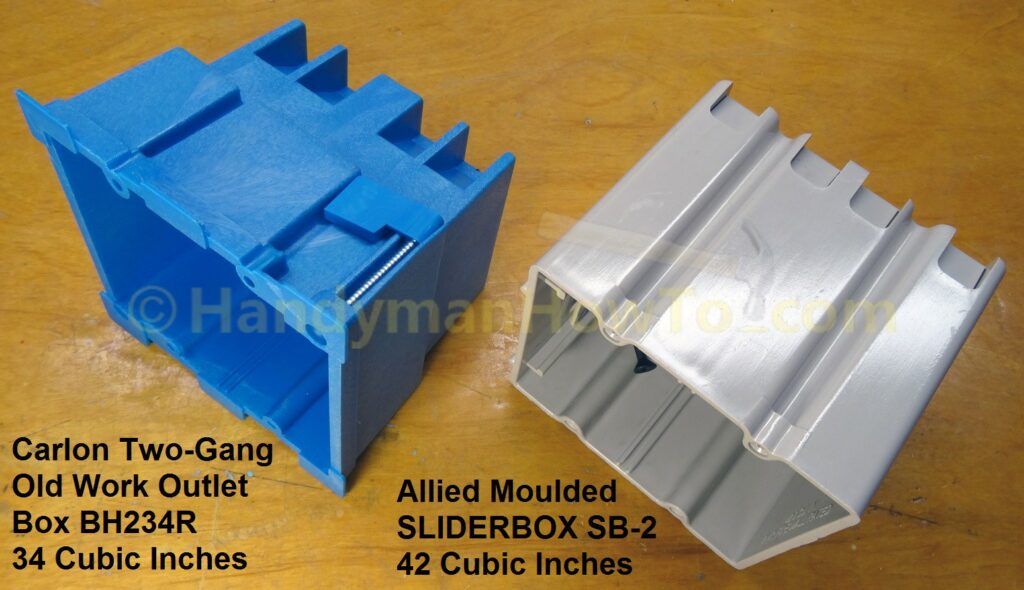
Normally I’d install a Carlon “blue” BH234R double gang 34 cubic inch (cu. in.) old work electrical box, however with three NM-B cables and two switches it would be close to the maximum box fill allowed by the NEC 314.16(B) and rather cramped inside. For extra room I choose the 42 cu. in. Allied Moulded Sliderbox SB-2 which is suitable for new and old work installations.
The two-gang Carlon old work box compared to the Sliderbox SB-2. The SB-2 is noticeably larger:
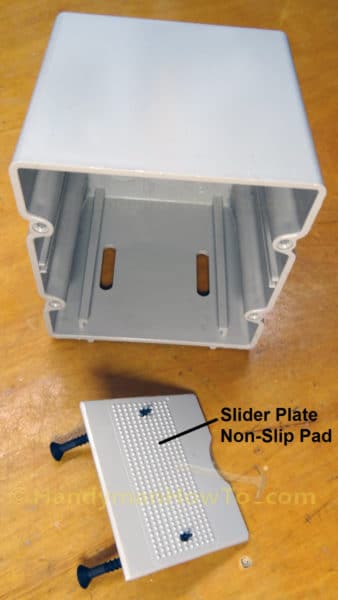
The Sliderbox SB-2 adjusts to fit most any wall thickness. Screws hold the box firmly to the wall stud:
The back of the slider plate is dimpled for a non-slip pad:
I like both the Carlon old work and Allied Moulded Sliderbox. The Sliderbox benefits are:
- Larger 42 cu in volume to stay within the NEC box fill requirements.
- Mounts to the wall stud so there’s no load on the drywall.
- Two 1/2 inch knockouts on the back for NM cable clamp connectors.
- Optional low voltage partition to separate 120 VAC wires from low voltage (e.g. shielded Cat5e/6 Ethernet, cable TV coax, intercom, etc.) wires.
Sliderbox SB-2 Installation
Bend open the Sliderbox plastic knockouts with the tip of a screwdriver, insert the NM-B cables and slip the box into the rough opening. Per the National Electrical Code (NEC):
- NEC 314.17 – The outer jacket of NM cable shall extend into the box a minimum of ¼ inch.
- NEC 300.14 – The minimum length of conductors, including grounding conductors, at all boxes shall be 6″. At least 3″, of every conductor, shall extend outside the box.
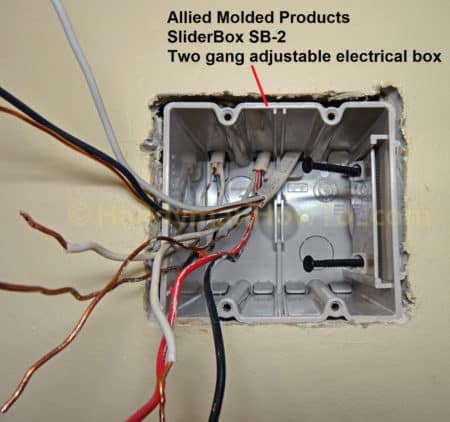
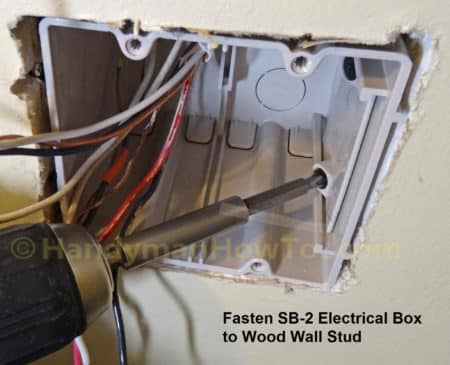
Adjust the SliderBox SB-2 so it’s even with the face of the drywall then fasten it to the 2×4 wall stud with the pre-installed screws. Don’t overtighten the screws to avoid crushing the plastic:
Panasonic WhisperFit EZ FV-08-11VFL5 Fan Switch Wiring
The NM-B cables, Leviton 5634 and Leviton 5691 switches will be connected per the following wiring diagram:
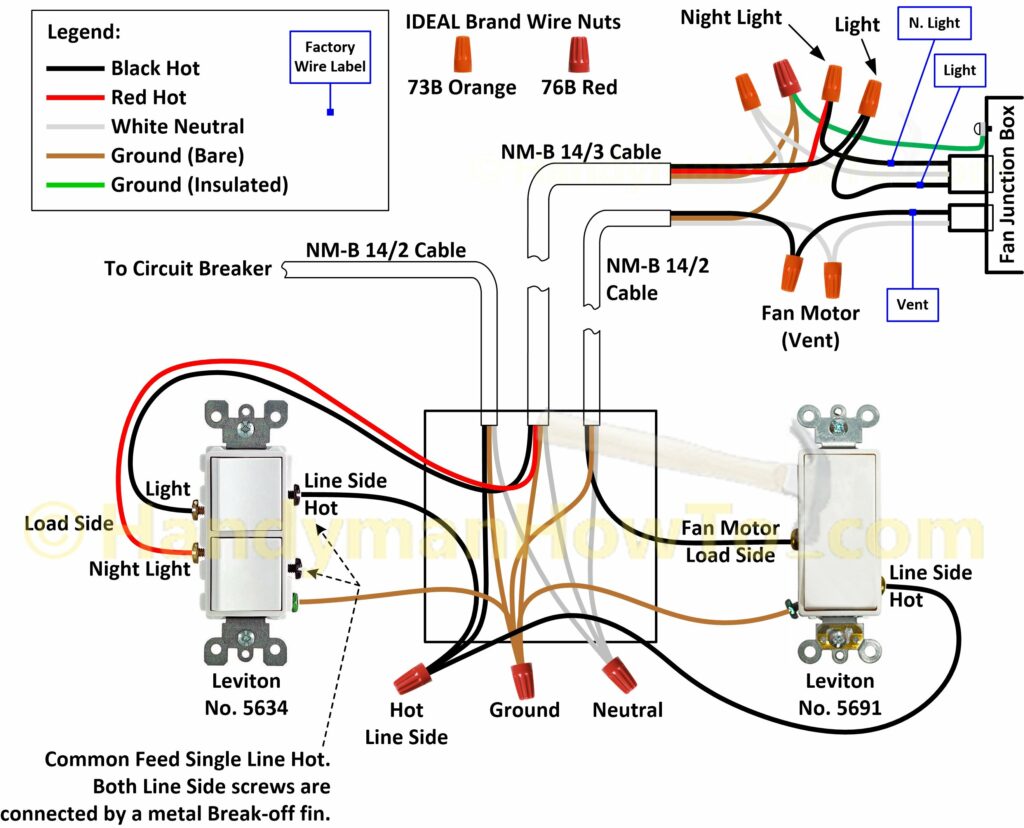
I bought the Leviton switches at Home Depot.
See the wiring diagram printed inside the switch cardboard box for connection details and note the “Up” switch orientation and ground screw position is different for the two switches. I was careful to show each switch orientation correctly in the above diagram but always verify your switch should Leviton change the design.
You’ll need a pair of electrician’s pliers, wire stripper, Philips and flat head screw drivers and cordless/drill driver for the following work.
I prewired the switch ground and hot wire 6 inch pigtails as it easier to do it in advance. The Leviton 5634 and 5691 switches support my favorite screw & clamp back wire method:
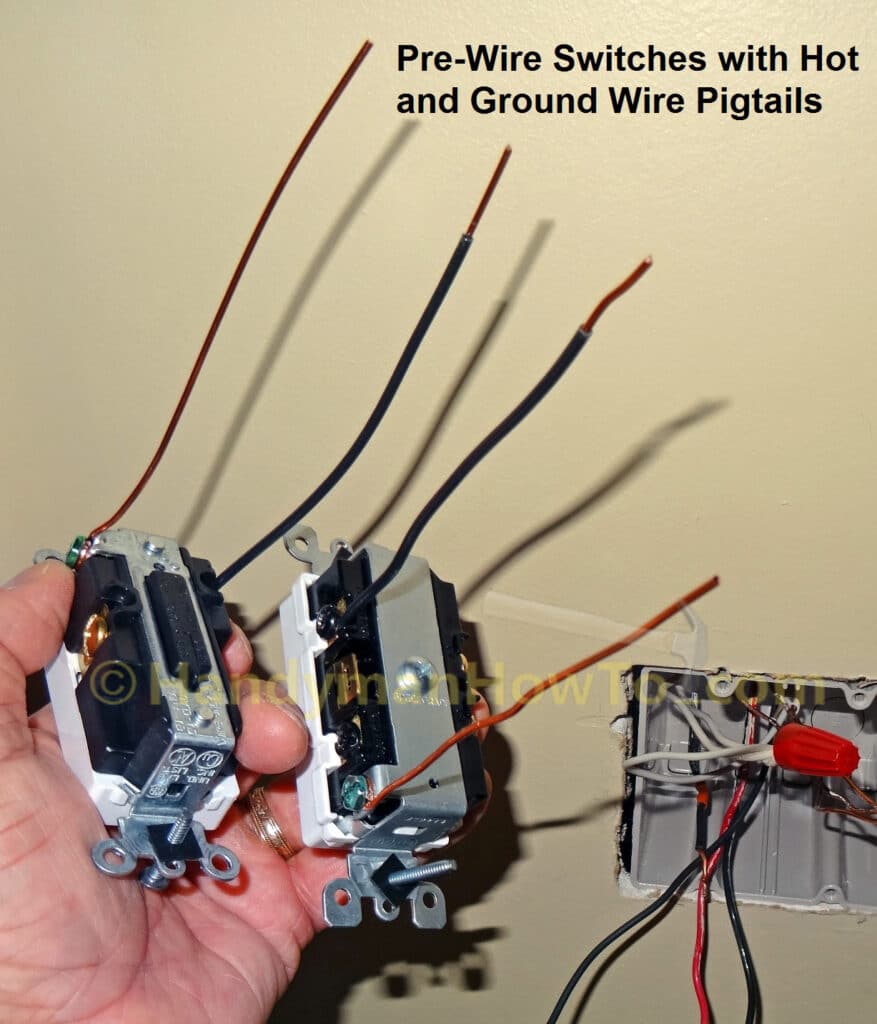
The fan switch wire steps are:
- Cut any long box wires if necessary so they’re even with at least 3 inches extending outside the face of the box.
- Strip about 3/4 inch of insulation from the white neutral and black hot wires.
- Twist and nut together all white neutral wires.
- Twist and nut together the Line Side black hot wire from the circuit breaker with the switch Line Side black hot wire pigtails.
- Connect the NM-B 14/3 black wire to the upper Load Side terminal on the Leviton 5634.
This is for the fan light. - Connect the NM-B 14/3 red wire to the lower Load Side terminal on the Leviton 5634.
This is for the night light. - Connect the NM-B 14/2 black wire that goes to the fan to the Load Side terminal on the Leviton 5691.
This is for the fan motor.
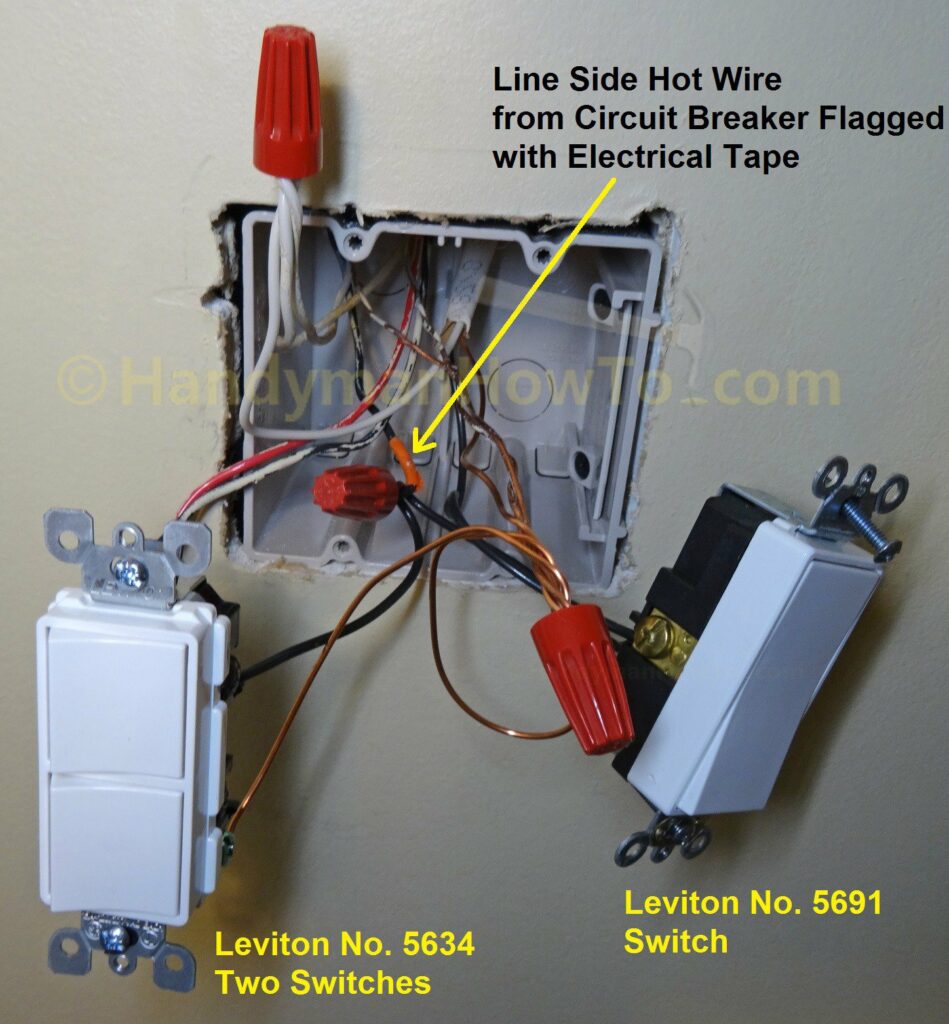
At this point you should gently fold the wires into the wall box and mount the switches to the box. Because I prefer to test the switches before mounting and don’t have small curious children that could be at risk, I told everyone to stay out of the bathroom and turned On the electricity at the circuit breaker.
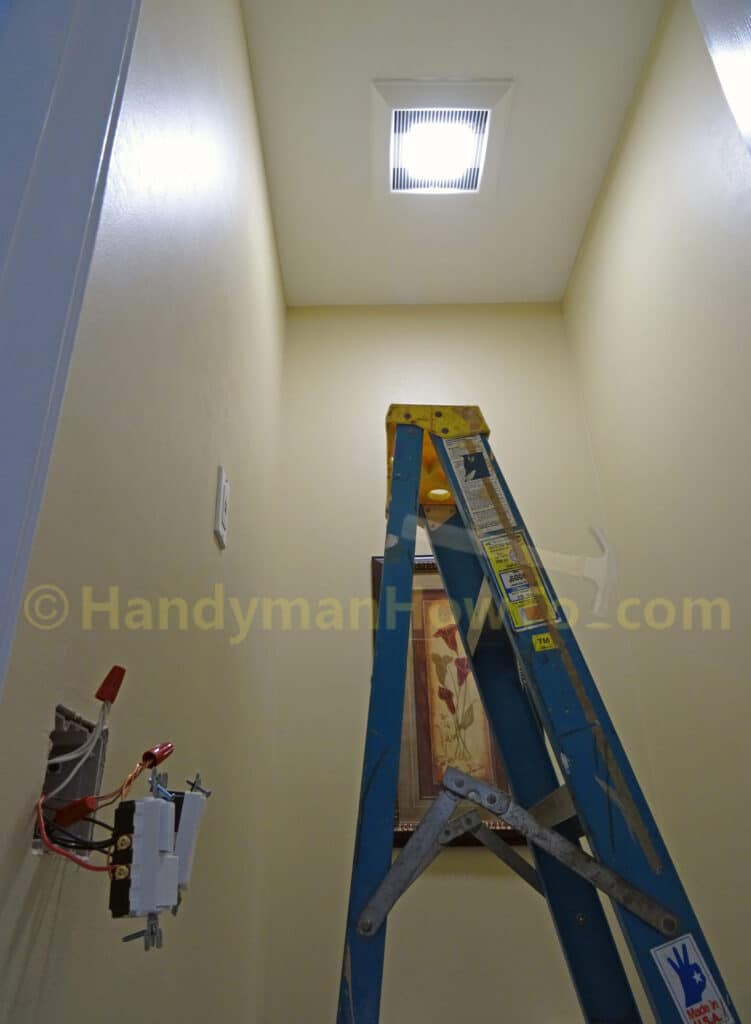
Put one hand in your pocket and keep it there. Being very careful to only touch the switch face with a fingertip (do not hold the switch!), I toggled each On and Off to verify it operates correctly. The fan light works good:
And the night light too:
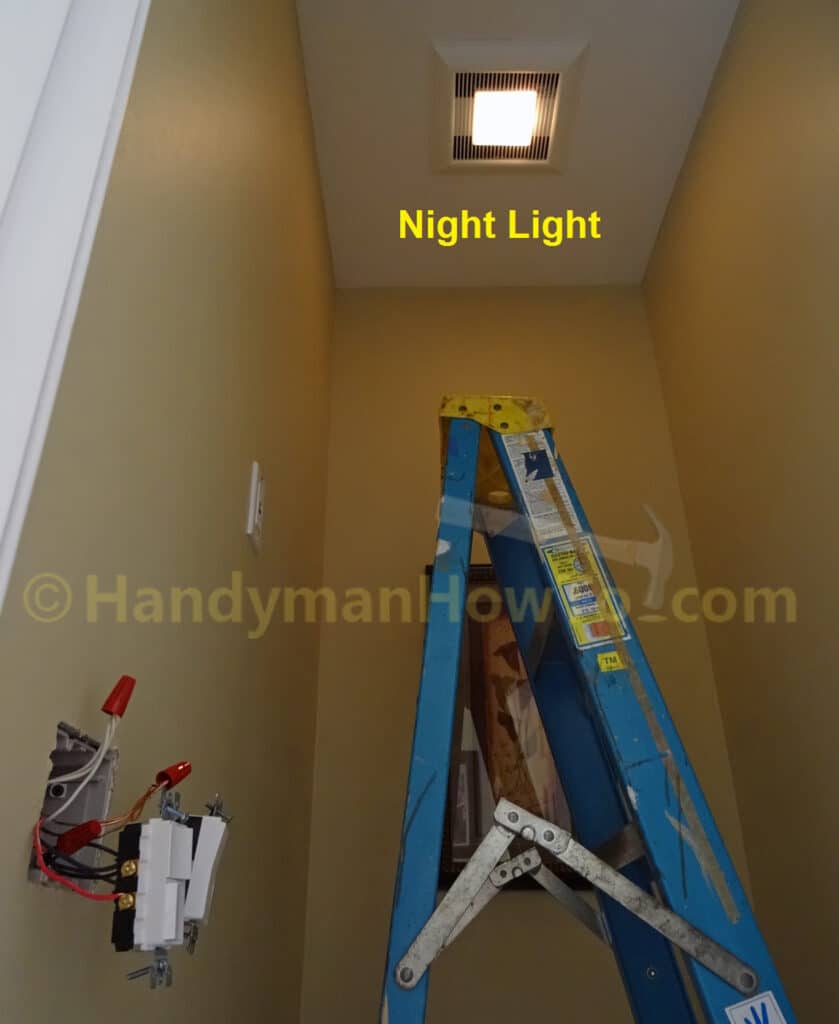
The fan motor switch also works. Everything is good!
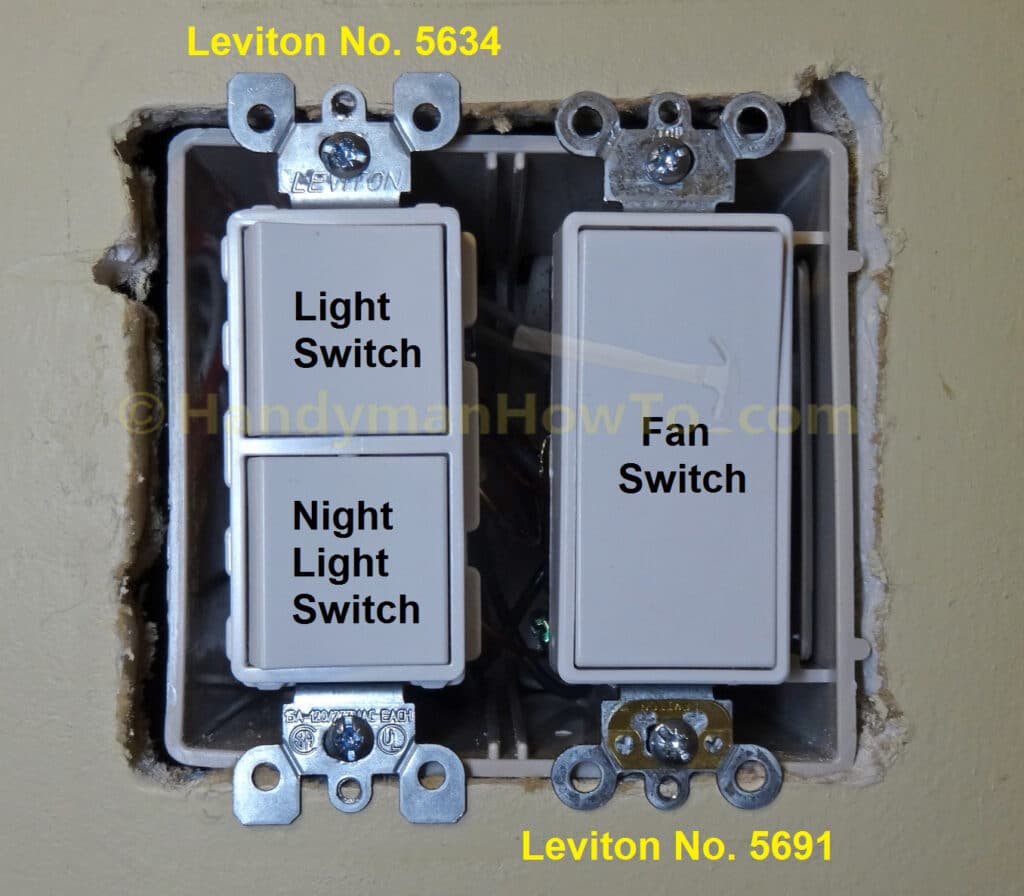
I made another trip to the basement to shutoff the electricity at the circuit breaker, then folded the wires into the wall box and mounted the switches. The light switches are on the left side closest to the door so your hand naturally finds it first in the dark:
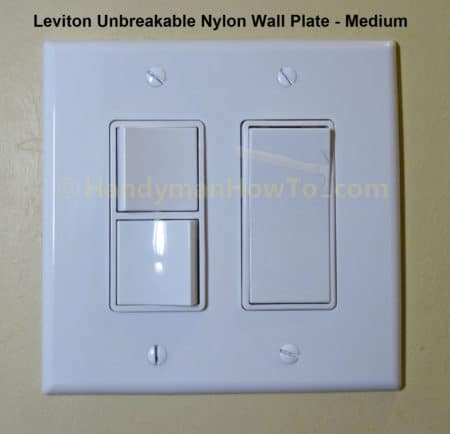
Then installed a Leviton unbreakable nylon wall plate:
Blank Off Cover Plate to Conceal the Wire Fish Ceiling Hole
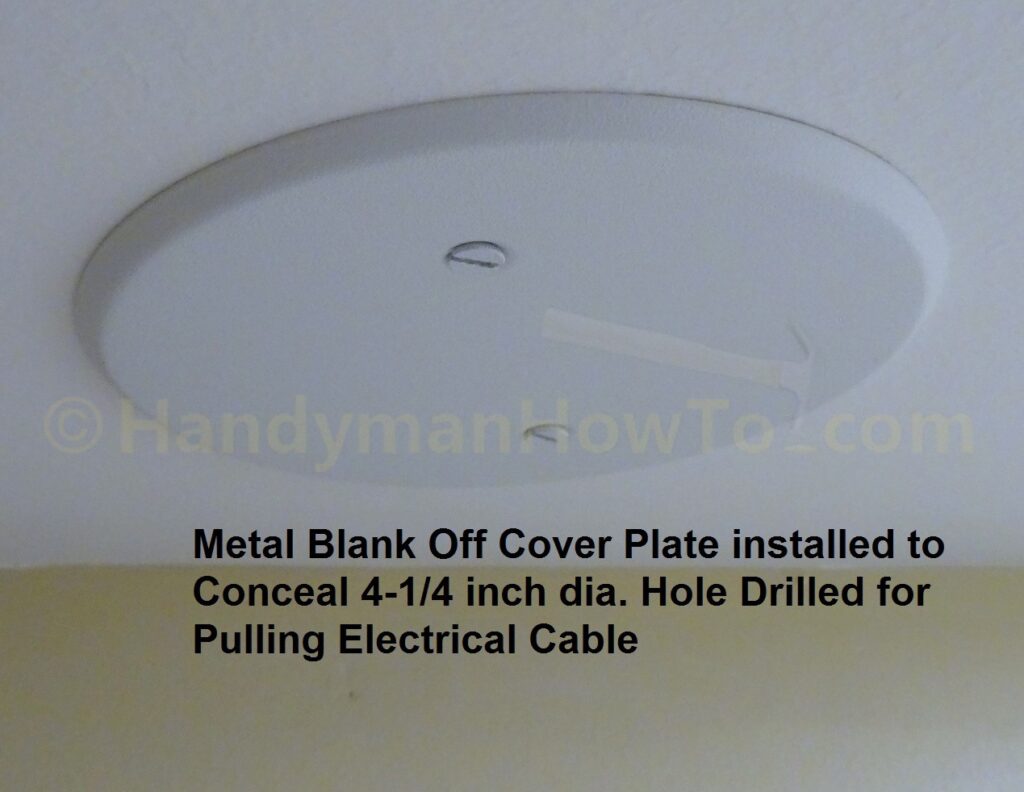
Remember that hole I cut in the ceiling to fish a new run of NM-B 14/2 cable for the fan motor? I need to either repair the drywall or install a cover plate. Because I planned ahead and cut the 4-1/4 inch hole such that it overlapped the joist edge I can install a metal blank off cover plate. It’s so much simpler compared to patching drywall:
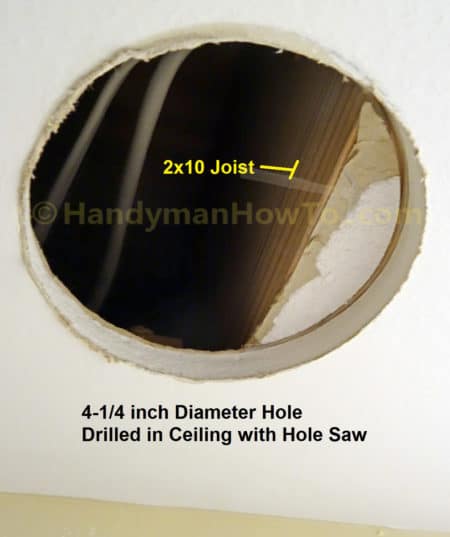
I bought a 4 inch Round Octagon Cover, a similar one available from Amazon here:

And mounted it to the joist edge with a Simpson Strong-Drive #8 x 1-1/4″ screw. Position the octagon cover ring such that the interior screw holes are not obstructed by the joist:

A 5 inch round blank cover fits the octagon cover ring and finished with two screws:
The blank off cover plate is screwed to the octagon cover ring:
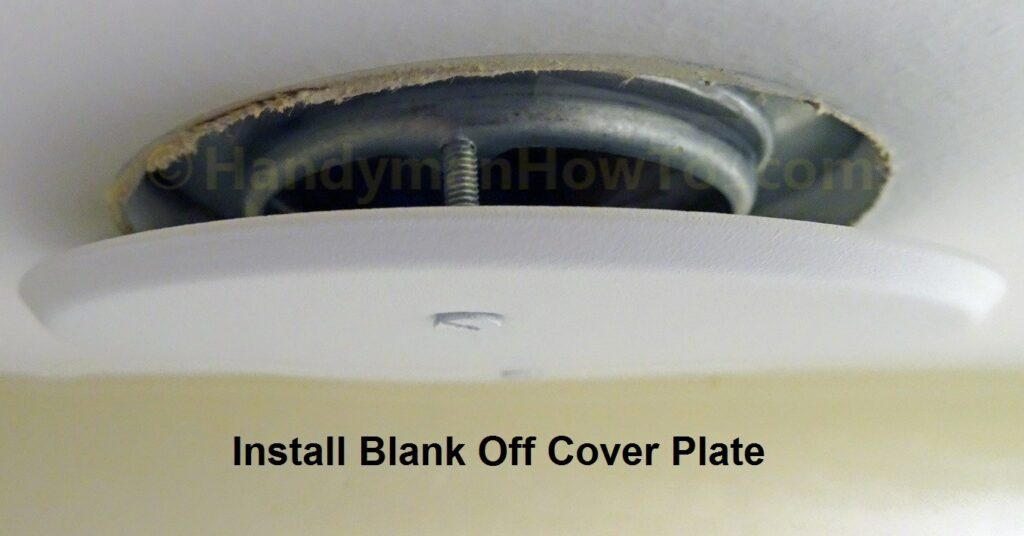
The blank off cover conceals the hole and looks nice:
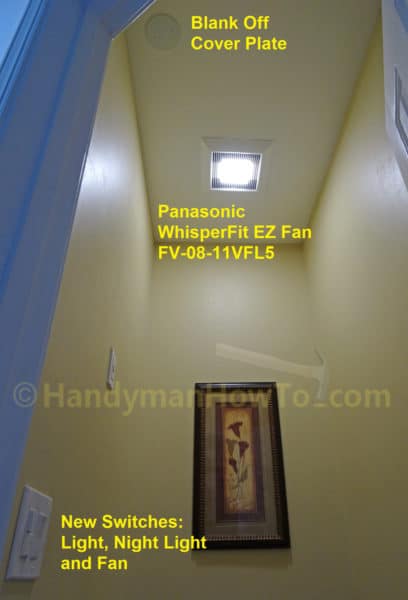
The completed Panasonic WhisperFit EZ Fan FV-08-11VFL5 installation with new wall switches and ceiling blank off cover:
Pansonic WhisperFit EZ Fan FV-08-11VFL5 Performance
The FV-08-11VFL5 works so much better than the old contractor grade fan it replaced! Old work installation was easy with the Fast-Z Flex bracket. The two 13 watt CFL bulbs are plenty bright and night light is a big plus. My wife likes the night light, too.
Compared to the Panasonic WhisperCeiling FV-11VQ5 (110 CFM) and FV-05VQ5 (50 CFM) fans I’ve installed:
- This WhisperFit FV-08-11VFL5 (80 or 110 CFM) fan is significantly louder @ 1.2 sone compared to 0.4 & 0.5 sone for the WhisperCeiling FV-05VQ5 & FV-11VQ5 models, respectively.
- The WhisperCeiling fans generate less than 0.5 sone which is very quiet and I have to actively listen to hear the motor running
- The WhisperFit 1.2 sone noise level is much quieter than the old cheap fan but not so loud to wake up anyone.
That’s not to say a 1.2 sone sound level is undesirable because it can help mask bathroom activity noises, especially in a nearby hallway bath used by guests.
Thanks,
Bob