This project is continued from AC Evaporator Coil Cleaning with Pump Sprayer and Brush.
Clean the AC Condensate Drain Pan
The last project was getting lengthy so I’ll describe this cleaning task now. There was a film of black dirt or mold on the sides and bottom of the plastic condensate drain pan. I cleaned the pan using paper towels soaked in Windex window cleaner because it’s a fairly mild product. This photo was taken before I cleaned the coils with a brush:
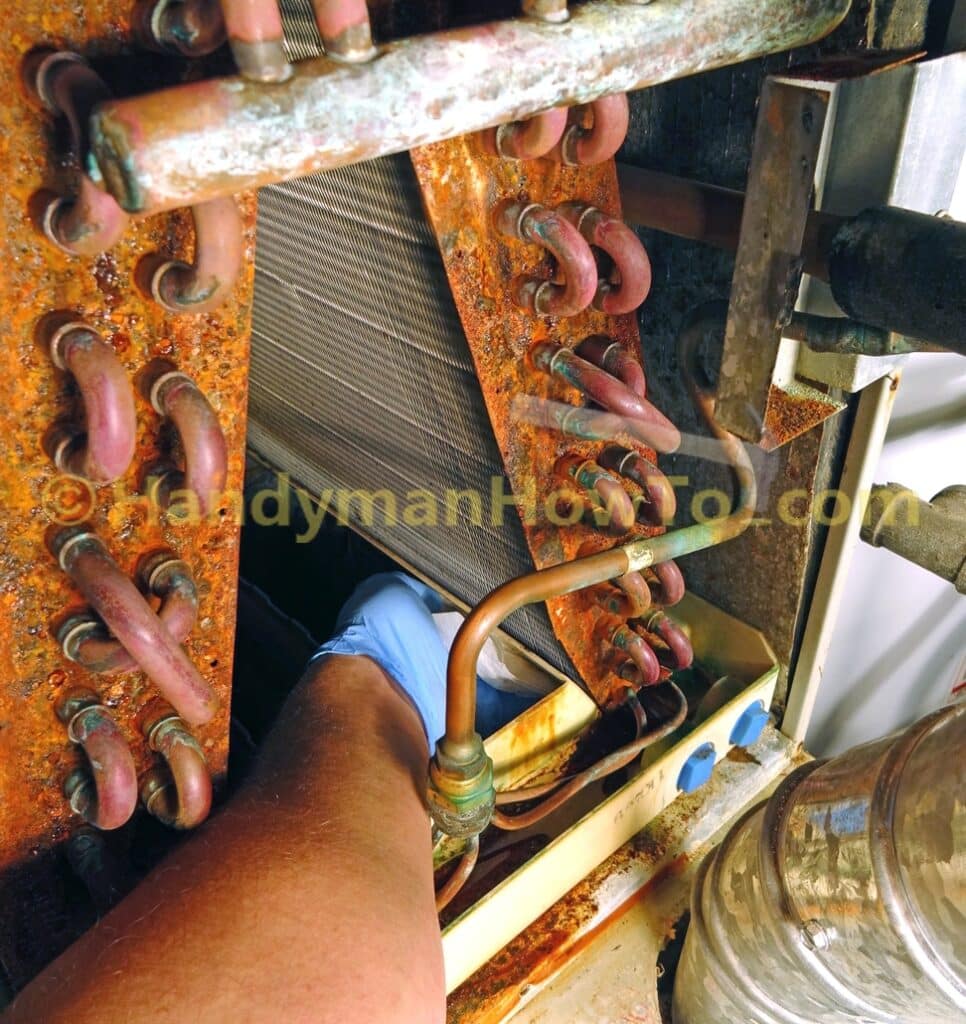
I worked mostly by touch reaching deep inside the A-Frame evaporator coils. There was a lot of scum on the drain pan bottom on this 12 year old AC system because the chilled water inside the pan causes condensation on the pan surfaces:
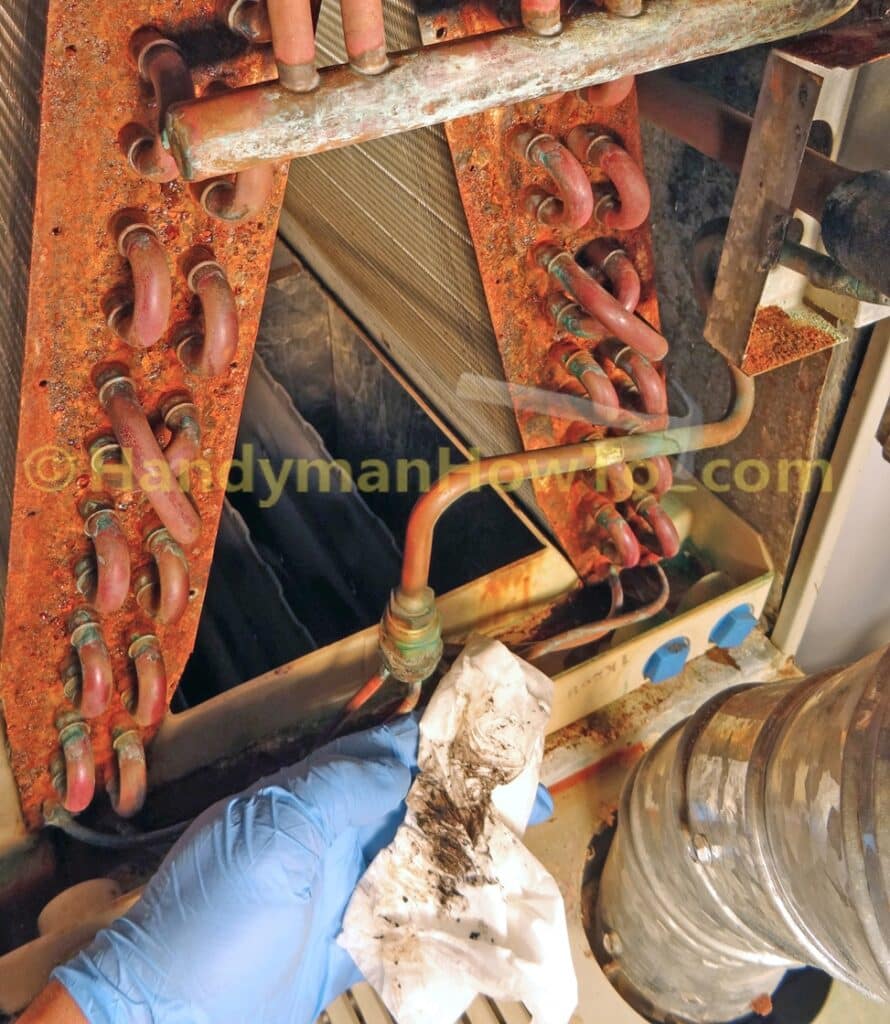
Clean only the pan sides and bottom and be careful not to bump the coil fins because they will easily bend.
Close and Seal the Evaporator Coil Case
Now that I’ve thoroughly cleaned both the inside and outside faces of the evaporator coils, the coil front cover plate and the case access panel are reattached with screws.
Re-Install the Evaporator Coil Front Cover Plate
The evaporator coil front cover plate is maneuvered back into place behind the refrigerant lines.
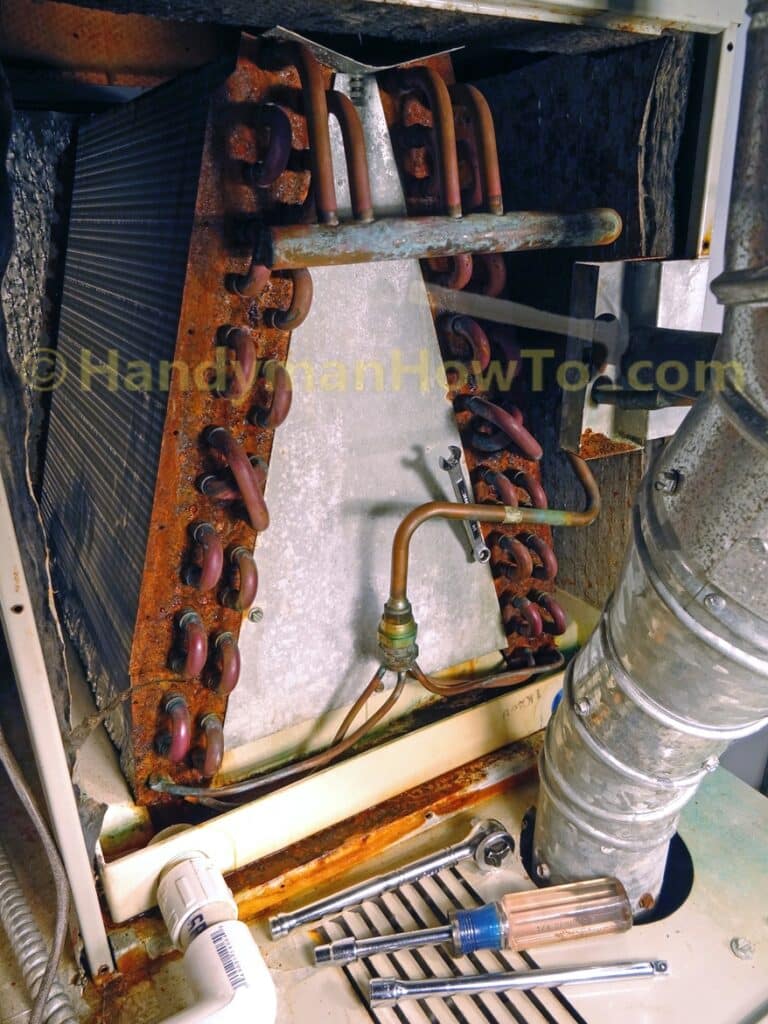
While holding the cover plate in position, I turned the baffle plate screw between my index and middle fingers to get the screw started. This was simpler than using a wrench and avoided dropping the screw. Once the baffle plate screw threads caught, I tightened the screw the rest of the way with the 1/4 combination wrench.
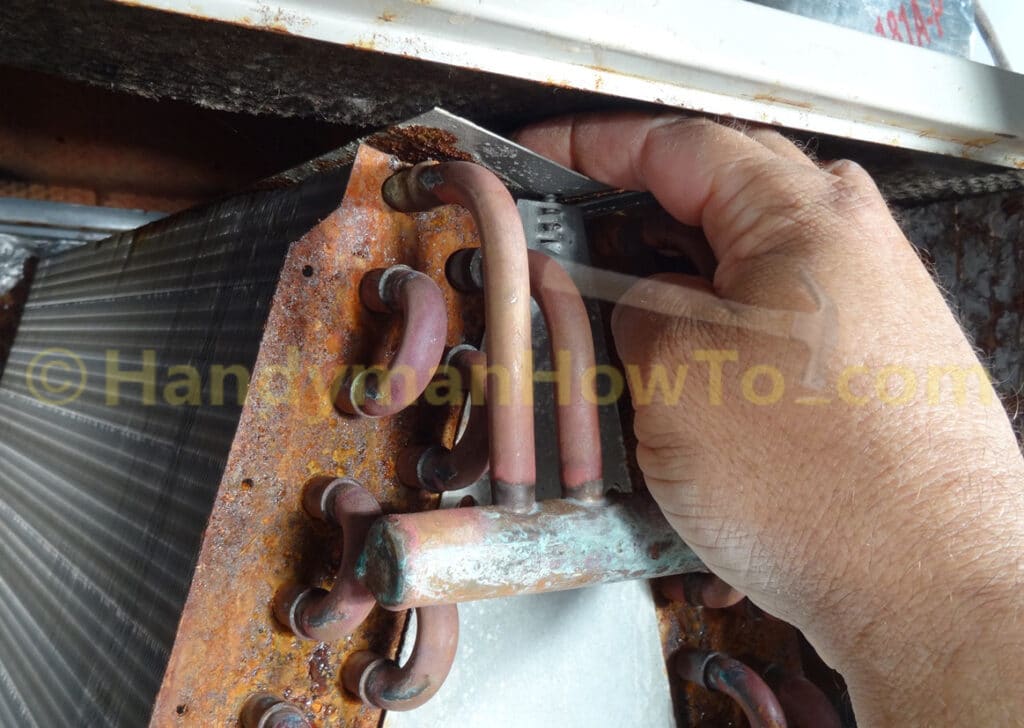
Next I pressed down on top of the baffle plate to align the screws holes in the front cover plate with the A-frame coils:
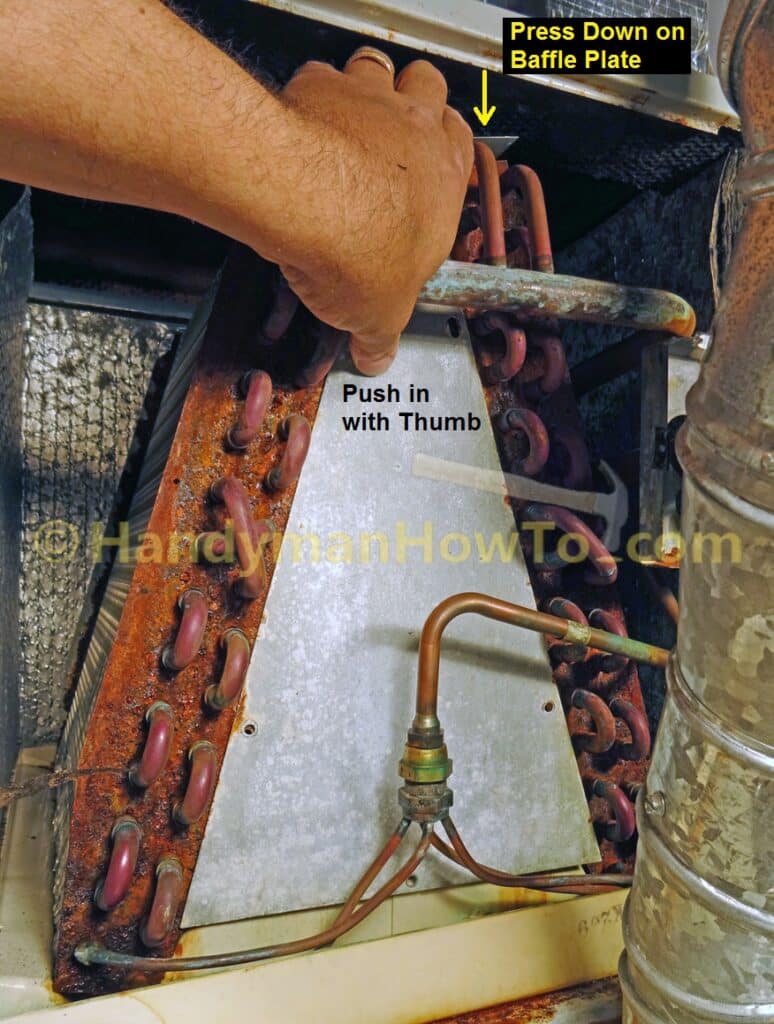
… and fastened the three lower hex head screws. Recall the center screw in the condensate drain pan is longer than the others. The front cover plate acts as a support for the two halves of the coils and you may need to gently push or lift one side of the coils slightly to align the screw holes. Push on the baffle plate or coil end plates only, do not press on the refrigerant lines or copper coil circuits.
Installation Tip: Do not tighten the lower three screws all the way for easier plate adjustment until you have all 5 cover plate screws started.
Install the two cover plate screws in the oval slots behind the suction manifold last. The oval slots (red arrows) are for generous hole alignment tolerance:
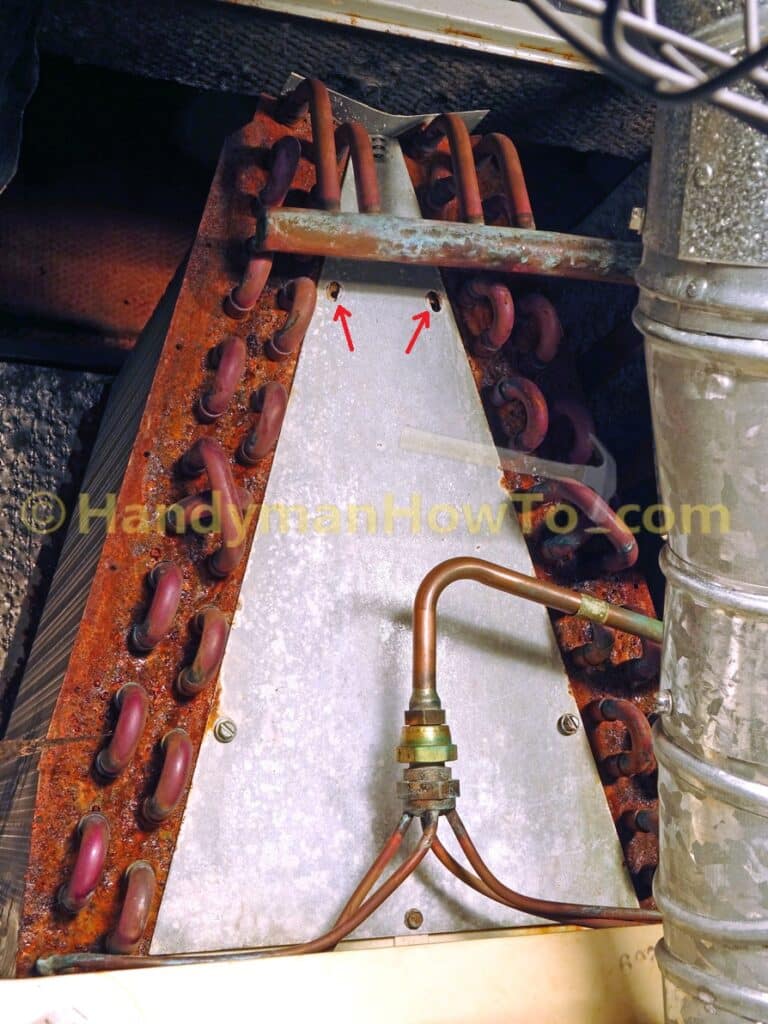
Now tighten all 5 screws until snug. Be careful not to over tighten the screws because you can strip the threads in the thin sheet metal or plastic drain pan.
Install the Coil Case Access Panel and Seal with HVAC Tape
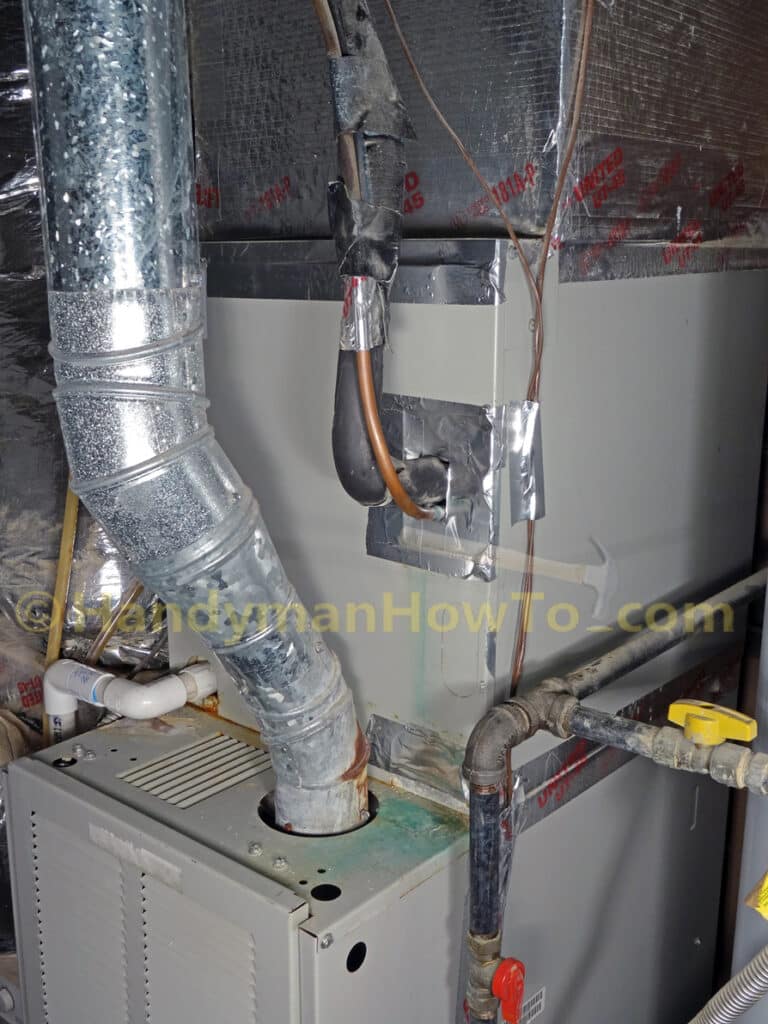
The coil case access panel is reinstalled with hex head sheet metal screws and a 1/4 inch socket wrench, then sealed with HVAC metal foil tape to prevent air leaks and condensation:
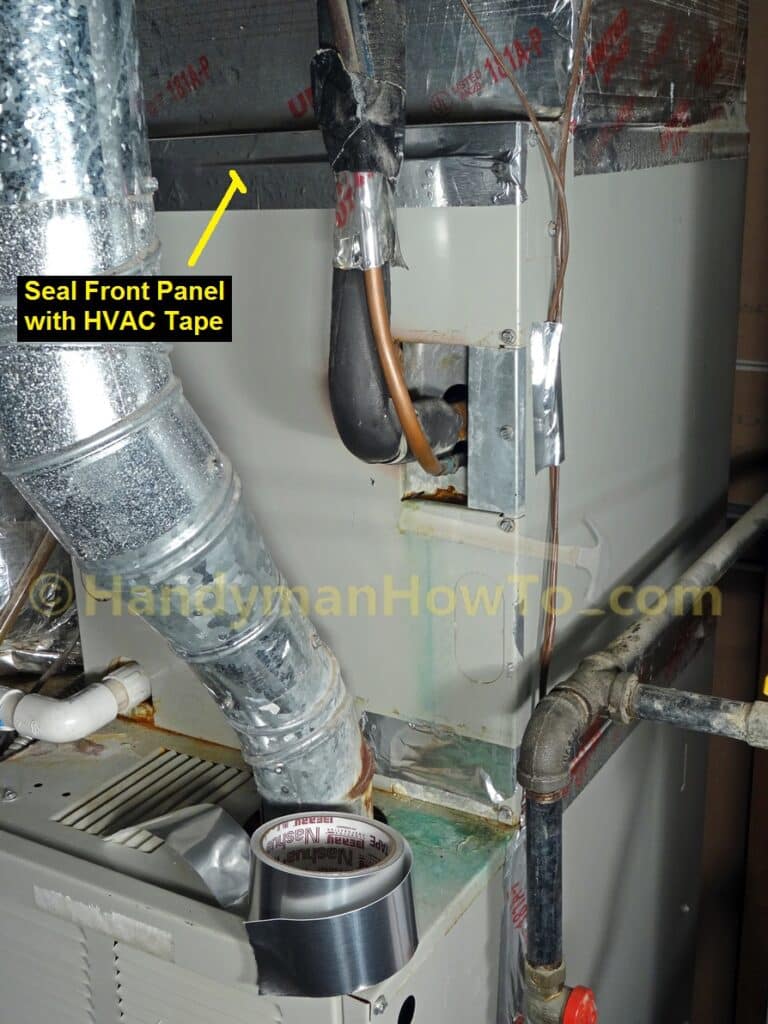
I also sealed the large panel opening around the refrigerant lines. There should’ve been a factory made foam gasket to seal around the lines but that was never installed or lost during a past maintenance:
Thanks for reading,
Bob Jackson