This project shows how to install an attic shop light by hanging it from the rafter collar ties and connecting it to a switch controlled electrical outlet. This project is continued from How to Wire an Attic Electrical Outlet and Light – Part 2.
If you’ve just landed here, see How to Wire an Attic Electrical Outlet and Light for the project overview.
Heavy Duty Fluorescent Shop Light
I purchased a Lithonia Lighting 4-Light Heavy Duty Shoplight Model #1284GRD RE for about $50 after considering several models. I choose the Lithonia 4-light model because (Editor’s Note: this product is no longer available and you should consider a modern version here.):
- It has a 5 foot power cord to plug into a grounded electrical outlet
- The four 4 ft long 32 watt T8 fluorescent bulbs produce a lot of light
- I liked the wire guard to protect the bulbs
Bulbs are not included, so I purchased two 2-packs of 4 foot long 32 watt T8 fluorescent bulbs for about $9.50 per 2-pack.
Temperature Caveat:
The shop light installation instructions state:
This fixture is designed for indoor use ONLY and should not be used in area with limited ventilation or high ambient temperatures.
Temperature specifications are not printed on the box and discovered the notice after I bought the unit. The attic is well ventilated with soffit, eave and ridge vents but it does get to 120 or 130 degrees in the summer. Garages in Arizona and Nevada approach this temperature range when it’s 117 degrees outdoors. Heat shortens the life of electronic components (capacitors and such) and I suspect this is the reason for the notice. If the light stops working, the unit only cost $50 so I won’t complain and will purchase an outdoor/industrial rated unit.
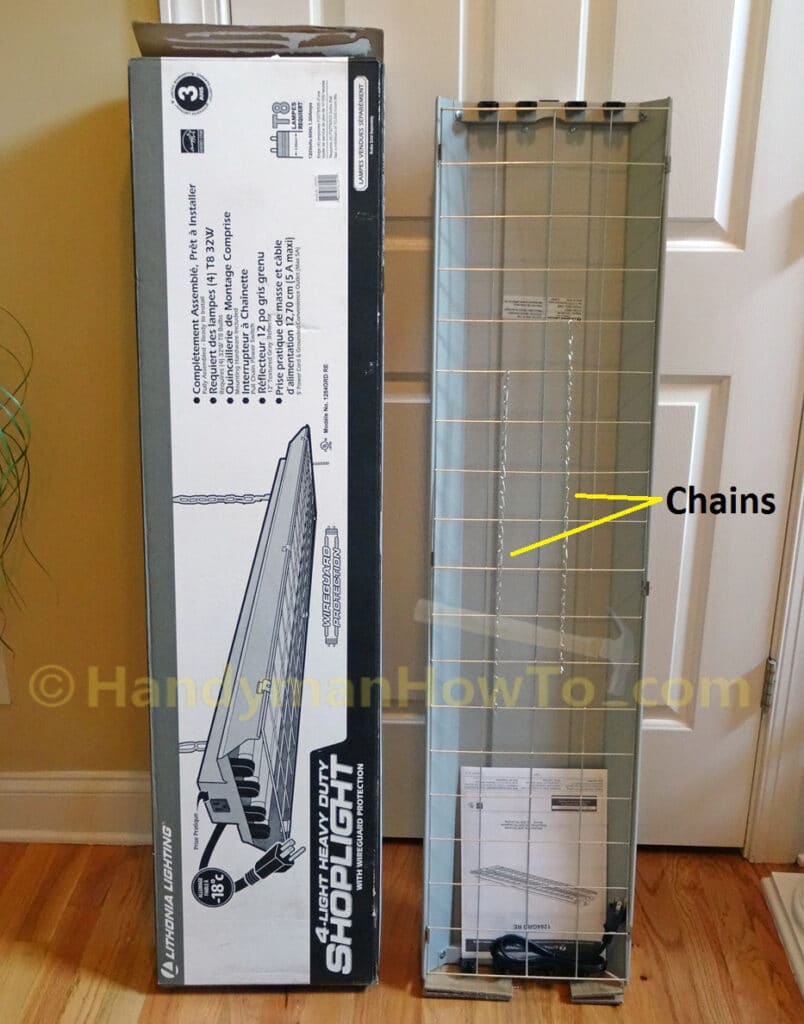
The Home Depot buyer reviews noted the chains (see above photo) and S-hooks included with the shop light seem a bit undersized. I bought six feet of 90 lb working strength chain, two #4 screw eyes and four 2 inch S-hooks to hang the light for around $8.
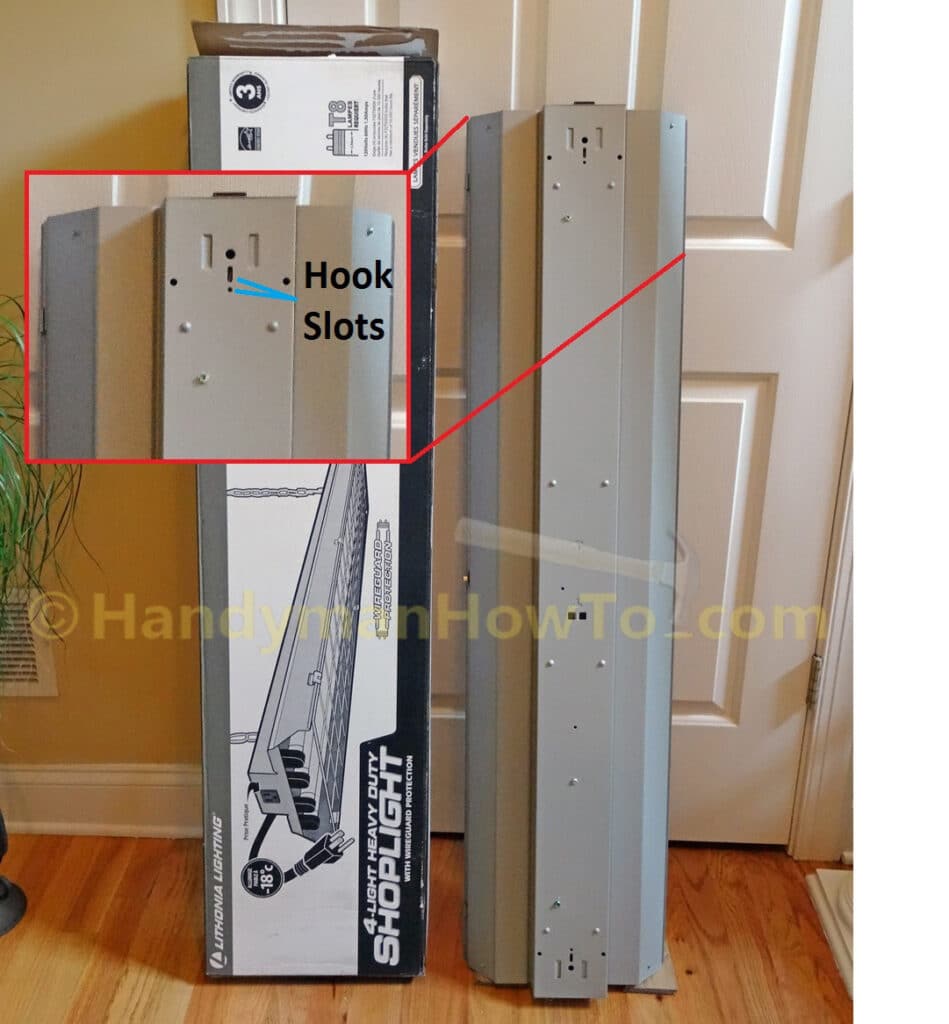
A caveat is the S-hook slots in the shop light sheet metal housing are narrow, limiting the size of a different S-hook. The 2 inch S-hooks I bought were too large to fit the narrow slot, so I ended up using the smaller hooks included with the kit. (I know – a chain is only as strong as the weakest link.) I’ll have to make another trip to the hardware store to find a heavier S-hook that fits the narrow slot.
How to Install an Attic Shop Light
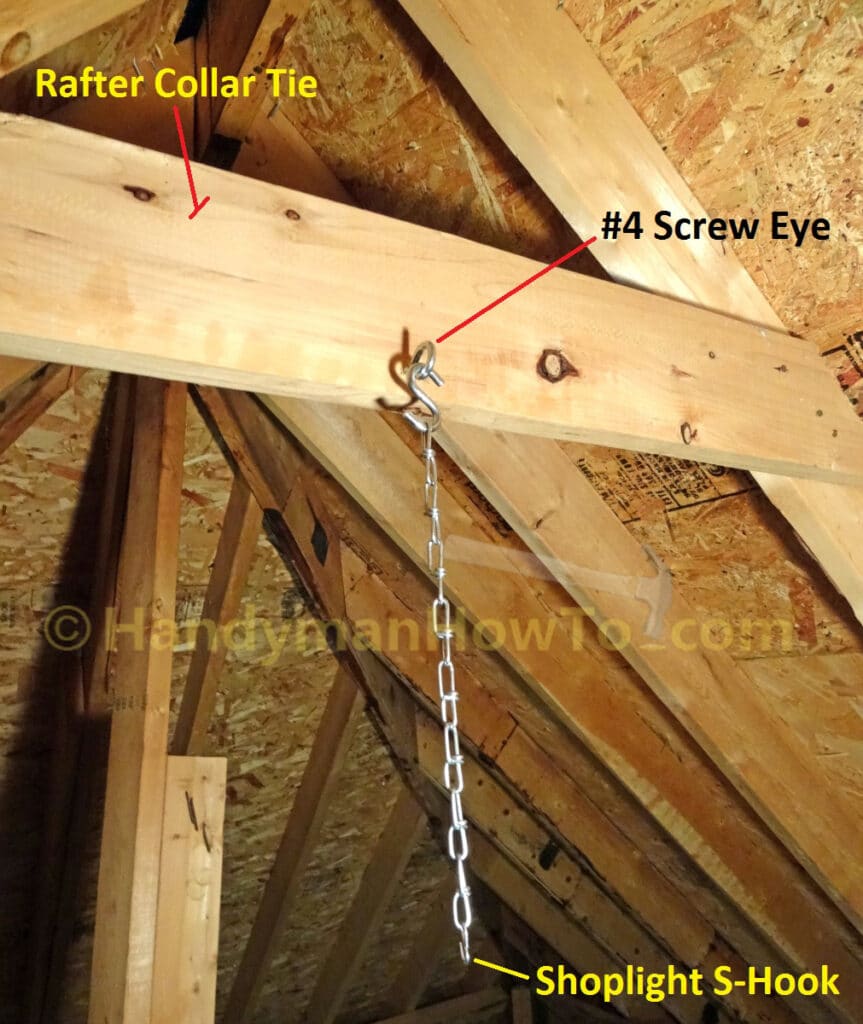
The attic shop light will be suspended from the rafter collar ties, which are conveniently set on 32 inch centers with every 2nd rafter.
I drilled a pilot hole in the rafter collar ties, then twisted in the screw eyes, attached a 2 inch S-hook and cut ~18 inch long pieces from the 90 lb rated chain with bolt cutters. Because the 2 inch S-hook I bought were too thick to fit the shop light mounting slots, I reused the smaller S-hook included with the light kit for the time being and crimped the S-hook closed with pliers.
After attaching the shop light to the chains and crimping the S-hooks attached to the sheet metal housing are crimped closed with pliers.
The florescent bulbs are slipped in the sockets and rotated 1/4 turn to lock in place. The light is then plugged into the switch controlled electrical outlet. The shop light has an On/Off pull cord switch, if the light doesn’t turn On, pull the cord and leave it in the On position because the light will be turned On/Off by the toggle switch located by the attic stairs.

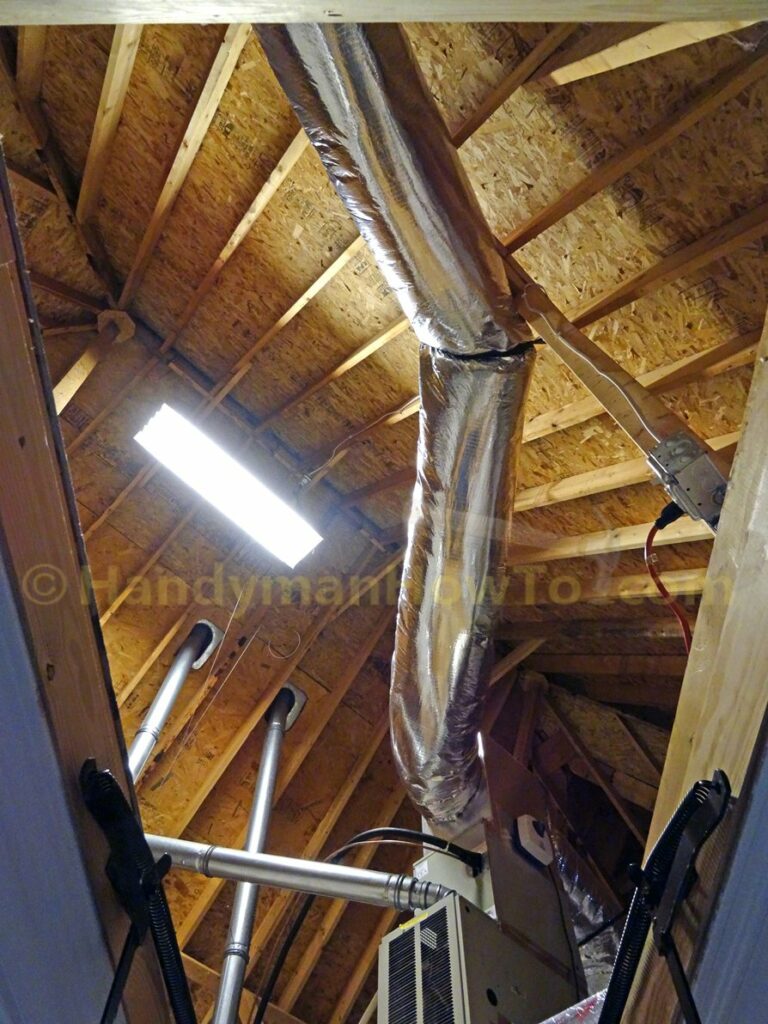
The new attic light really brightens the place:
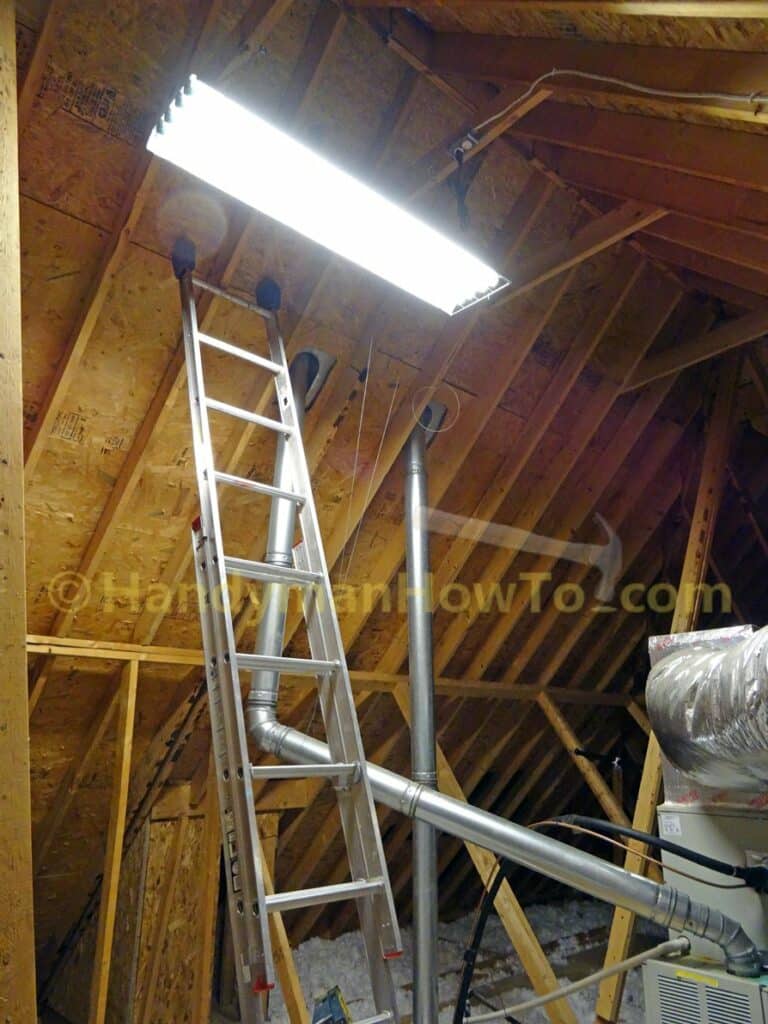
No more fumbling around in the dark when I’m working in the attic!
View of the attic light from the folding stairway. The new junction box and light switch is located by the attic stairs to the right of the photo:
Thanks for reading,
Bob Jackson