This project explains how to cut and install the ceiling drywall for the ceiling electrical box in this installment of How To Build a Basement Closet. See the previous installment for how to hang the closet drywall.
How to Build a Basement Closet: Ceiling Drywall
The closet ceiling drywall is simple rectangular section cut from a single sheet of 4 ft x 8 ft x 1/2 in sheetrock gypsum drywall using the score & snap method explained in the previous project. The ceiling panel can be cut up to 1/4 inch smaller than the ceiling dimensions because the gap at the walls will be covered by the drywall on the closet walls, however I used 1/8 inch tolerances which worked fine with carefully built straight & true 2×4 framed walls.
Locating the Ceiling Electrical Box
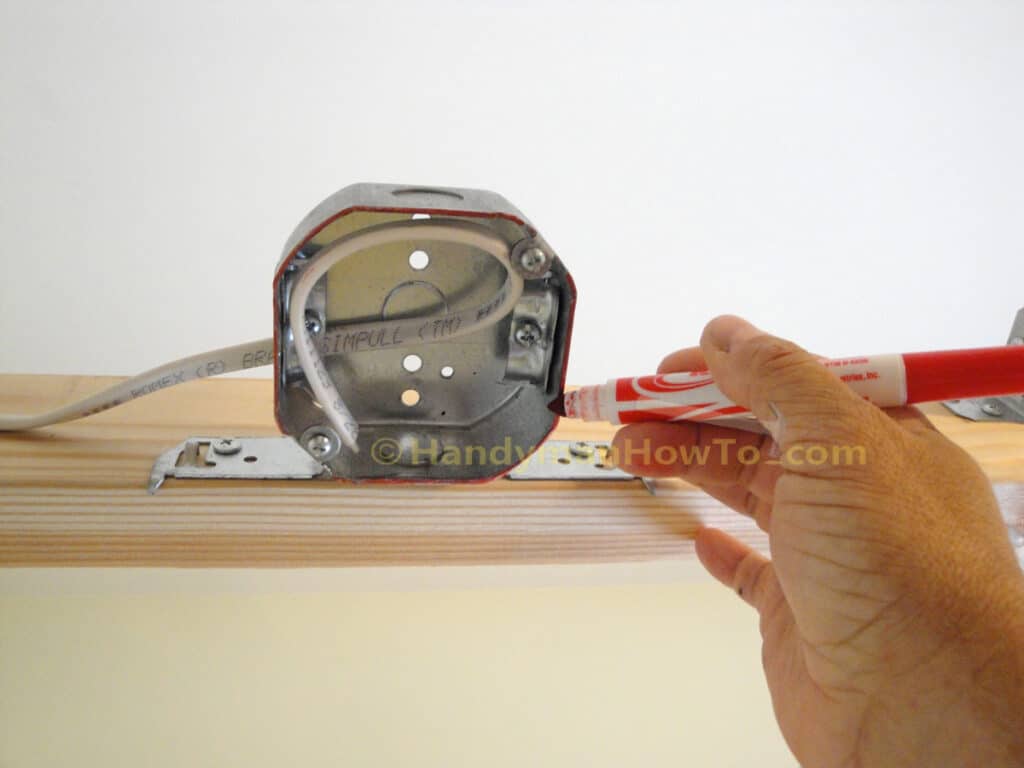
The trick to installing the ceiling drywall panel is to mark and cut the hole for the ceiling light octagon electrical box. Instead of making a lot of complicated measurements, the easiest way is to rub a felt tip marker (a crayon or lipstick will also work) on the rim of the electrical box, hold the drywall in place against the ceiling joists, then bump the drywall with your palm to transfer the marker ink to the drywall.
Painting the rim of the octagon ceiling box with a red marker to transfer the box outline to the drywall:
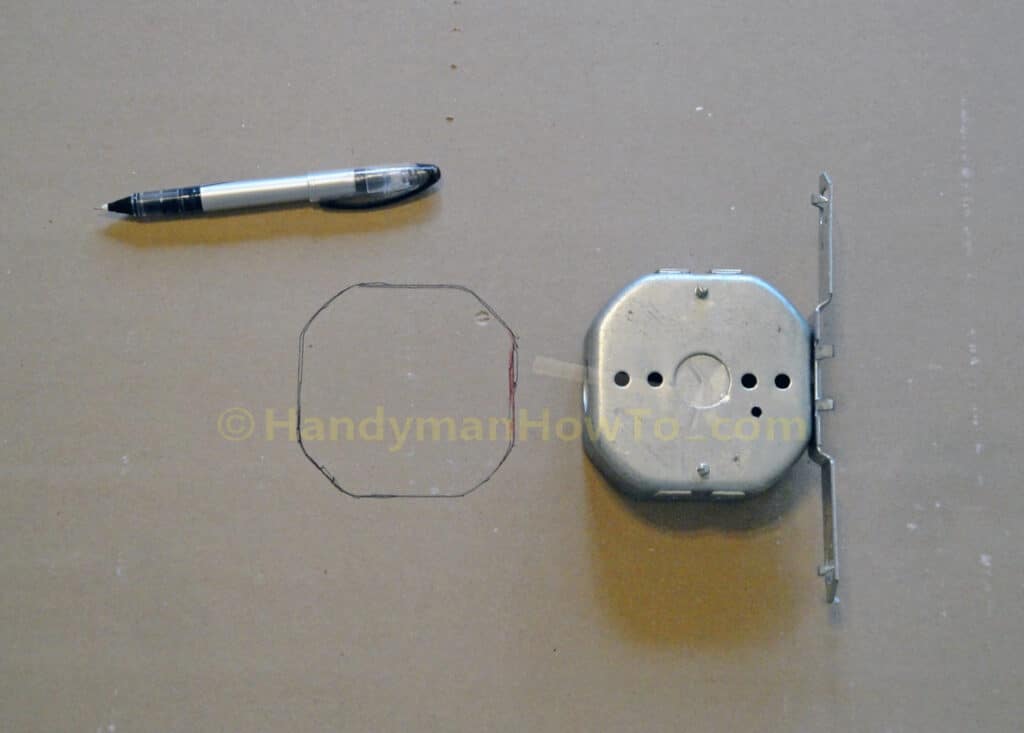
Close-up of the back of the drywall ceiling panel after making an impression of the ceiling electric box. I used a spare octagon box to trace the full outline left by the red marker with a black ink pen.
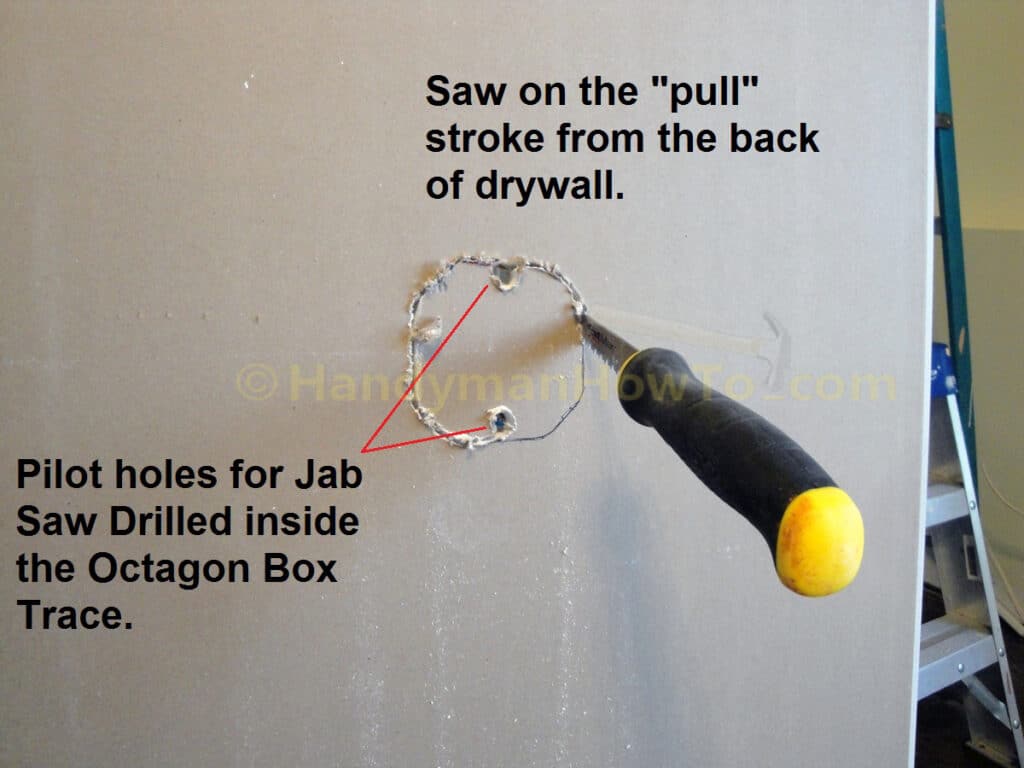
The hole for the octagon ceiling box is cut as follows:
- Drill two pilot holes inside the ceiling box outline.
The pilot holes are for starting the jab saw to avoid tearing the finish side of the drywall. - The box outline is cut only on the “pull stroke” towards the saw handle so as not to leave a jagged edge on the finish side of the drywall.
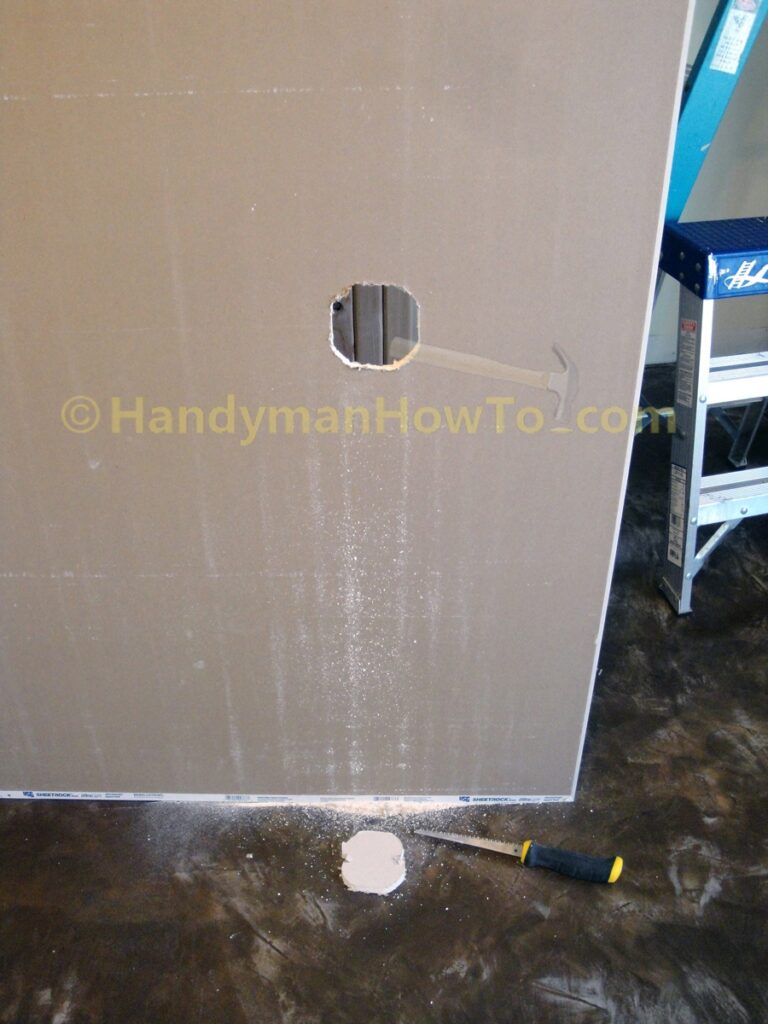
The completed hole in the ceiling drywall panel for the octagon electrical box:
Working with a helper, the drywall ceiling panel is held in place against the 2×4 ceiling joists and fastened with course thread drywall screws. A drywall dimpler bit in the cordless drill/driver sets the screws the proper depth every time.
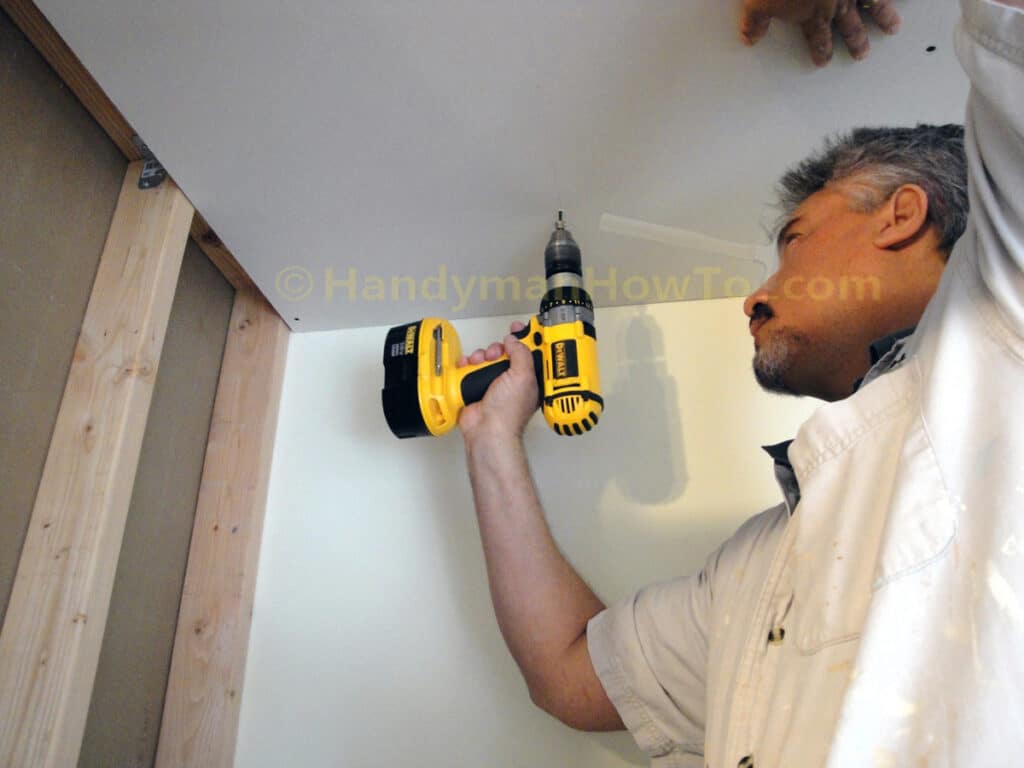
The drywall screws are spaced 8 inches apart and driven into the 2×4 ceiling joists. The center lines of the joists are marked in pencil for accuracy. The drywall cutout for the octagon electrical box fits perfectly!
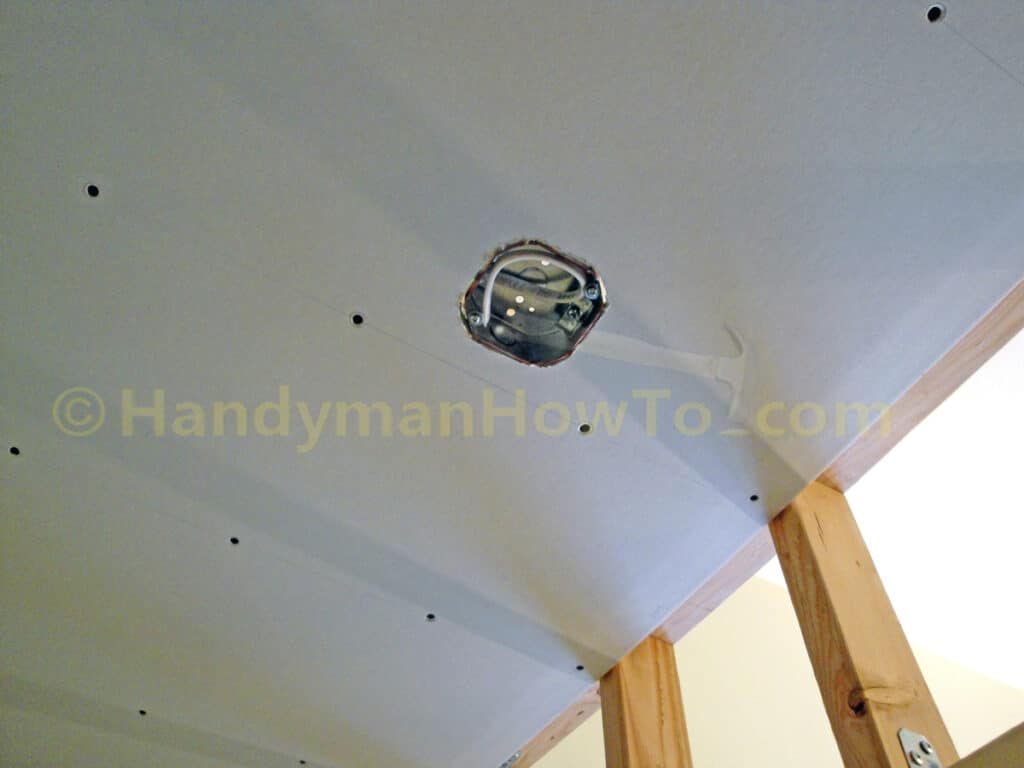
View of the installed ceiling drywall panel in the basement closet:
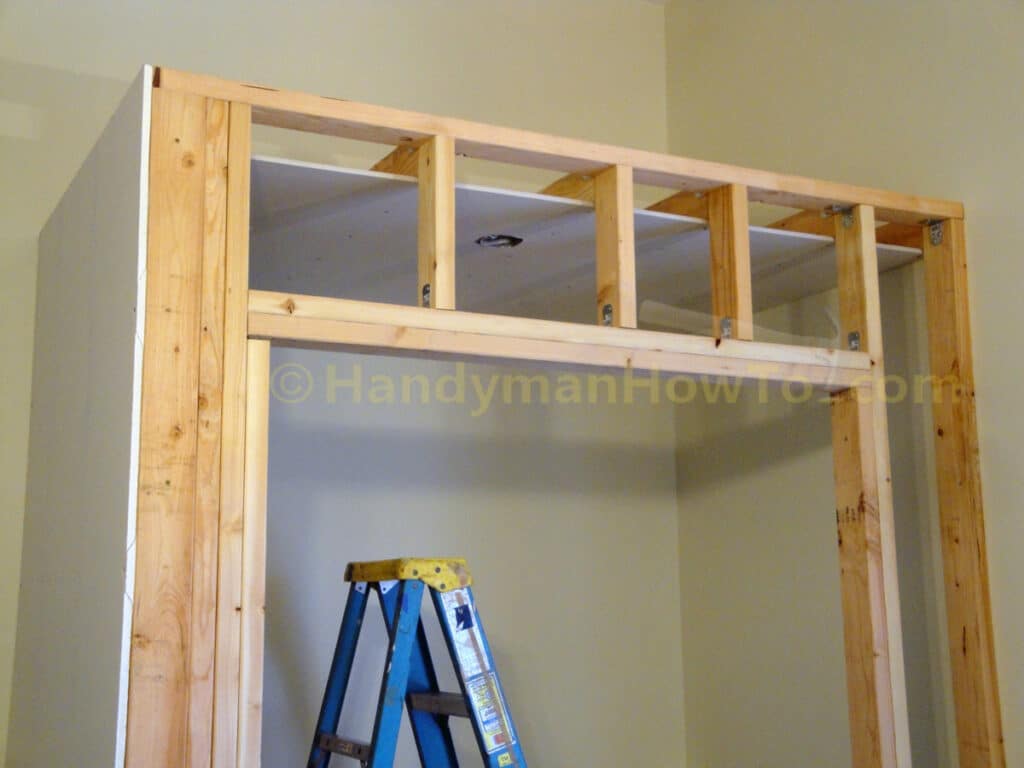
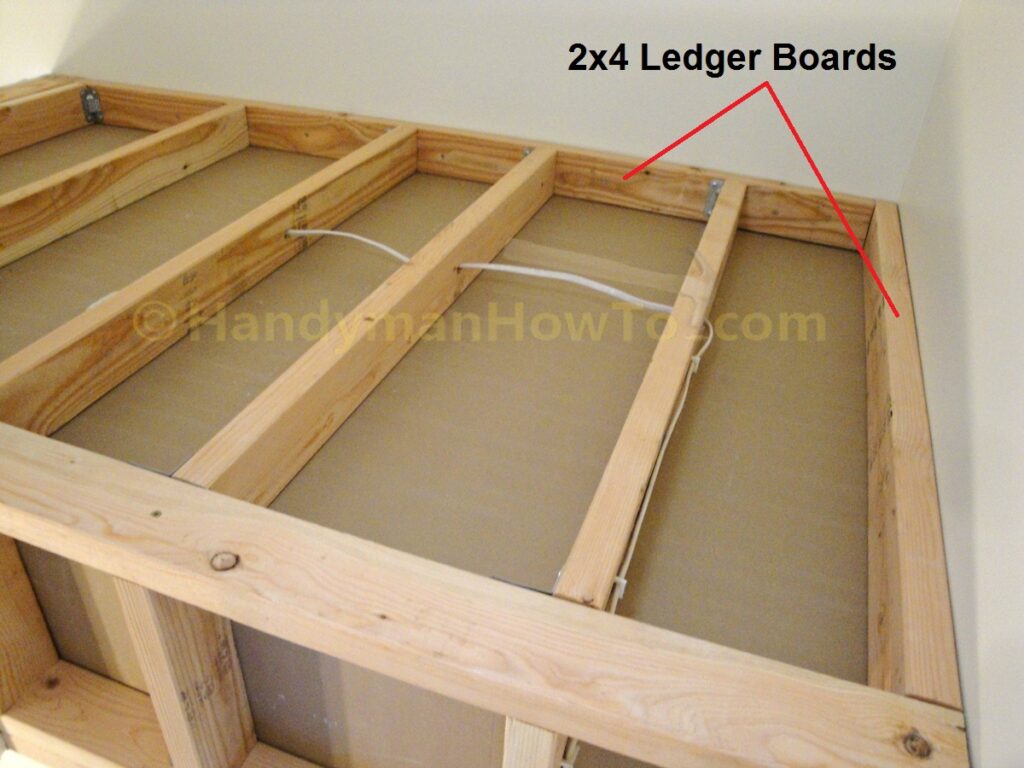
The drywall ceiling panel, ceiling joists and wiring rough-in for the ceiling light as viewed from above the closet. Notice the 2×4 ceiling joist on the far left. The purpose of that joist to provide a surface (“nailer”) to fasten the drywall where it abuts the 2×4 stud wall.
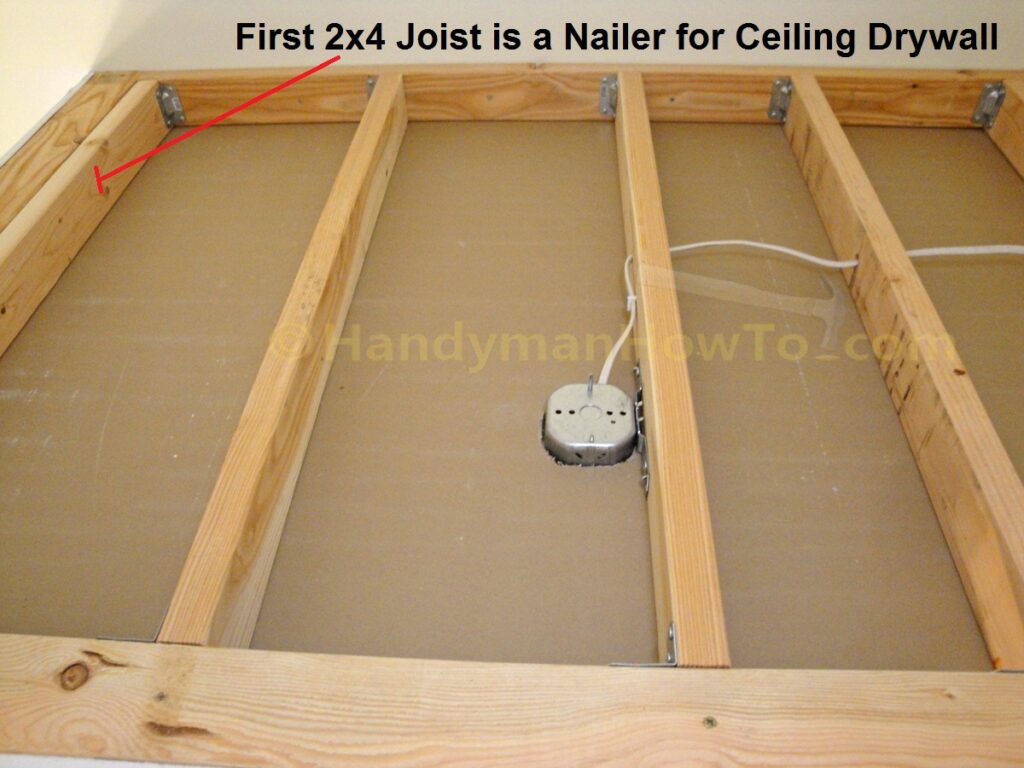
The rear and far right edges of the drywall panel are fastened to the ledger boards:
The closet ceiling light fixture is installed in the next part of this series.
Take care,
Bob Jackson