How to Install an Ethernet Jack for a Home Network – the new jack is attached to the wall plate and cable is fished through the walls from the attic to the basement. This project is continued from How to Install an Ethernet Jack for a Home Network – Part 1.
Ethernet Jack and Wall Plate Assembly
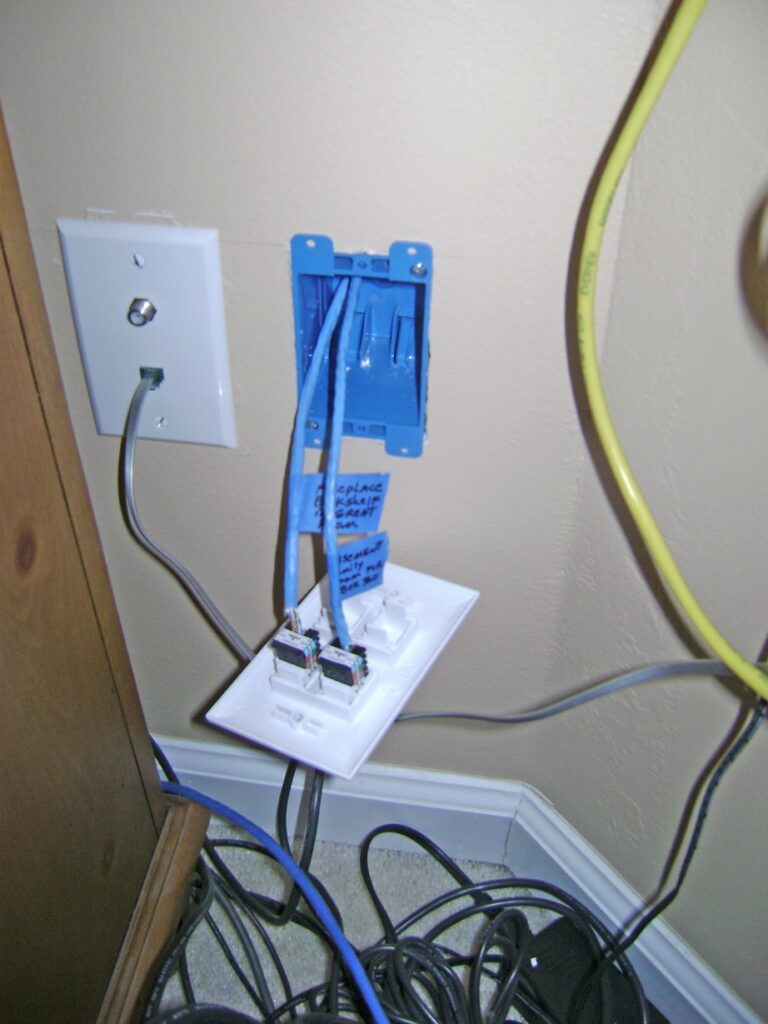
The blank port cover is unsnapped from the wall plate and the newly wired RJ-45 jack snapped into place. Remember to label the cables as shown – I used a permanent marker and masking tape. Also take make gentle bends in the Cat5e cable as you push the cables into the wall box to screw on the face plate. A pinched cable can displace the twisted pair wires, lowering the noise immunity and overall performance.
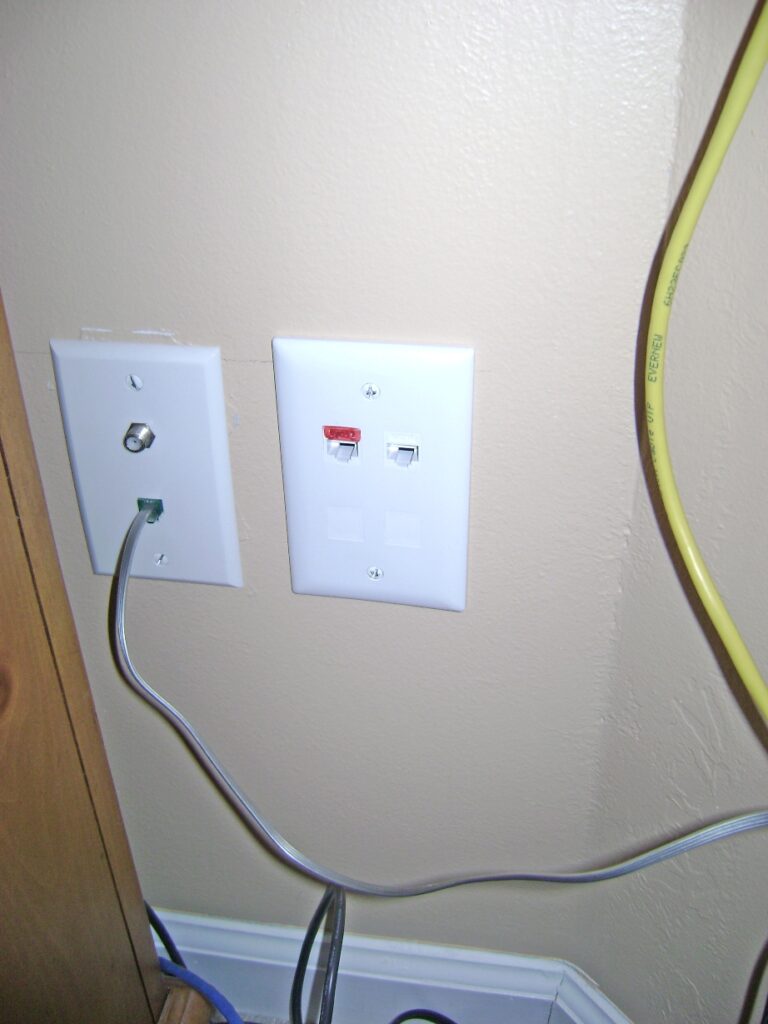
The wall plate is screwed onto the wall box. The PoE jack is marked in red, the new Ethernet jack is on the right. If you’re doing this for the first time, the back of the wall plate is marked showing which way is “Up” for mounting.
Pull Ethernet Cable Inside the Walls
My big challenge is figuring out way to fish the Ethernet cable from the attic to the basement three (3) floors down. I needed to find an existing pathway in the walls. My solution was to run the cable along the natural gas pipeline from the basement to the attic furnace. A PVC condensation pipe runs parallel to the natural gas line, making for extra room.
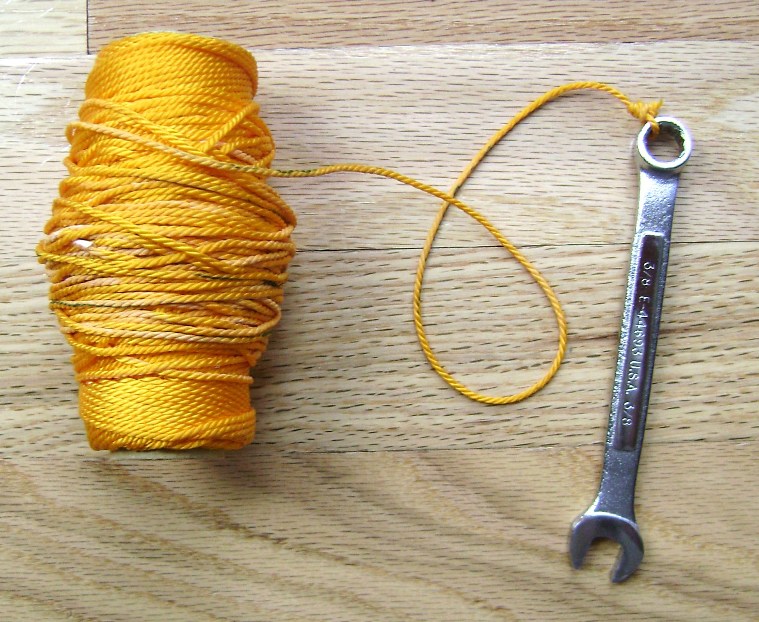
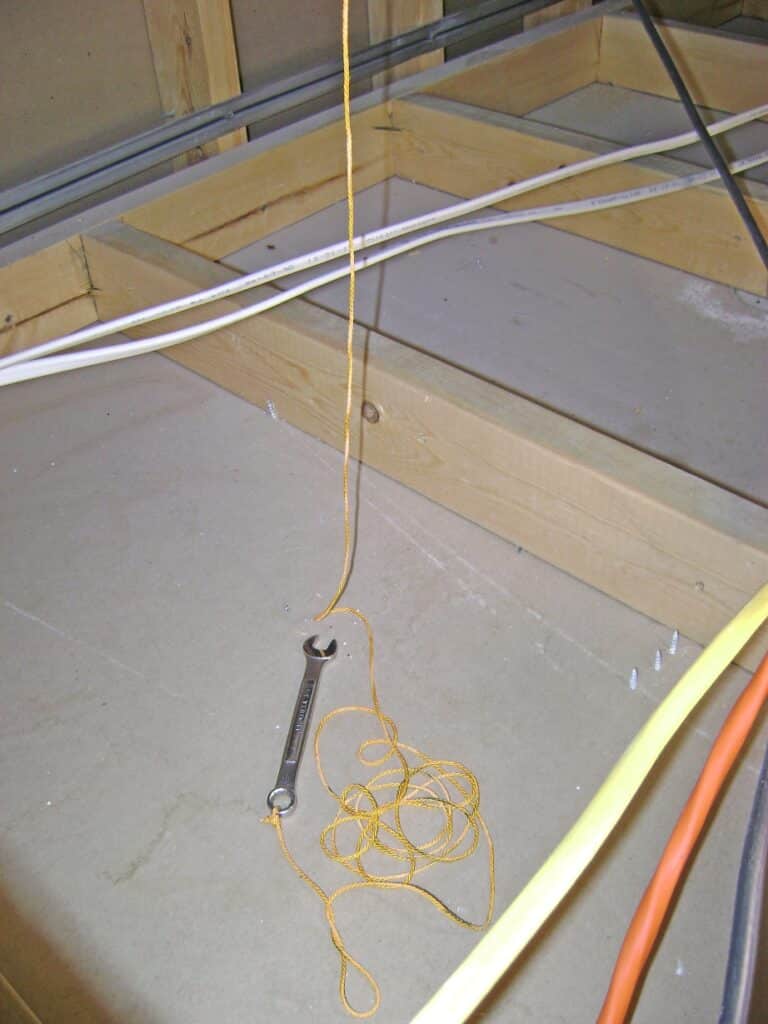
My improvised tool for fishing the cable is a small crescent wrench and construction string:
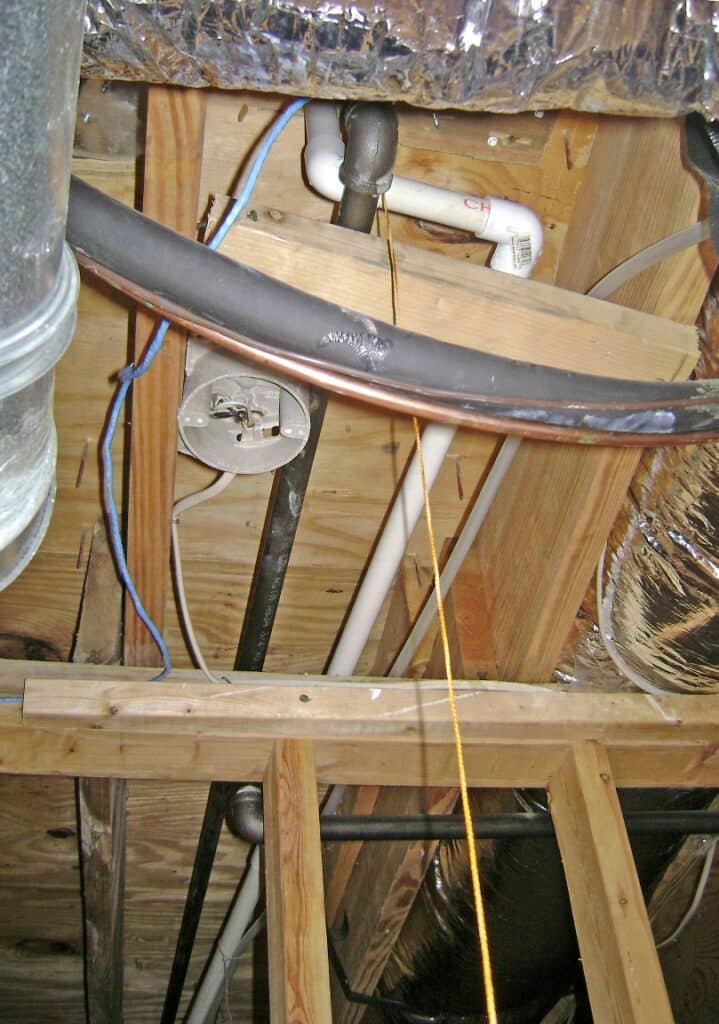
Working in the attic, I removed the insulation from the opening in the wall by the gas line and condensation pipe and lowered the crescent wrench into the hole. The crescent wrench acted as guide to find the openings on the 2nd and 1st floors that looked like this one here in the attic. A bit of bobbing the string up and down at each floor level was needed to drop the wrench the each opening.

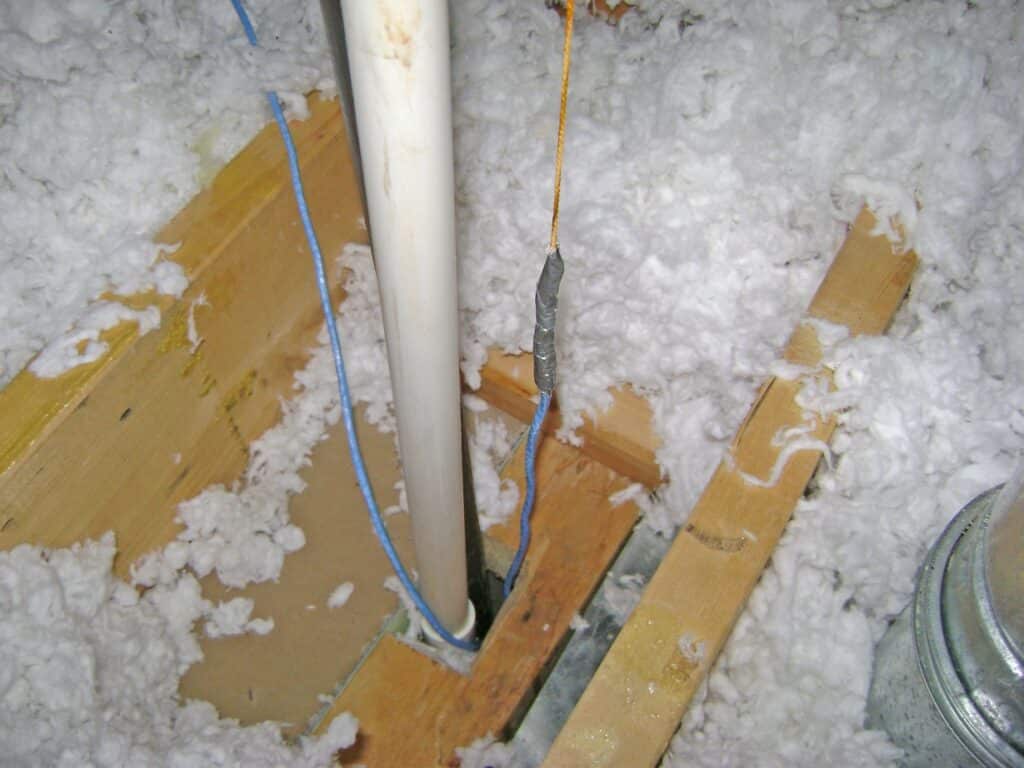
This is how the yellow string looked as it dropped through the 1st floor into crawl space above the basement ceiling.
Crescent wrench and string in the crawl space between the 1st floor and basement ceiling.
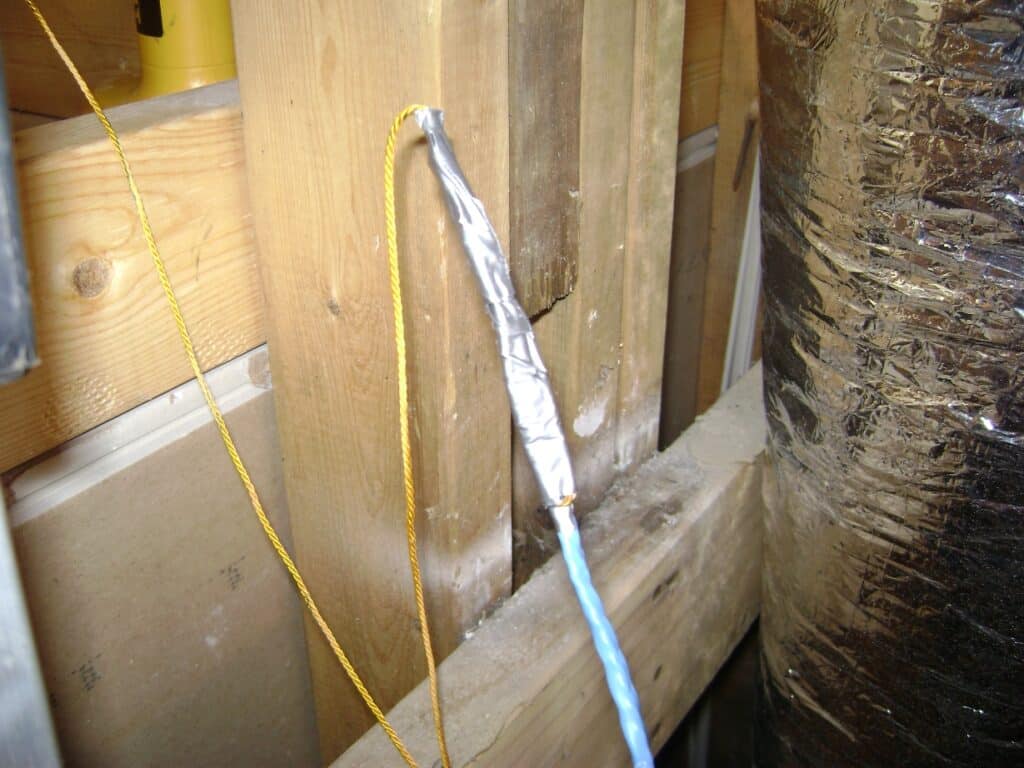
The Ethernet cable is duct taped to the construction string to pull the cable up through the walls to the attic.
The Ethernet cable is pulled up to the attic from the basement. Sufficient cable is pulled to the reach the across the attic and down the wall to the new jack.
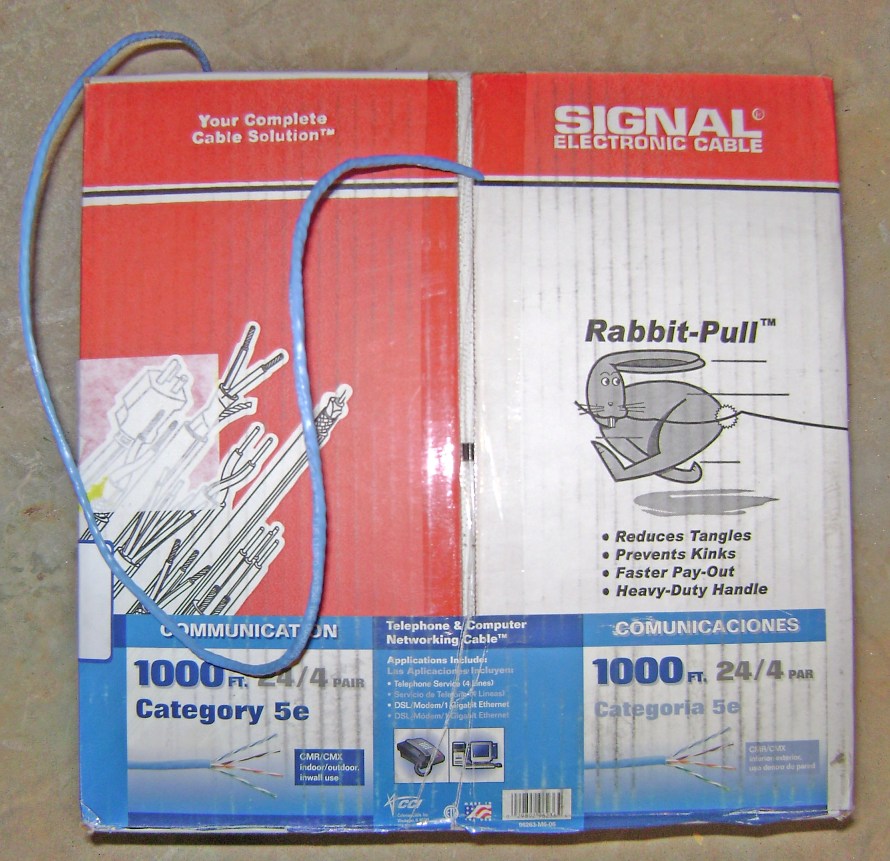
The Ethernet cable is pulled from a 1000 feet box.
This project is continued in How to Install an Ethernet Jack for a Home Network – Part 3.
Thanks for reading,
Bob Jackson