How to Repair Rotted Window Casing – continue removing the rotted brick mould and caulk.
This project is continued from Part 1.
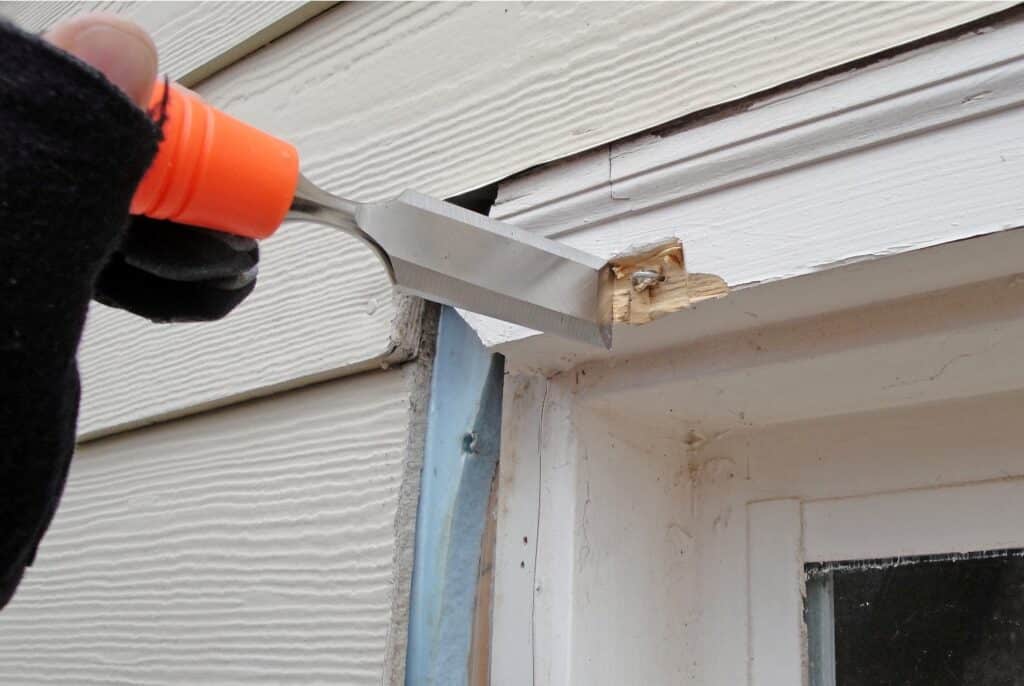
A wood chisel is used to expose the staples in window casing. This is a much quicker method of exposing the staple so it can be pulled out. Note: the chisel does not make contact with the staple, otherwise you’ll dull the cutting edge.
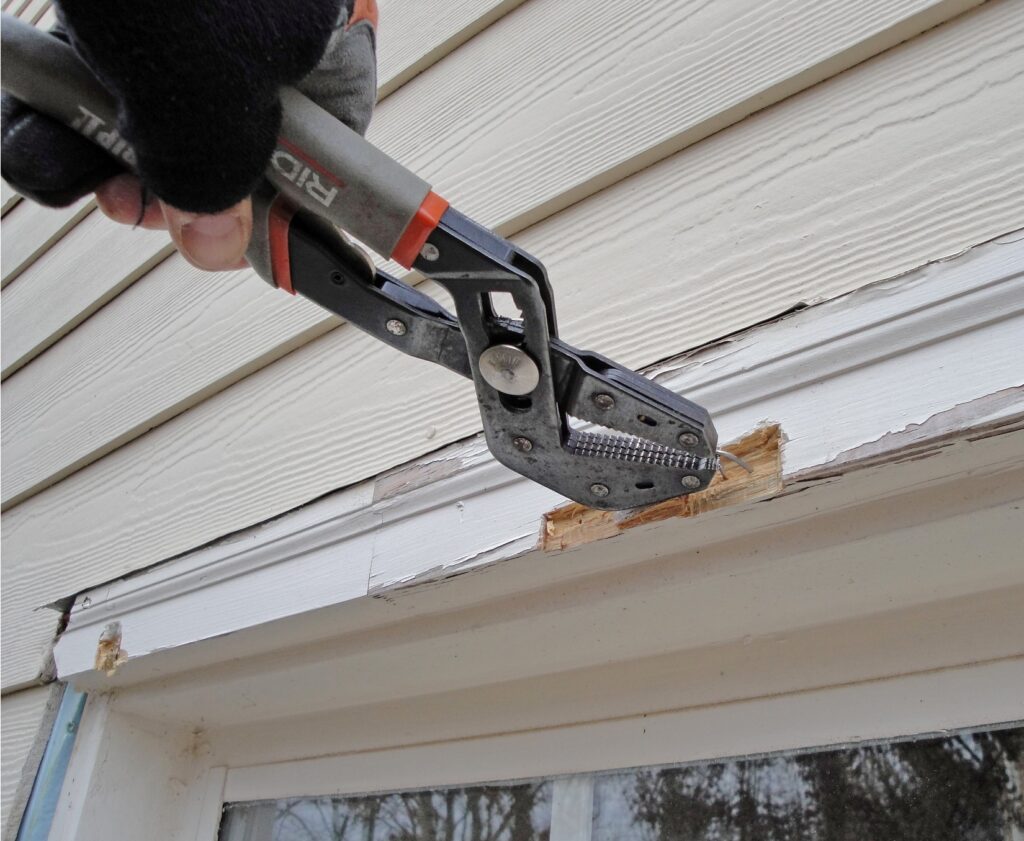
The crown of some staples were missing, the legs were pulled with channel locks.
The wood chisel made it easy to reveal the staples for pulling.
The window casing is now held by the staples in the corner, which were left in place to avoid damaging the right section of casing.
I wiggled the window casing until there a gap 1/8 inch or so gap to slide in the flat end of the nail puller. The nail puller protected the good section of casing on the right while I levered the rotted section off the remaining staples.

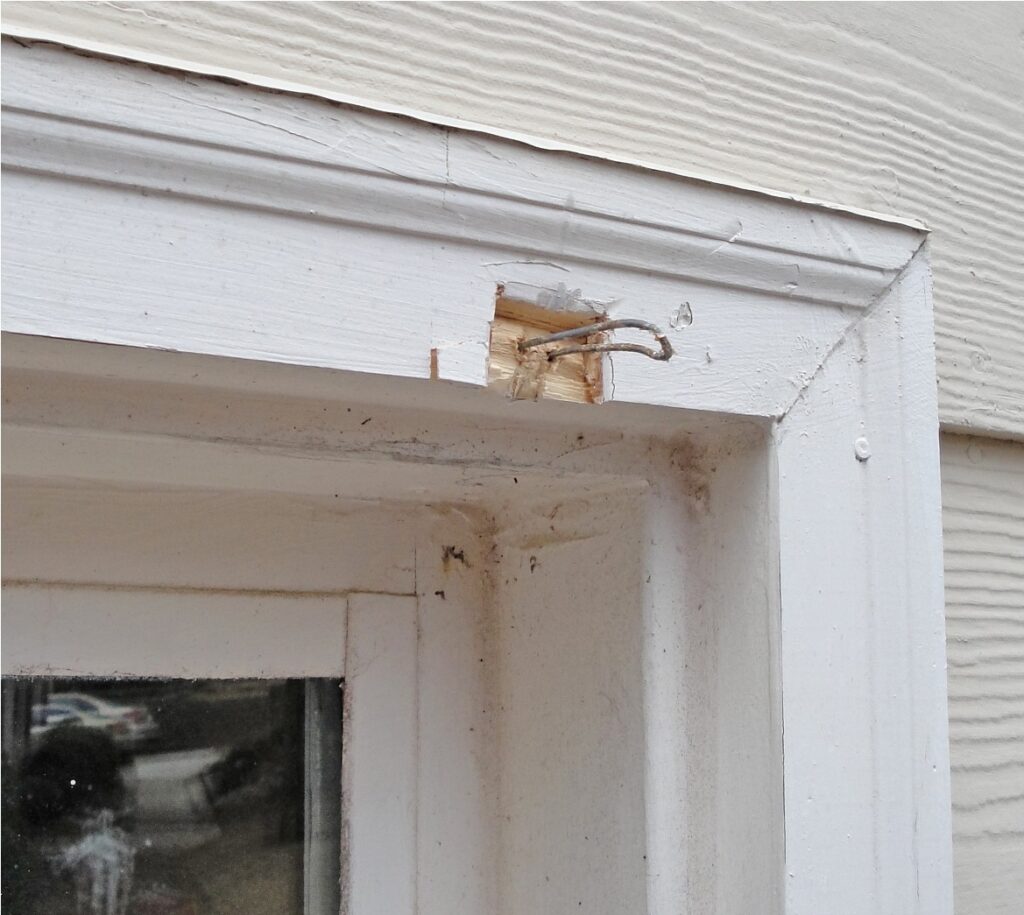
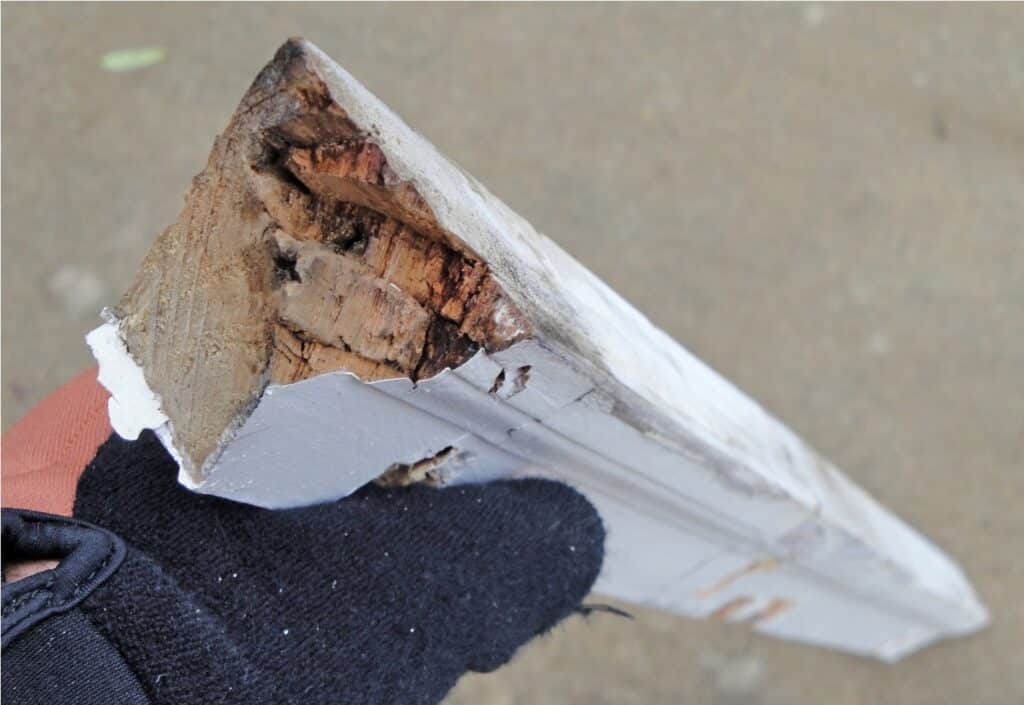
Close up of the rotted corner in the top section of window casing due to rain water intrusion.
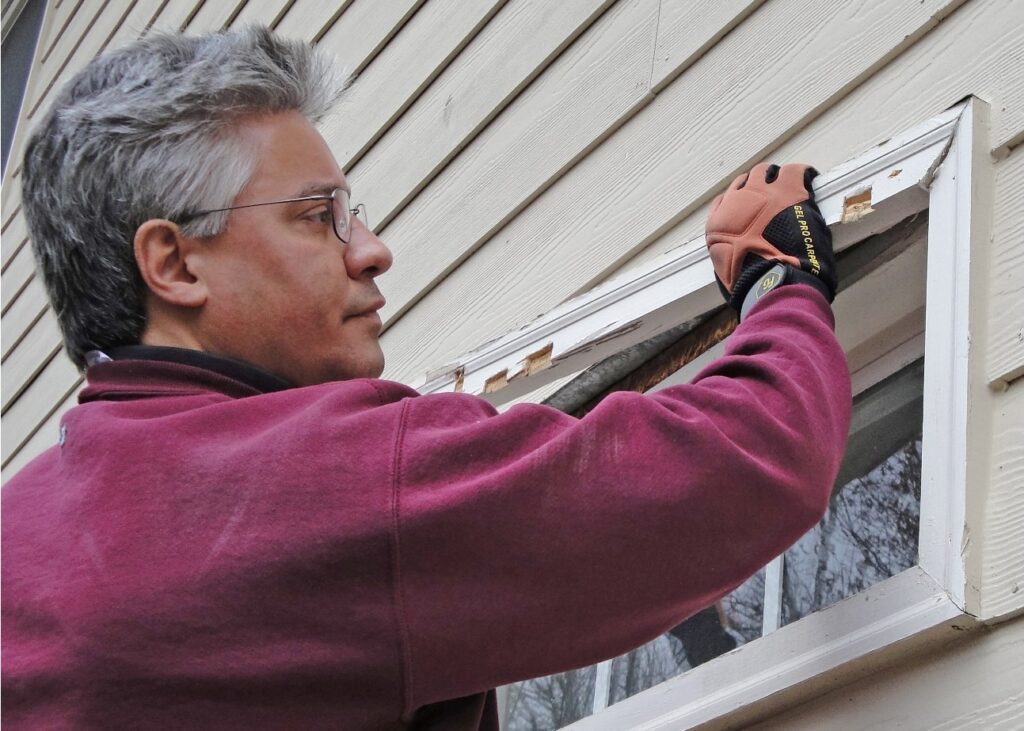
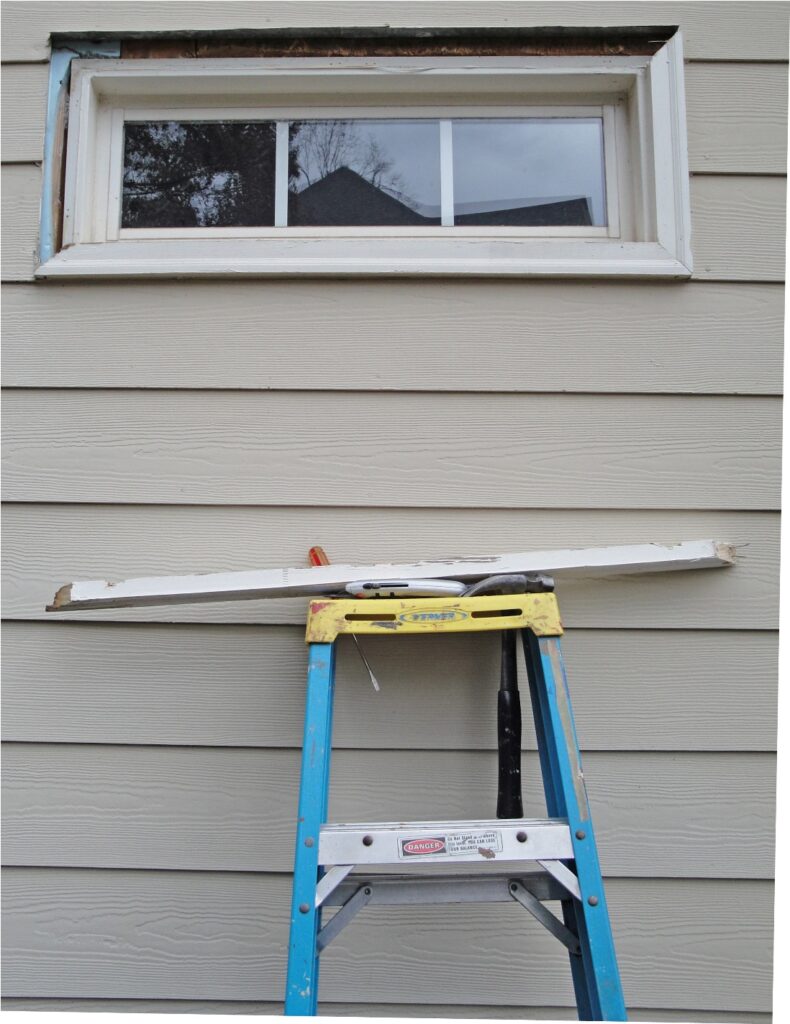
Here’s the window with the rotted sections removed. The OSB siding, 2×4 wall studs and window frame were free of rot, bugs and any signs of deterioration.
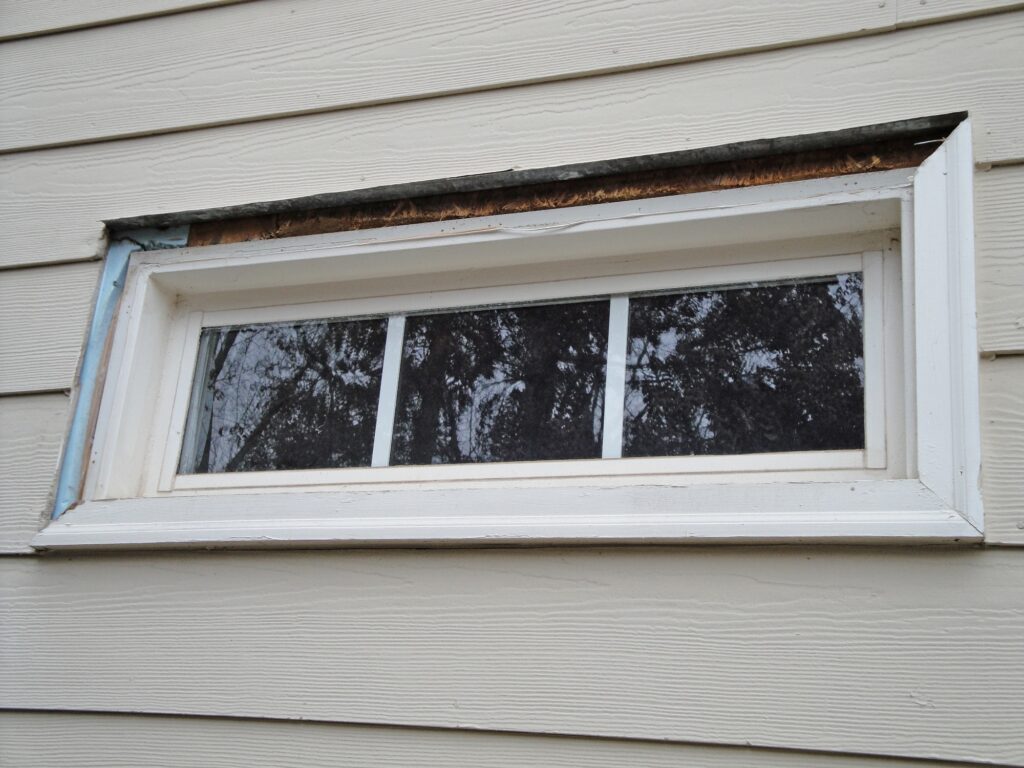
Another view of the window with the rotted casing removed.
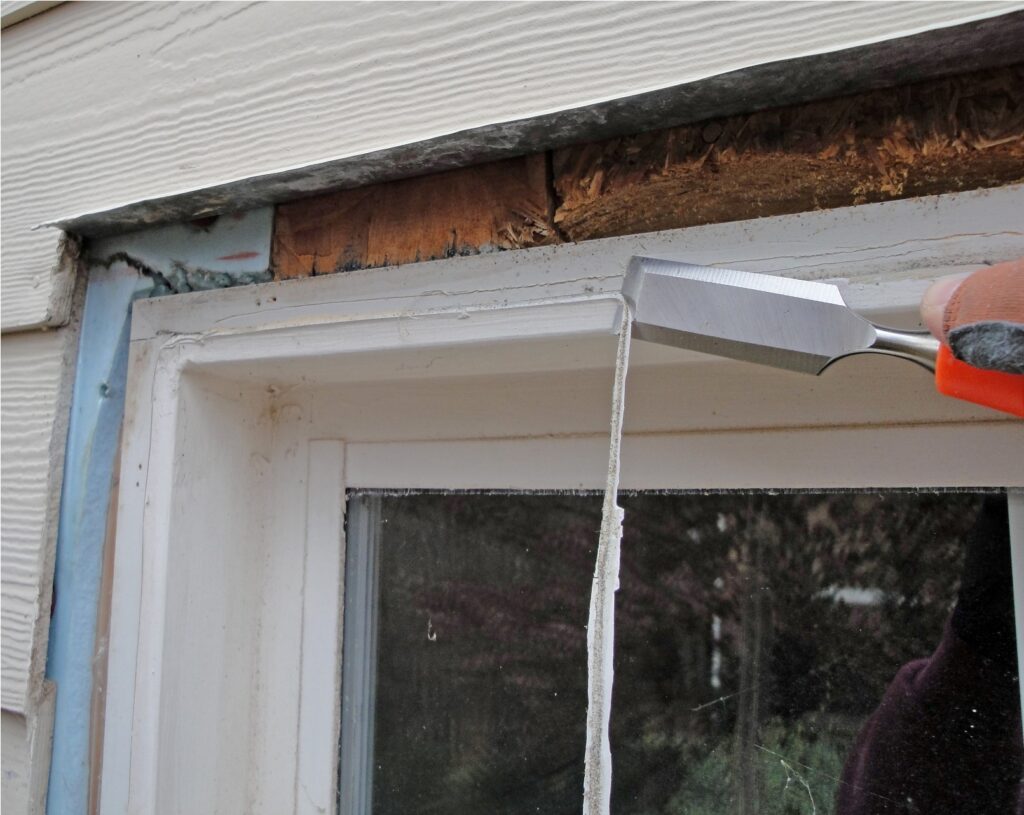
The old caulk is trimmed off flush with the face of the window frame with the wood chisel. The wood chisel with a razor sharp edge was perfect for the task.
This repair is continued in Part 3.
Thanks for reading,
Bob Jackson