This Ladder-Max Stand-off Stabilizer Review describes the product assembly, installation and usage.
I had a new roof, gutters and gutter covers installed on my home and needed a better way to access the roof without damaging the gutters. I noticed that the roofers and gutter installers used a ladder stand-off to avoid bending the gutters or breaking shingle overhangs at the roof edge. After researching the available products, I purchased the Ladder-Max Stand-off Stabilizer and found it does a great job.
Ladder-Max Stand-off Stabilizer Review
Ladder-Max is a strong, light-weight (less than 8 lbs) and easy to install product that quickly attaches to ladder to hold it off the roof and away from the gutters. The Ladder-Max support arms and rubber feet provide a wide base for extra stability. An advantage of Ladder-Max on a steep roof like mine is Ladder-Max enables the ladder to lay high on the roof following the roof slope, minimizing the need for roof brackets.
With Ladder-Max, I was able to lay the ladder up the steep roof to replace a clogged soffit vent and inspect that upper section gutter.
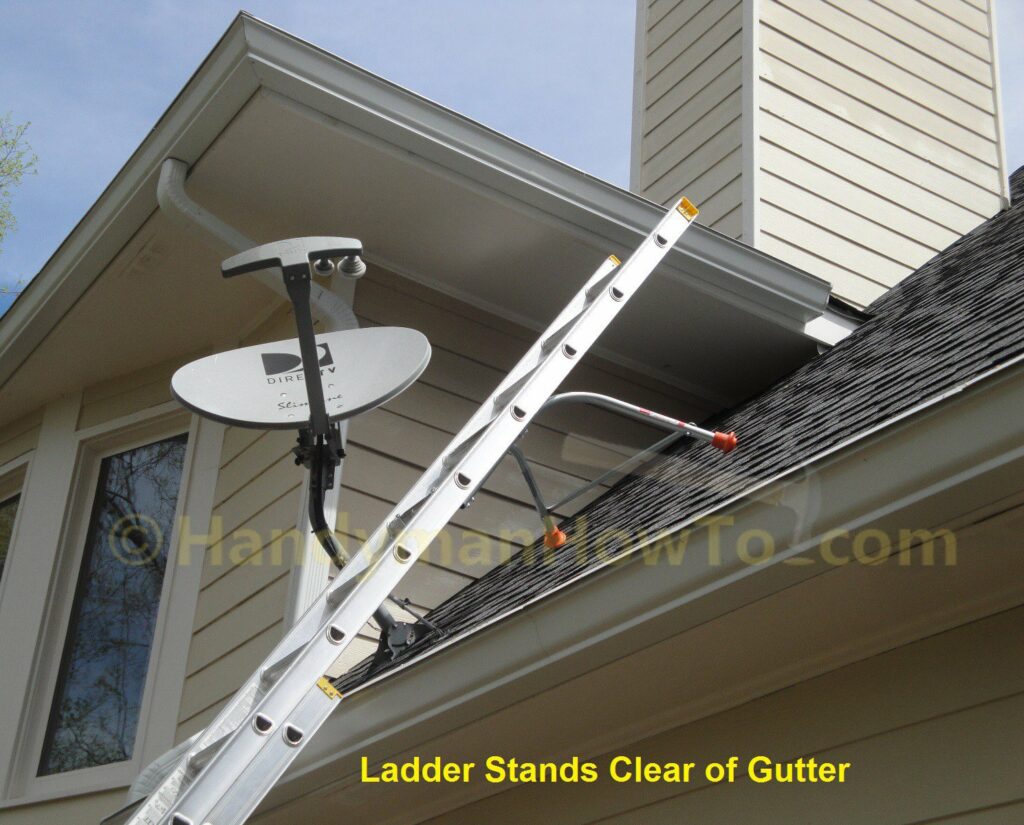
Ladder-Max was very stable and I was able to do the job without fastening roof brackets to the new roof, saving time and unnecessary nail holes in the new roof.
Ladder-Max Assembly Steps
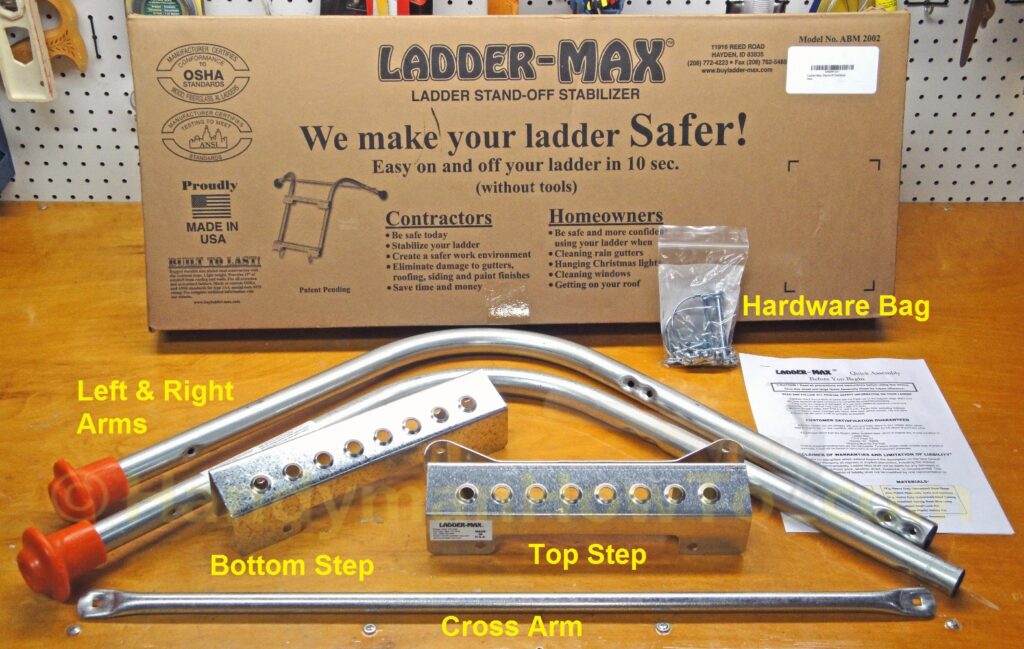
This is the Ladder-Max parts and assembly instructions as it arrives in the box:
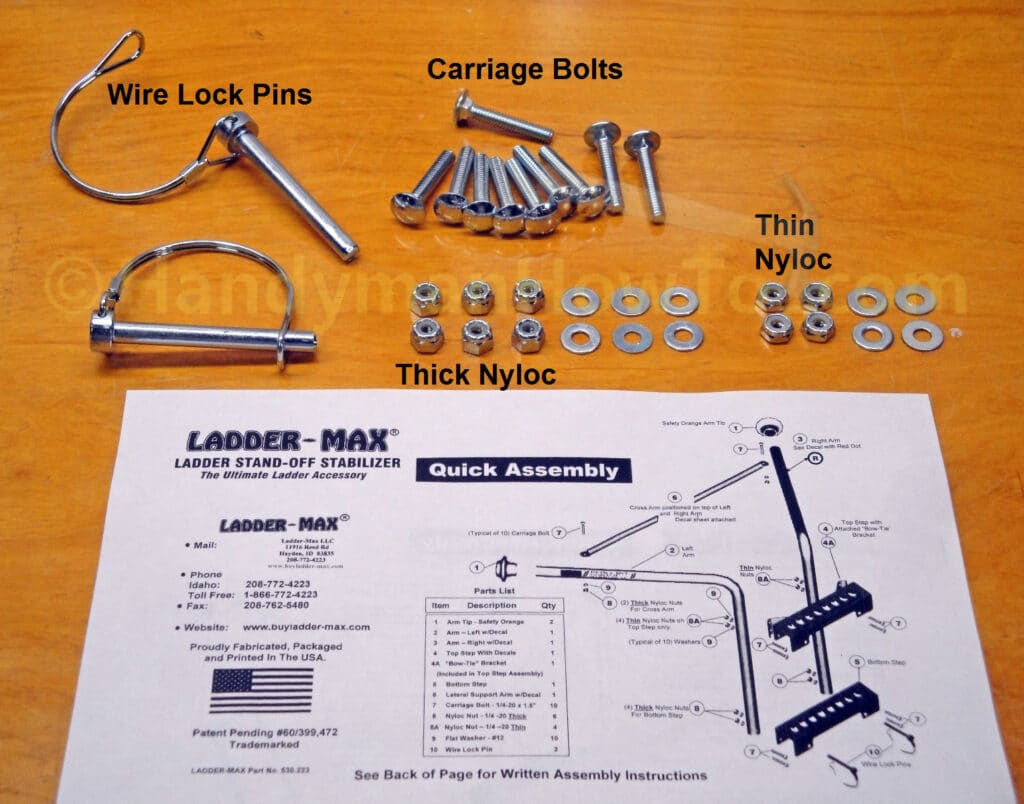
The Ladder-Max hardware fasteners are:
- Wire Lock Pins to secure Ladder-Max to the ladder.
- Ten (10) Carriage Bolts.
All bolts are identical, which is nice and simplifies assembly. - Six (6) thick Nyloc nuts.
- Four (4) thin Nyloc nuts.
- Ten (10) flat washers, which are all identical.
A flat washer is installed with each Nyloc nut.
Ladder-Max assembly begins by:
- Identify the right arm which has the “Danger” sticker and red dot.
- The bottom of the right arm is slipped into the bow-tie bracket of the top step.
- The step is bolted to the right arm with two carriage bolts, flat washers and thin Nyloc nuts.
- Tighten the Nyloc nuts finger-tight only.
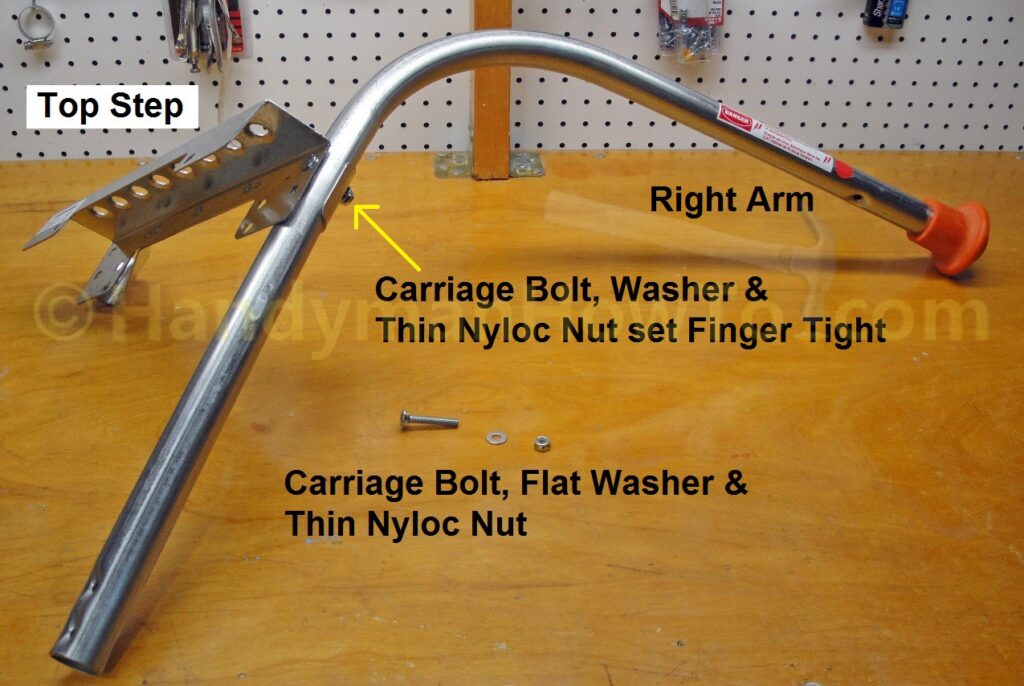
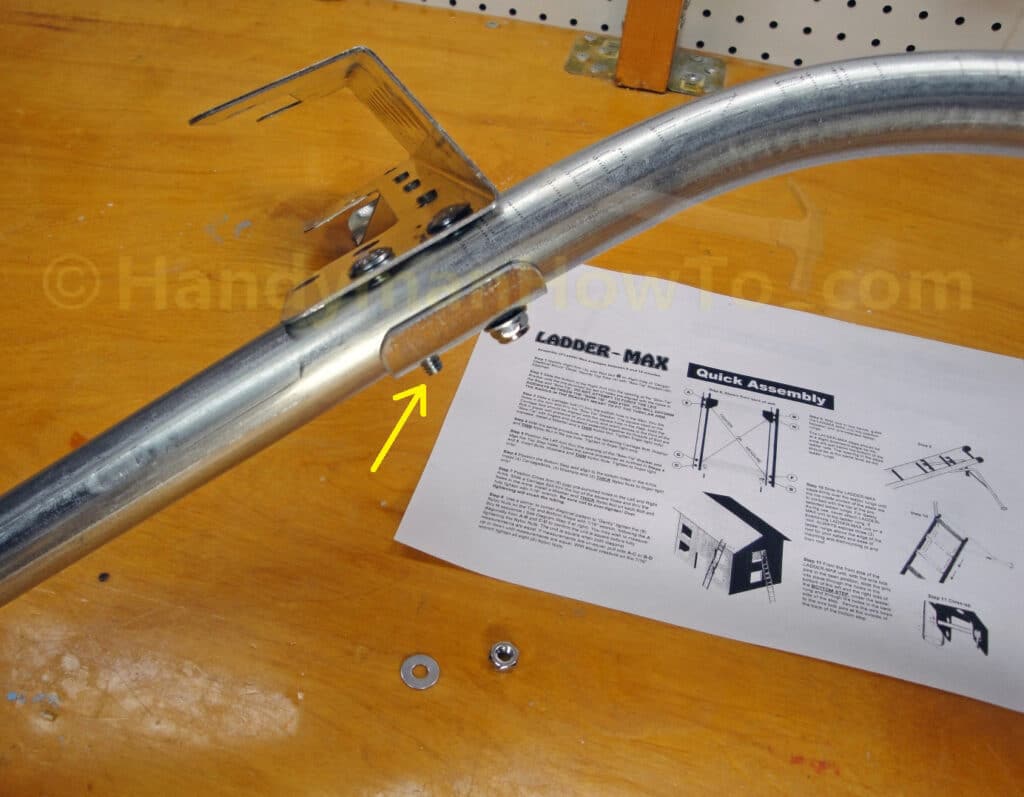
Close-up of the carriage bolts, washers and nuts for the top-step attachment to the right arm. The carriage bolt has a square head which fits into the square mounting hole of the top step. The end of the carriage will extend past the bow-tie bracket when fully seated as indicated by the yellow arrow:
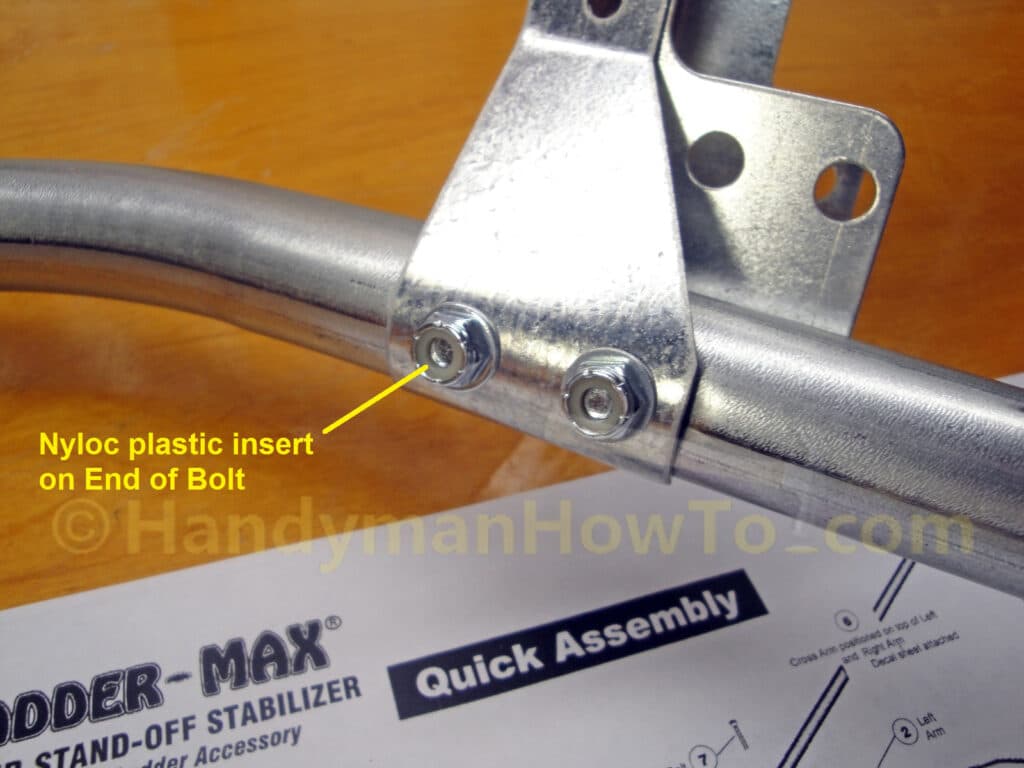
The Nyloc lock nuts are installed such that the plastic insert is on the end of the carriage bolt:
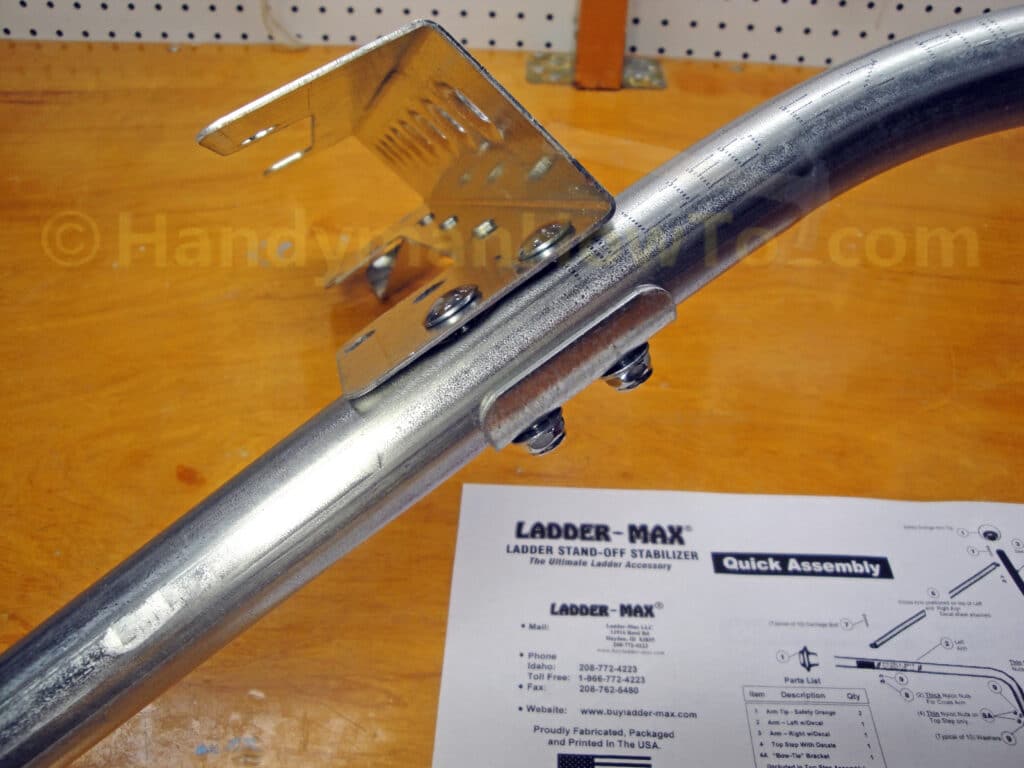
The Ladder-Max top step bow-tie bracket attachment to the right arm. Remember the thin Nyloc nuts are finger-tight only at this point. The nuts will be tightened with a wrench during final alignment later.
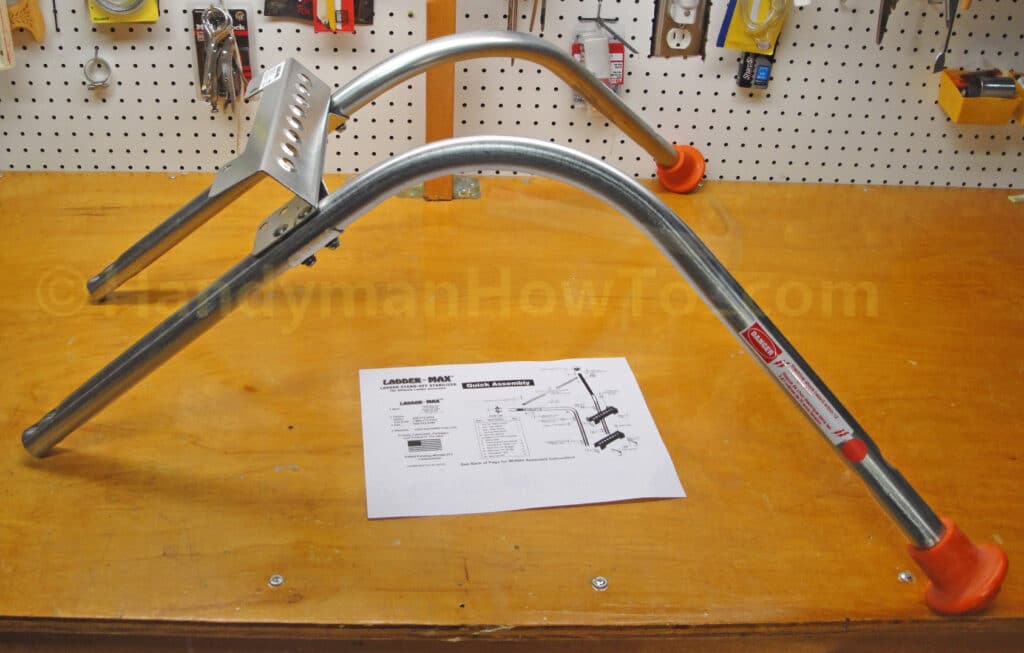
The left arm is inserted into the top step bow-tie bracket and fastened with two more carriage bolts, washers and Nyloc nuts the same as the right arm:
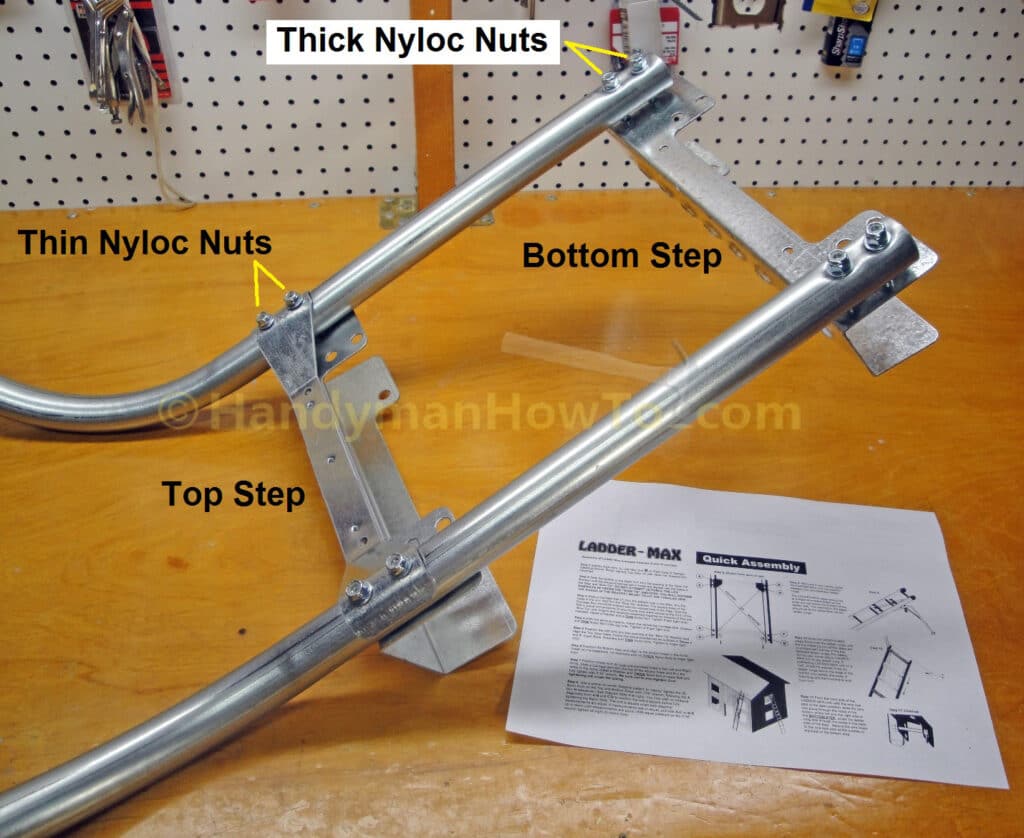
I turned the Ladder-Max over to install the bottom step with four (4) carriage bolts, flat washers and thick Nyloc nuts. Finger-tighten the nuts so there’s “wiggle room” for later alignment of the whole assembly before tightening all the nuts.
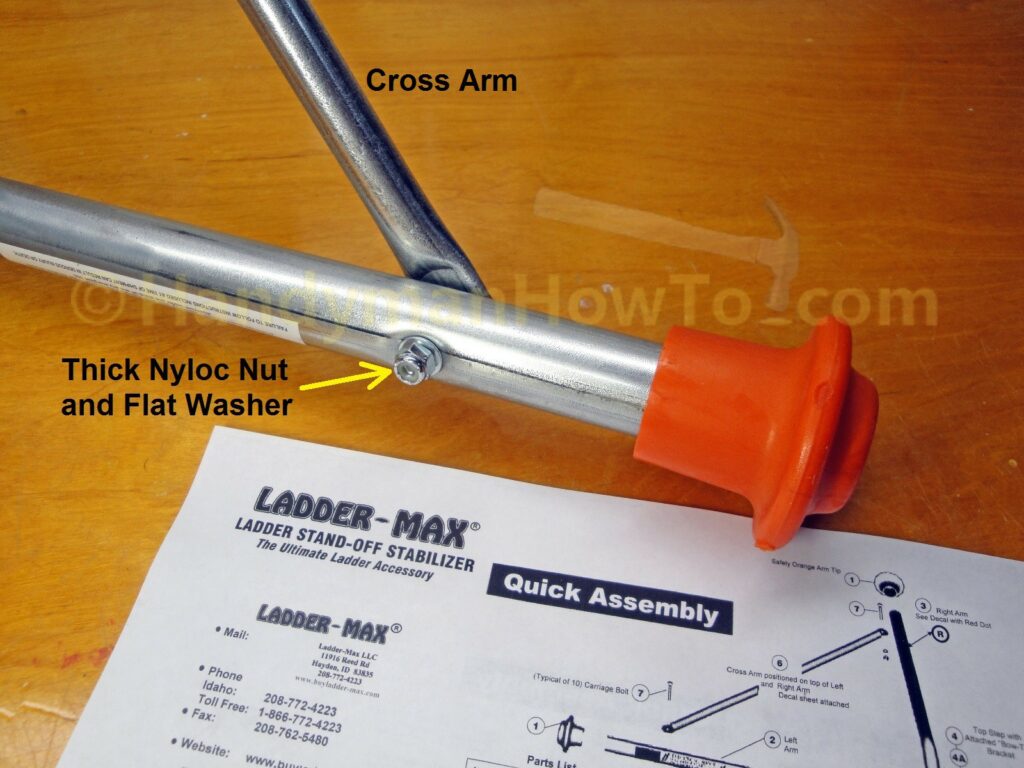
The Ladder-Max cross arm is attached to the left and right arms with carriage bolts, washers and thick Nyloc nuts. Finger-tighten the nuts.
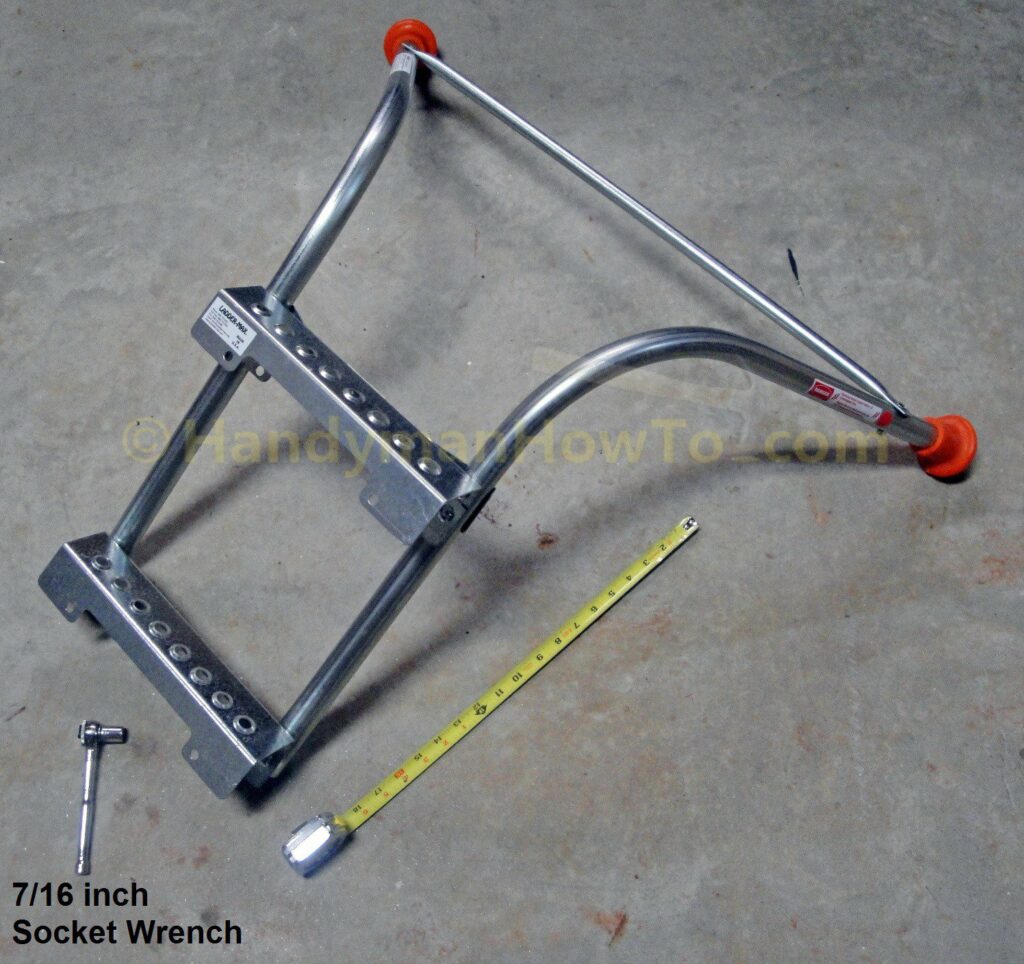
The Ladder-Max alignment is checked for square by measuring the diagonal between the bolts on opposite sides of the top and bottom steps. Twist the Ladder-Max slightly to equalized the diagonal bolt measurements (like an X), then tighten the Nyloc nuts with a 7/16 inch wrench in an X pattern (top left, right bottom, top right, left bottom) sequence per the Ladder-Max instructions. Also tighten the cross-arm nuts.
Tips:
- Take care that the square base of the carriage bolt head is seated in the square hole of the step brackets.
- Do not over tighten the Nyloc nuts because you can crush the arm tubes.
It’s only necessary to tighten the Nyloc nuts such that one or two carriage bolt threads extend beyond the nut.
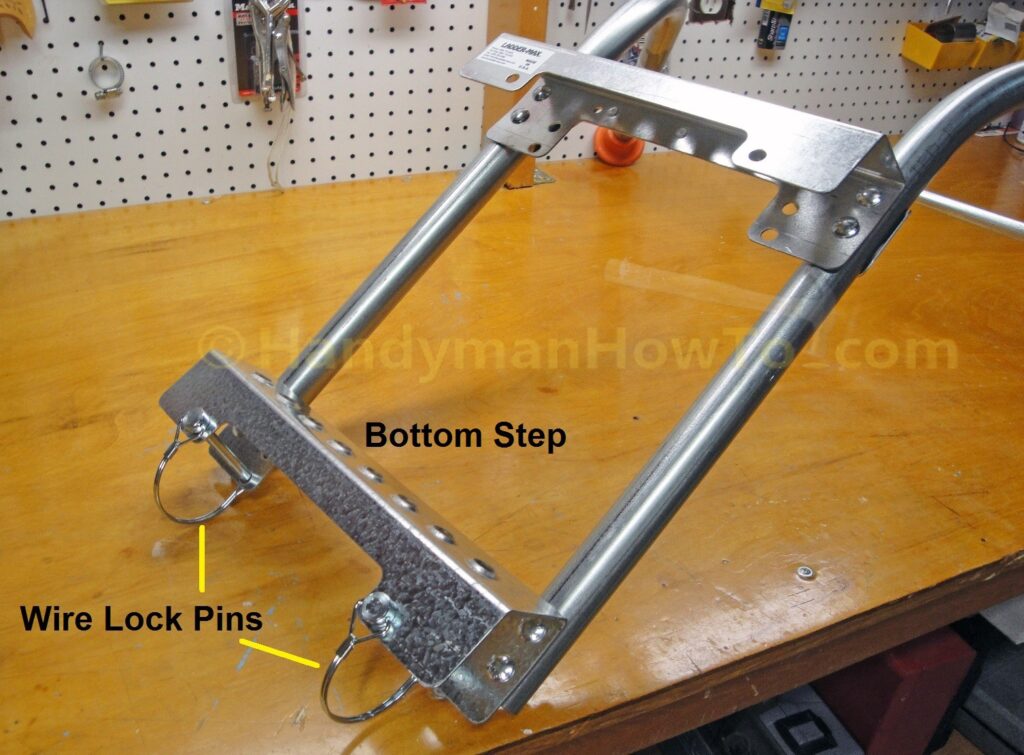
The wire lock pins fit in the holes in the bottom step to secure Ladder-Max to the ladder rung. The lock pins are inserted after Ladder-Max is set on the ladder.
Ladder-Max Installation
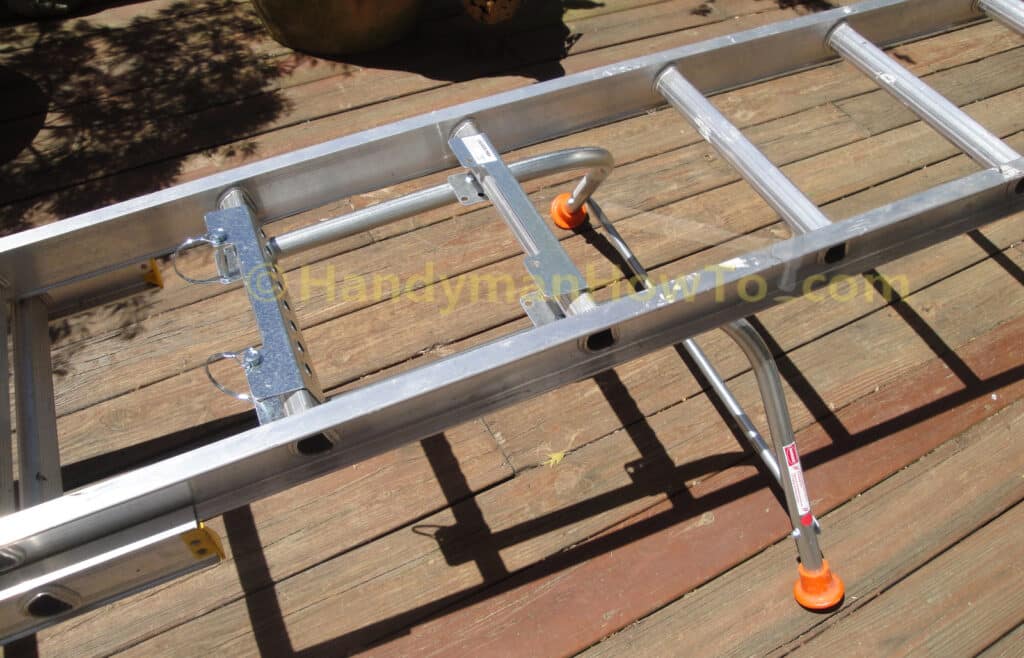
Ladder-Max features an easy-on and easy-off ladder attachment. Just slide Ladder-Max onto the ladder rungs from behind the ladder and insert the two wire lock pins:
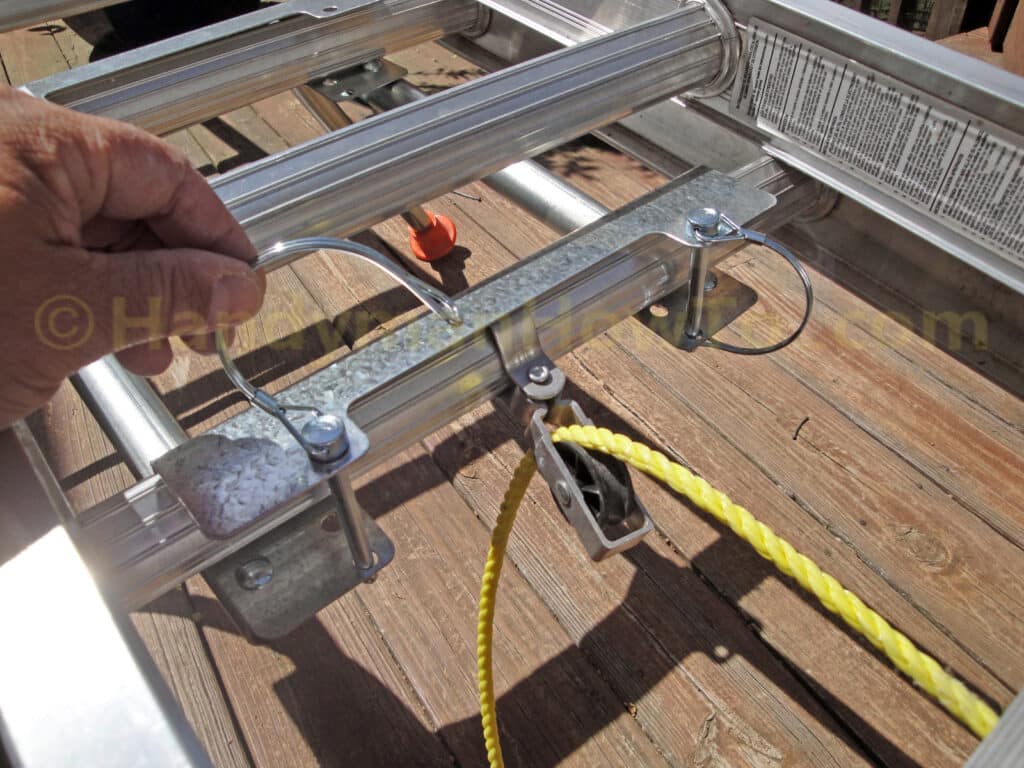
Ladder-Max lock pins:
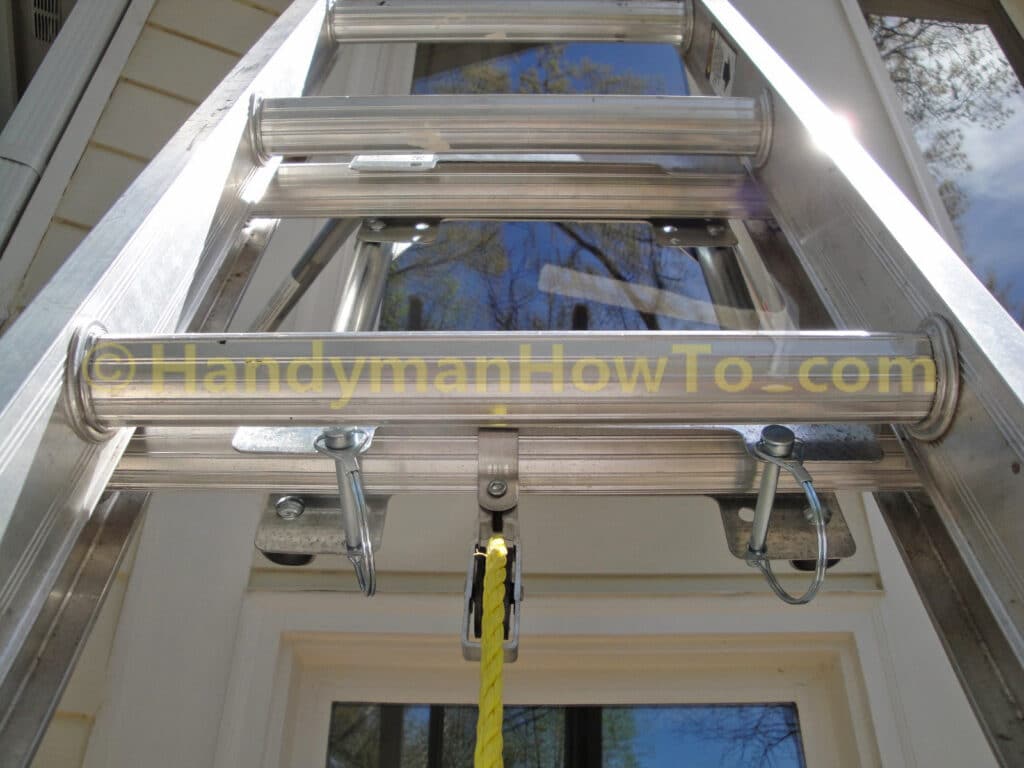
The Ladder-Max non-slip feet protect the walls from marring:
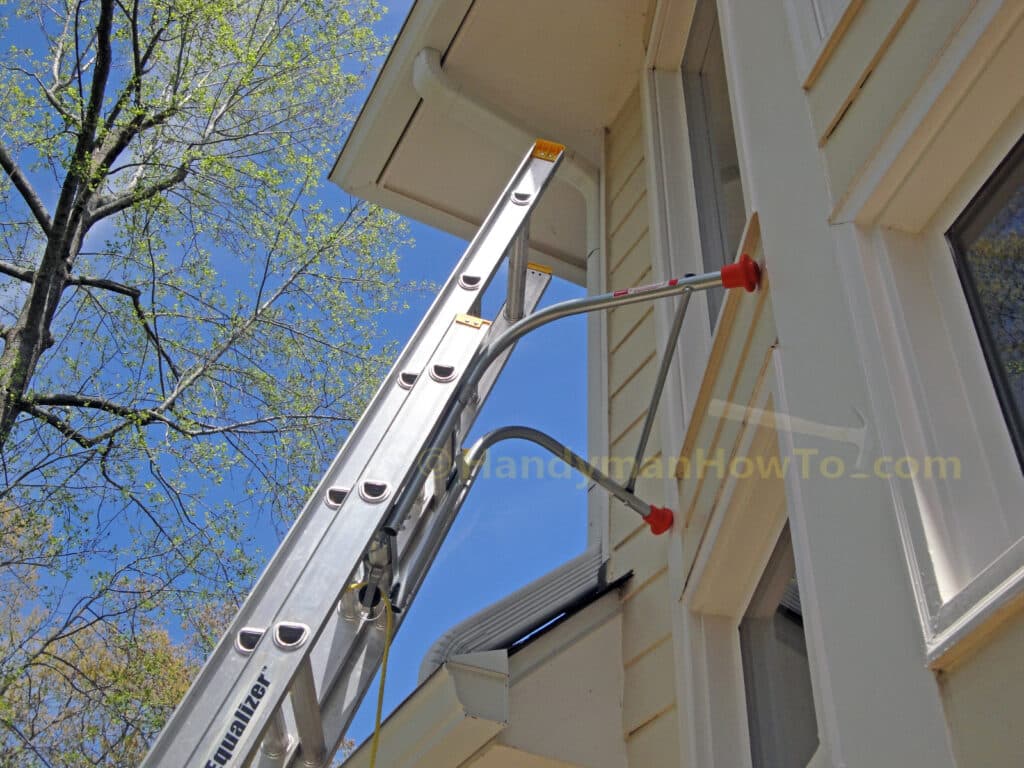
Ladder-Max is easy to reposition on the extension ladder by removing the lock pins. Ladder-Max should always be installed such that three (3) ladder rungs are above the roof to safely climb on/off the roof.
Ladder-Max holds the extension ladder about 19 inches off the roof so the ladder doesn’t bend my gutters:

Ladder-Max Stand-off Stabilizer
Take care,
Bob Jackson