This project illustrates the Universal Tabletop TV Stand Assembly Steps for a flat-screen TV. I bought an Tabletop TV Stand that’s height adjustable and swivels side-to-side. The stand supports up to 80lbs and fits TVs from 32 to 60 inches. It’s is very sturdy, looks great and fit my Vizio 43 inch 4K TV perfectly.
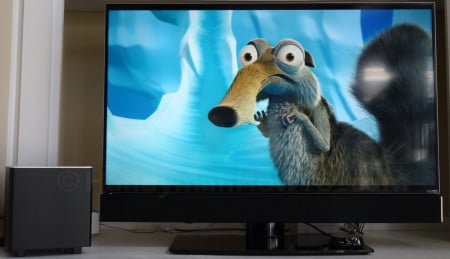
Vizio 4K Ultra HD TV and Soundbar
I decided it was time to replace my aging plasma TV and after a lot of research I bought a:
- VIZIO 43-Inch 4K Ultra HD Smart LED TV
I wanted a 4K TV with fast performance (no judder) and lot’s of A/V ports. The TV picture is fantastic! - VIZIO 2.1 Channel Sound Bar with Wireless Subwoofer
The soundbar is a huge improvement over my old home theater receiver and in-wall speakers. - Universal Tabletop TV Stand
- Universal Soundbar Bracket
The Vizio soundbar mounts directly below the TV and features a Bluetooth wireless subwoofer. I needed a tabletop swiveling TV stand for viewing from anywhere in the room. The Roku player is at the right on top of the glass base:
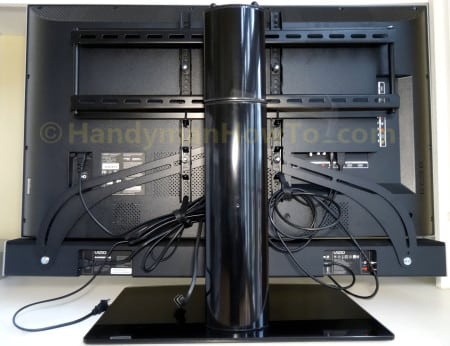
Rear view of the AEON-60111 Universal Tabletop TV Stand and “butterfly wing” Sewell soundbar brackets. The cables are tidied up with VELCRO cable ties:
The AEON-60111 TV stand is very stable and swivels smoothly for the best viewing from anywhere in the room.
Roku Player vs Smart TV
Why bother with a Roku streaming media player if I have a Smart TV? Because the Roku player:
- Has the far more streaming channels.
- The Roku interface is super user-friendly whereas Smart TV user-interfaces are often clumsy.
- I have a mix of TV brands in the house, each with a Roku player that makes it simple and consistent wherever I’m watching.
- Roku automatically pushes out firmware updates, whereas updating the Smart TV firmware may be an automatic or manual process. See Smart TVs Are Stupid: Why You Don’t Really Want a Smart TV. In fairness, my Vizio Smart TV will automatically update it’s firmware if connected to Internet.
So although I bought a Smart TV my decision was based on screen quality, lot’s of audio/video ports and price but I don’t use the built-in TV apps.
Universal Tabletop TV Stand Assembly Steps
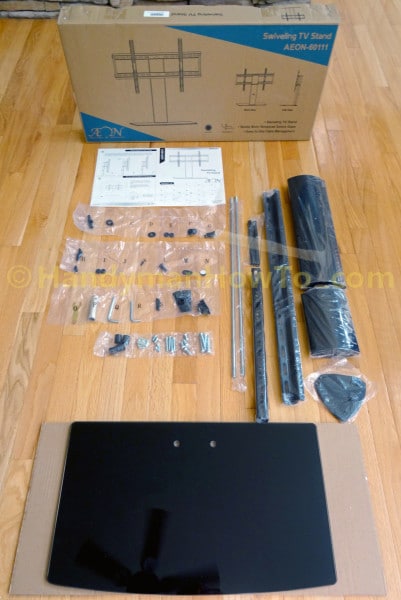
The AEON-60111 Universal Tabletop TV Stand is shipped in a flat box and requires assembly. Plan to spend 45 minutes to an hour putting it together. The kit includes all tools needed for assembly. I organized my work by arranging the parts on the floor and studying the instruction manual:
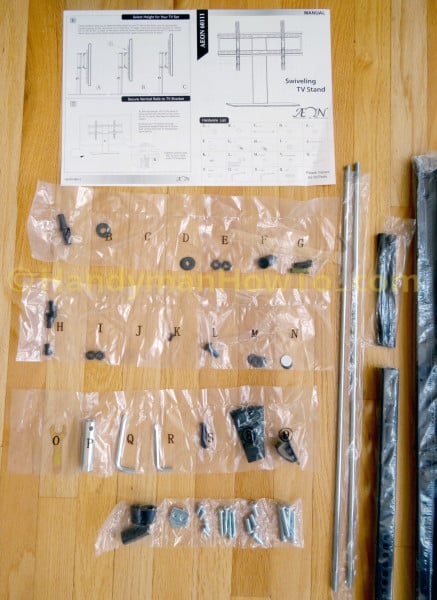
The small parts are nicely labeled in plastic packs:
Assemble the TV Bracket
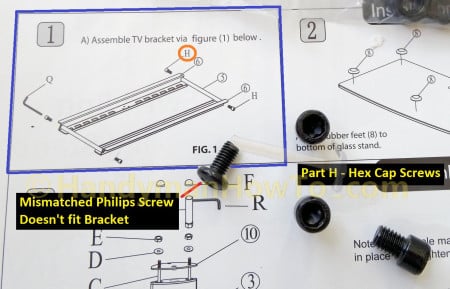
The TV bracket is assembled first per Step 1, however instead of four (4) M8 hex cap screws (Part H) only had three (3) with a mismatched/smaller Philips screw in the package. I guess the odd Philips screw was mistakenly sorted into the wrong bin at the factory:
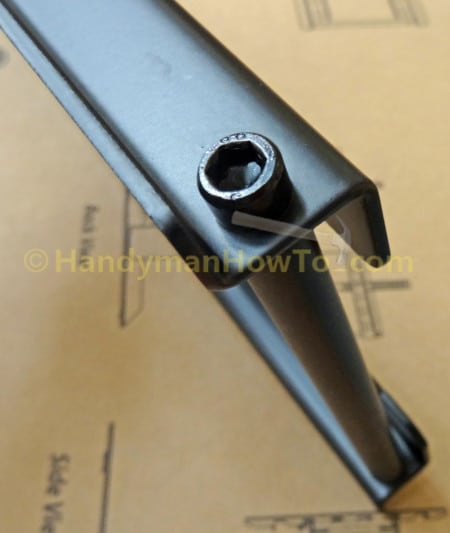
The horizontal TV brackets are fastened together with the hex cap screws and rods. The stand kit includes a hex key (Allen key) tool:
Aside: Missing M8 Cap Screw Workaround
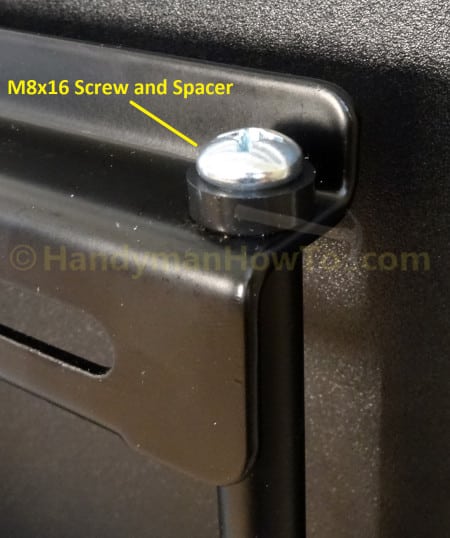
My initial solution on this Saturday afternoon was use Zip-ties to hold the bracket and rod together. After completing the TV stand and soundbar assembly I looked closely at the leftover screws and spacers (many extra screws and spacers are included to fit a variety of TVs). I found the stand M8x16 screw with a thin plastic spacer from the Sewell Soundbar kit would substitute nicely for the missing M8 cap screw:
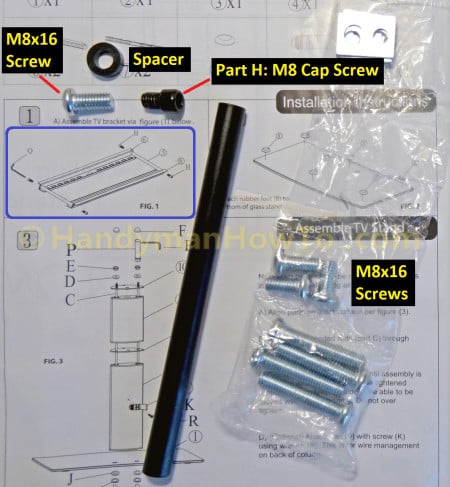
The plastic spacer is needed to for the longer M8x16 screw compared to the shorter M8 cap screw, owing to the limited depth of female threads inside the rod:
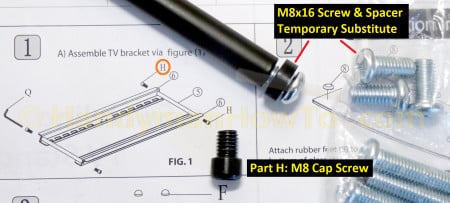
The M8x16 Philips screw and spacer fit great!
AV-Express Customer Service
On Monday I called AV-Express.com Customer Service (AV-Express is the seller on Amazon.com) to request the missing M8 cap screw. My call was answered immediately and I explained the issue. The representative looked up my Amazon order, understood exactly what part I needed and sent two replacement cap screws free of charge:

That’s great customer service! It was simple to replace the temporary screw with the correct M8 cap screw without unmounting the TV.
Assemble the Stand Column
After sticking the rubber feet on the bottom of the tempered glass base, the TV stand is next. The next steps are easier if done by two people because you’ll need a helper to hold the thick glass base.
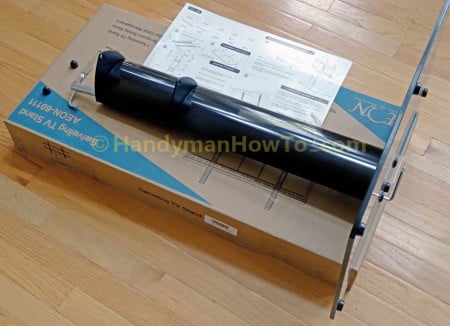
Identify and layout all the column parts per Step 3 of the instruction manual. I’ve inserted the two long threaded rods into the column and triangle-shaped shelf that fits between the two column sections:
The female cap screw (Part A), metal washer (Part B) and clear plastic washer (Part J) are arranged as shown to fasten the glass base to the threaded column rods:
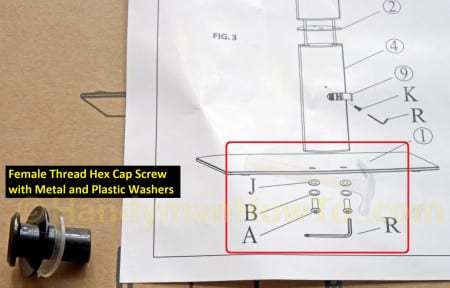
While a helper holds the glass base, tighten both the female cap screw on the glass base with the hex key and socket tool on the top nut. Don’t over tighten the cap screw and hex nut because it could crack the glass base. It’s tight enough when the column parts don’t wiggle:
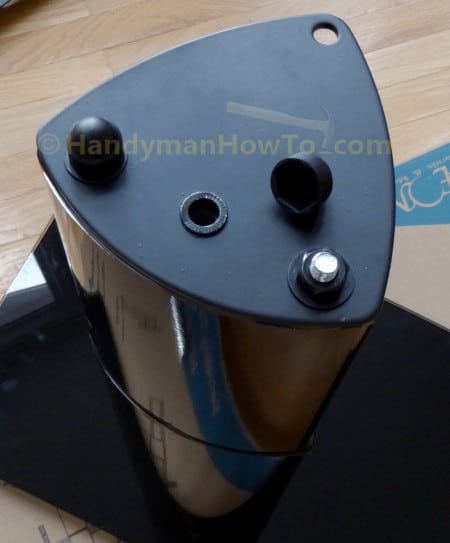
Top shelf assembly detail – note the 3 or so rod threads extending past the hex nut:
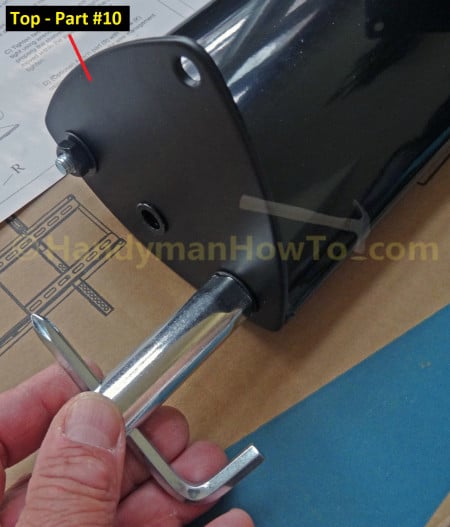
Female cap screws in the glass base. The female cap screws will “bottom out” on the threaded rod, so the final tightening should be done by turning the hex nut in the above photo:
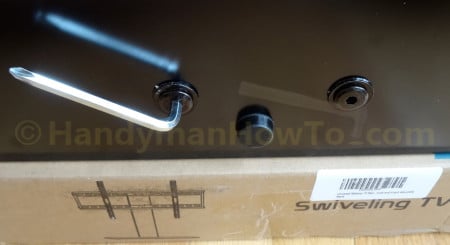
Place the plastic cap nuts on the hex nuts for a finished appearance:
Attach the Bracket to the Column
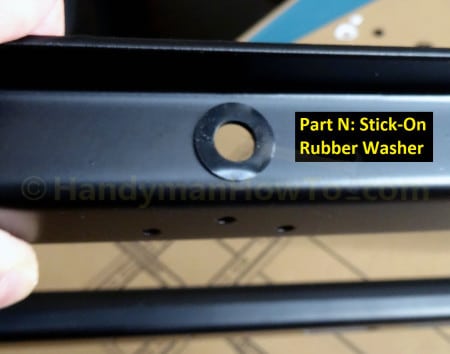
The horizontal bracket fits between the triangle shaped column shelves per Step 4 in the instruction manual. Peel the backing off the two rubber slip-washers (Part N) and stick them over the bracket center holes. The purpose of the slip-washers is to avoid metal-on-metal contact so the bracket swivels smoothly:
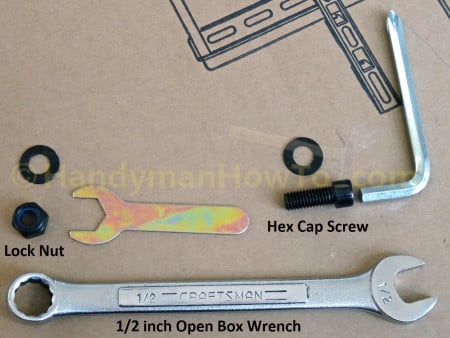
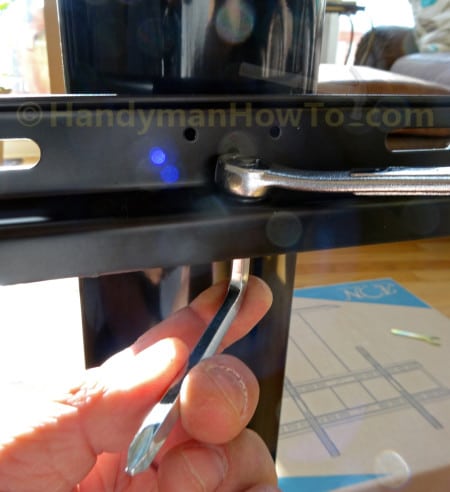
Layout the hex cap screws (Part G), washers (Part M) and lock nuts (Part I) per Step 4 of the product instructions. The kit includes a flat wrench but I found it easier to use a 1/2 inch box wrench on the lock nut. The nylon insert in the lock nut prevents it from loosening when the TV stand swivels:
Slide the bracket between the column shelves then tighten the nut on the hex cap screw. This is where the 1/2 inch box wrench made the job faster. Repeat for the top shelf attachment noting assembly is the mirror image of the lower attachment shown here. Do not over tighten the bracket – it’s tight enough when it swivels smoothly with no wiggle and stops immediately when you stop pushing. Best to tighten both nuts first until snug, check the swivel movement then tighten each nut equally as needed:
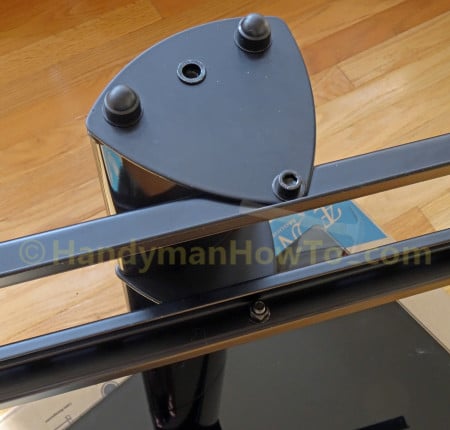
The TV bracket after fastening to the column shelves:
The TV and soundbar are mounted in Tabletop TV Stand and Soundbar Assembly Steps.
Take care,
Bob Jackson