How to install a bauco plus II drywall access panel by Access Panel Solutions in a suspended drywall ceiling. This project continued from How to Install a bauco plus II Drywall Access Panel – Part 2.
bauco plus II Drywall Access Panel Installation
Wide view of the new bauco plus II 12″ x 24″ drywall access panel installed in the basement drywall ceiling:
The door panel opens by pressing the corners to release the spring touch latches. The safety cable limits the door travel so it doesn’t get away from you. The door panel can be removed by unclipping the safety cable and lifting the panel door off the rear hinges for maximum clearance.
bauco Drywall Access Panel Finishing
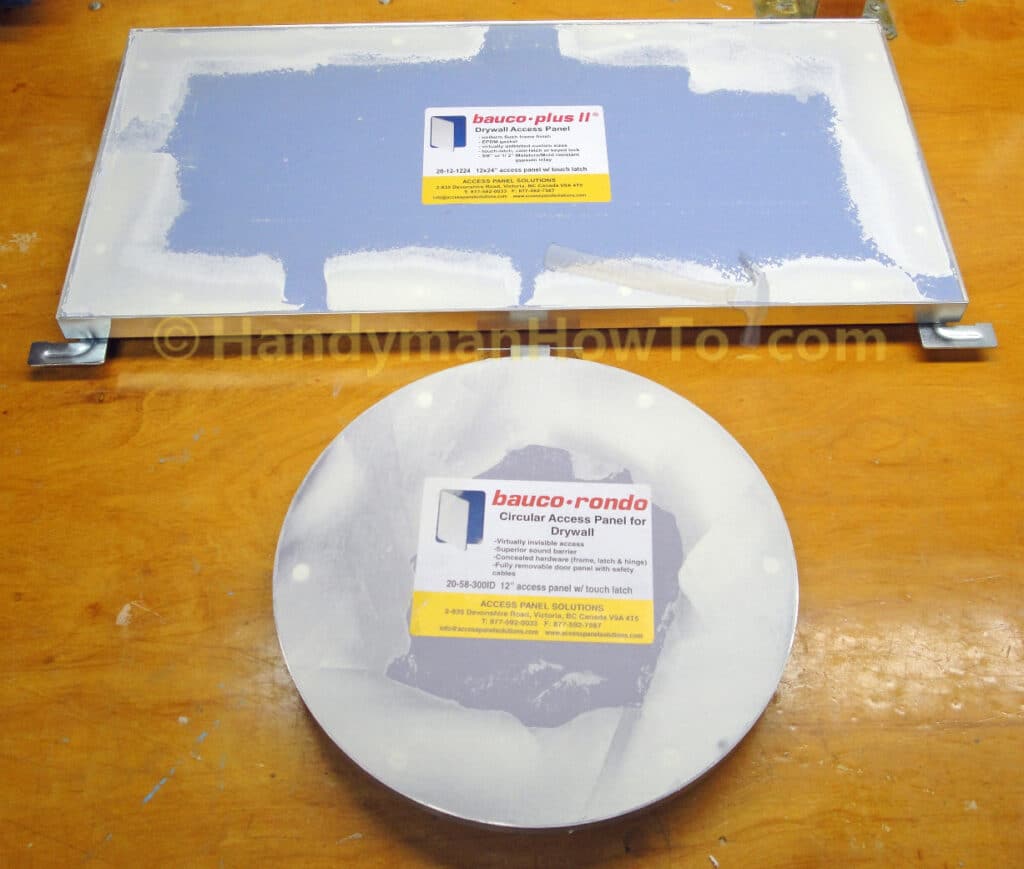
I’m installing both the 12″ x 24″ bauco plus II and the 12″ round bauco rondo access panels in different rooms. The drywall screws dimples are finished with general purpose joint compound, allowed to dry and sanded smooth. The joint compound is still wet in these photos:
Note: I could have filled the joint compound flush with the rectangular panel rim as shown here to completely blend the panel with the ceiling, but chose not to do so because it wasn’t important in the basement recreation room. If my wife really doesn’t like seeing the minor rim outline, I can always reapply joint compound to blend the edges, sand and paint. Were the panel were in the living room, then I’d blend the edges from the start.
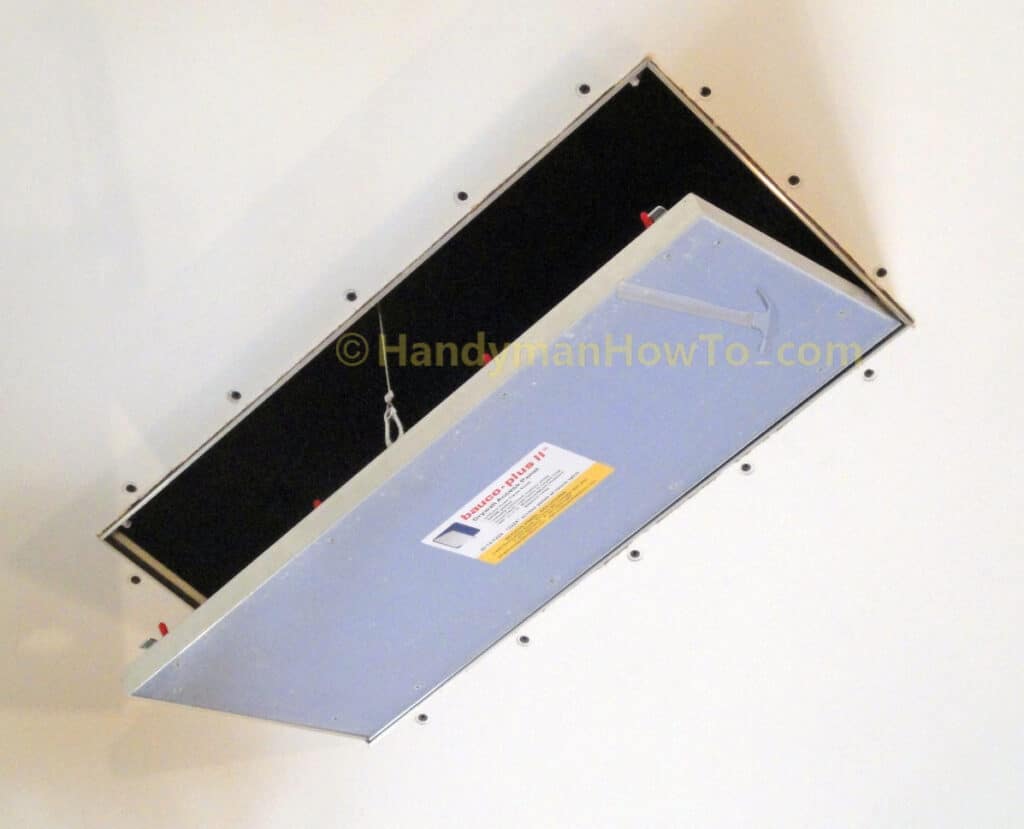
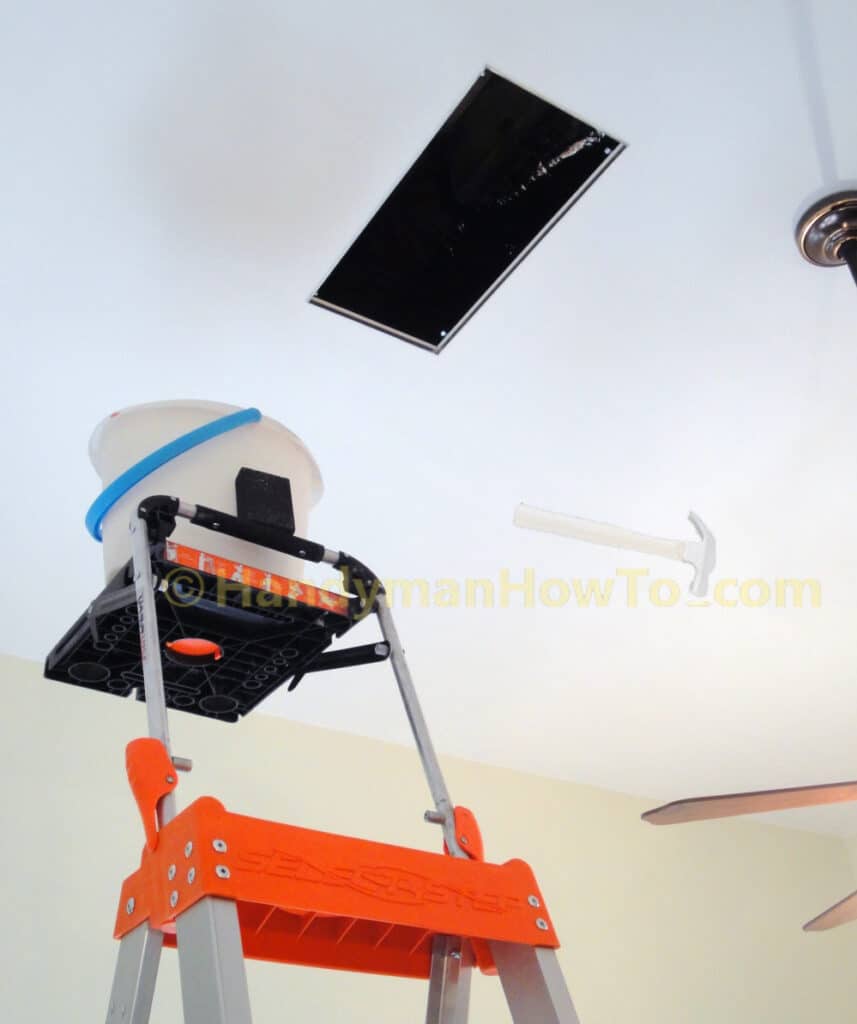
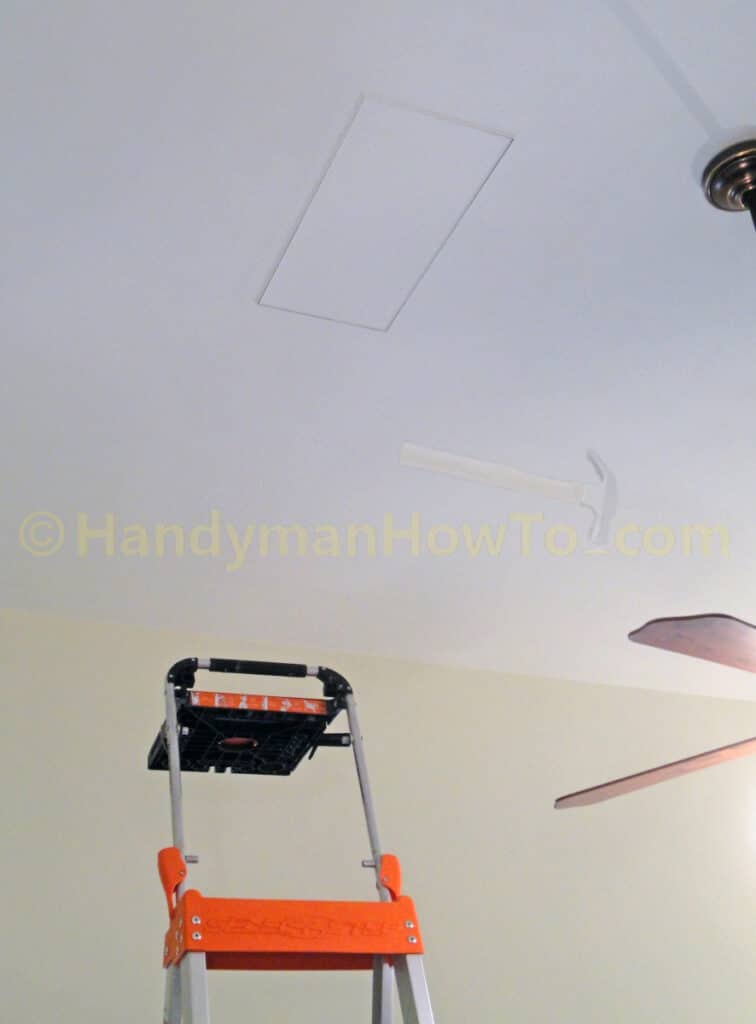
The bauco plus II rough opening and frame unit after filling with drywall joint compound and a 6″ wide drywall knife. I’ll let the joint compound dry overnight before wet sanding.
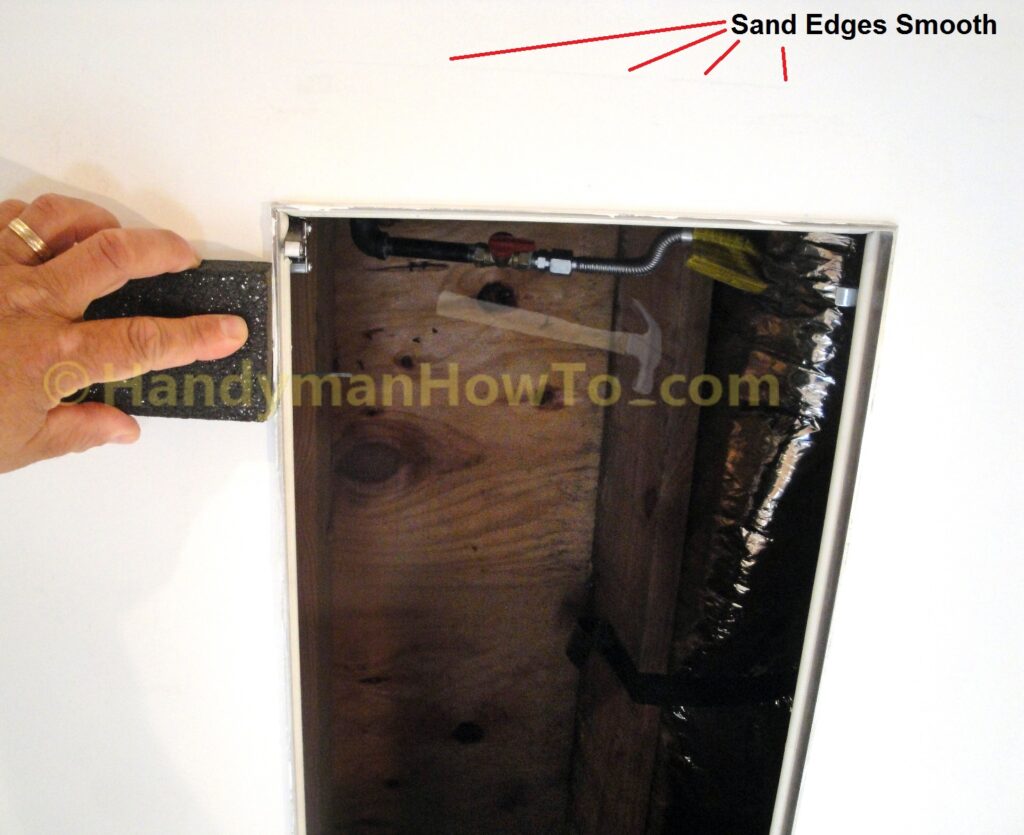
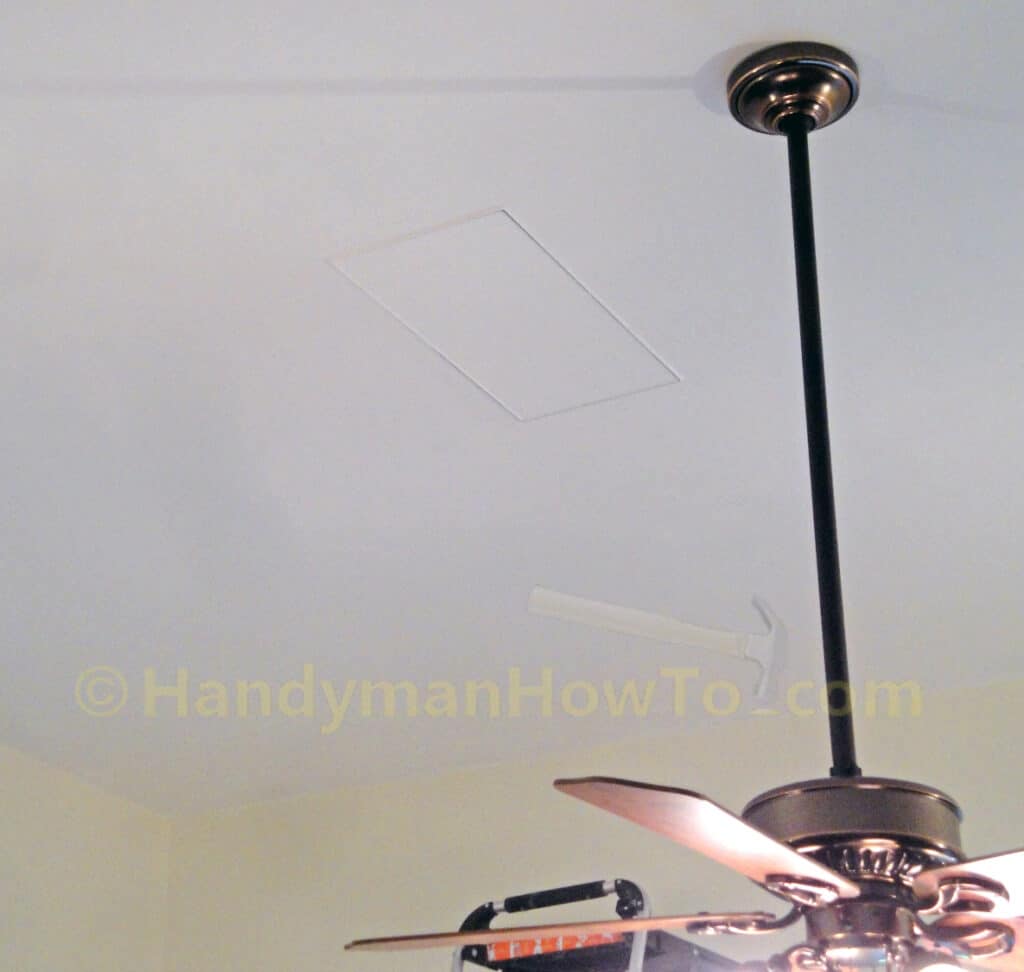
The joint compound dried to an almost pure white color that doesn’t show well in the next photo. I’ll wet sand the joint edges smooth to blend with the ceiling using a 1/4 full bucket of water and black drywall sanding sponge.
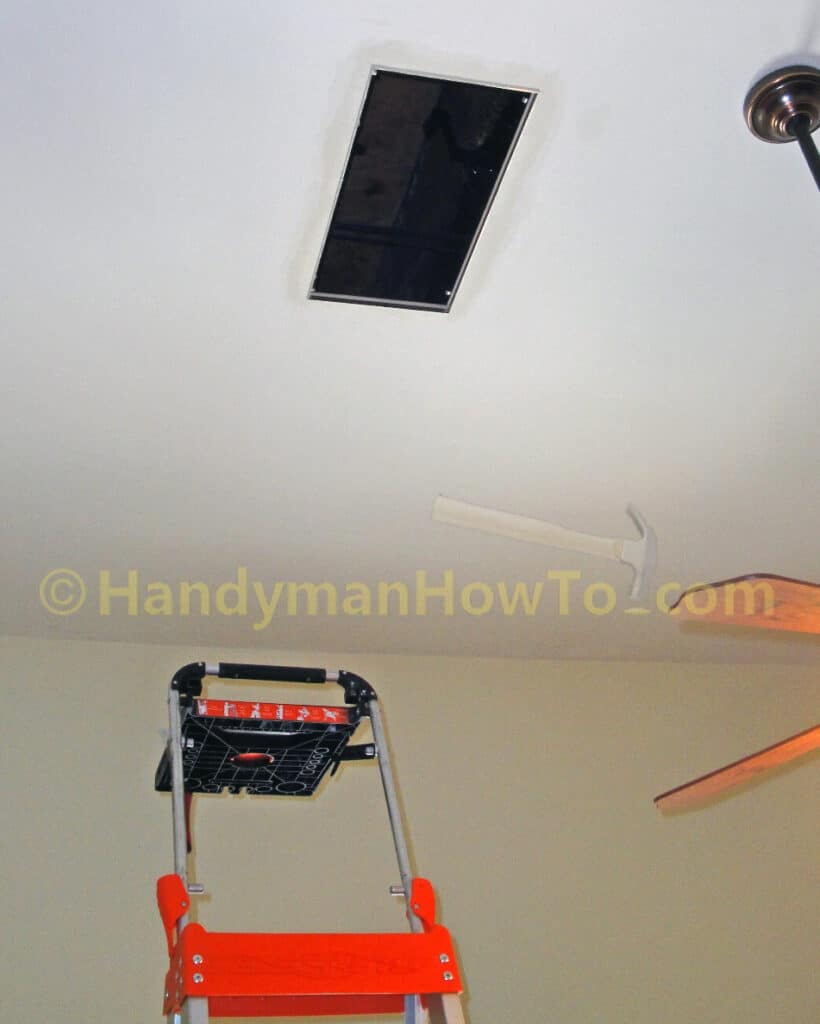
The cured drywall compound is sanded feather smooth to blend with the ceiling drywall. It’s difficult to see the unsanded joint compound edges, which I’ve highlighted here:
Drywall Access Panel: Painting and Installation
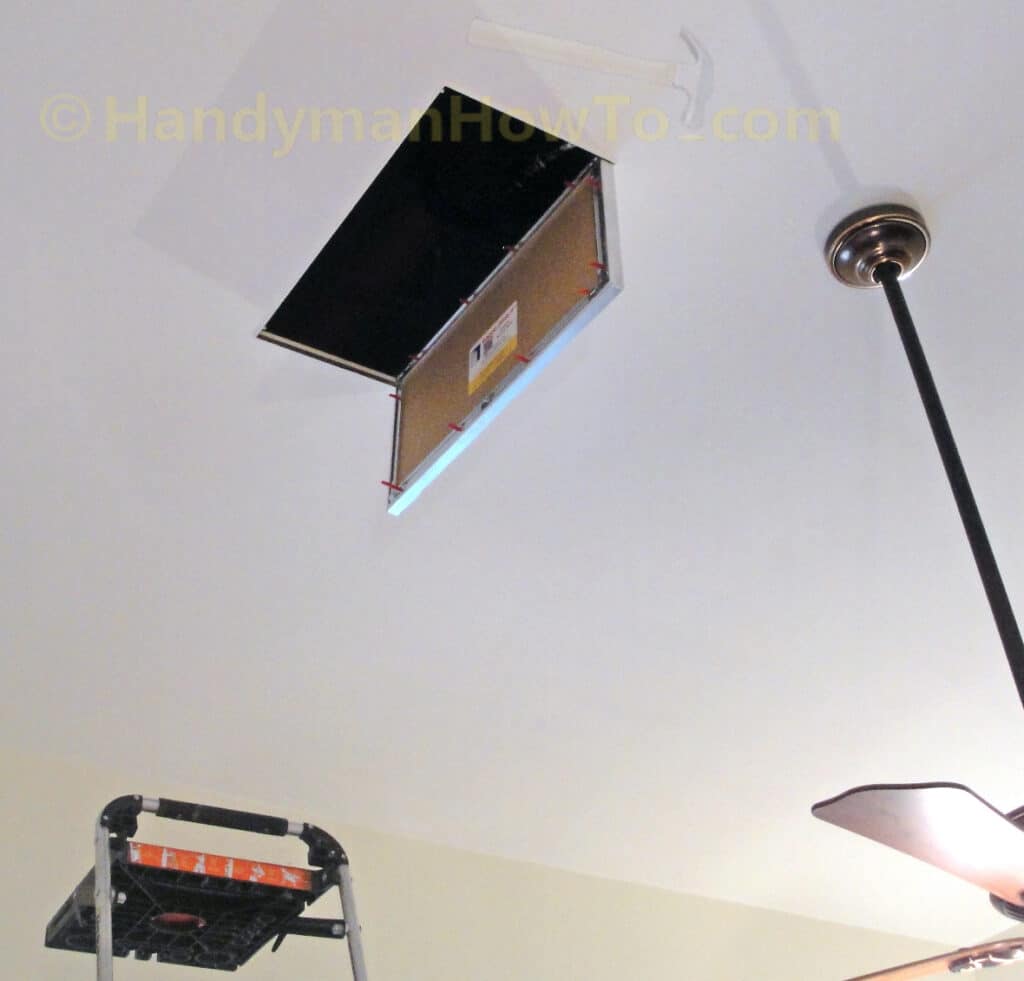
I rolled on two coats of bright white Sherwin-Williams Eminence™ Ceiling Paint in a flat finish, which blended perfectly with the existing ceiling color. The bauco plus II access door is inserted at an angle to clear the frame, then set on the rear hinges:
The safety cable is latched to the door panel:
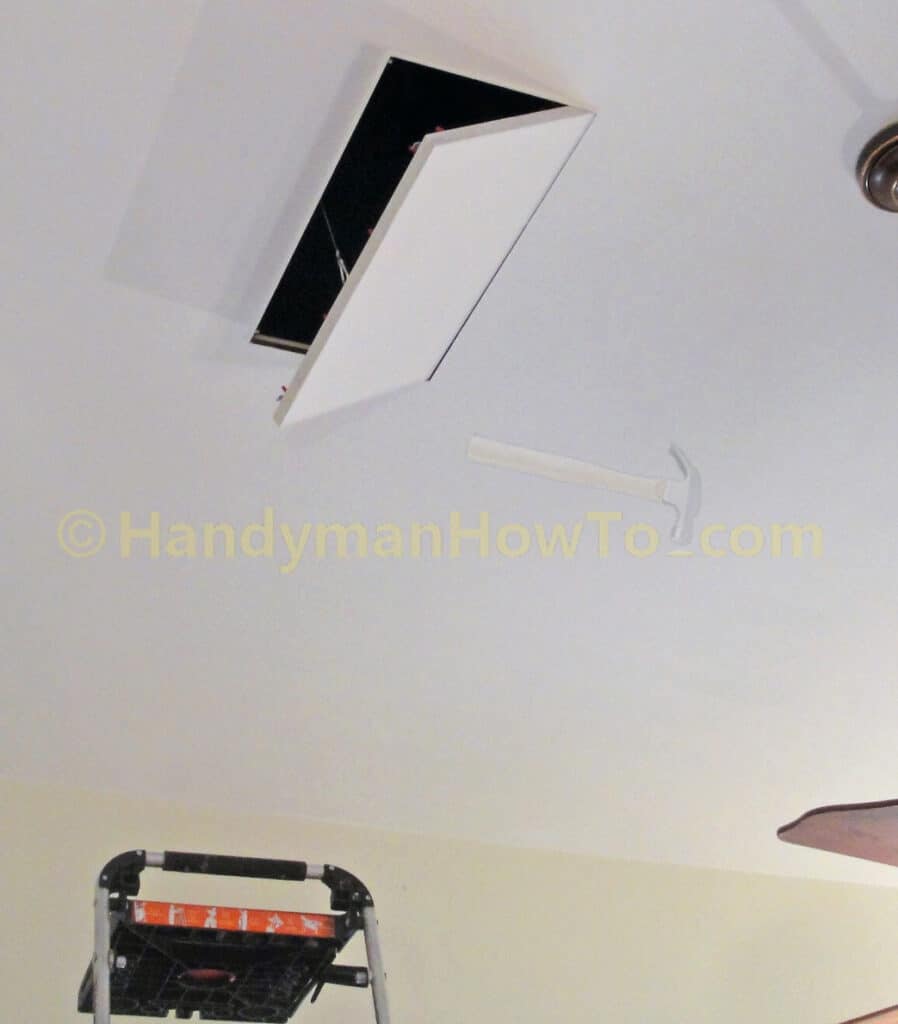
The panel closes by pressing the front (left side of photo) corners to engage the spring touch-latches:
Another view of the bauco plus II access panel in the basement drywall ceiling:
Ceiling Drywall Access Panel Usage
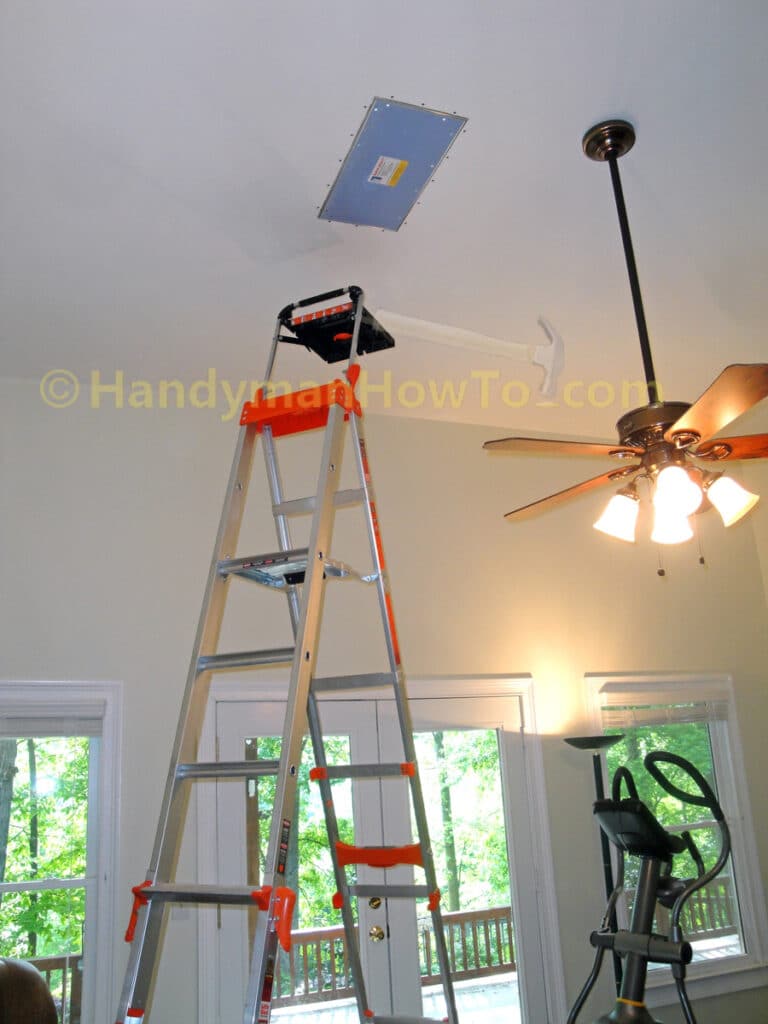
I chose the 12″ x 24″ panel dimensions for the maximum width that would fit between the drywall ceiling suspension tees and long enough to comfortably get my upper body into the ceiling crawlspace. My 215 lb frame fits through with no problem. I really like the handle on the Little Giant Select Step 10 foot ladder.
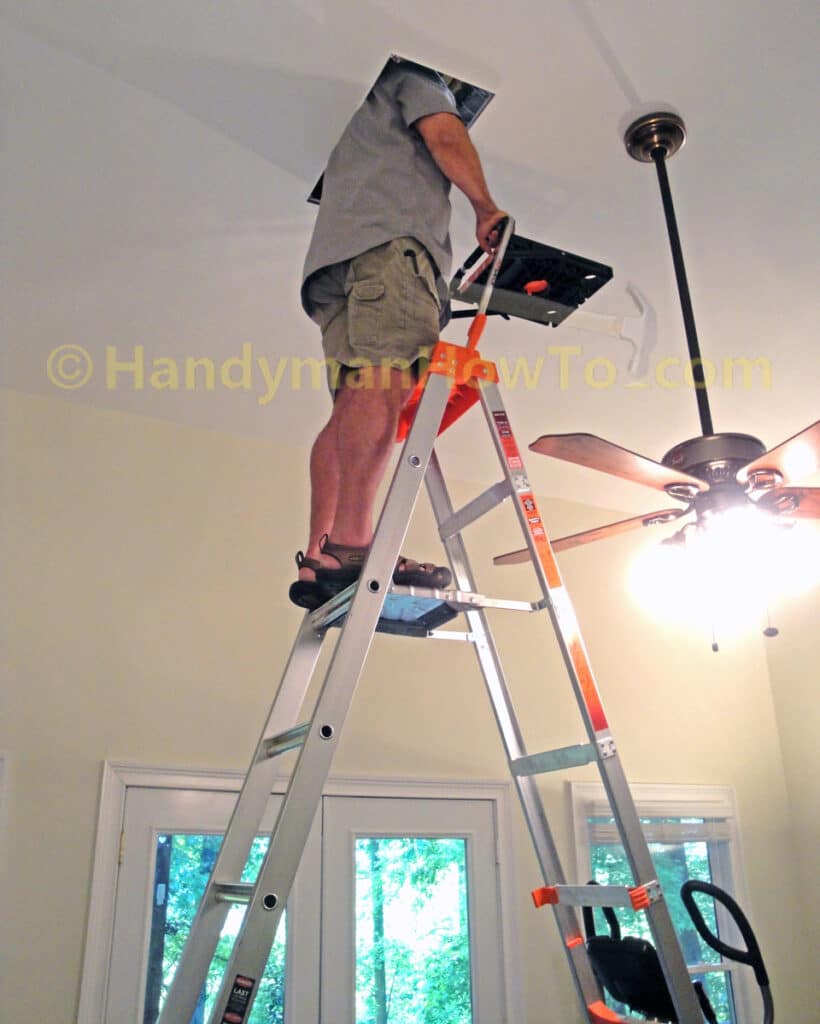
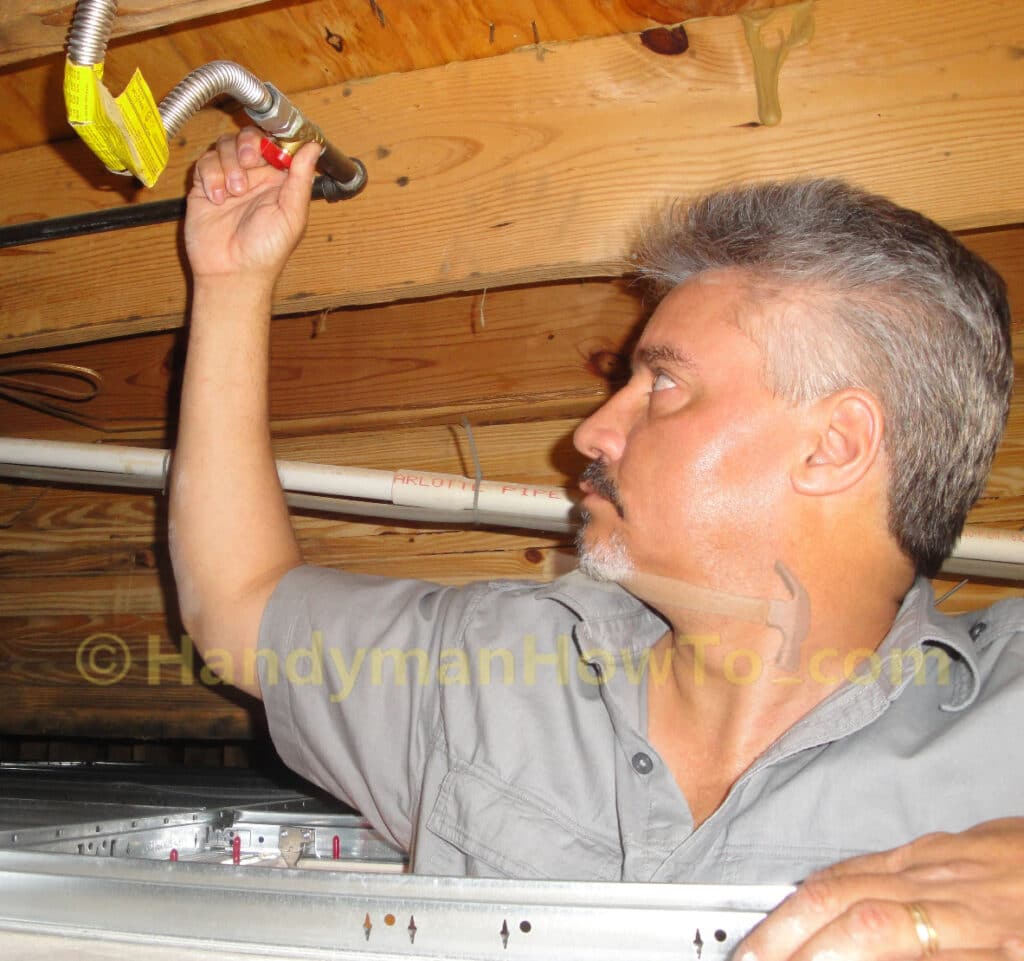
That previously inaccessible fireplace natural gas shutoff valve in the ceiling crawlspace is now within easy reach. I’m also in a great position to work on the HVAC condensate drain lines in the background.
Homeowners, Renovators and DIY
If you’re interested in a bauco access panel, Access Panel Solutions (APS) sells directly to homeowner’s for both the standard and custom made sizes. Contact APS toll free (877) 592-0033 or (250) 592-0033 or e-mail info@accesspanelsolutions.com to receive a quote within 24 hours and quick delivery.
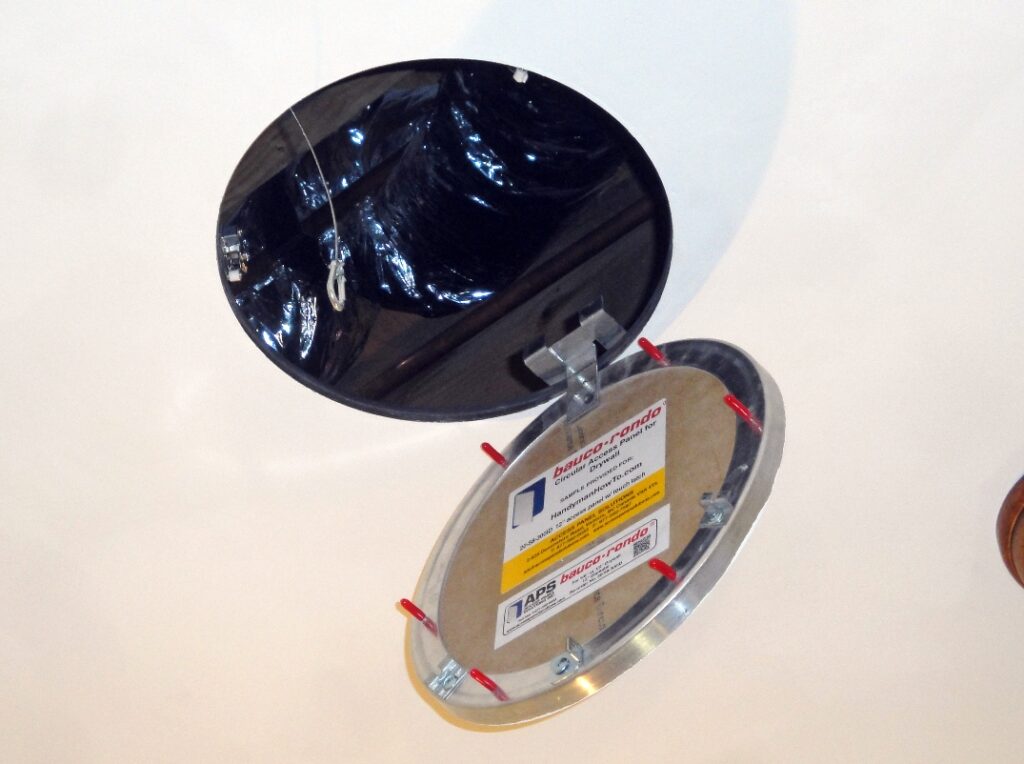
bauco rondo Access Panel
Next up: The bauco rondo access panel installation project.
Take care,
Bob Jackson