This project explains how to build a deck rail from scratch using pressure treated lumber and mount the rail on a concrete patio using concrete wedge anchors.
Deck Rail Installation Overview
The house sits on a hillside and the basement level concrete patio lacked a deck rail, giving the house an unfinished look. I built a 25 inch high deck rail from scratch using pressure treated lumber and corrosion resistant wood screws. At 25 inches high the deck rail is low enough such as not to block the view, just right for sitting on and high enough to keep my dogs taking shortcuts through landscaping. The 4×4 end posts are mounted on 1/2 inch threaded concrete anchors and tied into the main 8×8 deck supports as shown here. The deck rail was painted with a redwood stain:
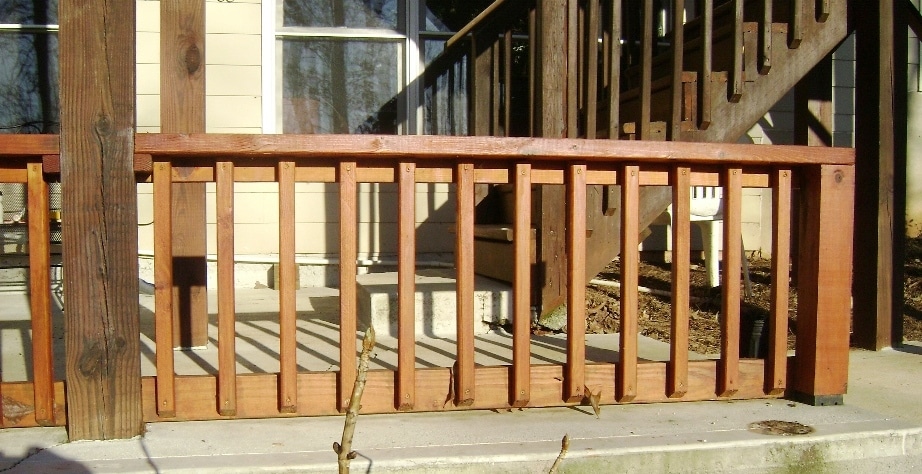
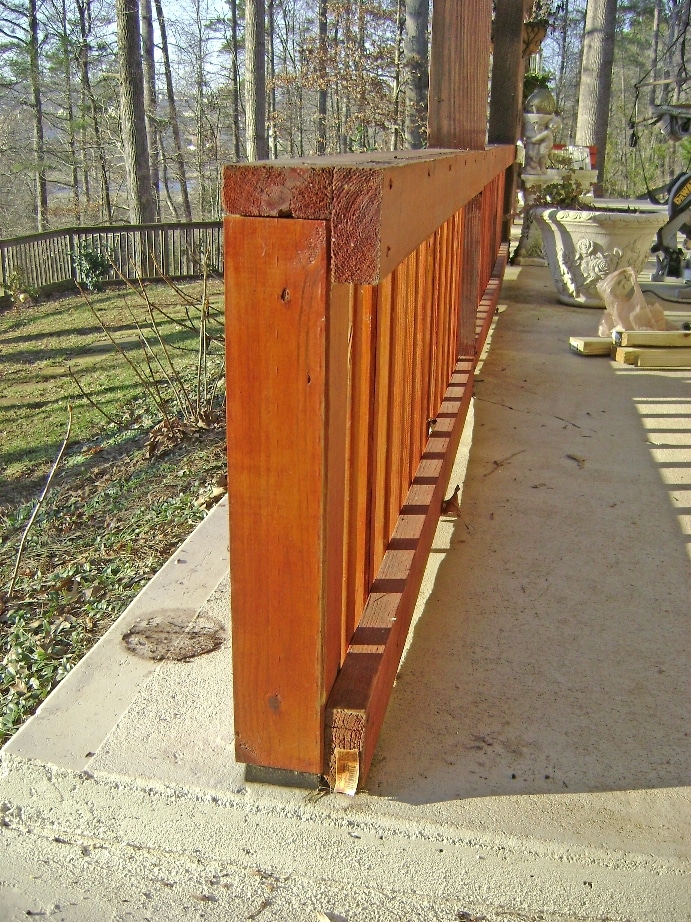
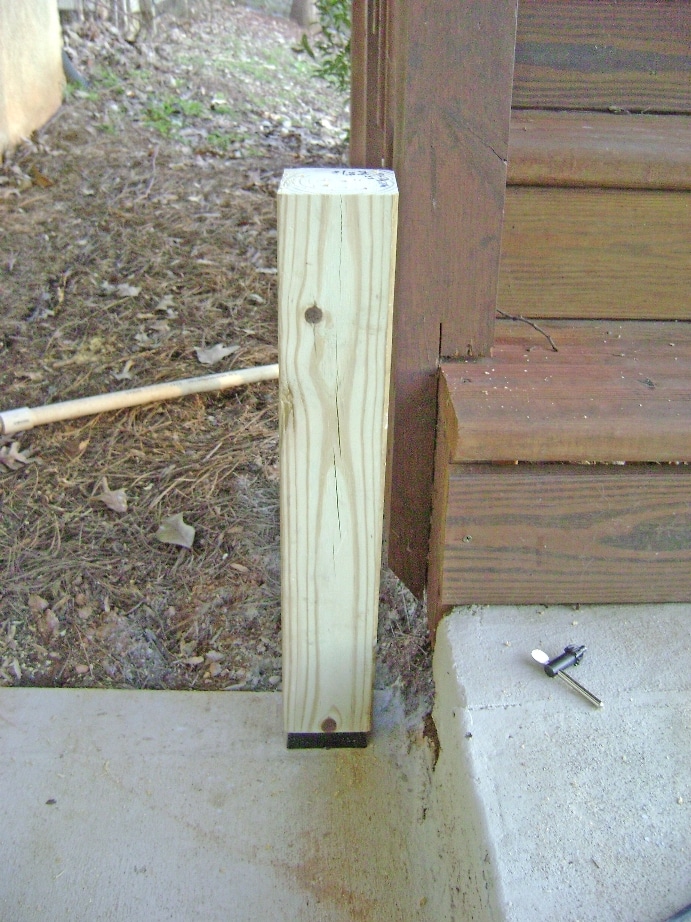
The end view of the deck rail illustrates the 4×4 end post, 2×4 cap and face board construction technique. Note the Simpson Strong-Tie CPS4 black plastic post standoff at the bottom of the 4×4.
Building Code Compliance
A deck rail is required is required when the deck (or concrete slab in this case) is 30 inches or more above grade (ground level). My basement slab varies from even with the ground to a foot or two above grade so a guardrail isn’t required by code. See How to Build a 2×6 Porch Rail and How to Build Code Compliant Deck Railing if you need a full height compliant guardrail.
How to Build a 2×4 Deck Rail on a Concrete Patio
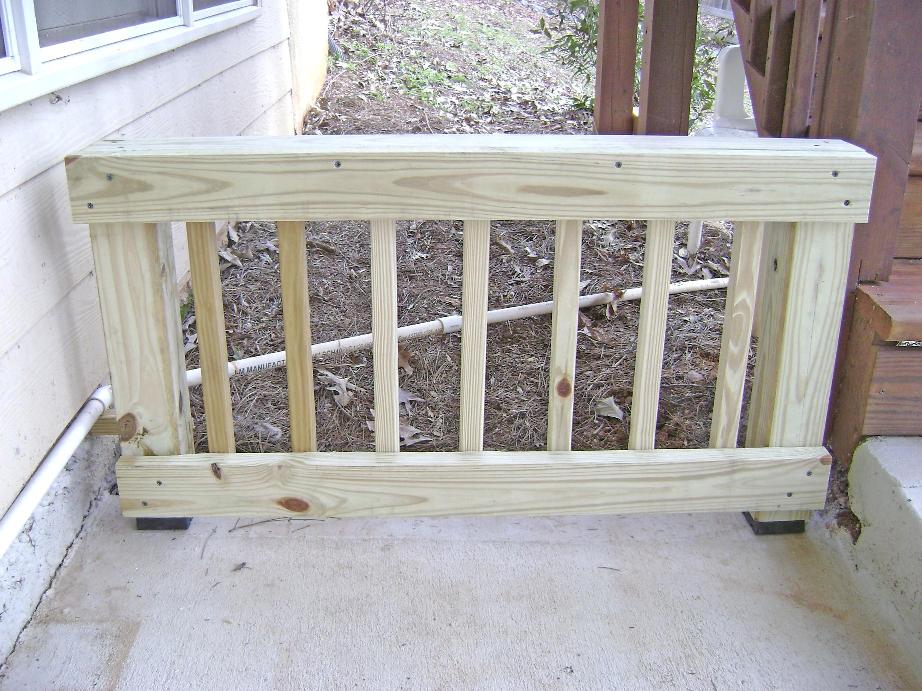
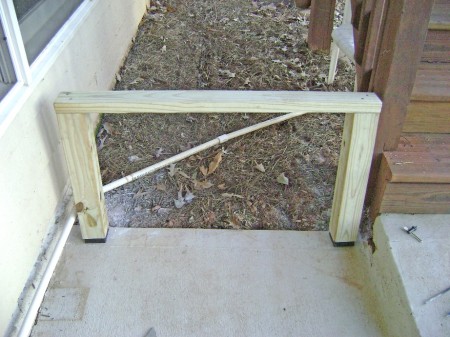
The deck rail enclosed most of the concrete patio, except for a ~4 foot gap between the house and the deck stairs as shown below. My dogs would run through here and mess up the pine straw. Here’s how I built a deck rail section to close the gap.

Jumping ahead – here’s the finished deck rail, ready to be stained when the weather warms up. Not the gap between the house wall and the deck rail so there’s space to paint the wall but not so narrow as to catch leaves. A ~2 inch gap between the bottom rail and concrete patio provides room for leaves to pass under when using the leaf blower.
Deck Rail Building Materials
The materials for this project are:
- Pressure treated 4″x4″x8′ posts
- Pressure treated 2″x4″x8′ boards
- Pressure treated 2″x2″x8′ boards for balusters – I space my baluster 3-1/2 inches apart
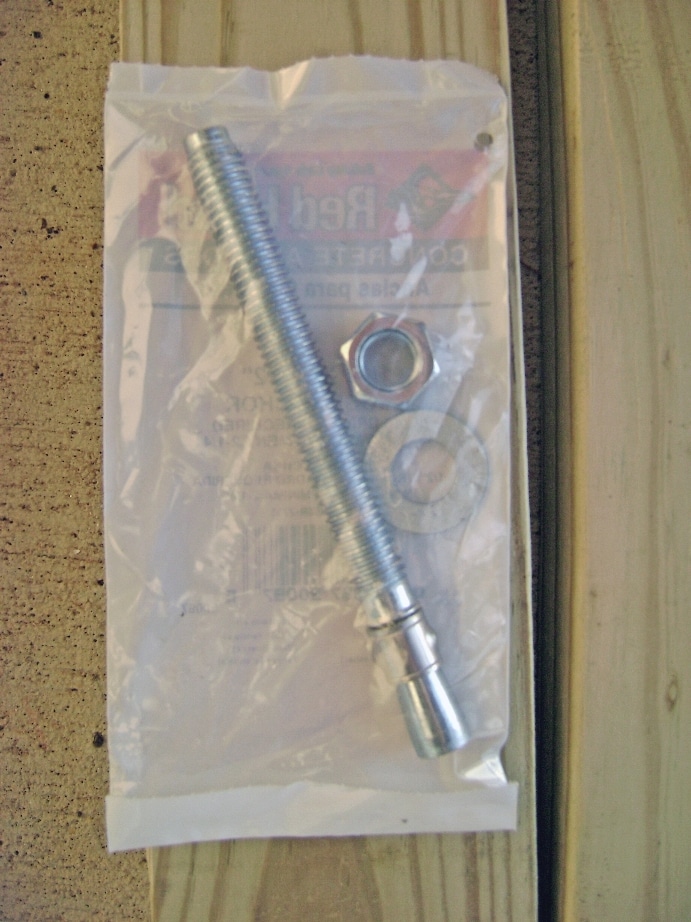
- Concrete wedge anchors – 1/2 inch diameter by 5-1/2 or 6 inches long
- Simpson Strong-Tie CPS 4×4 plastic post standoffs
- 3-1/2 inch and 2-1/2 inch corrosion resistant deck screws
You’ll need to measure and figure up the quantity of lumber and supplies necessary for your particular project. I begin by making a free hand drawing of the layout and measurements. Next I total up the materials to prepare a shopping list. Keep in mind how the lumber will be cut to minimize waste. It may be better to use 10- or 12 foot lengths of lumber for less waste and/or fewer joints.
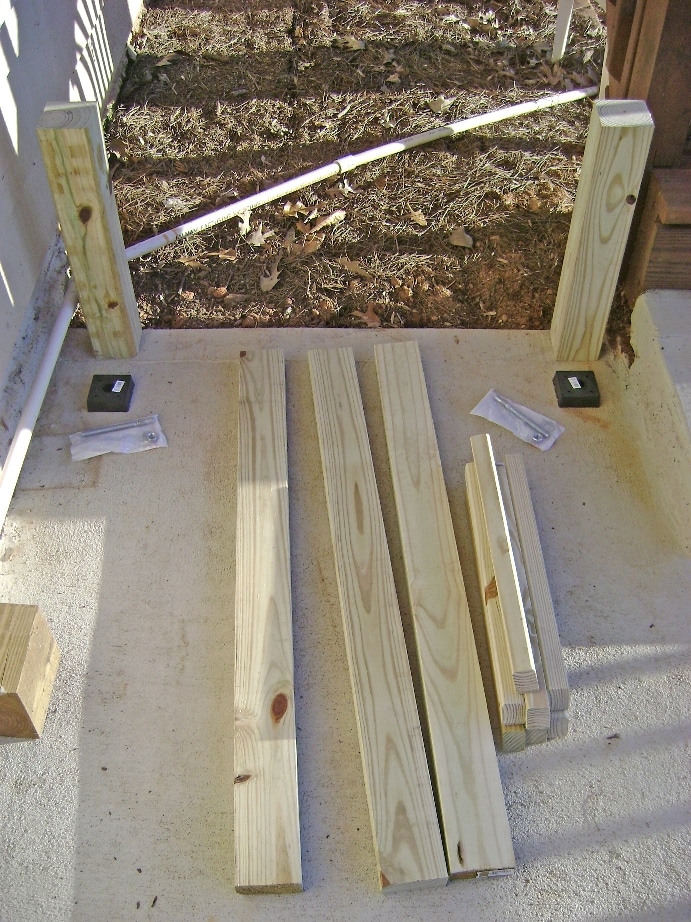
The materials for this small project are laid out below after measuring and cutting the lumber:
Build the Deck Rail
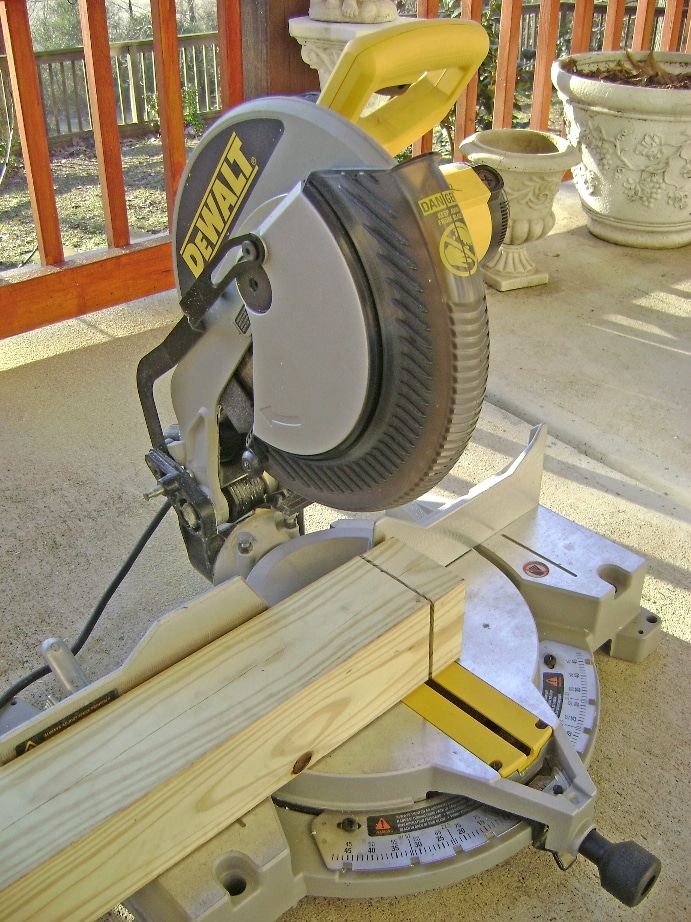
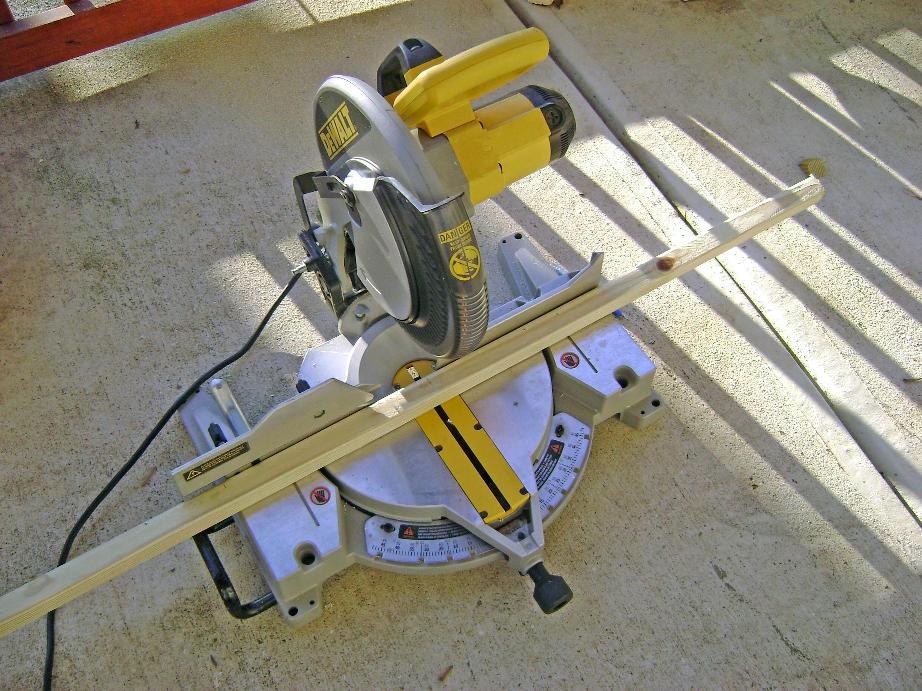
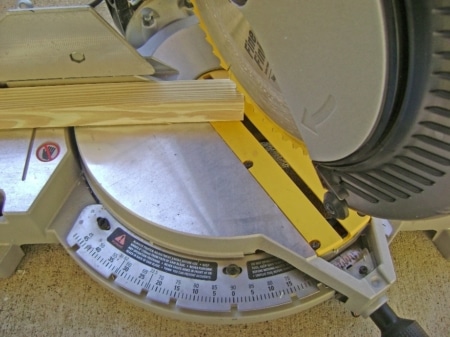
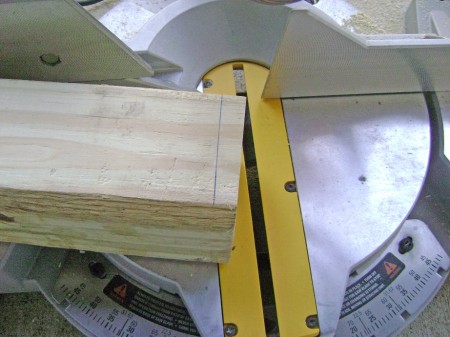
I started by cutting the 4×4 end posts to 21 inches in length using a Dewalt Miter Saw. I can’t say enough about how useful a power Miter Saw is for making quick precise cuts at different angles. The usual statements apply when working with a power saw – be careful our you’ll loose a finger! – and wear safety glasses. I always do. Honest.
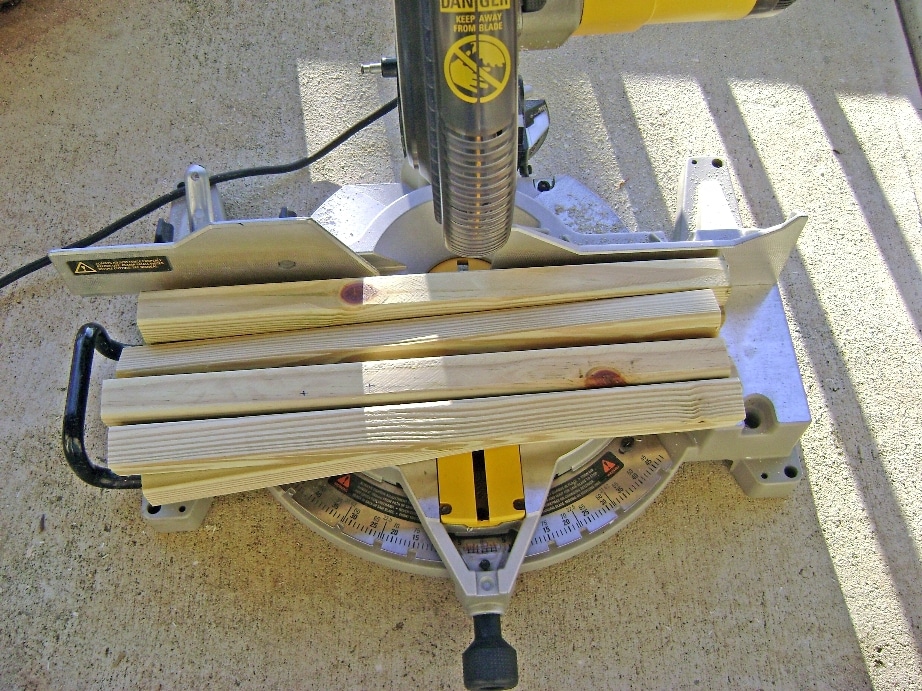
The balusters are marked off at 19 inches in length on a 2x2x8 square post. At 19 inches long, I can get five (5) complete balusters from an 8 foot (= 96 inches) post with only 1 inch of waste: 19 * 5 = 95 inches.
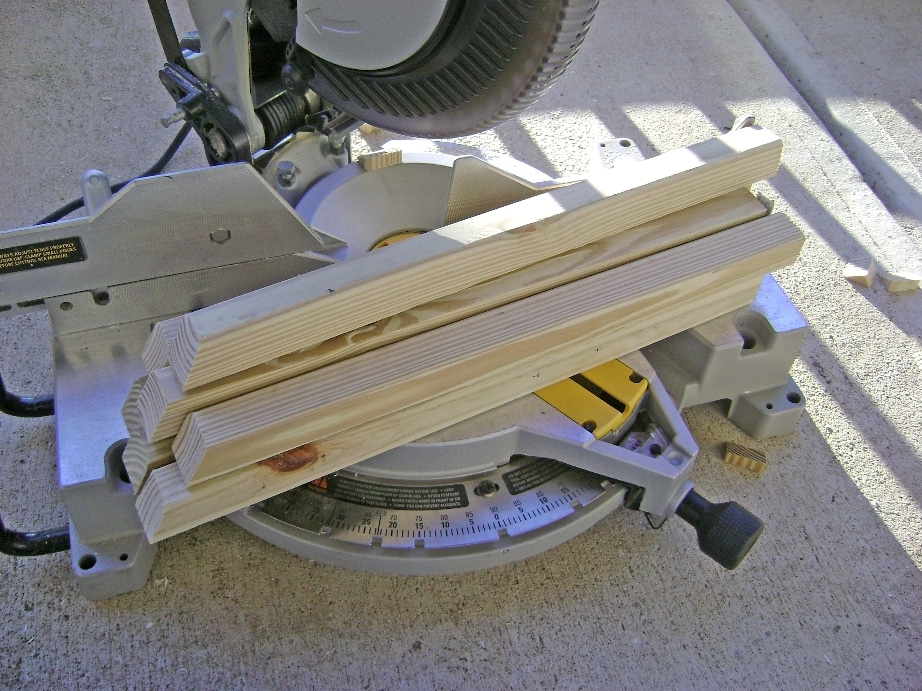
The seven (7) balusters I needed are cut to 19 inches long:
The balusters start out with square flat ends. The miter saw is set to 35 degrees as shown below. The bottom end of the baluster will be cut at a 35 degree angle to form a drip edge to encourage water runoff. If the bottom end were left flat, water would tend to pool and encourage rot.
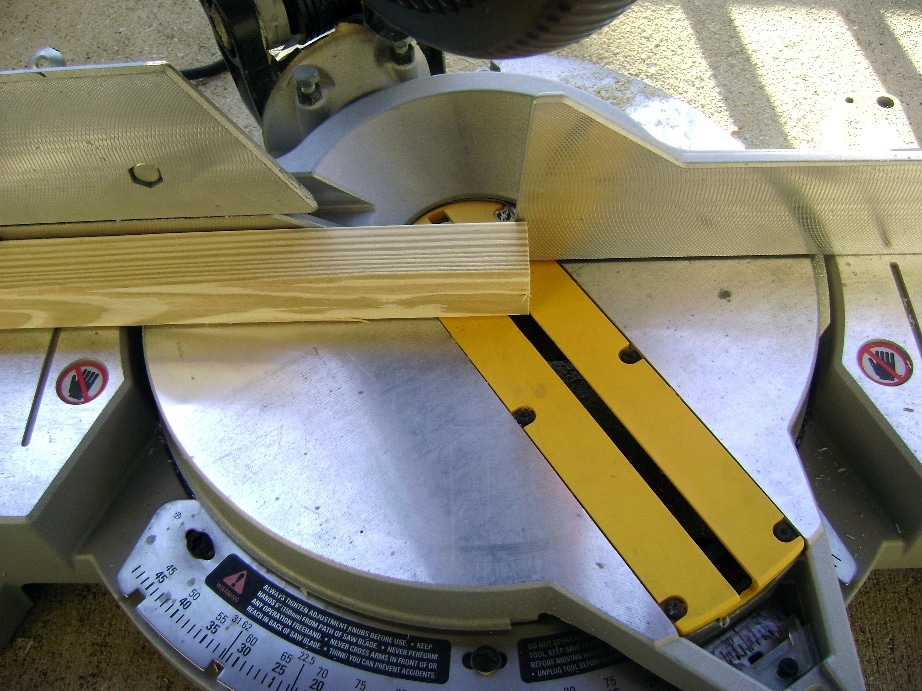
The miter saw blade is lowered with the motor off to position the blade before making the cut. I like to leave a 1/4 wide lip so as not to weaken it with sharp point. The baluster end profile will be a “blunted cheese wedge”.
Profile view of the baluster drip edge. Click on the image for a full size image.

The finished stack of balusters showing the bottom angle and drip edge.
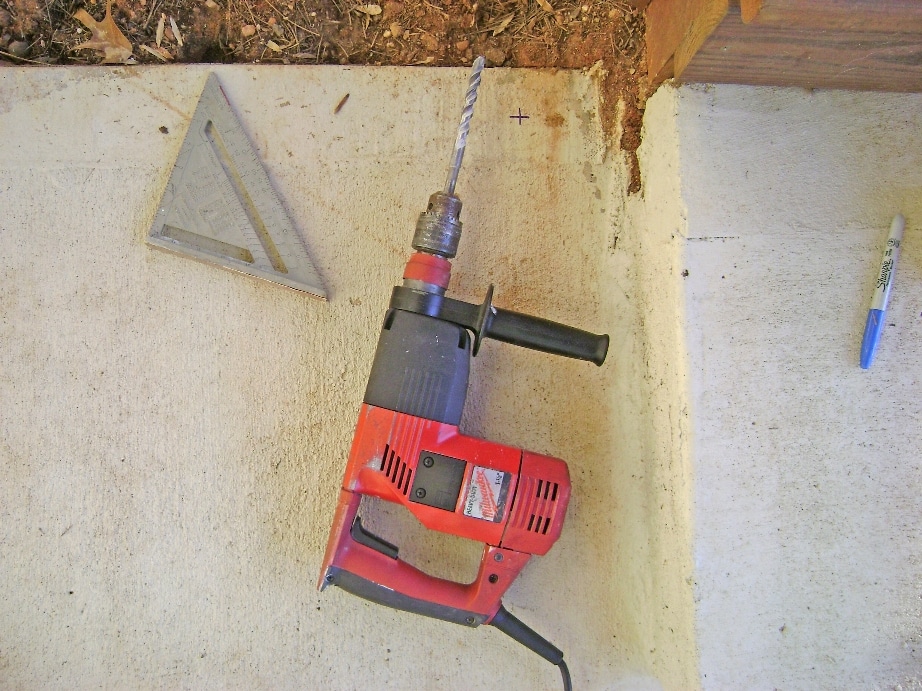
Install Concrete Anchors for the 4×4 Posts
The centers of the posts are marked with a + on the concrete as shown near the drill bit. In my case the deck rail is 43″ long. A 4×4 post is actually 3.5 inches x 3.5 inches. To find the distance between the post centers I subtract 1/2 width of each post, or 1-3/4 inches:
43 inches total width minus 1-3/4 inches (left post) minus 1-3/4 inches (right post) = 39-1/2 inches distance between the post centers.
To mark the post centers:
- Locate the right post and mark the center as shown below.
- Measure 39-1/2 inches to the left and mark the center of the other post.
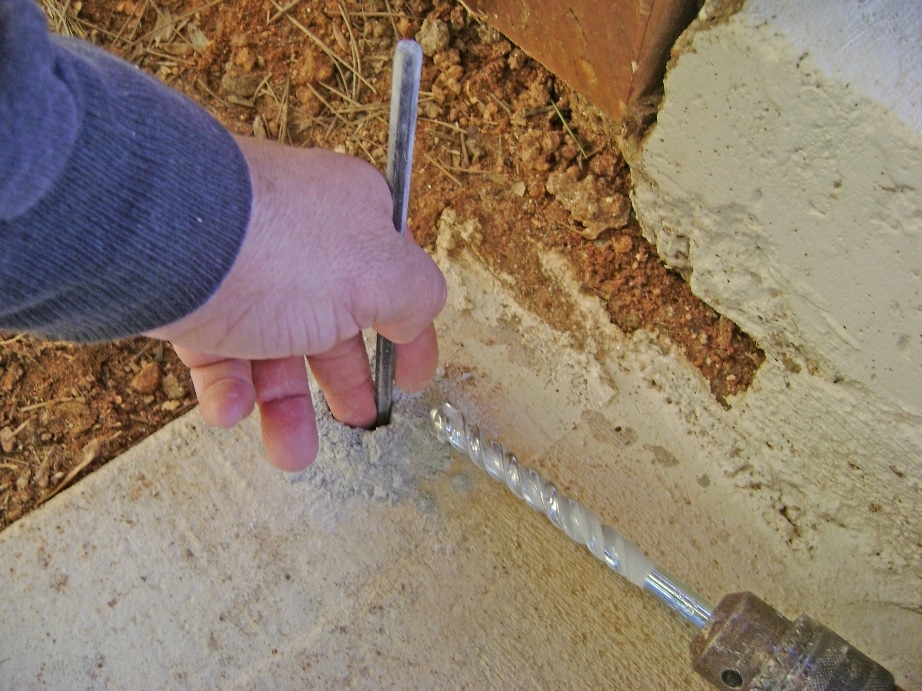
- Drill 1/2 inch holes with a hammer drill for the concrete wedge anchors.
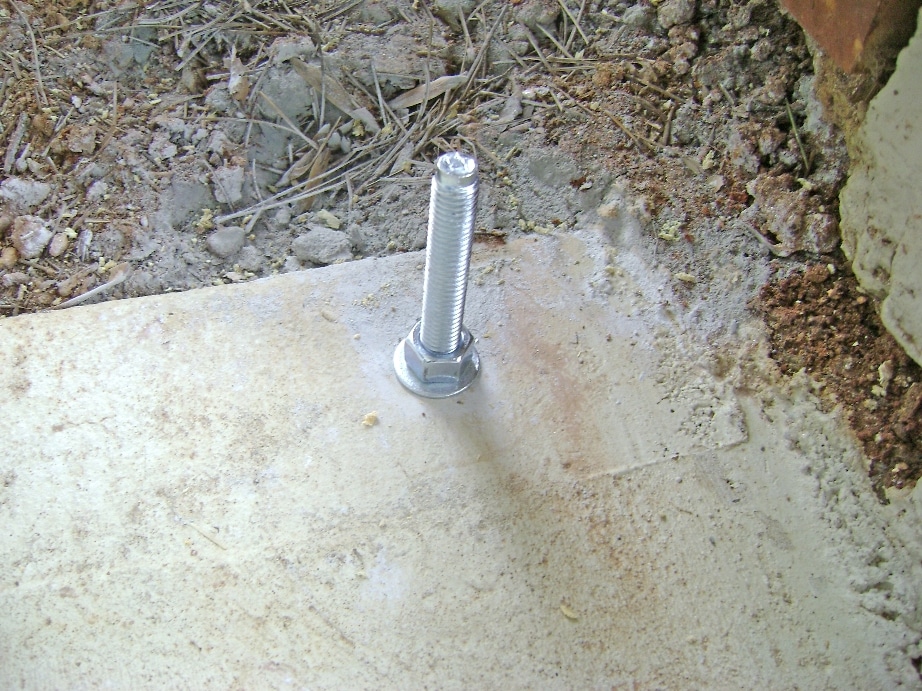
I used 1/2 inch x 5-1/2 inch threaded concrete anchors as shown.
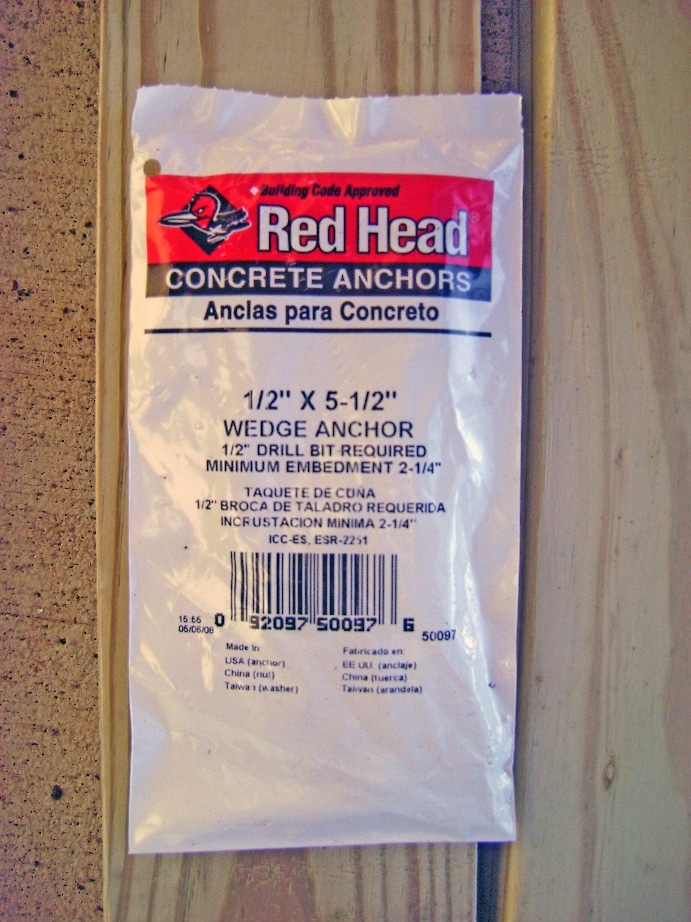
Concrete wedge anchors have a metal sleeve on the tapered bottom end that grabs tight when the anchor is pulled against the hole by the threaded nut. These anchors work extremely well.
The concrete anchors must be set at least 2-1/4 inches deep. Drill the hole about 1 inch deeper (or 3-1/4 inches total) to allow for dust accumulation at the bottom of the hole.
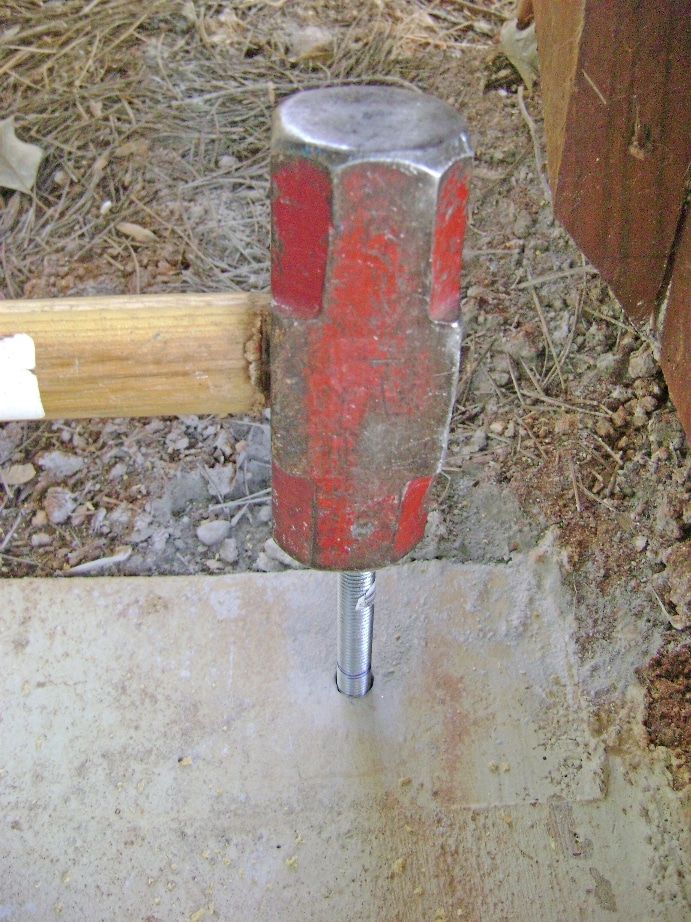
Mark the minimum depth line on the anchor (blue line) and tap the anchor into the hole. The 3-1/2 lb sledge hammer as shown here is more than enough for the job.
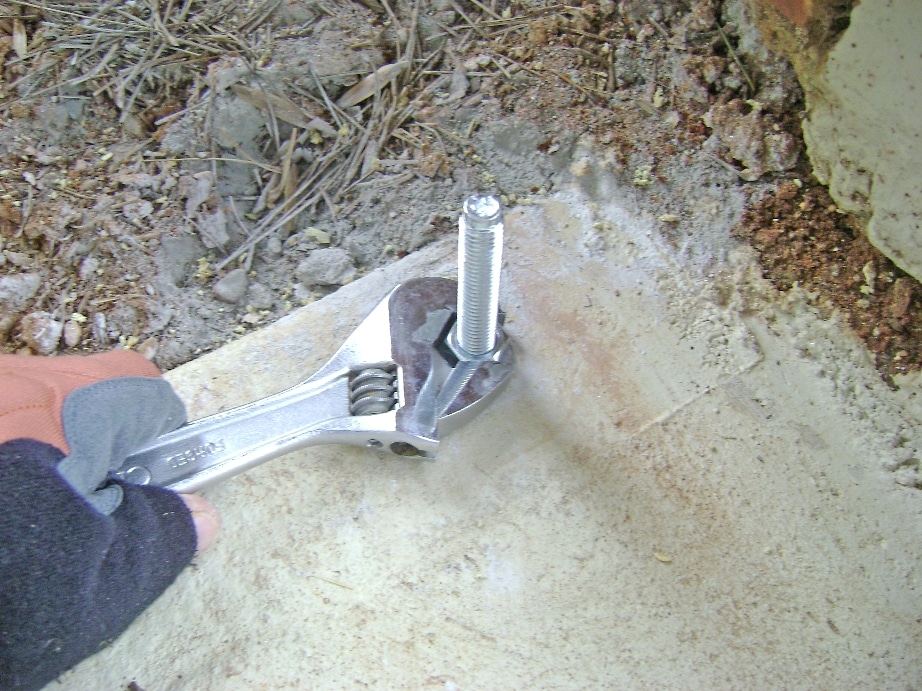
Place the washer and nut on the anchor and tighten. The anchor should grab fast with almost no slippage.
The concrete wedge anchor is set fast and tight:
Install the 4×4 Deck Rail Posts
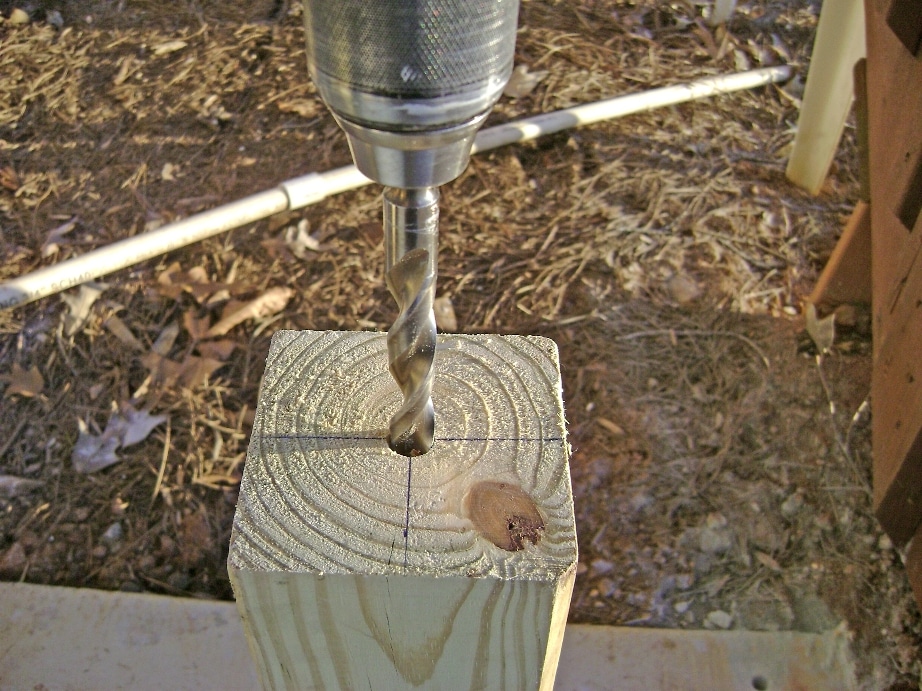
Drill a 1/2 inch hole in the bottom of the 4×4 posts to slide the post over the anchor pin.
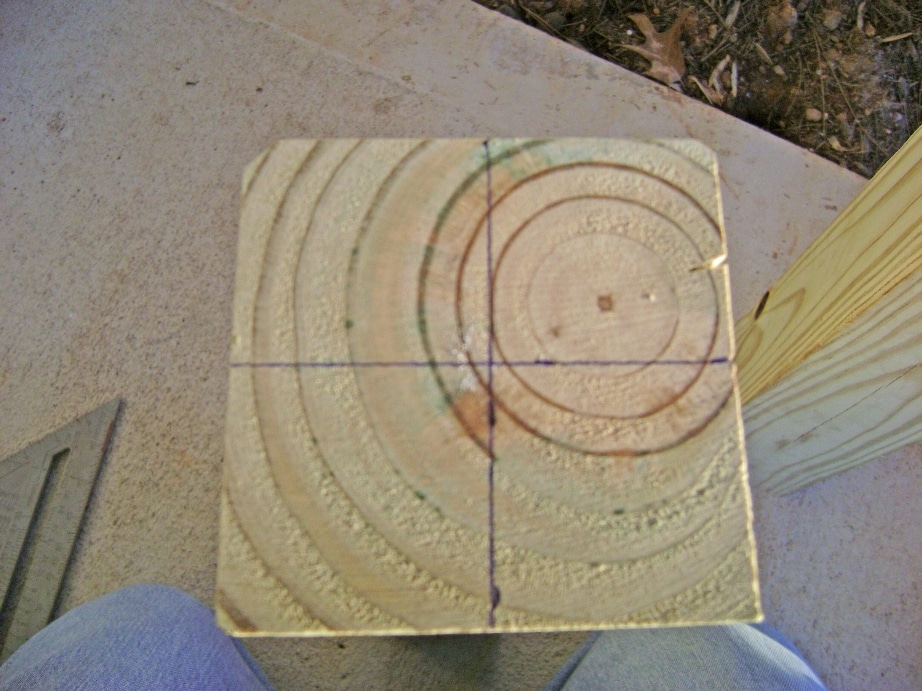
Locate the center of the post by measuring and marking 1-3/4 inches on each side as shown by the black tick marks:
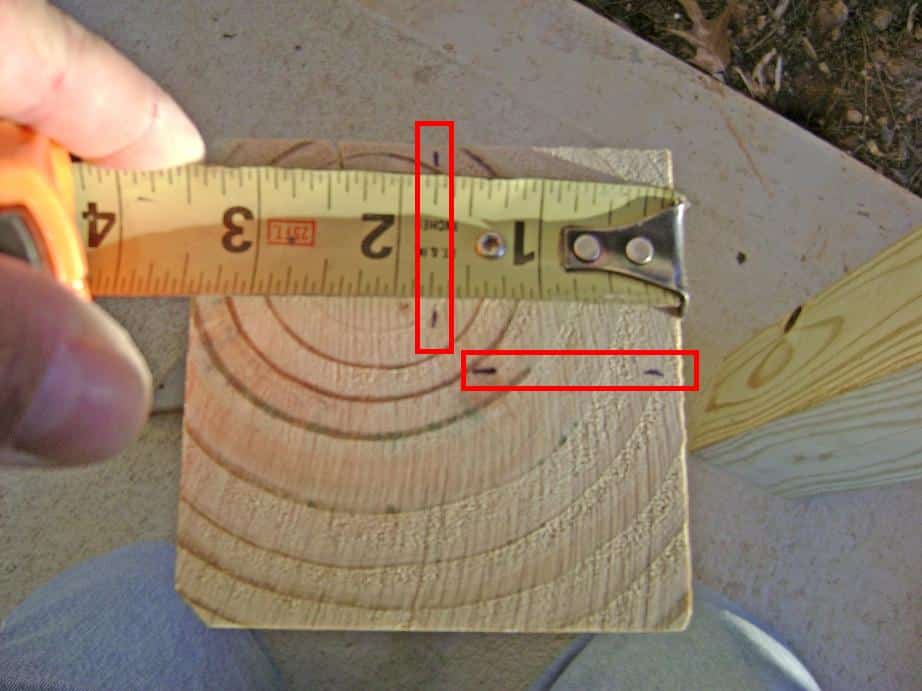
Use a square to mark a straight line across the tick marks on each side to locate the center of the 4×4 post.
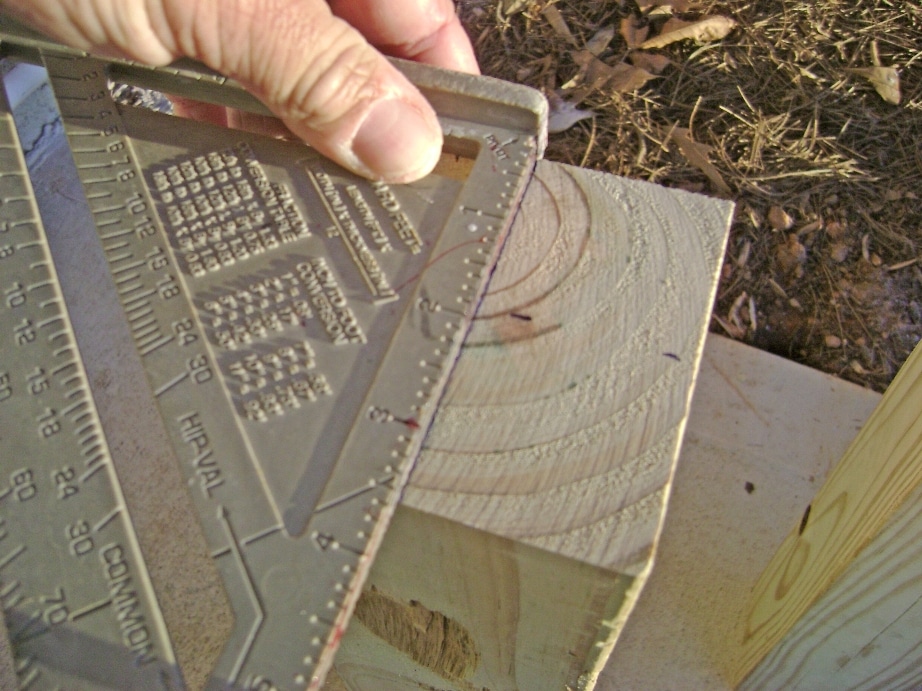
The center of the 4×4 post is now located at the cross hair to drill the 1/2 inch hole to receive the pin of the concrete anchor wedge.
Drill a 1/2 inch diameter hole in the center of the post to receive the pin of the concrete anchor. I use DeWALT “pilot” type drill bits that prevents the large drill bit from “walking” when starting the hole. Drill the hole about 4-1/2 inches deep.
Take care to drill the hole vertical (i.e. not canted to the side). I use the carpenters square to periodically check my drill alignment with the post.
Test fit the anchor wedge to verify the hole is deep enough and the hole is vertical with the post.

Place the post standoff over the pin to check the overall fit and assembly:
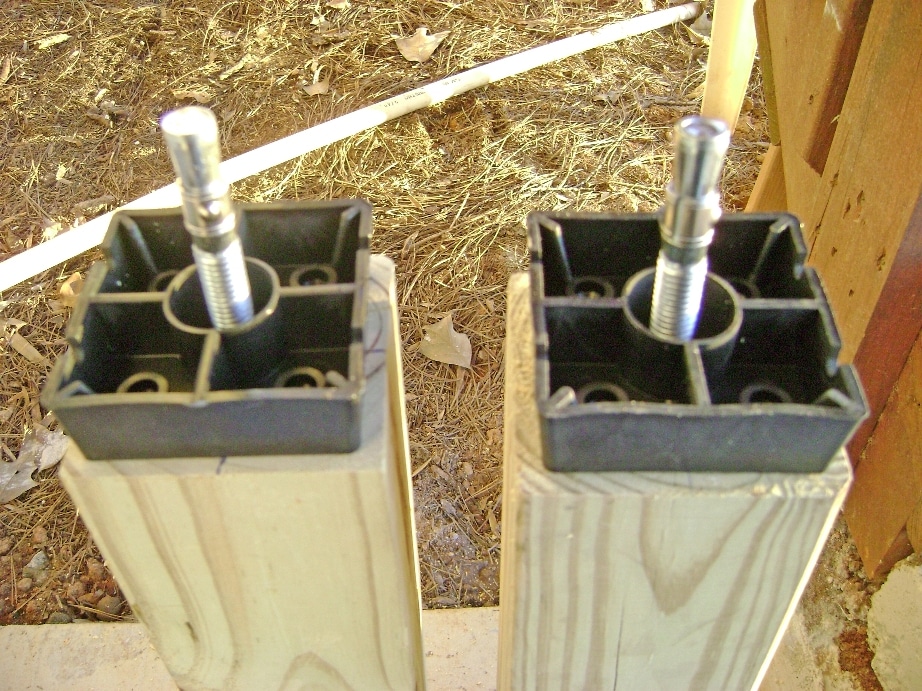
The post standoffs are attached with four 2-1/2 inch corrosion resistant deck screws as shown.

Set the 4×4 post on the concrete anchor pin to check the overall fit. Repeat for the above procedure for the other post.
Attach the 2×4 Rails to the 4×4 Deck Posts
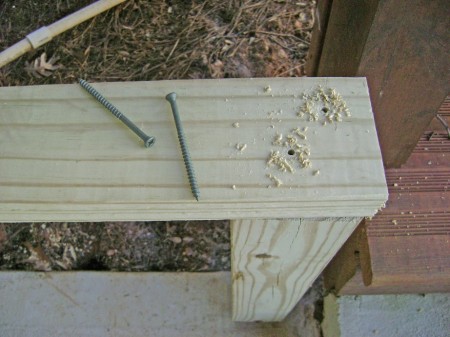
I pre-drilled the screw holes with a slightly smaller diameter bit than the screw to prevent the deck rail wood from splitting.
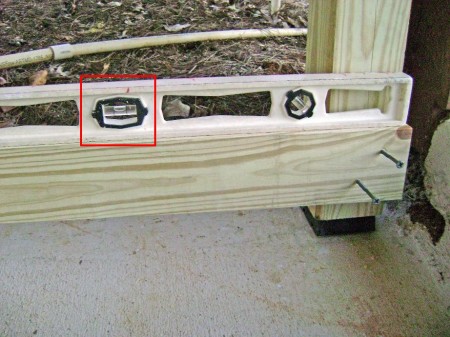
Next, fasten the 2×4 top deck rail to the 4×4 posts and verify the top rail is level.
It turns out the concrete deck is sloped away from the house (this is normal for rainwater runoff) and the left post is about 1/2 inch too high. I used the carpenters level to mark the proper height and angle as shown and cut the post to the correct length on the Mitre Saw. This is an instance where using wood screws makes disassembly and corrections easy compared to nails!
Locate the bottom rail at least 2 inches high (to avoid catching leaves) and set a single wood screw only on the left end – this allows opposite end to rotate for leveling. Level the right end as shown and fasten the two screws. Then fasten the remaining screw in the left end.
The 2×4 face rail is attached with 3-1/2 inch screws evenly with top rail as shown. The balusters are laid out to show the overall progress.

Attach the Balusters to the Deck Rail Frame
So far, the deck rail frame is just sitting on the concrete anchor pins. It’s a snug fit, but the frame can be removed by lifting straight up such as not to bind sideways on the pins. Since frame is small, I lifted it off the anchor pins and laid it face down on the patio for easy access.
To attach the balusters to the frame:
- Pre-drill the screw holes in the balusters, otherwise the 2×2 post will split.
- Screw the 1st baluster to the frame with 2-1/2 inch corrosion resistant deck screws.
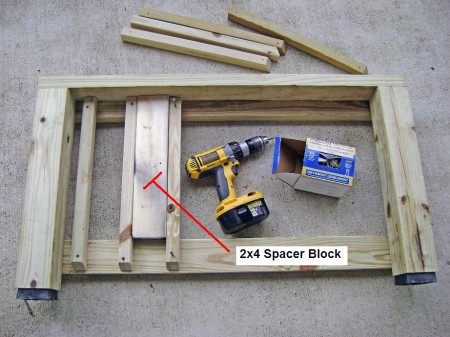
- Use a 2×4 block to set the gap to the next baluster and fasten it with screws.
- Move the 2×4 block to the next position, fasten the next baluster, repeat.
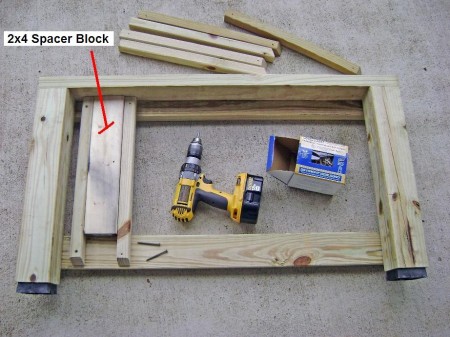
Move the 2×4 spacer block over and attach the next baluster. Repeat for the remaining balusters. Note the baluster drip edge is facing the bottom 2×4 rail for a pleasing look.
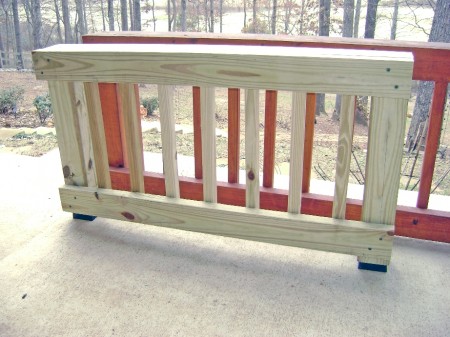
The newly assembled deck rail section is shown with the main deck rail (red) for comparison:
Deck Rail Final Assembly
The deck rail section is set on the concrete anchor pins. At this point, the deck rail is very rigid and fits snugly on the pins; any attempt at sideways movement will cause the 4×4 end posts to catch and bind on the 1/2 inch steel anchor pins.
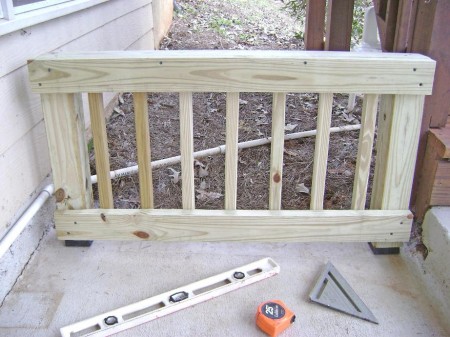
Side view of the deck rail:
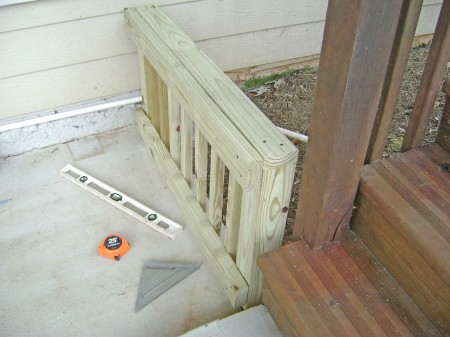
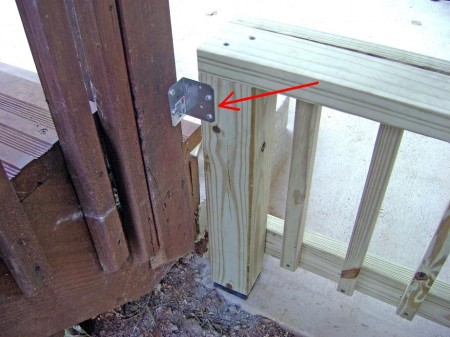
To plumb and deck rail and ensure there will be no movement, I used Simpson Strong-Tie angle connectors and screws to attach it to the 4×4 deck rail post to the 4×4 stairwell post.
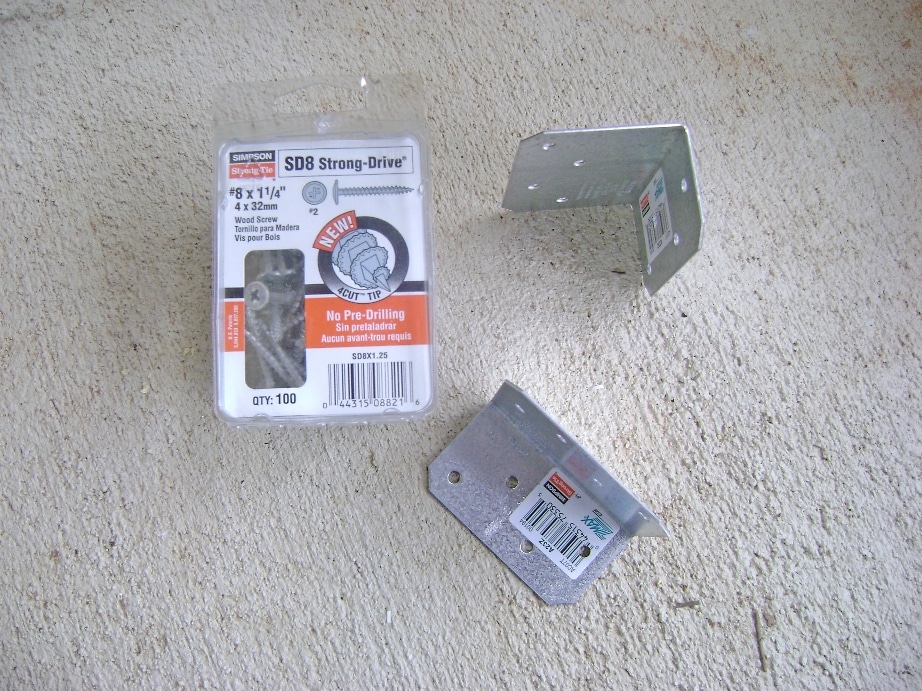
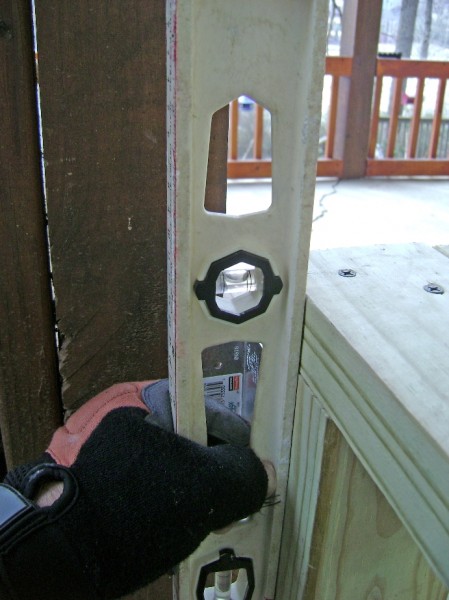
I plumbed the deck rail using a level – it needed to lean forward about 1/2 inch to be vertical.
Then fastened the metal angle plate as shown in the next photo. Doing so fixed the deck rail in place very securely – almost no wiggle in any direction with heavy force.
Here’s how the completed deck rail looks. Note the short 2×2 section on the lower right to elevate the PVC condensate line.
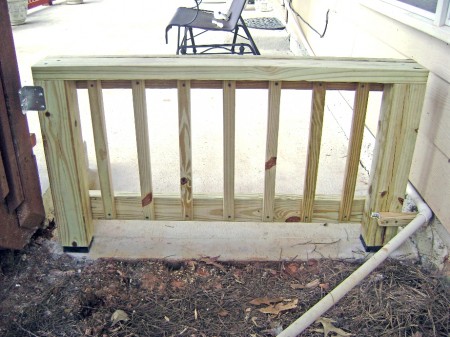
Front view of the finished deck rail.
I’ll stain the new deck rail when the weather warms up in the spring.
Thanks for reading!
Bob Jackson