This project explains how to build a 2×6 porch rail (or deck rail) from scratch using Western Red Cedar lumber. The porch rail features a 2″ x 6″ top board that’s wide enough to set a small flower pot.
How to Build a 2×6 Porch Rail
The porch rail is a traditional rail-and-picket design that will be built between the exterior wall and porch support post as illustrated in this scale drawing:
The porch rail is designed for safety to prevent slip and falls over the ~3-1/2 foot high drop off the side of the front porch. I was motivated to install the porch rail after slipping on ice during a freezing rain event and almost went over the side.
Deck / Porch Rail Building Code Requirements
The type of porch rail that I’ll be building is technically a “guard rail” which is different than a “hand rail“. Guard rails are designed to prevent falls off the side of a high platform such as a porch, deck or balcony. Hand rails are for grasping and used for stability along stairs. The 2″x6” porch rail in this project is too wide to serve as a hand rail, which is fine because it’s function is a guard rail and I prefer the wider surface of a 2×6 board.
The building code requirements for a deck/porch rail are defined in the International Residential Code® (IRC) with possible amendments or additions by your local Building Department. The principle building code requirements for a deck rail (guard rail) are:
- Decks more than 30 inches above finished grade must have guardrails not less than 36 inches in height
- Pickets are spaced to prevent the passage of a 4 inch sphere
- Design load of 200 lbs/sq. ft.
- Connectors and fasteners must be stainless steel or have a corrosion resistant coating
- Lumber must be decay and termite resistant wood
A very nice deck construction diagram with rail height and picket spacing is posted on the Gwinnett County Dept. of Planning and Development website. Gwinnett County is in the metro Atlanta, GA area.
Also see the Simpson Strong-Tie® Deck Framing Connection Guide for an excellent overview of deck construction and connector solutions. You can find Simpson Strong-Tie products at Lowes and Home Depot.
If in doubt, call your local Building Dept. to confirm local code and permitting requirements.
Build a Porch/Deck Rail with Western Red Cedar Lumber
I wanted a nice looking porch rail because it will be in a highly visible location next to the front door. I chose Western Red Cedar because it’s a very high quality, dimensionally stable (meaning it doesn’t warp), aromatic and naturally rot resistant wood. Cedar costs more, but is worth it when appearances matter.
Western Red Cedar versus #2 Pressure Treated Pine
I could have build the porch rail out of #2 pressure treated Southern Yellow Pine lumber which is widely available at any home improvement store or lumber yard, but chose not to because #2 pressure treated lumber:
- Is very wet from the chemical pressure treatment process and must be allowed to partially dry and shrink over several weeks before using.
- Shrinks badly and may warp over time as it fully dries. An 8 foot board can shrink up to 1/2″ leaving unsightly gaps.
- Has many knots that mar the surface appearance. The knots tend to fall out leaving a hole as the wood dries and shrinks.
- Can’t be painted until it dries.
I’ve built deck rails out of #2 pressure treated pine, but I’m careful in picking boards at the lumber yard – only about 1 in 5 boards passes my inspection – and I stack it for several weeks to let it dry before building.
Western Red Cedar on the other hand is a great building material. The boards are kiln dried without chemicals, straight and ready to use.
Western Red Cedar Lumber, Primer and Painting
The 2×6 front porch rail will be about 74″ (or 6 ft 2in) long. Based on my scale drawing (see above), the materials estimate is:
- Three 2″ x 4″ x 8′ boards
- One 2″ x 6″ x 8′ board
- Fifteen 2″ x 2″ x 36″ pickets (Only 14 are shown in the photo. I bought 17 just in case.)
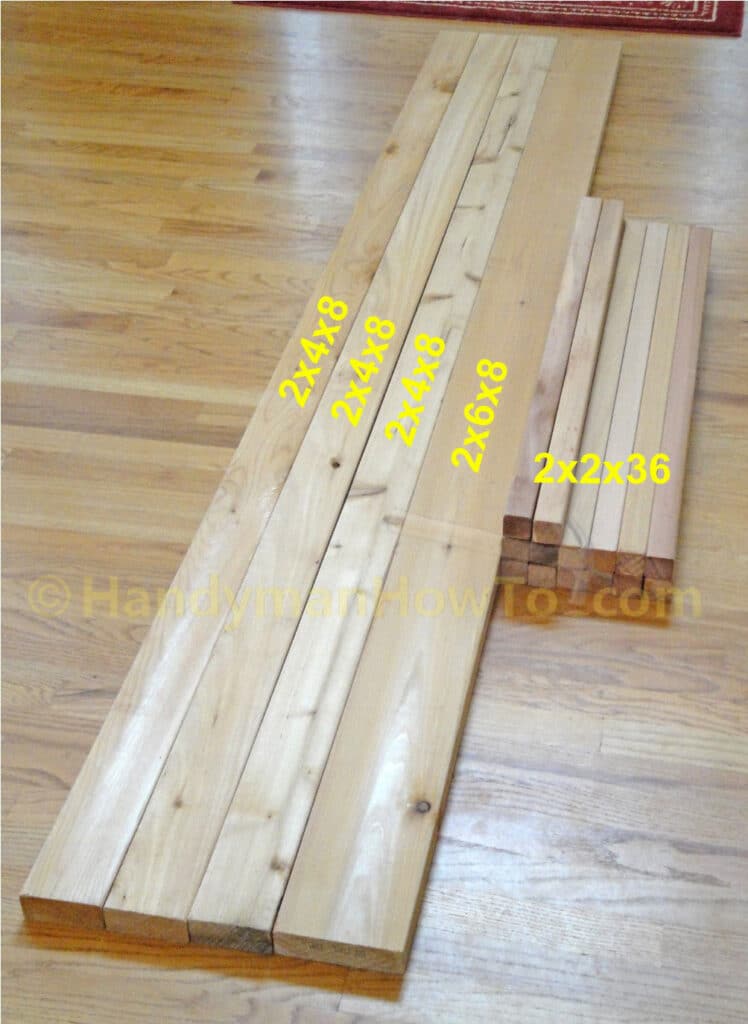
I bought the Western Red Cedar lumber at Norcross Supply Company for a total cost of about $65. Norcross Supply Co. has a large inventory of cedar, cypress and pressure treated pine lumber. If you’re in the Atlanta, GA area, give them a call to discuss what’s best for your project.
Saw the Picket Drip Edge
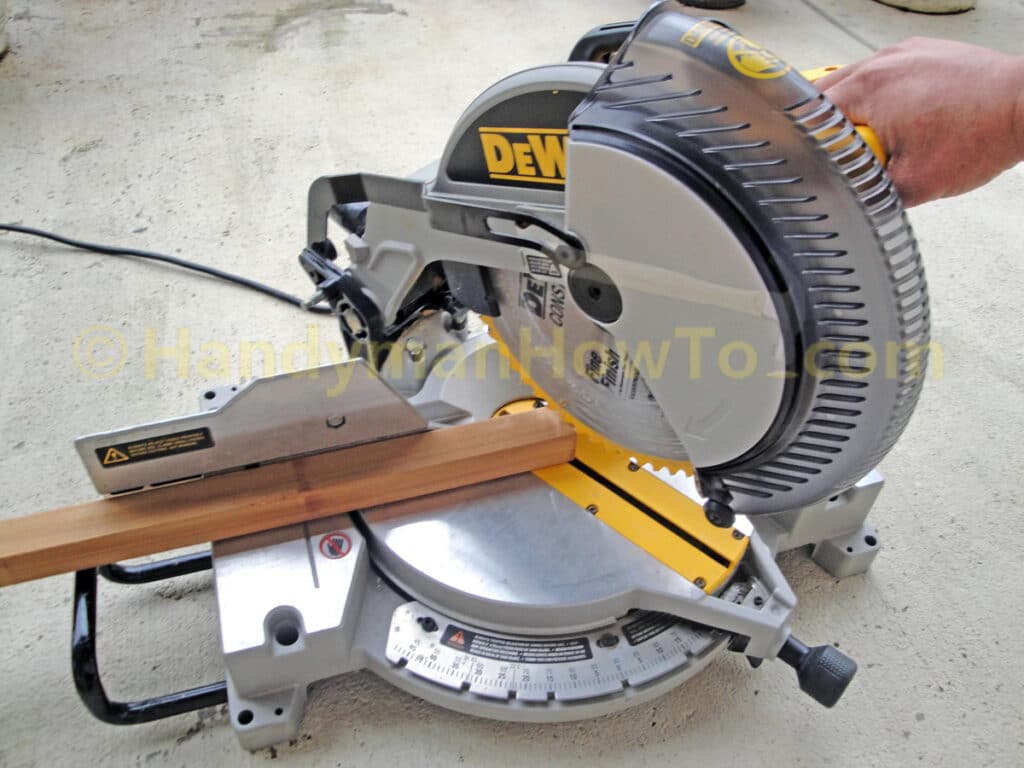
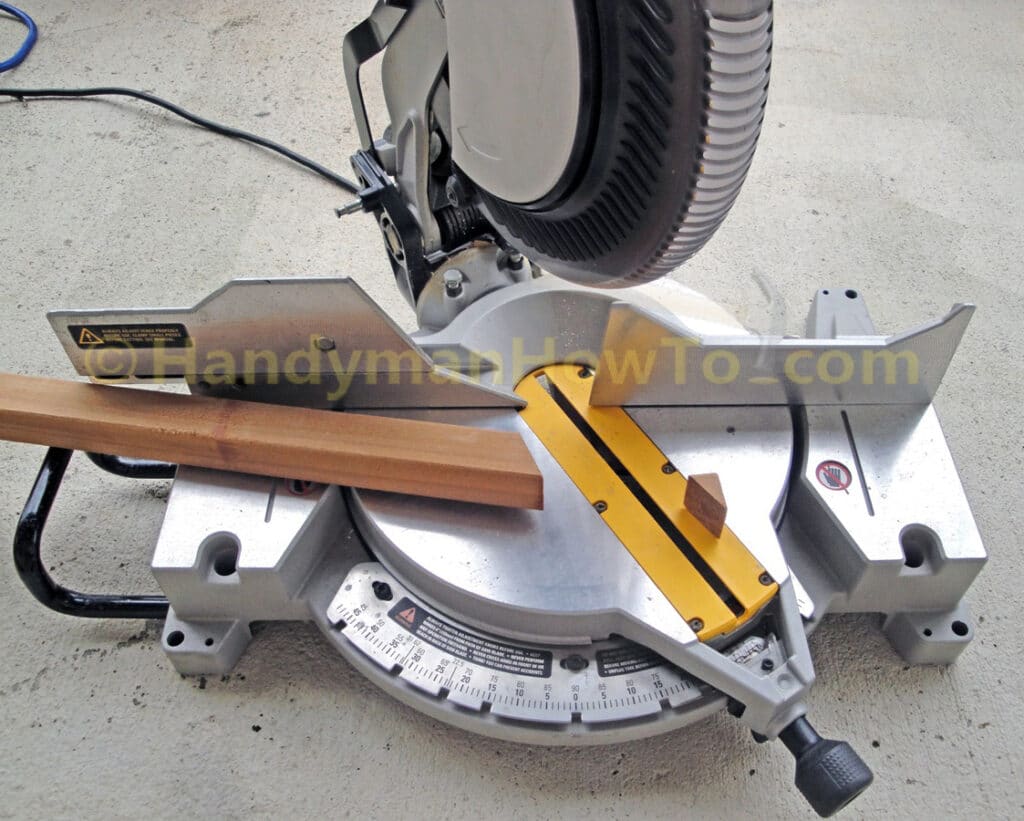
The bottom of each 2″ x 2″ x 36″ cedar rail picket is sawn at a 32° angle (this matches a standard notch in the saw table) so that rain water will drip off the bottom to minimize dampness and rot using a DeWALT Miter Saw. The DeWALT Miter Saw is essential for making precision cuts and a huge time saver. Notice that the saw blade is positioned at the outside corner of the cedar picket – the goal is to cut off a small wedge and not to shorten the 36″ long picket. No measuring necessary – just position the blade on the corner and go!
Drip edge sawn on what will be the bottom of the cedar picket:
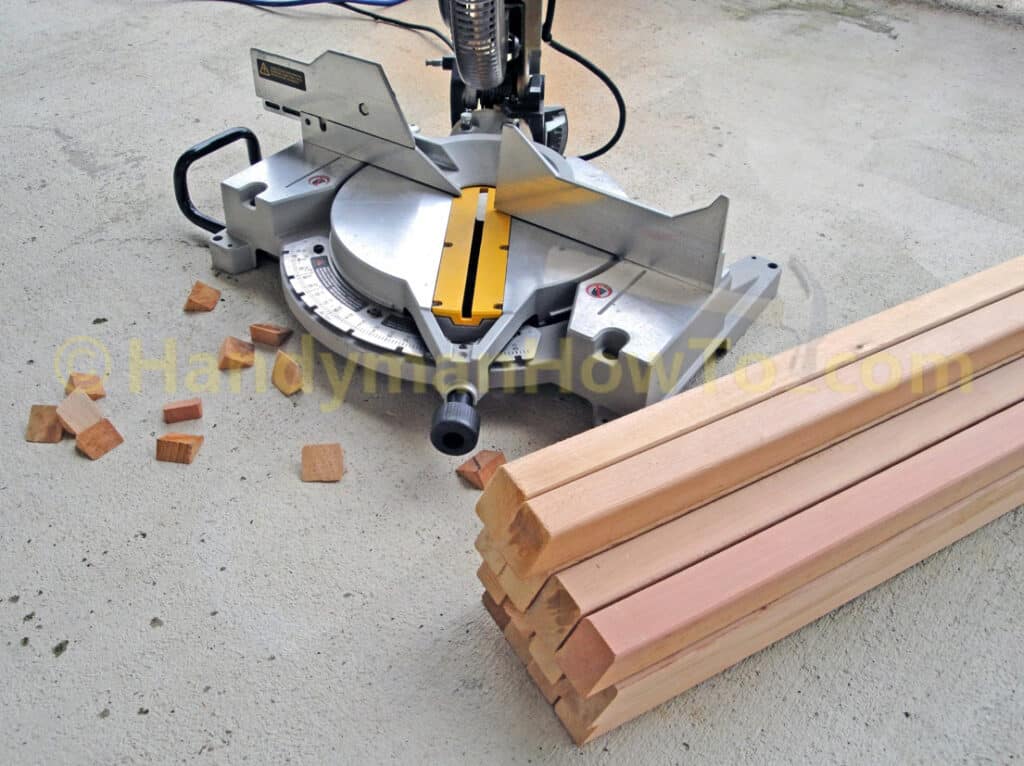
Stack of cedar pickets with drip edges sawn ready to be primed and painted:
Prime and Paint the Cedar Porch Rail Lumber
Cedar wood looks great with a coat of clear sealer – warm with red hues. Unfortunately, a natural wood porch rail won’t match the architectural scheme of my house so I’ll be painting the lumber an off-white color to match the house trim. It’s also way easier to paint the boards before assembling the porch rail.
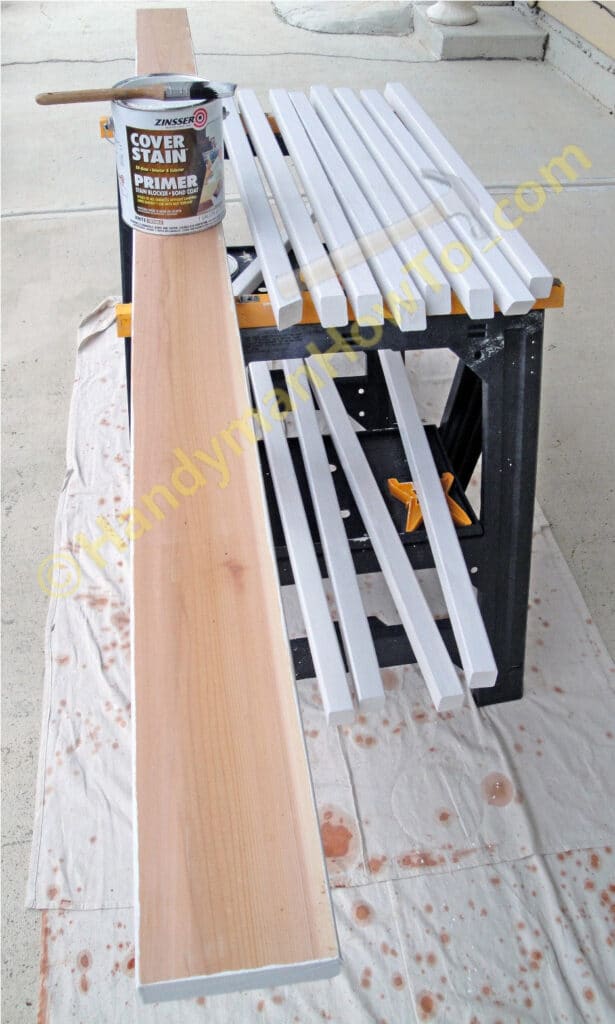
Cedar must be primed with a primer specifically made for cedar to prevent bleeding. I bought a gallon of Zinsser Cover Stain oil-based exterior primer sealer for $16.98 at Home Depot. I was really impressed with the Zinsser Cover Stain – it has minimal odor and dried quickly to a very fine textured surface similar to 1000 grit sandpaper. Not abrasive or chalky, it just felt like paint would readily stick to the Zinsser primer.
With rain in the forecast, I moved everything inside to the workshop and applied a top-coat of Sherwin-Williams Duration® exterior acrylic latex paint. Duration® is Sherwin-Williams top of the line paint with a lifetime guarantee. It’s much thicker than regular paint goes on with one coat. It’s expensive, so wait until it’s on sale if you can by visiting a Sherwin-Williams store and getting on their e-mail list to receive sale notifications.
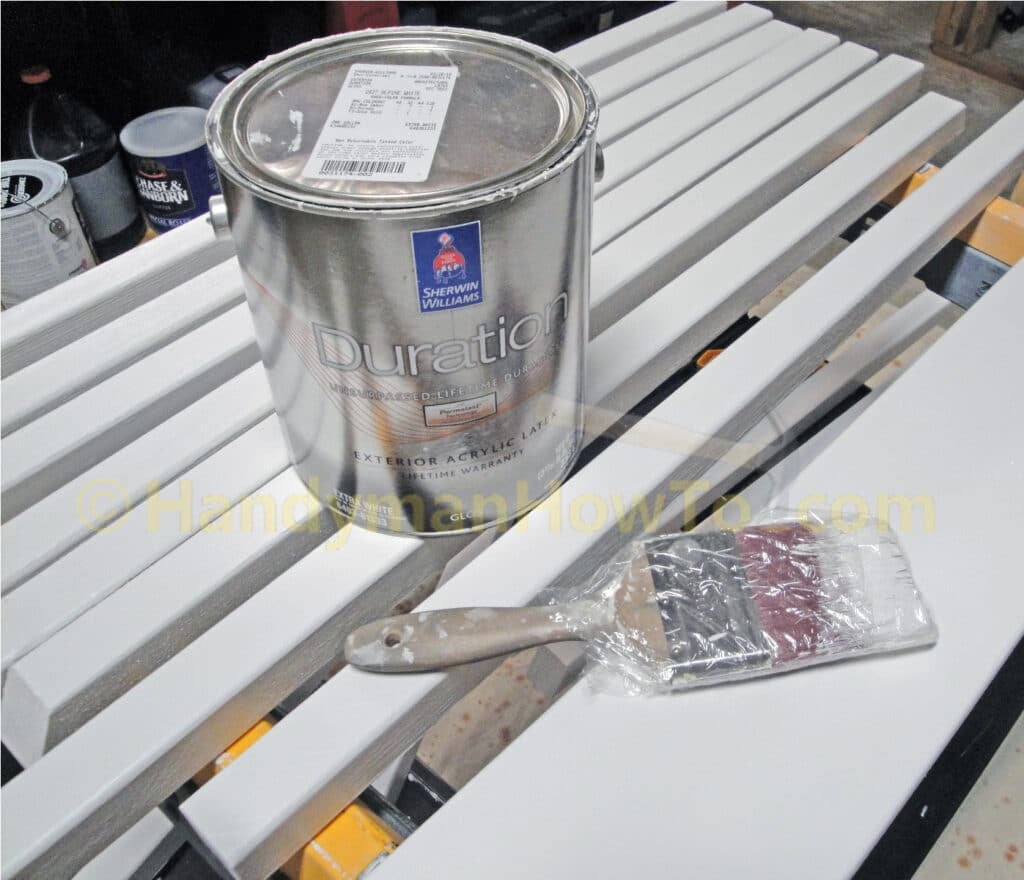
Tip: After painting one side of the boards, wrap the paintbrush in cling wrap (a.k.a. food wrap) to keep it from drying out between coats as shown in the above photo.
This project is continued in How to Build a 2×6 Porch Rail – Part 2.
Take care,
Bob Jackson