This project explains how to replace an exterior entry door with a Therma-Tru® Traditions® pre-hung door with step by step instructions.
The new door is a Therma-Tru Traditions single light, double-glazed, low emissivity (Low E) glass, grill between the glass (GBG), pre-hung steel door, model #TS-108 GBG. The door is Energy Star® Qualified and eligible for the American Recovery & Reinvestment Act of 2009 rebate.
How to Replace an Exterior Door
I purchased the door for $271.25 from J.P. Haynes Lumber Company, an independent lumber and millwork company. Compare this to the $350.00 price Lowes quoted as a special order item.
Here’s the new Therma-Tru pre-hung door beside the old Masonite door to be replaced.
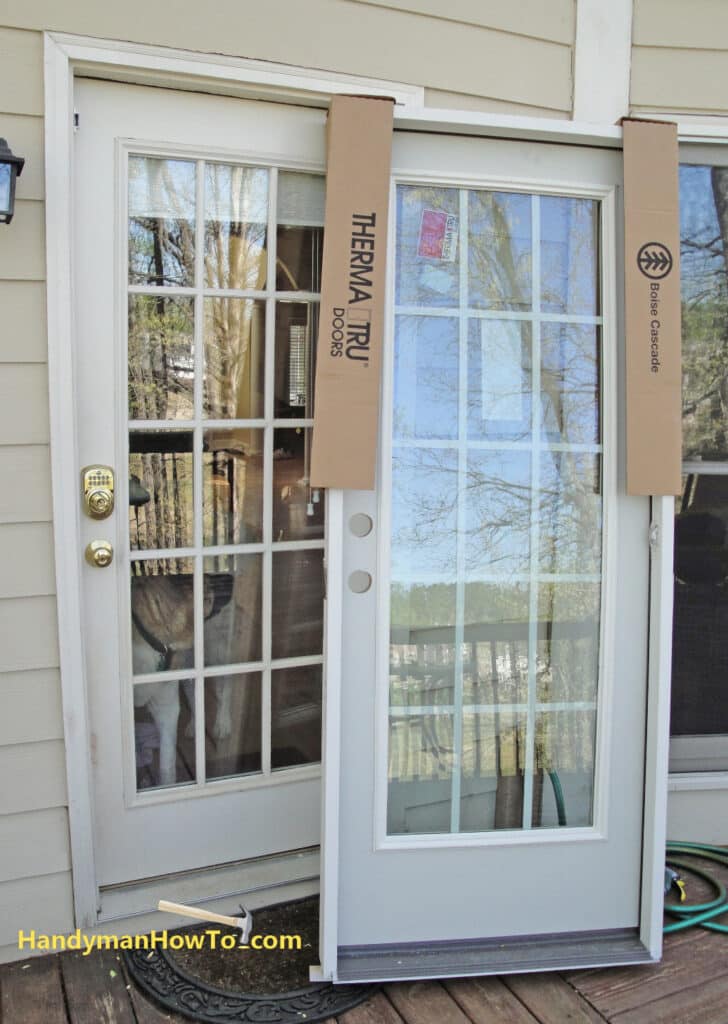
The door dimensions are 32″ wide by 80″ tall. This is known in the trade as a 2-8 x 6-8 size, meaning it’s 2ft-8in wide by 6ft-8in tall. A set of installation instructions, corner seal pads and two extra long hinge screws are included with the door.
Why Replace the Entry Door?
The frame of of the old entry door appeared to be out-of-square and wasn’t sealing well around the weather strip along the door jamb on the lock side. The problem wasn’t the weatherstrip, rather the door frame appeared to be twisted such that when the door was closed, it pressed against the weatherstrip in the jamb stop on the bottom half of the door with an increasing gap along the top half. The plastic sill cap was cracked and the brick mould (also spelled “brick mold”) was showing the beginnings of water damage near the door sill. Repairing the out-of-square and/or twisting problems required pulling the door, so I might was well install a new door unit.
Do It Yourself or Hire a Door & Jamb Installer?
Installing an exterior door isn’t difficult labor-wise. However it requires attention to detail and a clear understanding of how to align a door along several angles. Get it wrong and you’ll never be satisfied. I was talking to a tradesman at the counter of the lumber yard who said he’d remove the old door and hang the new one for $250 labor only. Painting the new door is not included in that price.
So if you’re not comfortable with the accuracy and precision of your carpentry work, I recommending hiring a pro. Ask sales rep. at the lumber yard or millworks where you bought the door for recommendations or find an installer at Kudzu.com.
Therma-Tru Door Features
The new Therma-Tru door has several nice features over the old “contractor grade” door installed by the home builder:
- Double glazed glass: Two panes of glass with a sealed airspace between them for temperature and sound insulation.
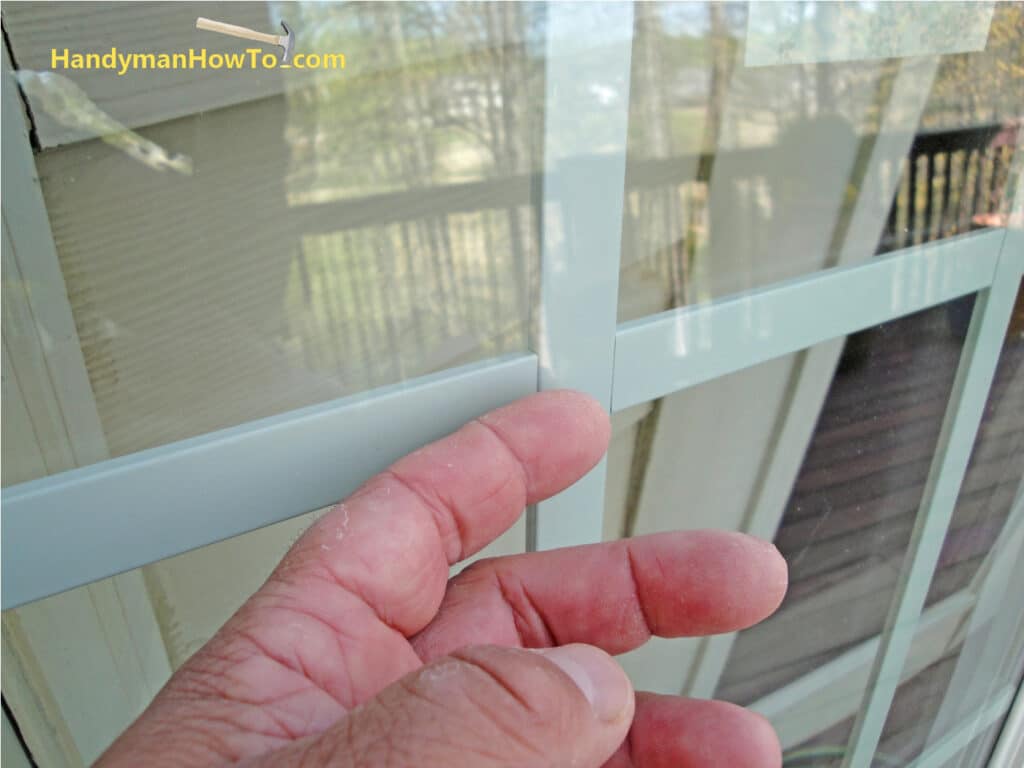
- Grill Between the Glass (GBG): The grill work to simulate window panes is sealed between the two glass panes. My wife is very happy because the door has a single large glass surface that’s easy to clean and doesn’t collect dust.
- Low Emissivity Glass (Low E): Blocks a significant amount of UV and infrared (heat) radiation from the sun’s rays.
- Energy Star Qualified: Eligible for the federal tax rebate.
- Composite PVC Brick Mould: Never rots and water proof. A huge advantage over wood moulding.
- Adjustable Sill: Makes for a perfect fit against the door bottom sweep.
- Corner seal pads: Small wedge shaped pads to keep out driving rain between the sill and door bottom sides.
- Overall better construction and quality.
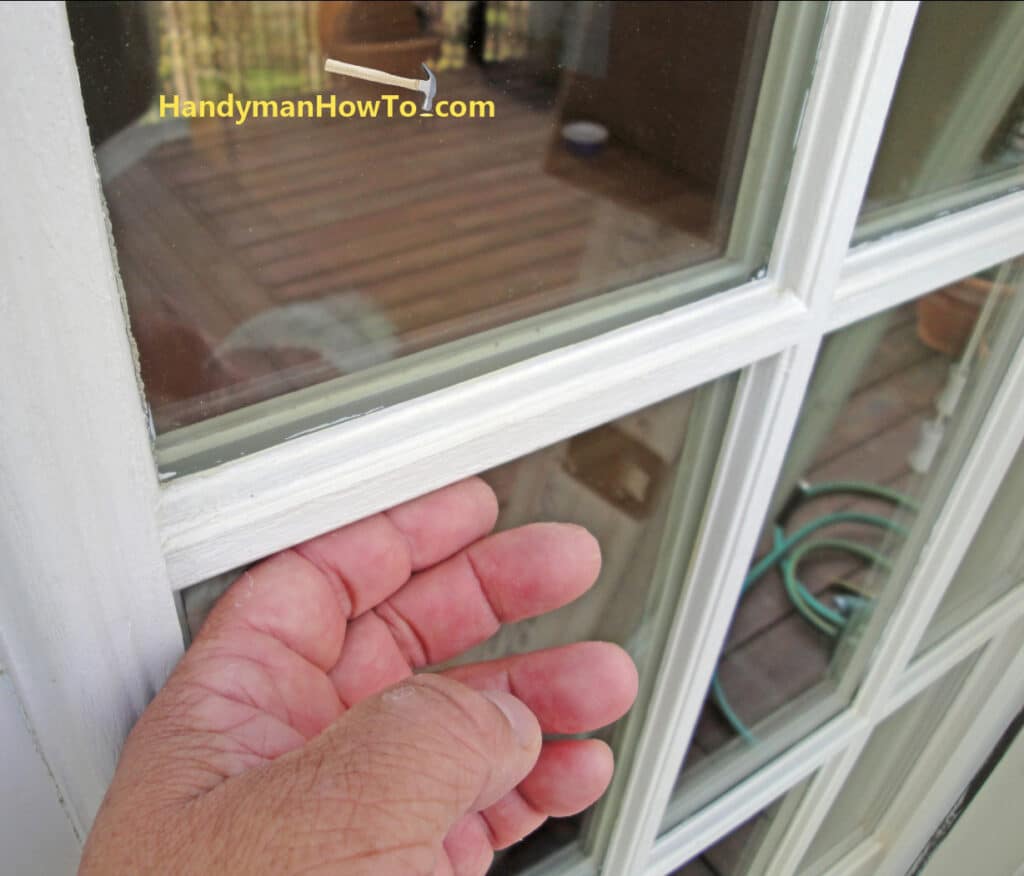
This is a closeup of the old door with a single glass pane and exterior grill:
The Therma-Tru door with grill between the glass (GBG). Nice!
Remove the Door Locksets
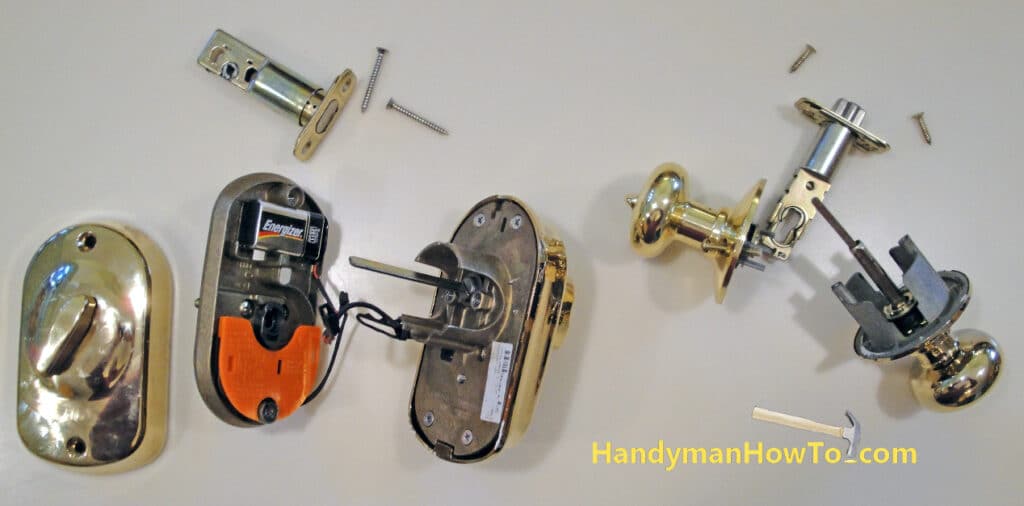
Begin by removing the door locks and handles. Set everything aside and keep the screws and pieces together to install on the new door. Note the orientation of the various parts as you remove them, if you’re unsure, take photos with your cell phone for later reference. I use the Schlage® electronic Keypad Entry Deadbolt (it’s on the left with the 9volt battery) so I don’t need to carry keys – huge convenience! I’m still on the original battery after 3+ years.
If you happen to live in the U.K. or Europe, a wide selection of brass door furniture, locks and accessories is available at IronmongeryDirect.
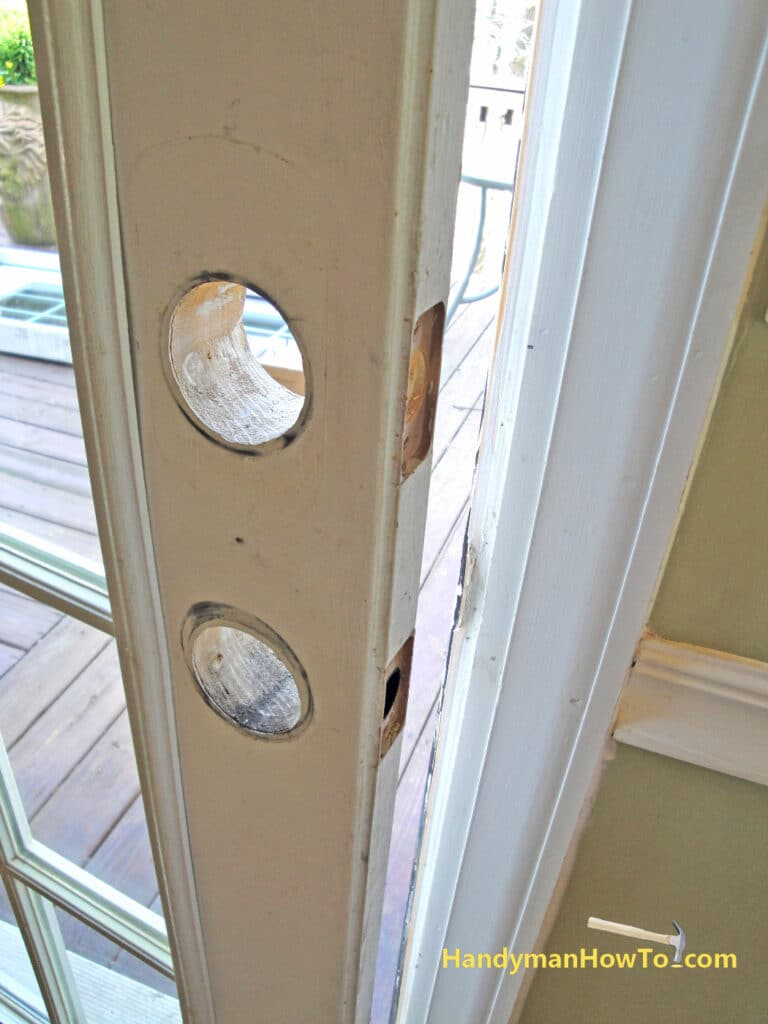
The old door with all lockset hardware removed:
Next, drive out the hinge pins and take off the door. You’ll need someone to hold the door while you do this. If the pins are stuck, give it a squirt of WD-40. This is a photo from a different projectillustrating how:
Remove the Brick Mould
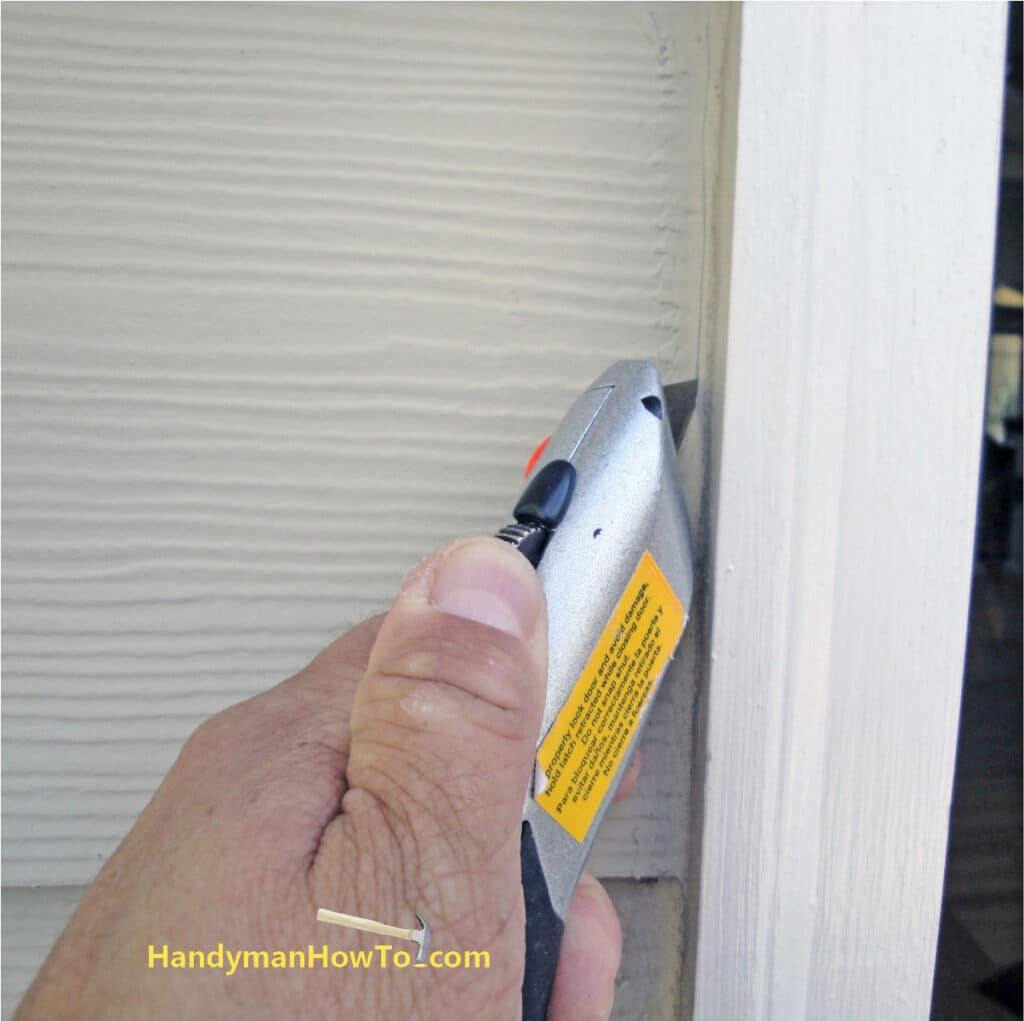
The door frame installs and is removed from the outside. Begin by cutting the caulk line between the brick mould and siding with a utility knife. FYI – The siding on my house is James Hardie HardiePlank® fiber cement board.
Locate and pull the nails from the brick mould. This part can be a bit tricky if your brick mould was fastened with staples or brads that will be covered with caulk and almost hidden from view. If so, see this article for removing those stubborn staples from the brick mould. Take care to not damage the edge of the cement siding.
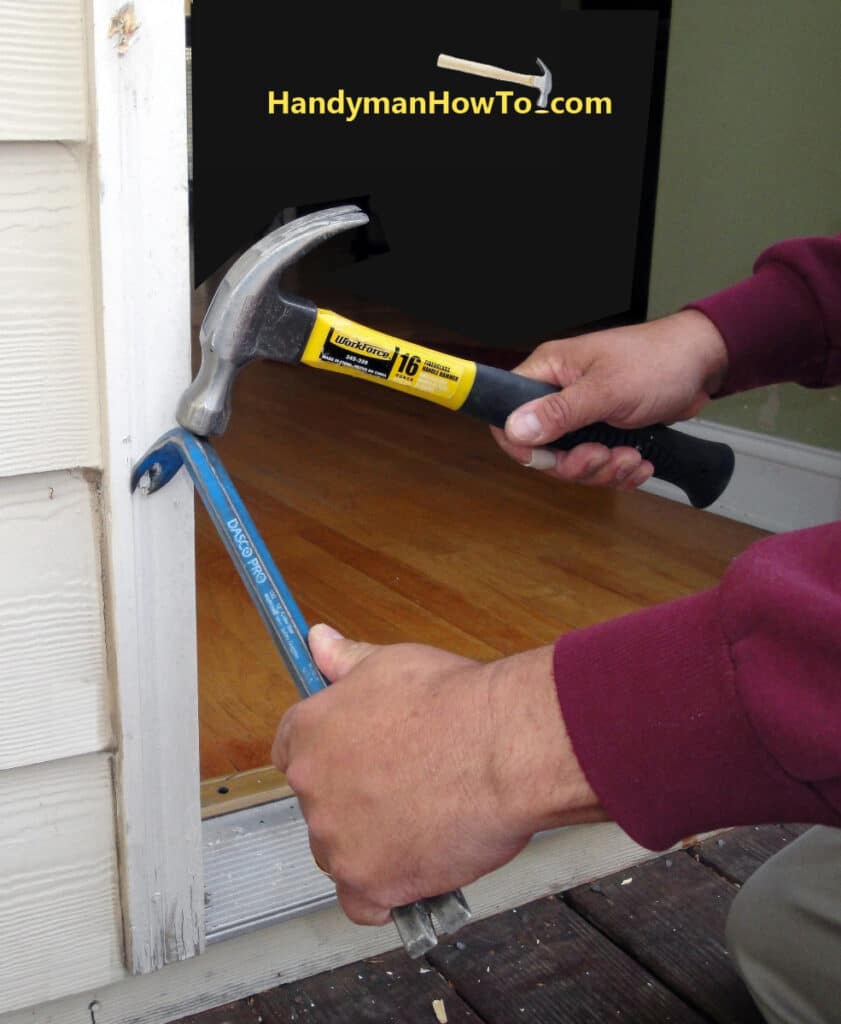
Use the hammer as a standoff to get better leverage for the nail puller bar.
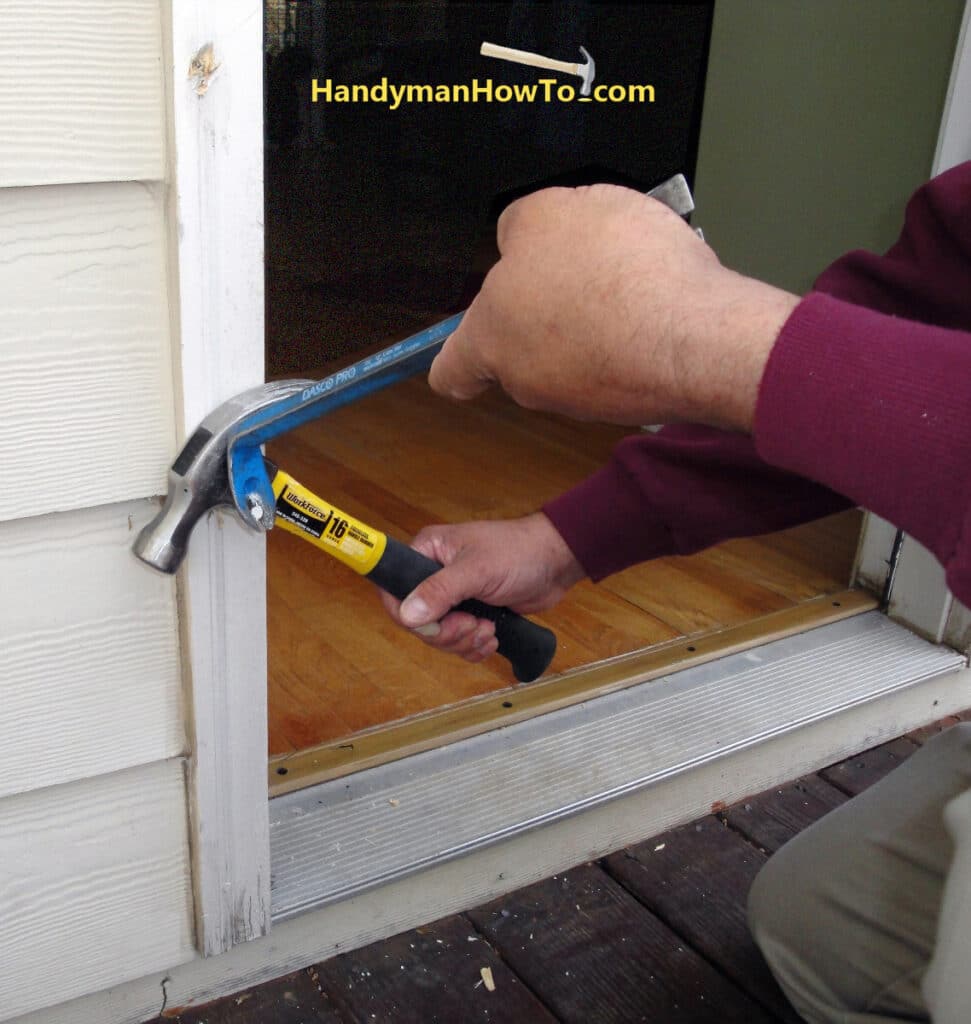
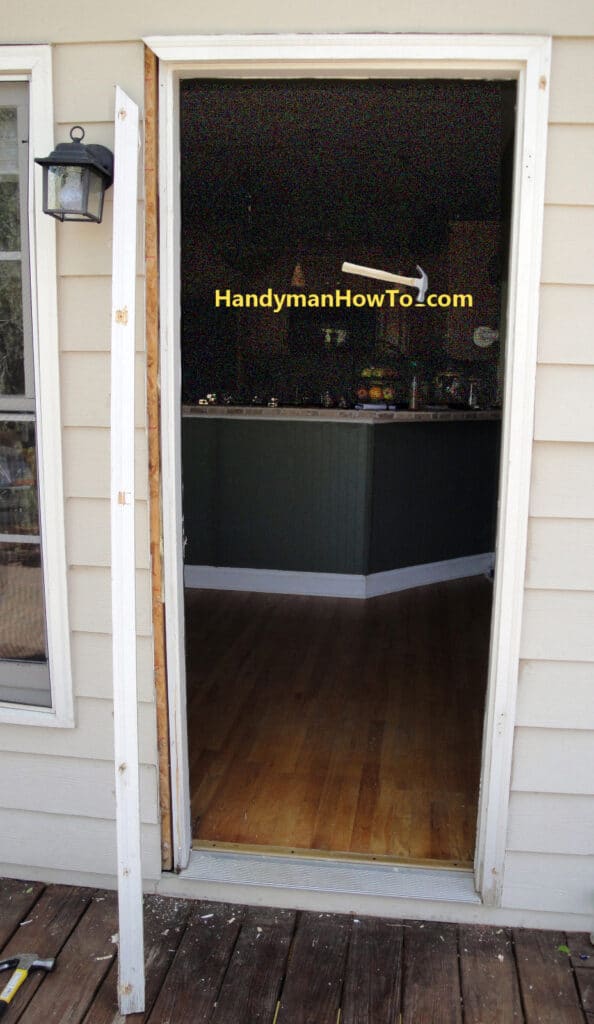
The first section of brick mould is off the door. Two more to go!
This project is continued in Part 2.
Thanks for reading,
Bob Jackson