How to Add a Room Air Duct with Speedi-Boot. This project is continued from Part 1.
The new 4″x8″air vent will compliment an existing 6″x10″ air vent in my upstairs office. The computers and networking equipment generate a lot of heat and extra cooling is needed in the summer. On the other hand, the heat is welcome in the winter and I’ll close the vent louvers when it’s not needed.
Locate Ceiling Air Vent
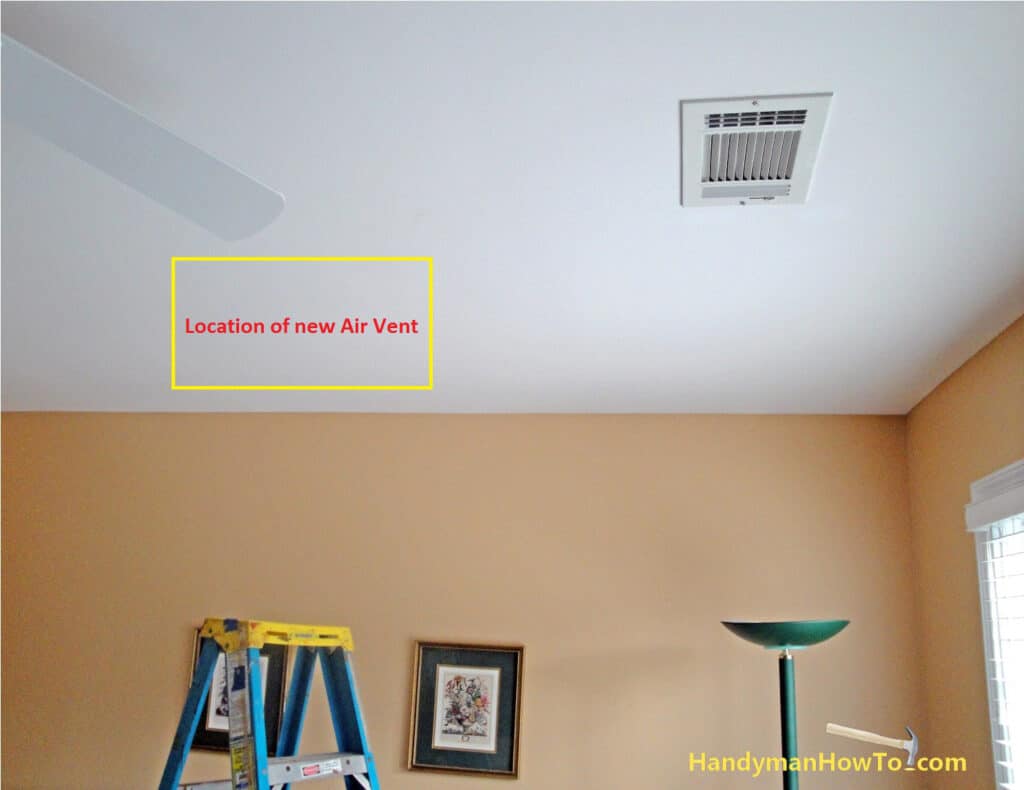
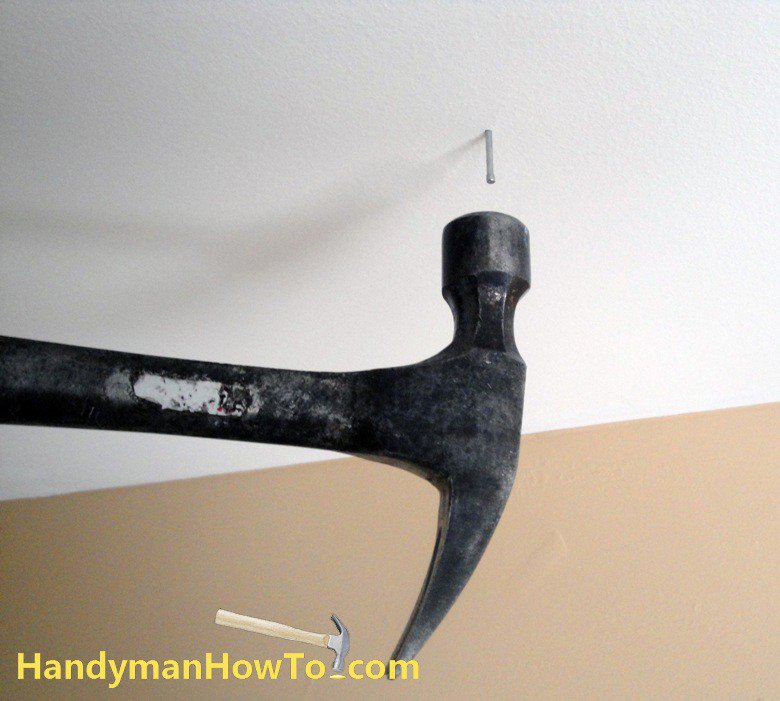
I measured about 12 inches away from the wall and midway in the center to set the rough location for the new heating and cooling air vent. A couple of taps on the ceiling with my knuckles returned a hollow sound, indicating I was somewhere between the ceiling joists. I drove a small finishing nail in the ceiling so I could find the position of the air vent in the attic. The small nail leaves a small hole that is easy to fill with spackle if this turns out to be a bad place for the vent.
Plan the Duct Work for the New Vent
It’s important to figure out how the air duct connections will be made before you cut holes in the ceiling. Planning questions are:
- How will I route a new branch line from the trunk air duct to the new vent? Are there any obstructions or difficulties?
- Where will I install the take-off (starting collar) on the trunk air duct?
- How many feet of flexible duct do I need?
- Do I have sufficient HVAC capacity to serve the new air vent?
This is a more complex question. My modification for the 4″x8″ vent is a small one, so it wasn’t a real concern.
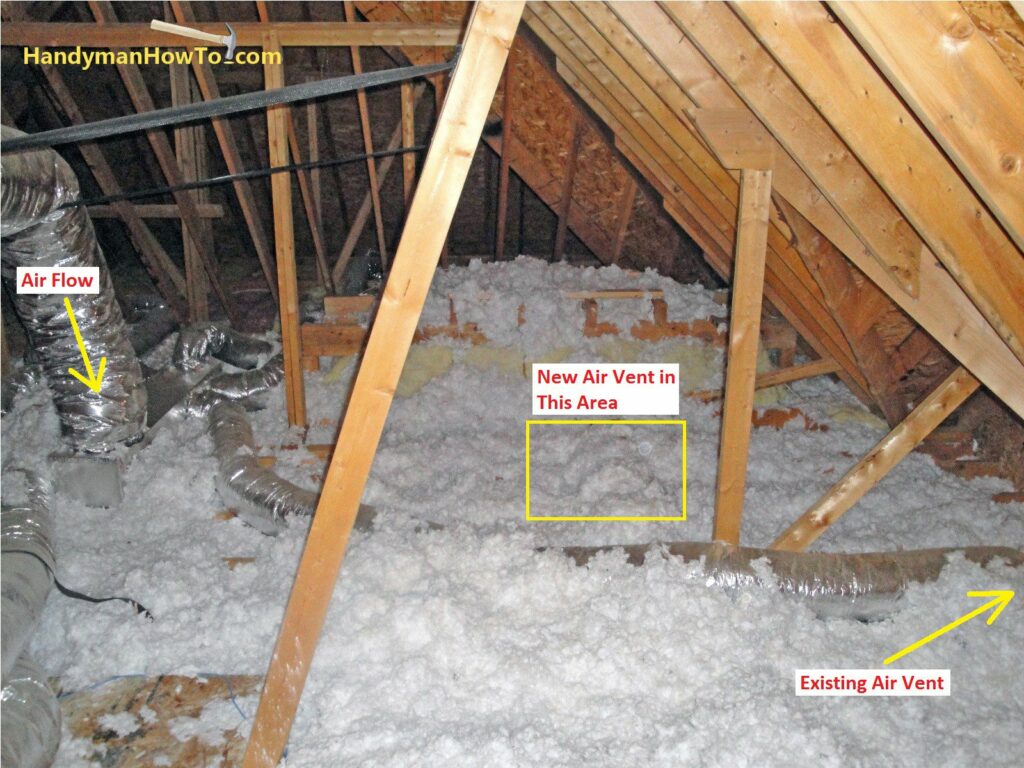
Based on relative measurements from the existing air vent, I knew to search for the finishing nail in the general area indicated by the yellow box. The air vent branch line will be connected to the square trunk duct to the left. The attic space is high and open – this will be a simple job.
Step carefully and only place your weight on the joists or you will step and/or fall through the drywall ceiling! Move slowly and be certain of your footing before putting weight on your foot.
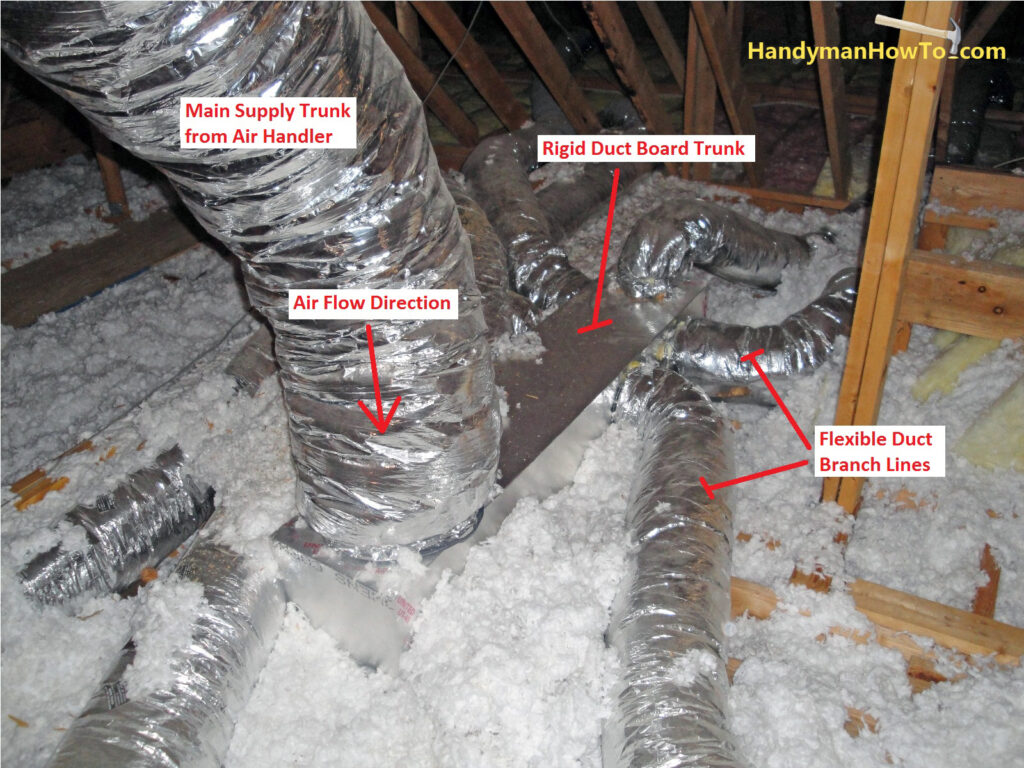
The branch lines for the air ducts to the various rooms are connected to the rigid duct board trunk that is fed from the attic air handler which is just out of view to the left. I’ll make the take-off for the new air vent from the square trunk.
Speedi-Boot Air Vent Installation
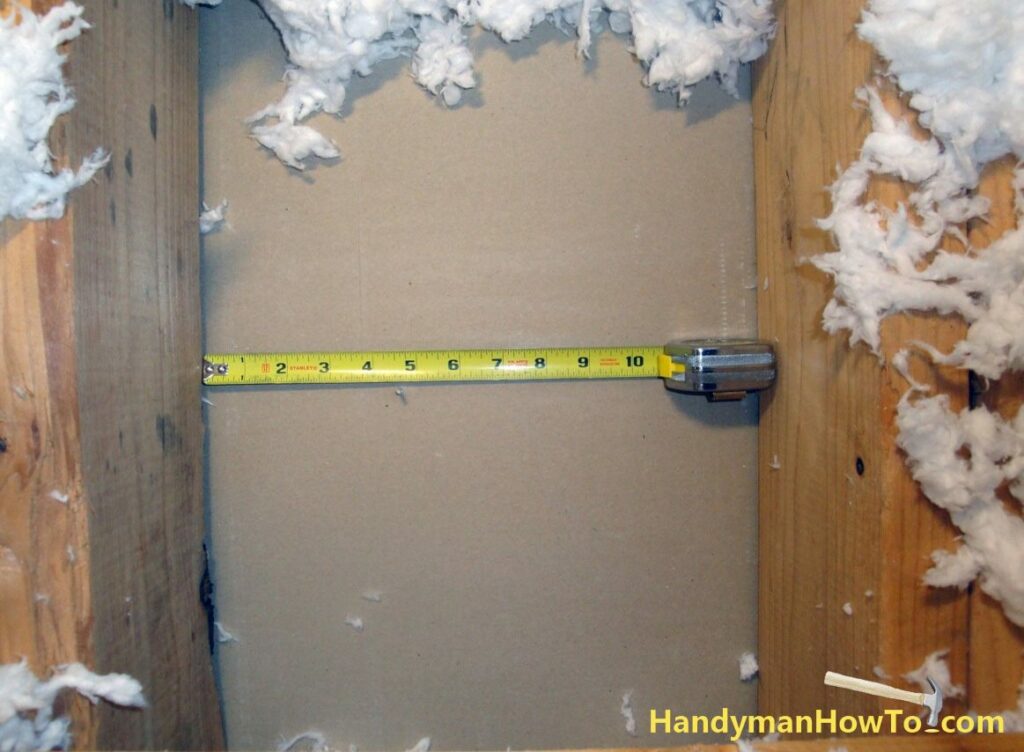
Brushing away the blown fiberglass insulation, I located the finishing nail in the drywall ceiling. I measured the 13 inch gap between the ceiling joists and noted the position of the finishing nail from the wood joist. I got lucky and this location will be fine.
Next, I needed to mark where to cut the rough opening for the new air vent on the ceiling. I took measurements of the Speedi-Boot™ mud ring opening to cut the hole in the ceiling. A rectangle 8.5″ by 4.5″ will be fine. You could also go with an 8-3/4″ opening to fully expose the register pilot holes. I prefer to keep the rough opening in the drywall close and will make a small notch in the drywall with a utility knife to expose the register pilot holes.
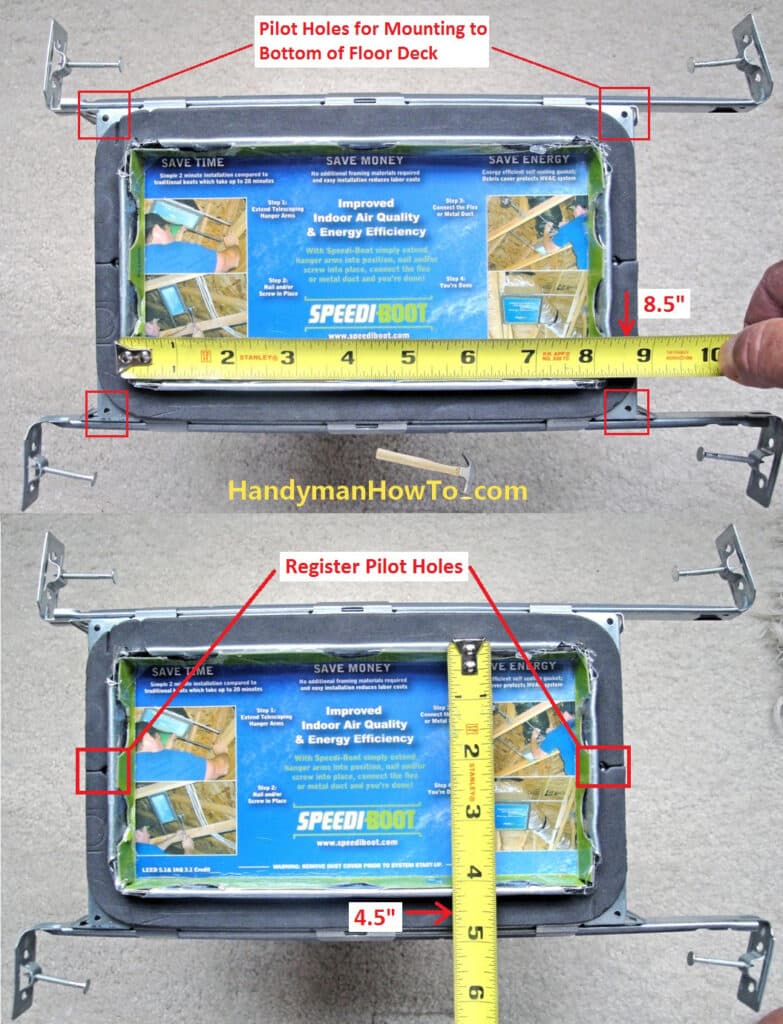
Referring to the above photo, another neat feature of the Speedi-Boot are the corner pilot holes in the mud-ring for mounting the vent boot to the bottom of a floor deck with screws.
Air Vent Orientation
Decide now if you will install the air vent parallel or perpendicular to the wall. Air vents are normally installed parallel (lengthwise) when next to a wall or window. I chose to install the new vent perpendicular (short side towards the wall) to better direct the register louvers and airflow across the room. The Speedi-Boot will install in either orientation.
After adjusting my measurements to center the vent on the ceiling, I laid out the 8.5″x4.5″ vent cutout on the ceiling. I drew my lines a bit heavy in pencil for the photo, you’ll want to draw your lines as lightly as possible.
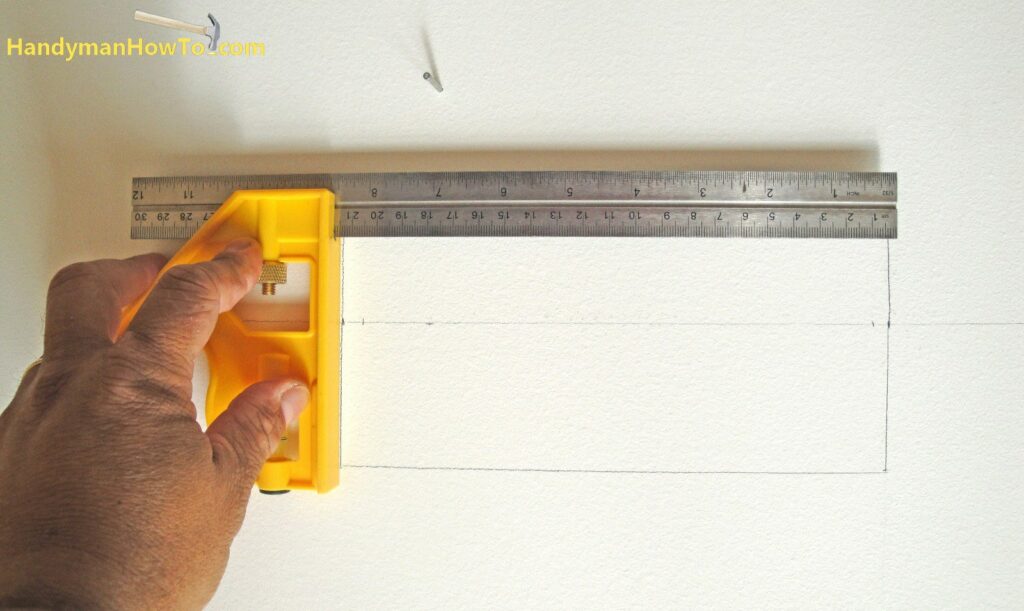
After you draw the outline for the vent boot cut, stand back a distance to make sure everything “looks right” and is square with the wall.
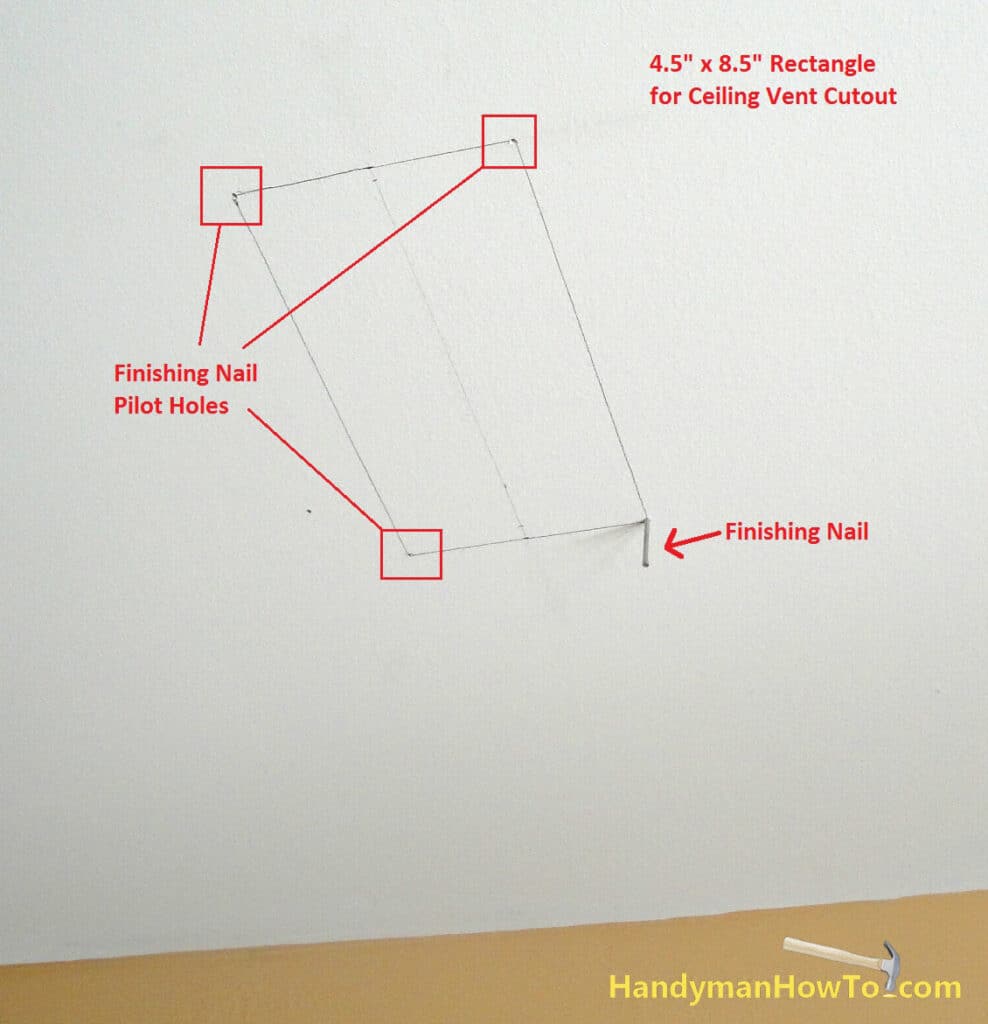
Instead of the sawing the drywall from below, I decided to the make the cutout from the attic. To locate the rectangle from the attic, I drove the finishing nail into each of the four corners, taking care to drive the nail plumb (or straight) for accuracy.
Dust-Free Drywall Ceiling Cutout
Instead of sawing the cutout from below and having dust fall all over the room, I decided on another way – sawing from above in the attic.
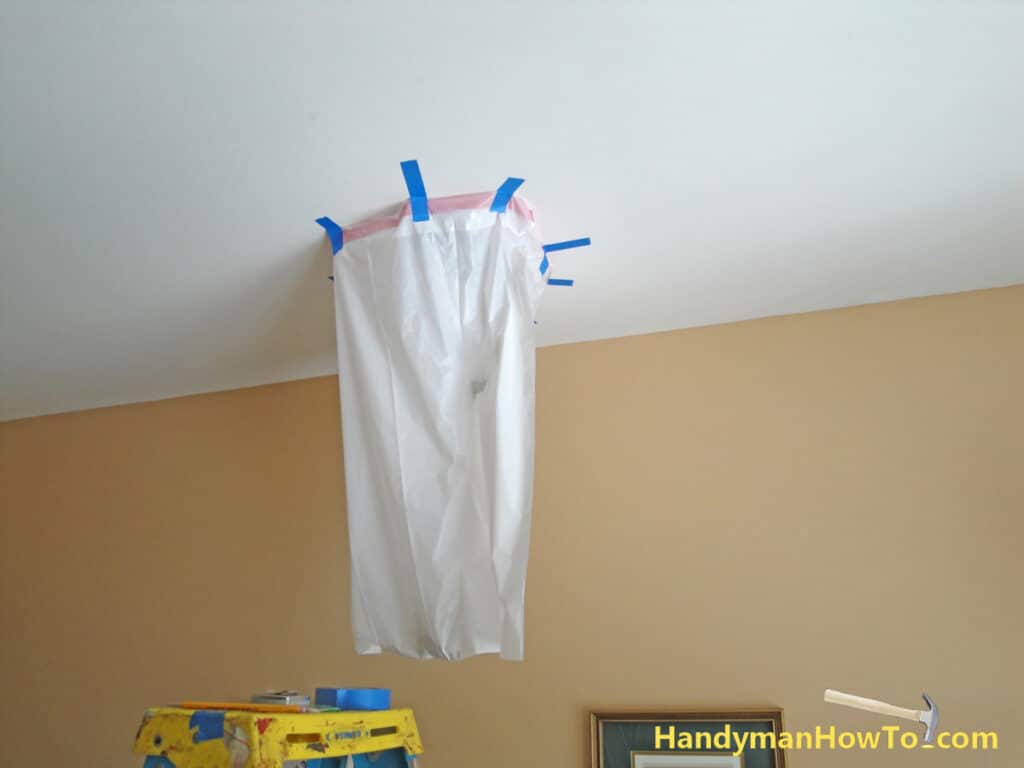
I was working early in the morning to take advantage of cooler attic temperatures and beat the sun. My teenage son wouldn’t be awake for several more hours, so I didn’t have a helper. I therefore fastened a kitchen trash bag to the ceiling with safe-release painters tape to catch the drywall dust as I sawed. This worked wonderfully! If you have a helper, have the person hold a plastic bin or trash can against the ceiling instead of the trash bag. Use a bag that’s large enough for generous clearance around the cutout to avoid damage by the saw blade.
Use only safe- or clean release painters tape to avoid damage to the ceiling when the tape is removed! Do not use duct tape, cellophane tape, packing tape, etc. or it will pull the paint and/or paper facing off the drywall.
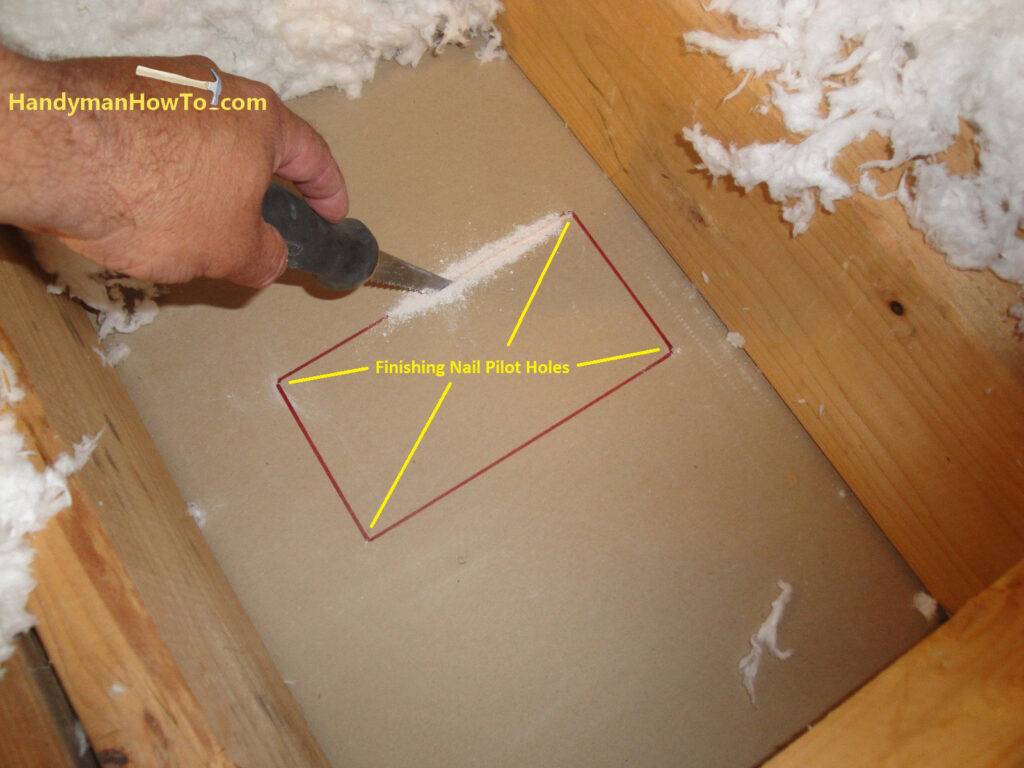
Back in the attic, I used a straight edge to connect the corner pilot holes made by the finishing nail with a red felt tip pen for saw guides. I used the jab saw to piece the drywall and make cuts. The jab saw made for quick work.
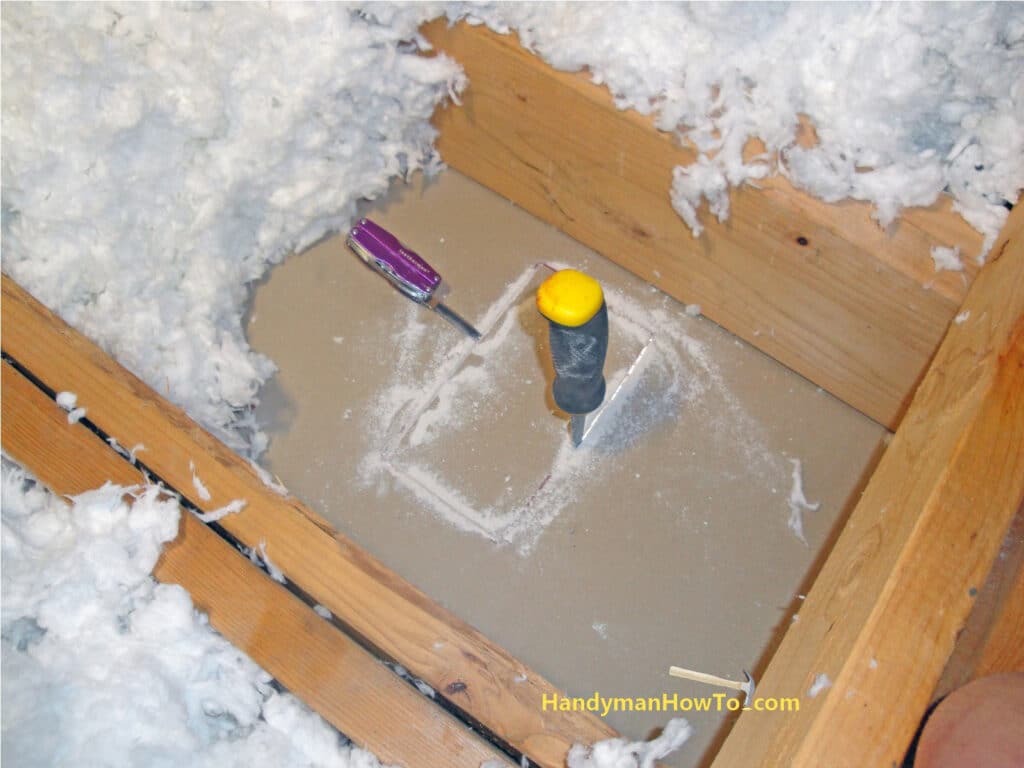
I stabbed the side of the cutout with my Leatherman to prevent it from falling through the hole as I neared the final cut. I did this because I didn’t want the drywall cutout to fall heavily into the plastic trash bag and jerk the tape off the ceiling making a mess.
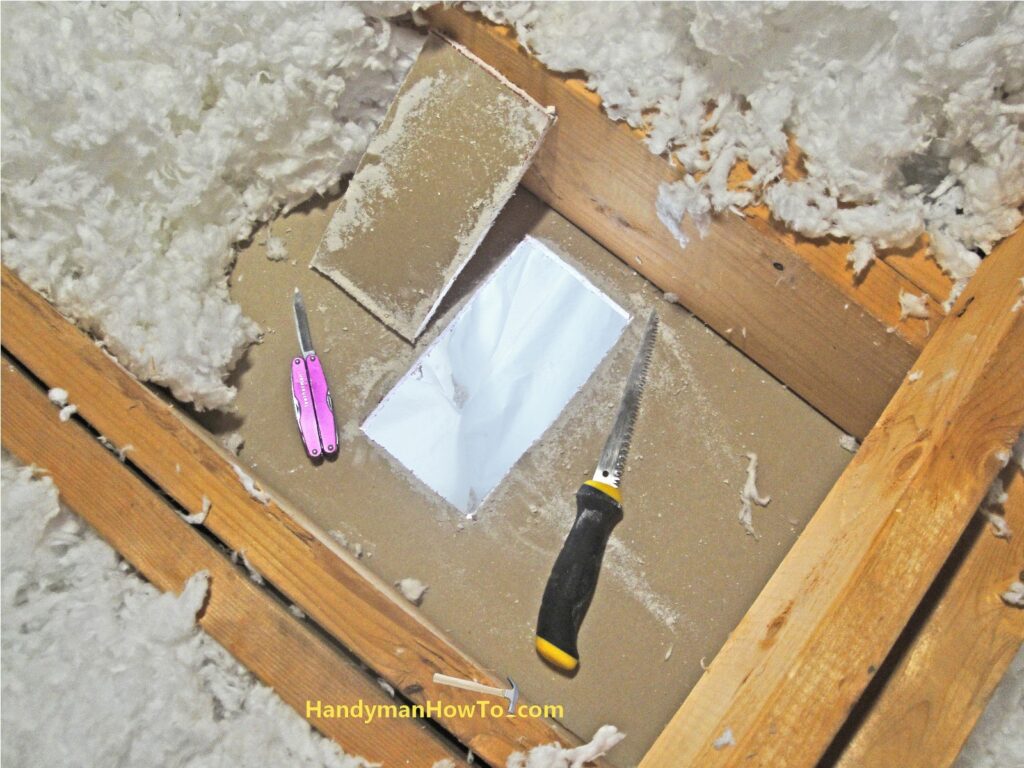
Speedi-Boot air vent cutout in the drywall ceiling. The trash bag dust catcher worked great! I used a small ball of insulation to push the remaining dust into the trash bag.
This project is concluded in How to Add a Room Air Duct with Speedi-Boot – Part 3.
Thanks for reading,
Bob Jackson