How to Install an Air Duct in a Suspended Drywall Ceiling photo tutorial. Mount the new vent boot, install the branch duct takeoff and flexible air duct. This project is continued from Part 1.
Mount the Vent Boot in the Drywall Ceiling
The new Speedi-Boot™ 6″ air vent is set in the drywall ceiling cutout, ready to be fastened to the steel suspended ceiling runners with sheet metal screws.
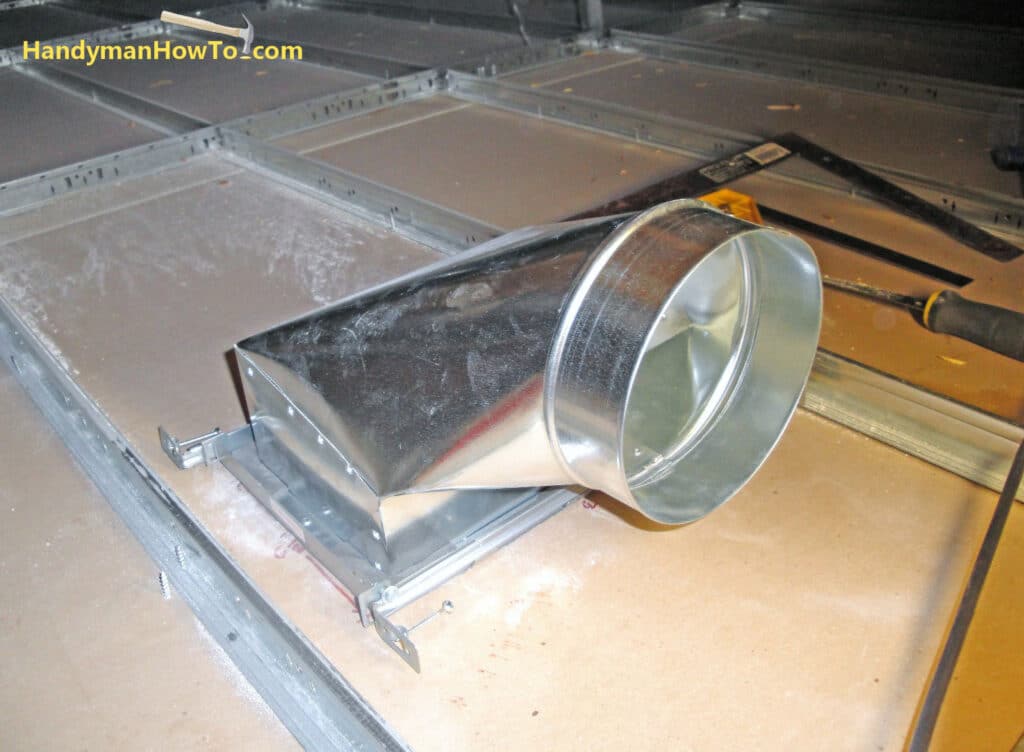
Speedi-Boot Telescoping Arm Attachment
The Speedi-Boot air vent features adjustable telescoping arms that extend for a perfect fit. The arms have factory-installed nails for nailing to wood studs or trusses, however nails won’t work with the steel ceiling runners. Instead, I will fasten the arms to the steel runners with 1/2″ sheet metal screws using the factory-made pilot holes. Simple!
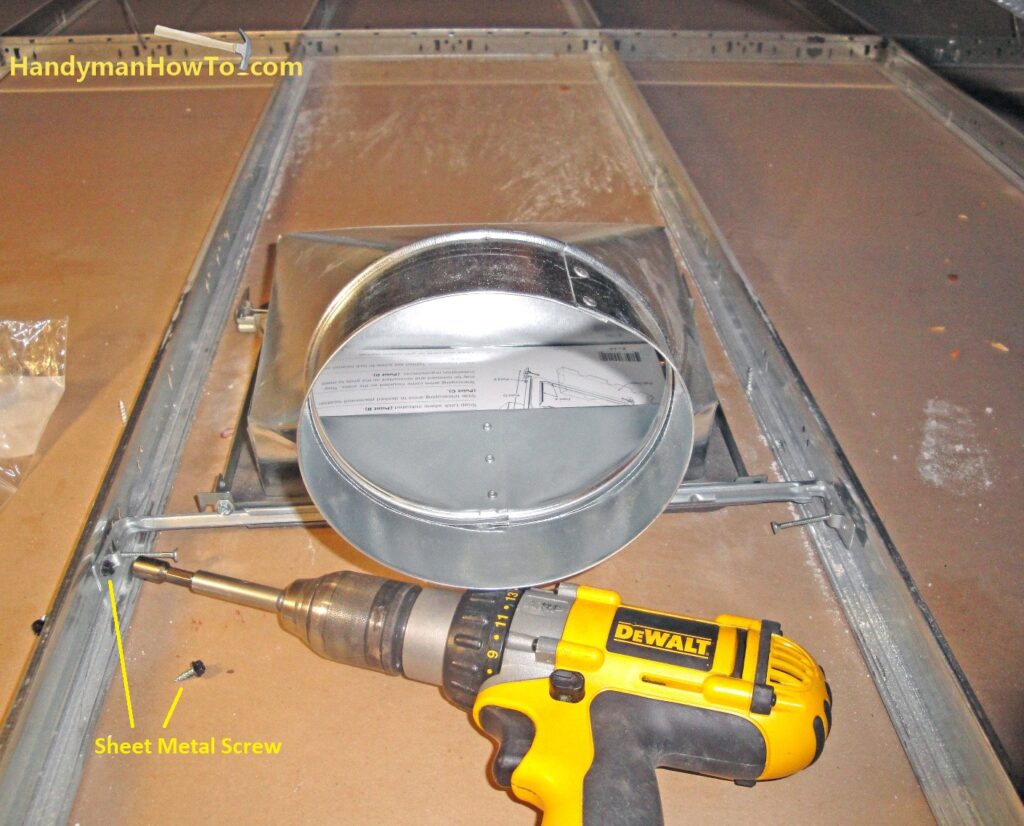
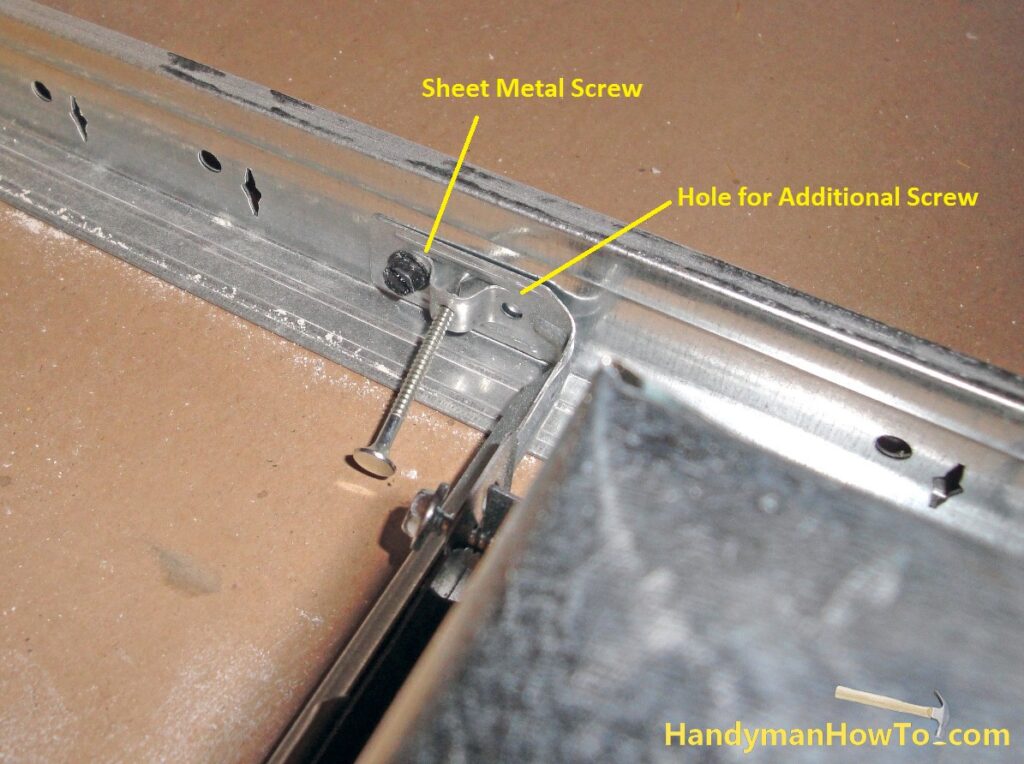
Each of the four arms are secured to the steel runners with a single sheet metal screw. Here’s a close-up of how the telescoping arm is fastened with a 1/2″ sheet metal screw to the suspended ceiling steel runner.
Install the Flexible Air Duct Branch Line
Slip the inner core of the 6″ flexible air duct over the Speedi-Boot collar and secure with metal foil tape, smoothing the tape for an air tight seal. The 90° vent boot is ideal for situations like this where there’s no insulation, making for direct alignment with the flexible duct to avoid kinks.
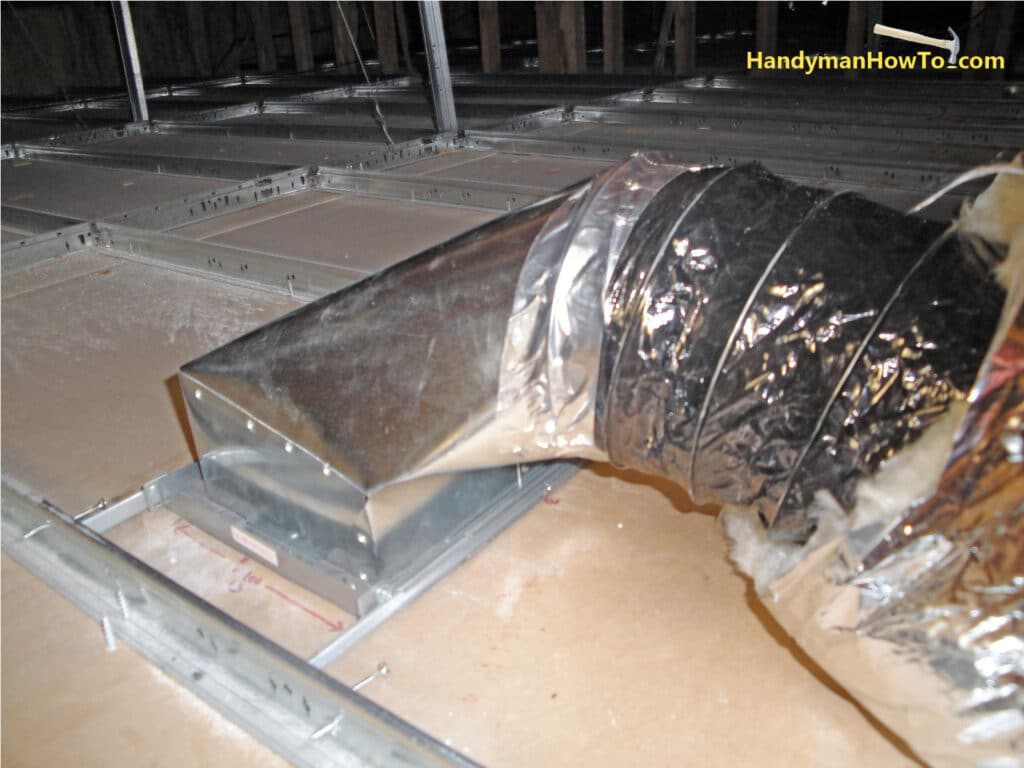
Slide the flexible duct insulated outer jacket over the Speedi-Boot and secure with a 36″ long zip tie.
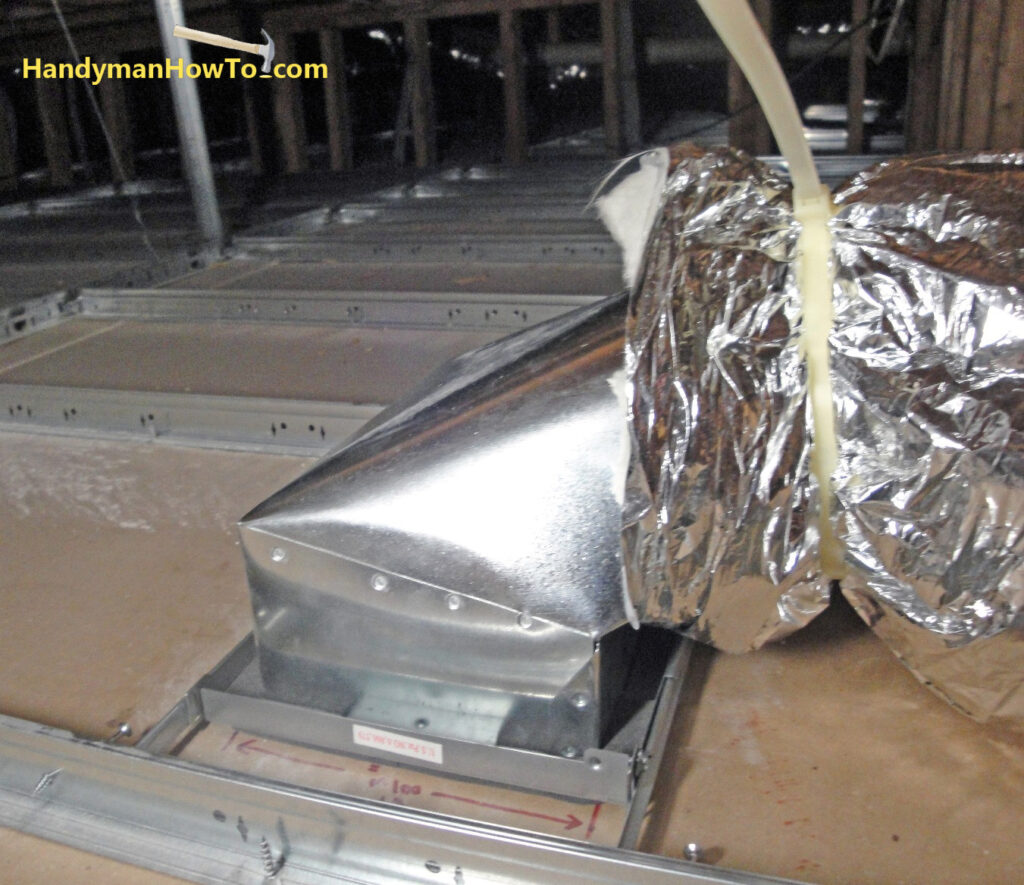
You can find the 36″ HVAC ductwork zip ties in the vent and duct supply section of most home improvement stores.
Duct Board Take-Off for Flexible Duct
A 6″ inch starting collar is installed for the new take-off in the rigid duct board trunk duct. For details of how to cut the hole and attach the starting collar, see this related project.
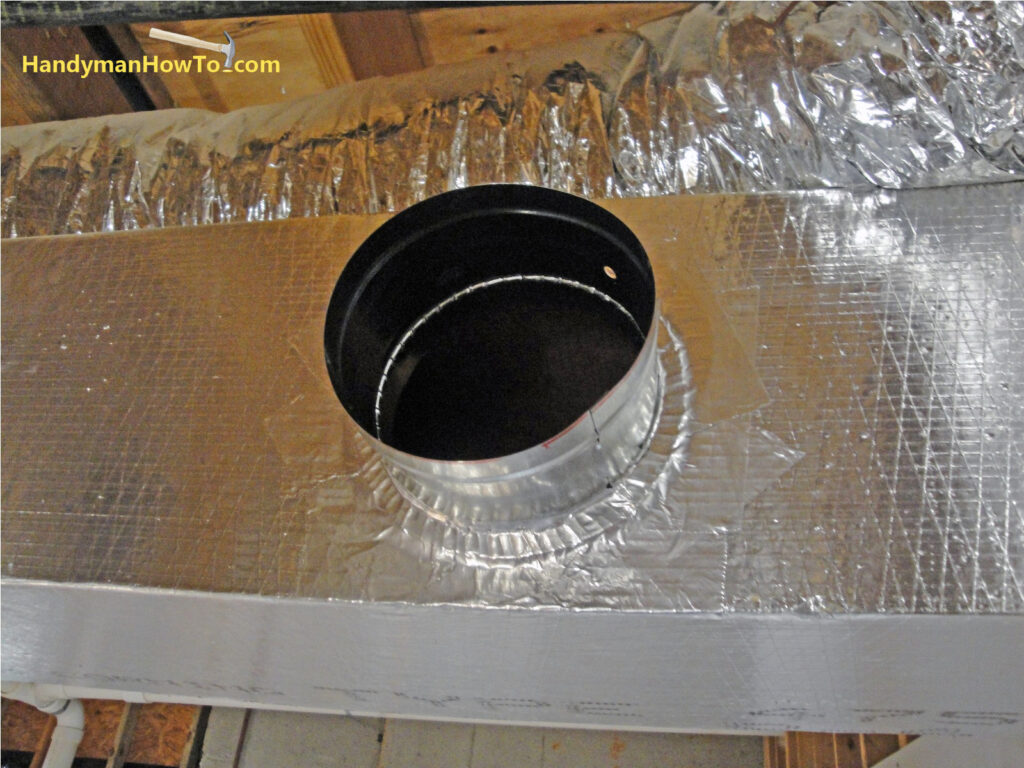
The 6″ flexible duct is cut to length and attached to the starting collar with metal foil tape and a zip tie in as was done for the Speedi-Boot air vent.
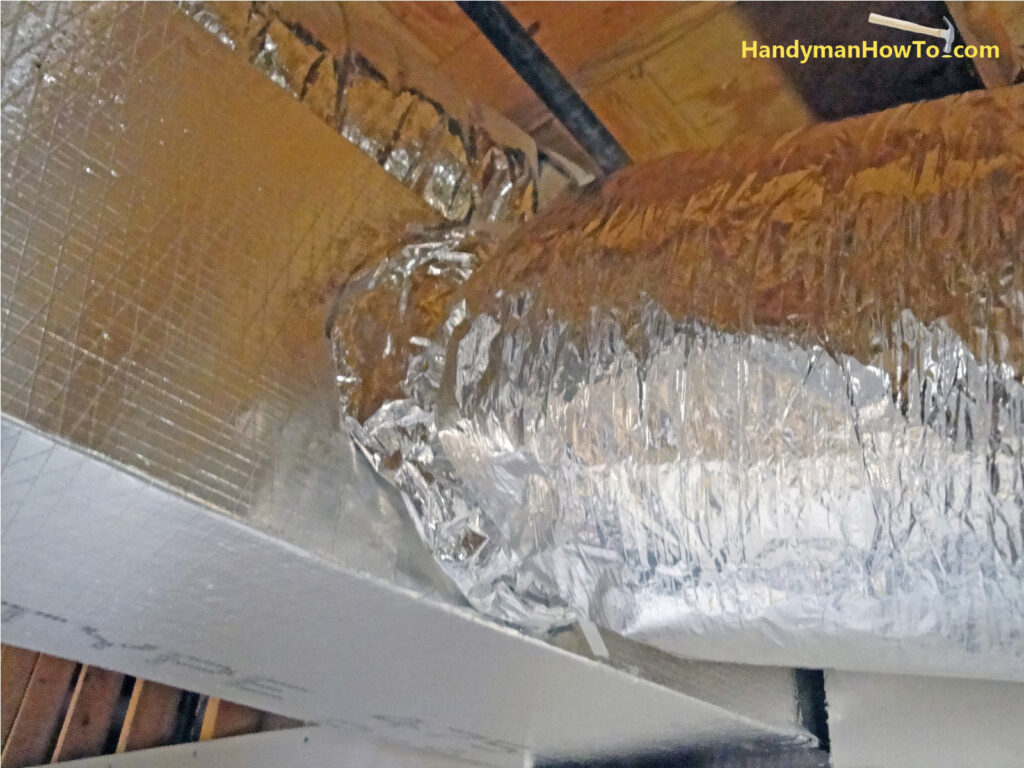
View of the 6″ flexible duct routed through the ceiling crawlspace to the Speedi-Boot air vent. Take care to support to flexible duct with wide nylon duct straps and avoid sagging, pinches or kinks that would restrict the air flow.
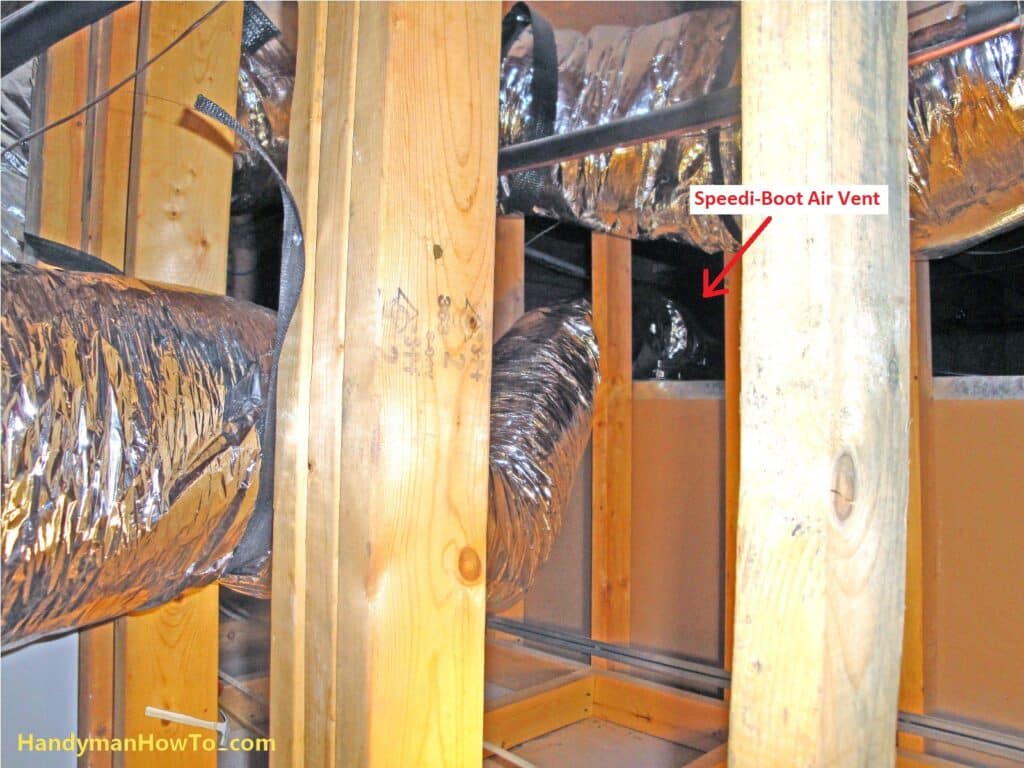
Overhead view of the new 6″ flexible air duct takeoff from the rigid trunkline ductwork. Notice the 1-3/4″ nylon web duct hanger strap supporting the air duct between the 2×4 wall studs.
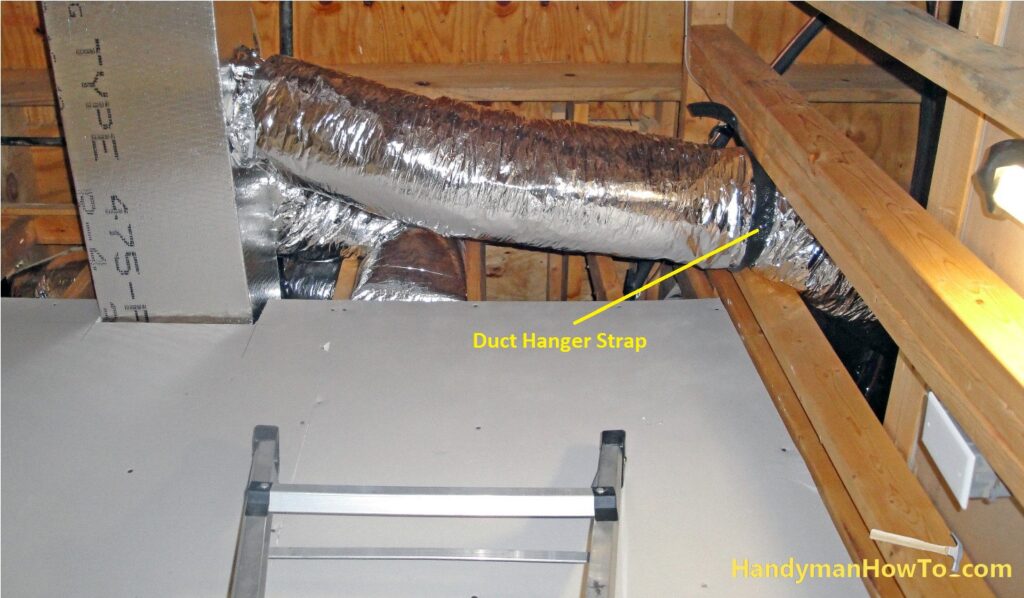
Flexible duct must be supported with hanger straps at least every 5 feet in suspended installations.
Speedi-Grille™ Ceiling Register Installation
I’m back to the main room in the finished basement to install the ceiling register. Speedi-Boots feature a cardboard dust cover to keep out dirt and paint.
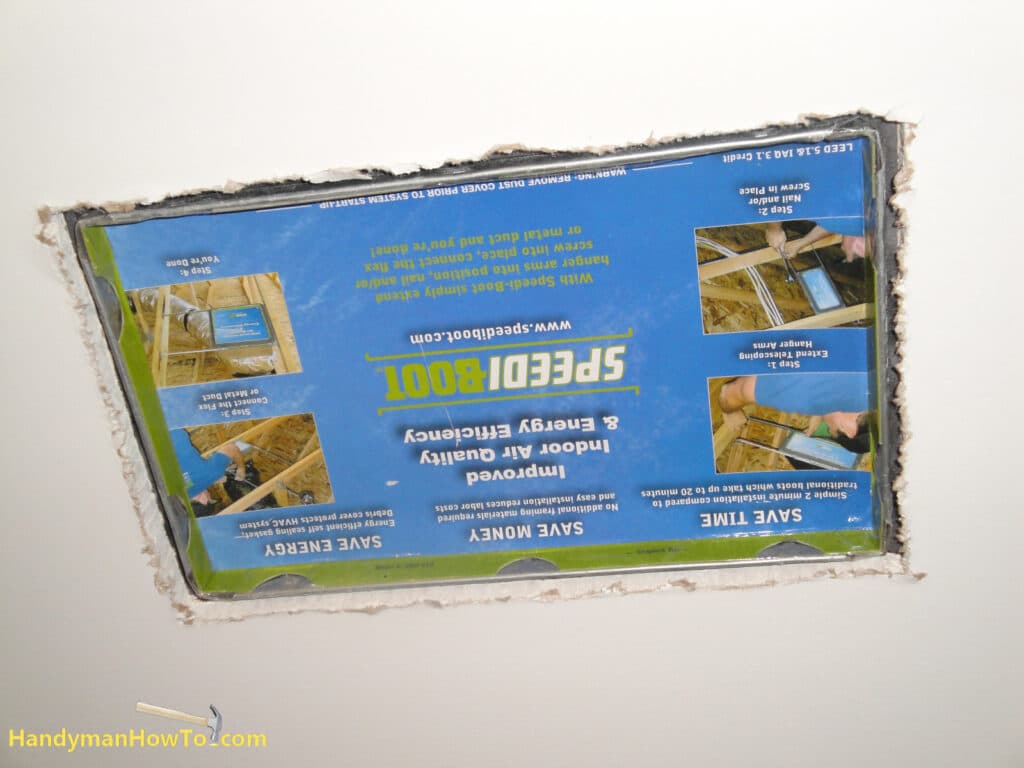
Remove the dust cover to reveal a pristine air vent.
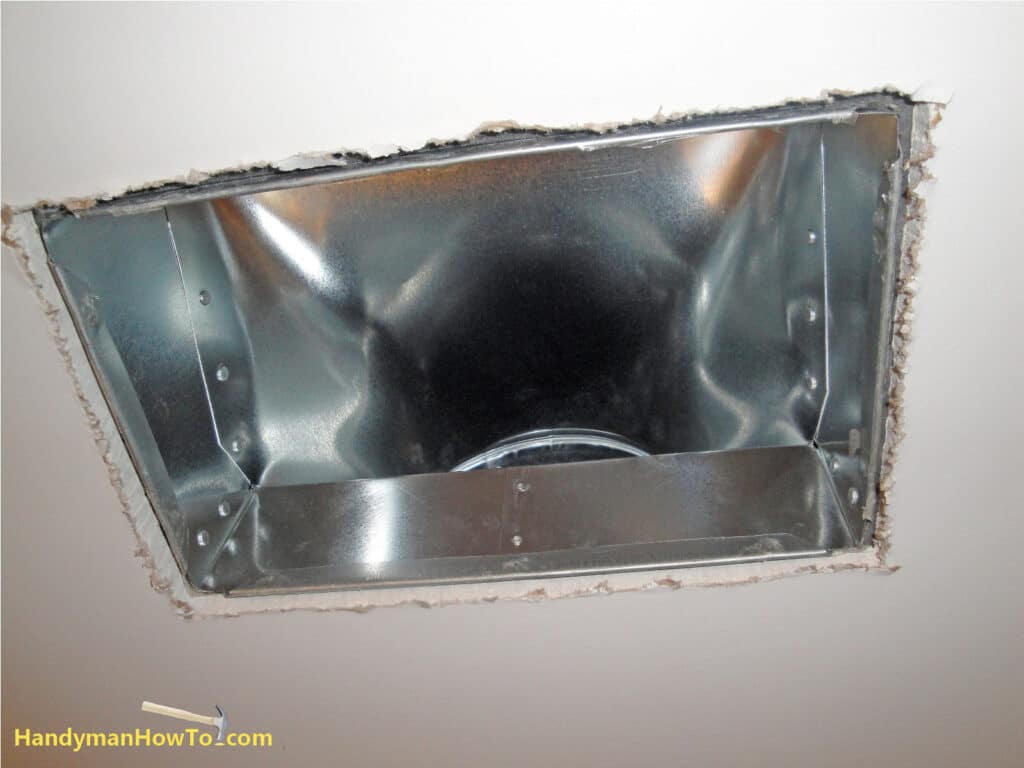
Speedi-Boot accepts any standard ceiling register, but I’ll be using the Speedi-Grille™ companion product which features mounting tabs on the back for snap-in hands-free installation. The Speedi-Grille simply snaps into the steel opening of the Speedi-Grille vent boot. This is great because I now have two free hands to install the permanent mounting screws without worrying about the grill falling on my head, dropping a screw or my DeWALT drill/driver, and extra trips up/down the ladder.

The Speedi-Grill is permanently mounted with the included screws:
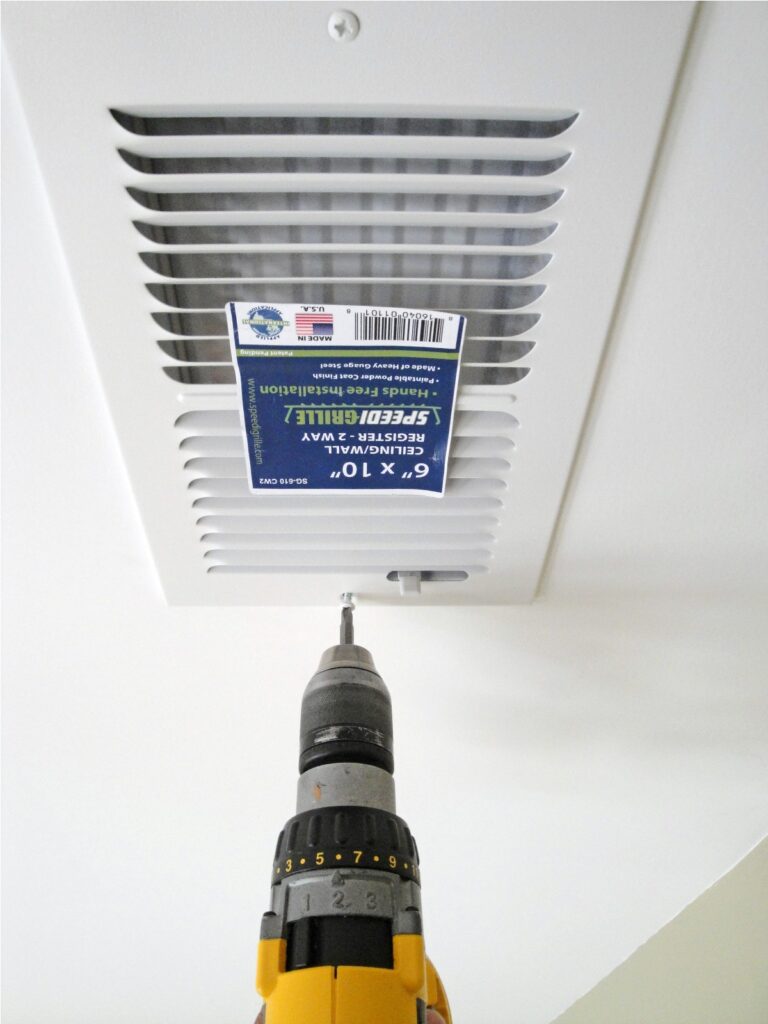
View of the completed Speedi-Boot and Speedi-Grille air vent installation in the basement ceiling. The air flow from the new vent can be felt in the middle of the room – nice! The basement should be a lot more conformable this winter.
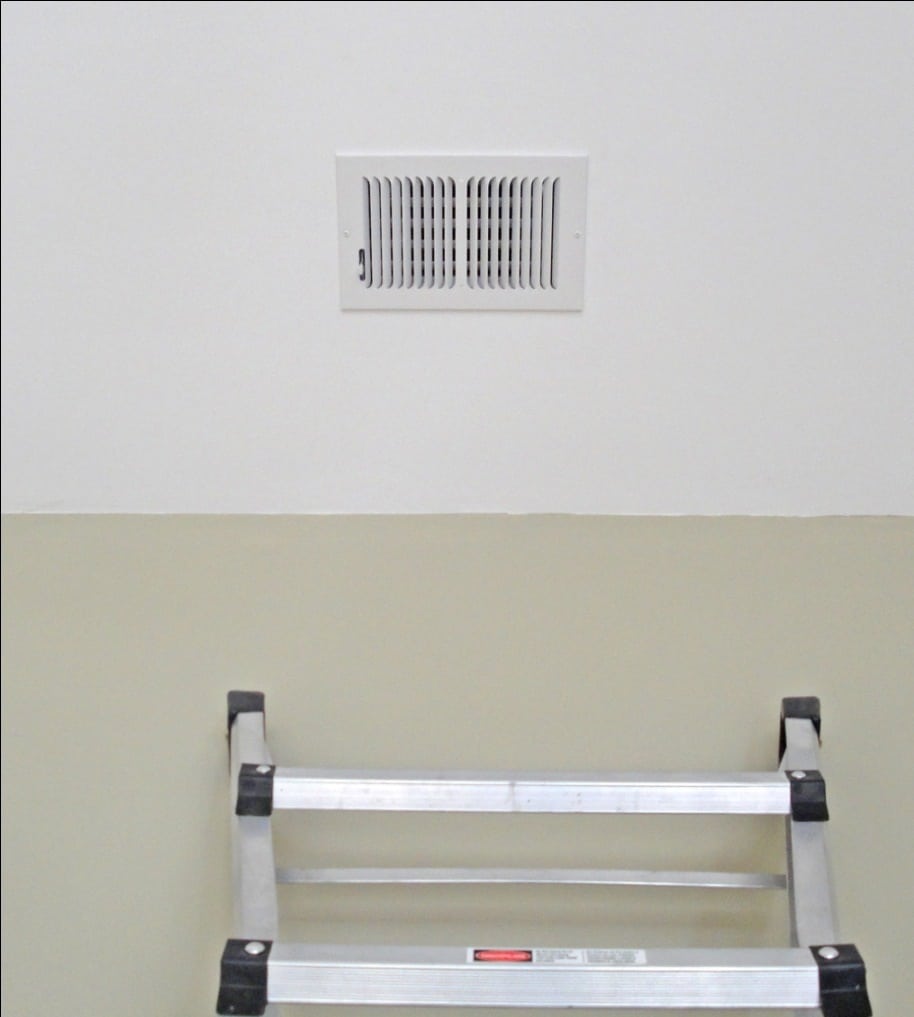
Speedi-Boot’s unique telescoping arms and screw attachment option made it easy to locate the air vent in the suspended drywall ceiling, where a installing a raw vent boot would be a real challenge.
Hope this helps,
Bob Jackson