This project shows how to finish the basement closet drywall this installment of How To Build a Basement Closet. For the prior installment of this series, see wiring the closet light circuit.
Basement Closet Drywall Finishing
After cutting and hanging the drywall, it must be “finished” to cover the screws or nails, corners and seam between the drywall sheets taped to cover the gaps, corner bead installed to protect the outside corners, then sanded and painted. See the SHEETROCK® Installation and Finish Guide by USG Corp for a comprehensive guide to drywall installation and finishing.
The key to finishing drywall is: the less joint compound spread on the walls and care taken to feather the edges with the drywall taping knife, the less time you’ll spend sanding.
Drywall Finishing Tools and Materials
I used the following tools and material to finish the basement closet drywall (from left to right in the following photo):
- 4 inch Taping Knife
Good for filling the screw head dimples with joint compound and scraping joint compound residue off the wider taping knives. - 6 inch Taping Knife
Great for mudding corners, seams and drywall joint tape. - 12 inch Taping Knife
Essential for feathering seams and edges. - 4 in. x 3.5 in. Inside Corner Tool
Mudding and taping inside corners. - Drywall Mud Pan
I purchased an inexpensive 14 inch wide plastic pan with metal rims. - SHEETROCK® Brand All-Purpose Pre-Mixed Joint Compound.
The closet required two 1 gallon buckets. Also available in 5 gallon buckets. - Strait-Flex Medium Drywall Corner Tape.
- Self-Adhesive Mesh Drywall Joint Tape.
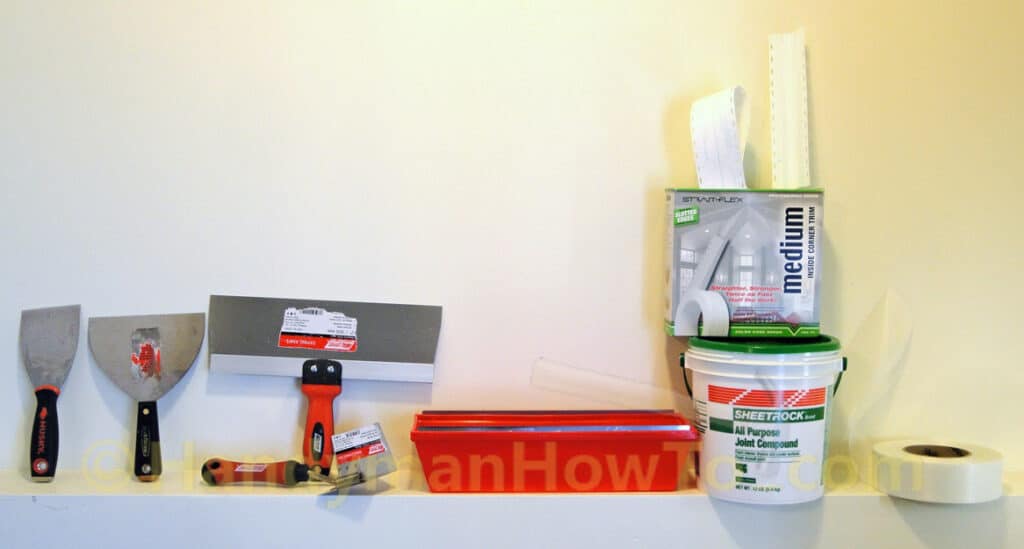
You’ll also need drywall corner bead, scissors, tape measure, pencil and a drywall sanding sponge.
Drywall Screw Dimples
The drywall screw dimples are finished with a thin coat of drywall joint compound applied with the 4 inch taping knife. Nothing complicated here, just a lot of busy work. Try to avoid pressing too hard with the taping knife because it can flex and bow inward leaving a small depression over the dimple, which means you’ll have to apply a 2nd feather coat to level the depression.
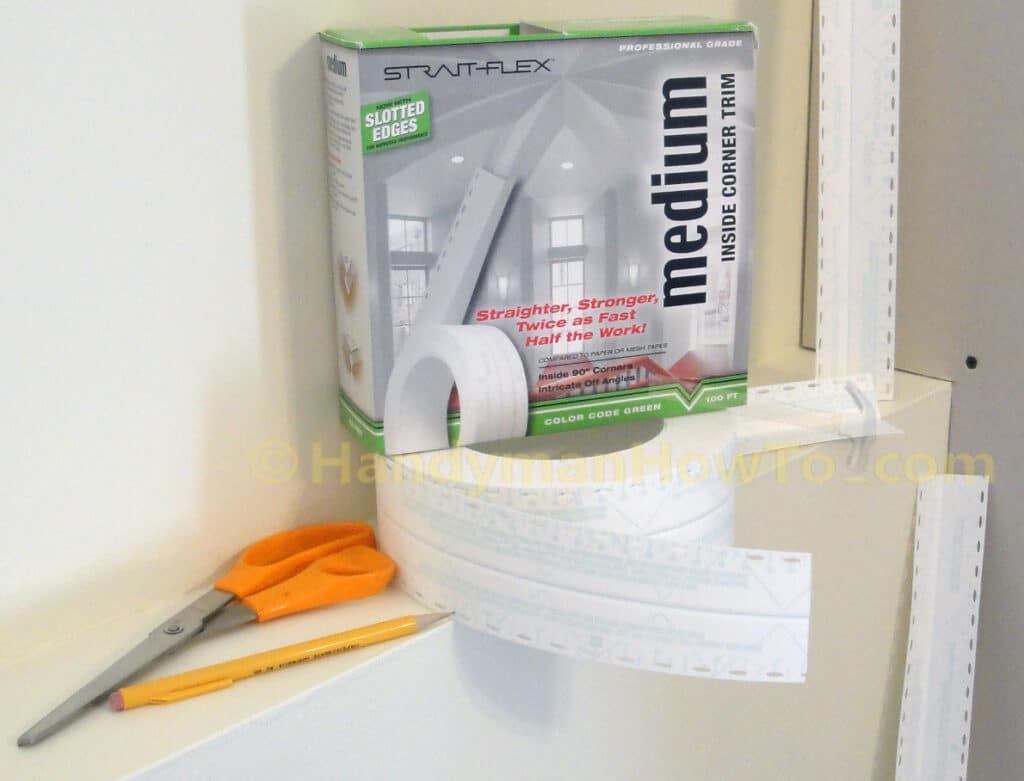
Strait-Flex Medium Drywall Corner Tape
I saw Strait-Flex Medium Drywall Corner Tape on the store shelf while purchasing drywall finishing supplies, studied the box and decided to give it a try. Strait-Flex is significantly more expensive than paper drywall tape, but it makes up for the price in the labor savings, strength and perfect 90° corners.
Strait-Flex is a PVC plastic-based product that’s sandable and won’t fuzz-up. The Strait-Flex product YouTube videos are a very good overview.
I lightly sanded the painted wall along a 6 inch wide path to “break the shine” so the joint compound would better adhere to the painted surface.
Next, I cut two sections of Strait-Flex inside corner tape for the closet drywall corners, folded the tape in half then opened the angle a bit wider than 90° degrees per the Strait-Flex instructions.
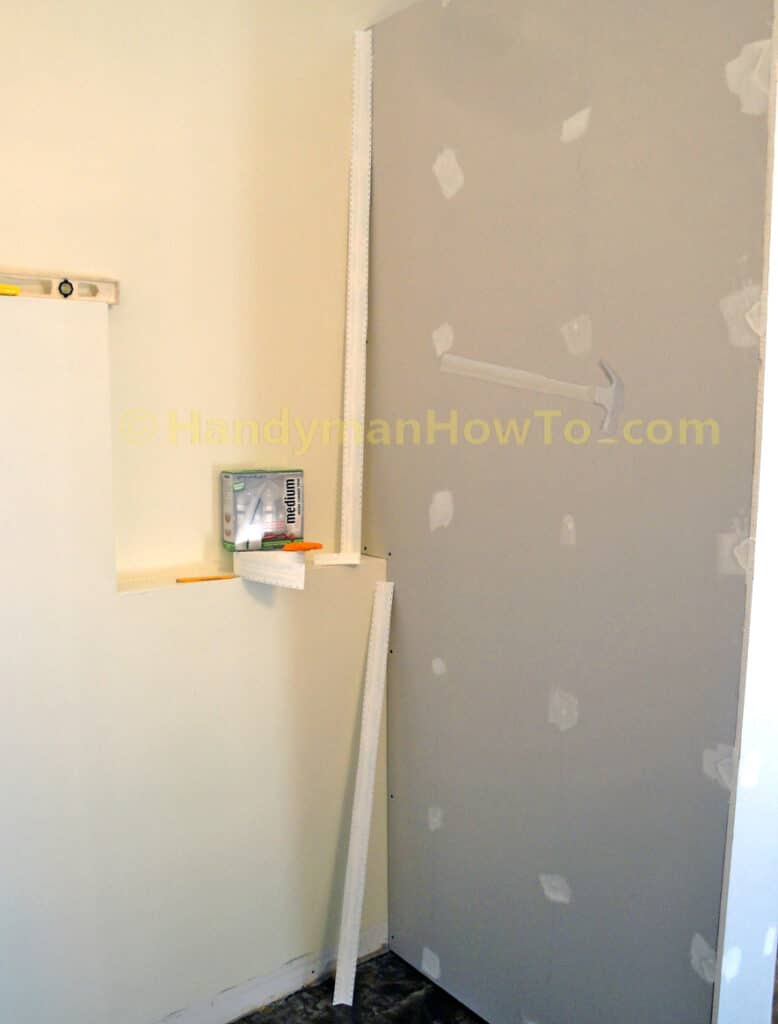
A generous ~3/16 inch thick bed of pre-mixed joint compound is spread on the inside corner with a 6 inch taping knife:
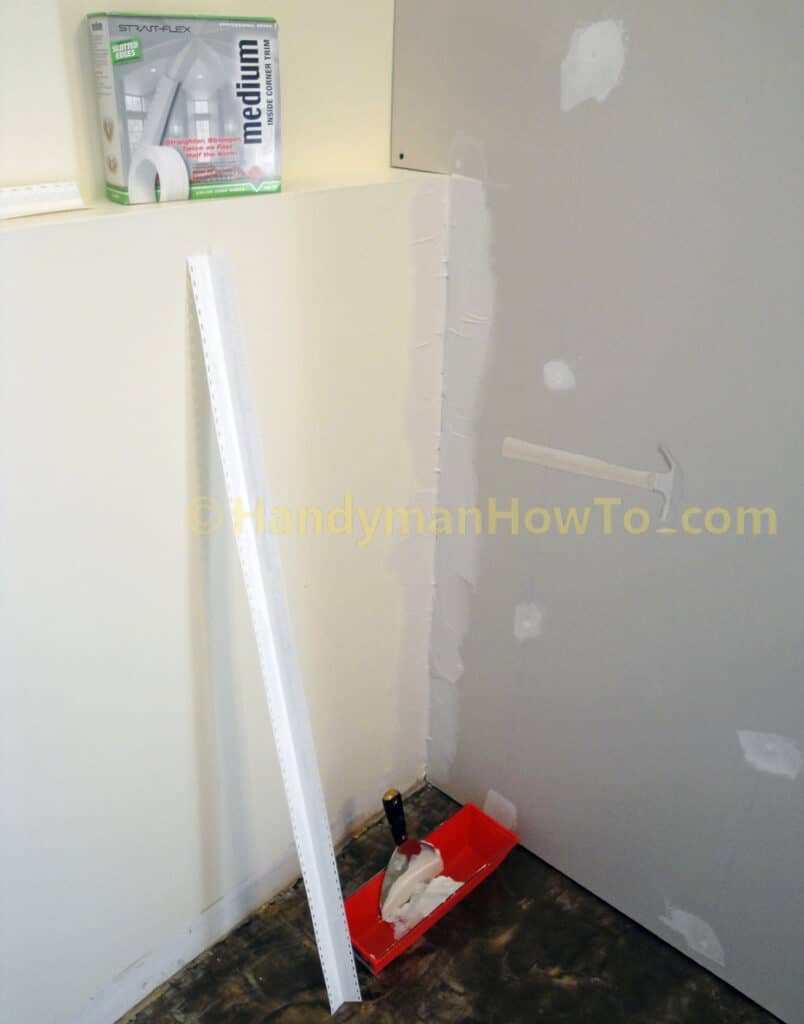
I stippled the Strait-Flex medium drywall tape into the joint compound so it would stick before wiping it down with the inside corner tool.
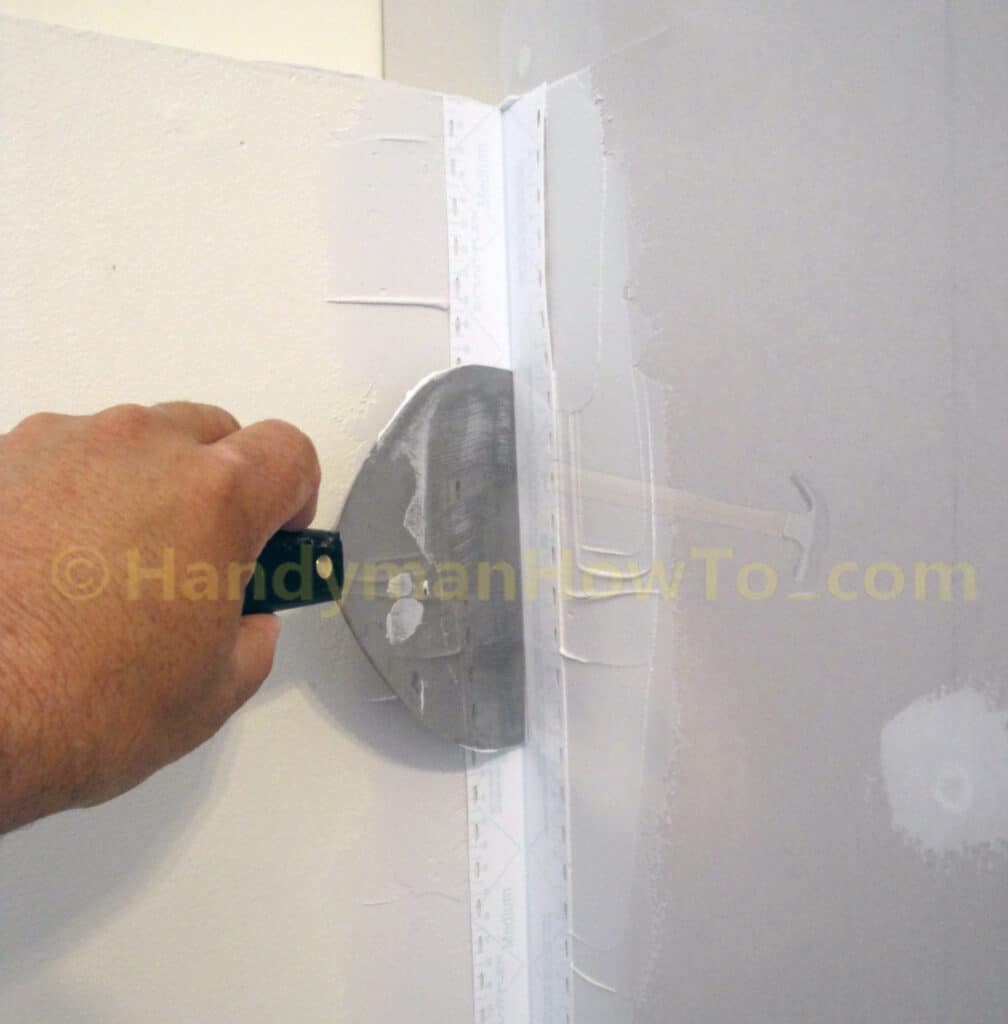
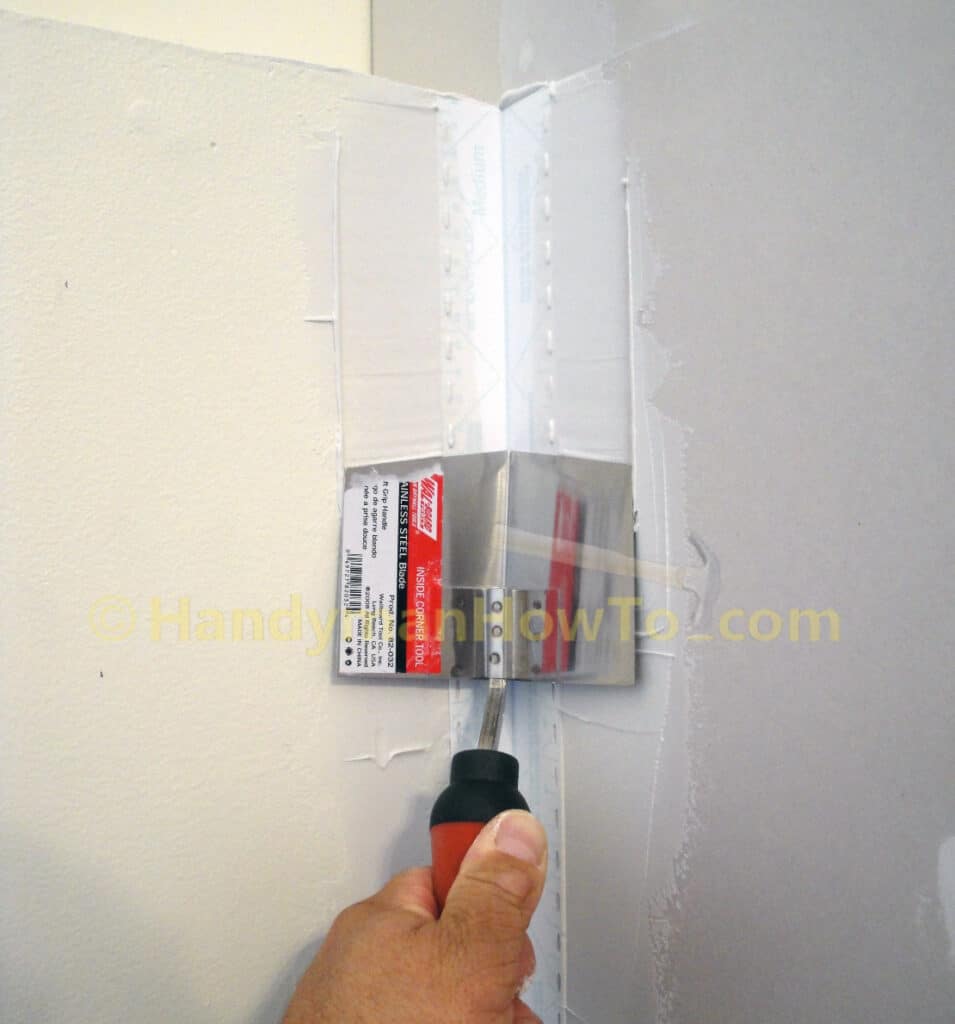
The Strait-Flex is pressed and smoothed into the joint compound with the inside corner tool. The joint compound will squeeze-out through the slotted edges. Strait-Flex automatically “finds the corner” for perfect and straight corners. Very cool and fool-proof!
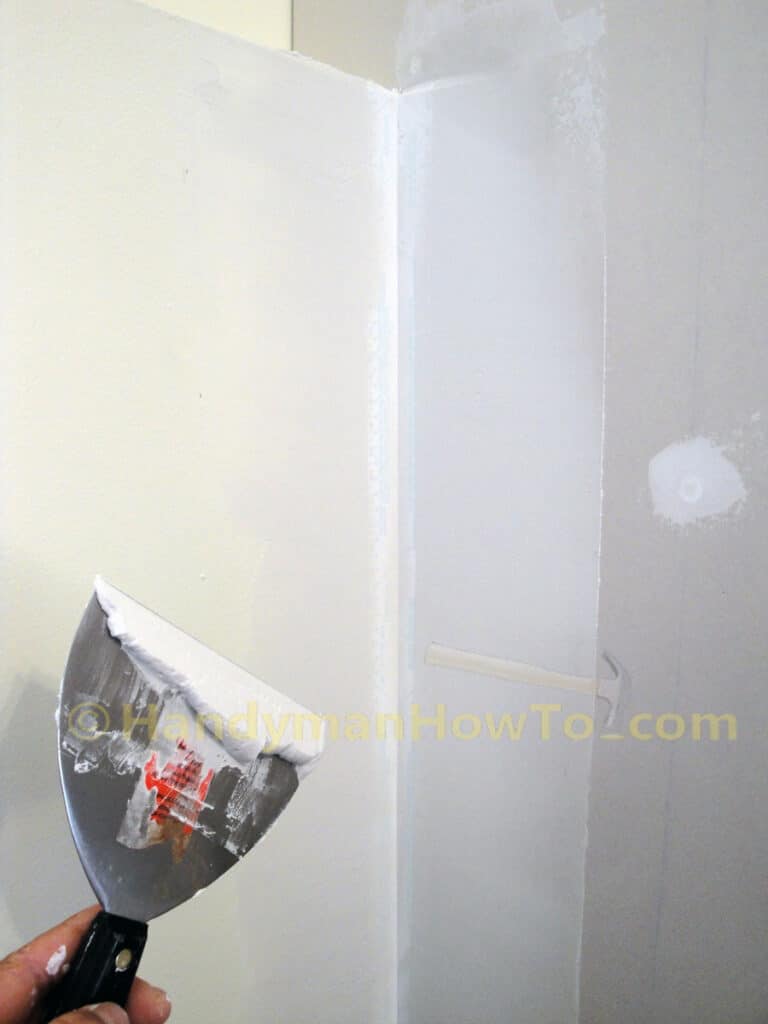
The Strait-Flex is finished with a feather coat of all-purpose drywall joint compound with the 6 inch drywall knife. A light sanding to knock down the outside bead of joint compound where it rolled off the edge of the knife and I’m done here!
The basement bedroom closet corner after installing two more sections of Strait-Flex Medium drywall tape:
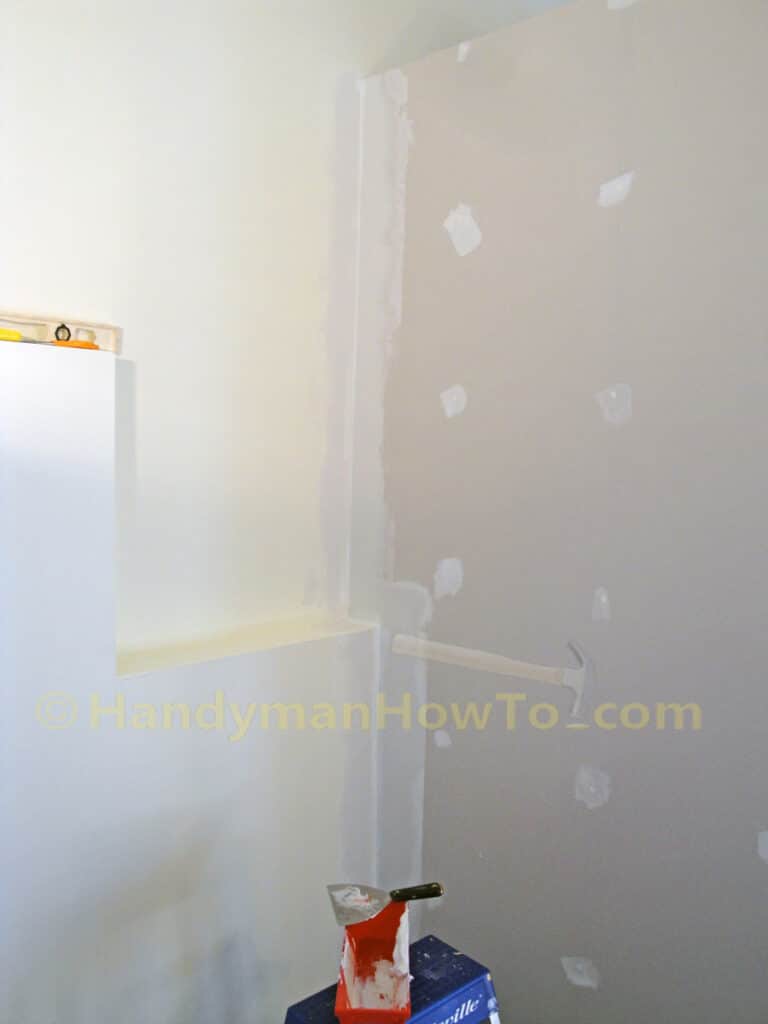
I also finished the closet interior corners with Strait-Flex Medium drywall tape with very satisfactory results.
Tip: Check your taping knife often and scrape off any joint compound that’s starting to dry into the trash because a tiny bit of dry compound will leave gouges in the wet compound.
Taping Drywall Butt Joints
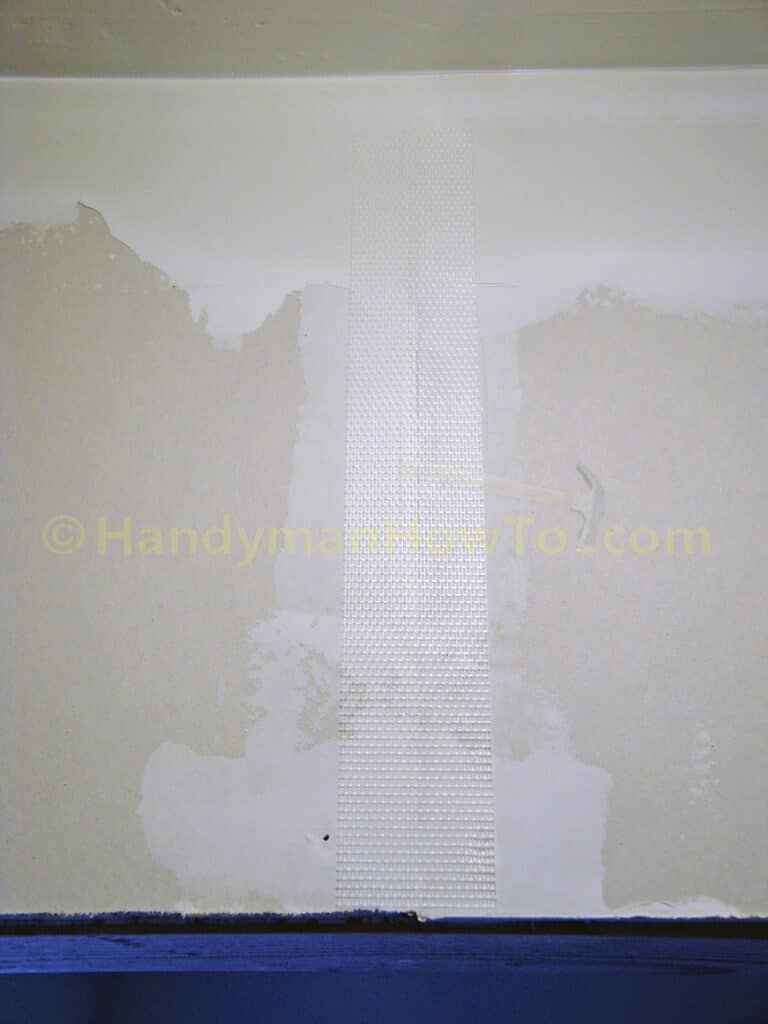
The drywall butt joints where two drywall panels meet are taped with self-stick mesh tape:
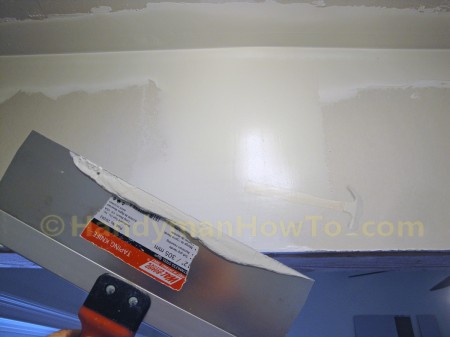
The butt joint is finished with thin coat of joint compound using the 12 inch taping knife to feather seam:
Drywall Corner Bead Installation
Drywall corner bead is used to strengthen, protect and make a nice straight edge. Drywall corner bead is available in plastic and metal for straight and curved (e.g. arch ways) applications.
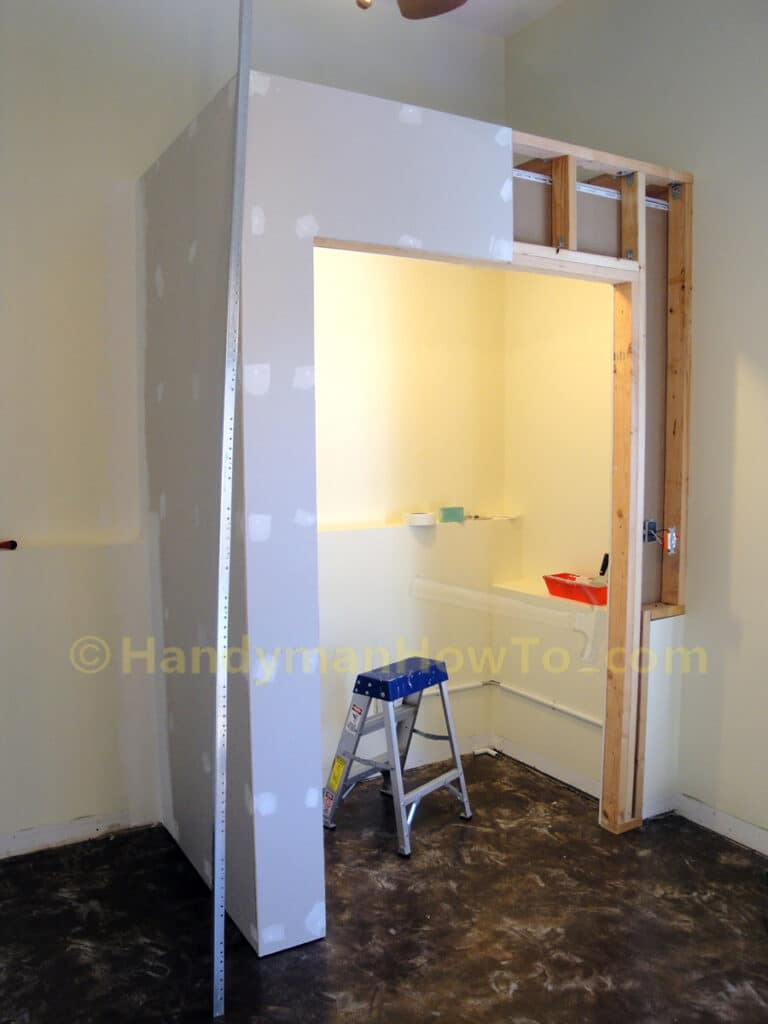
The drywall outside corner will be covered with 1-1/4″ galvanized metal corner bead to protect the corner. I purchased a 10 foot section for about $2 because the closet is a little over 8 feet high. (BTW – that right section of closet wall is exposed for the building inspector to inspect the closet light wiring.)
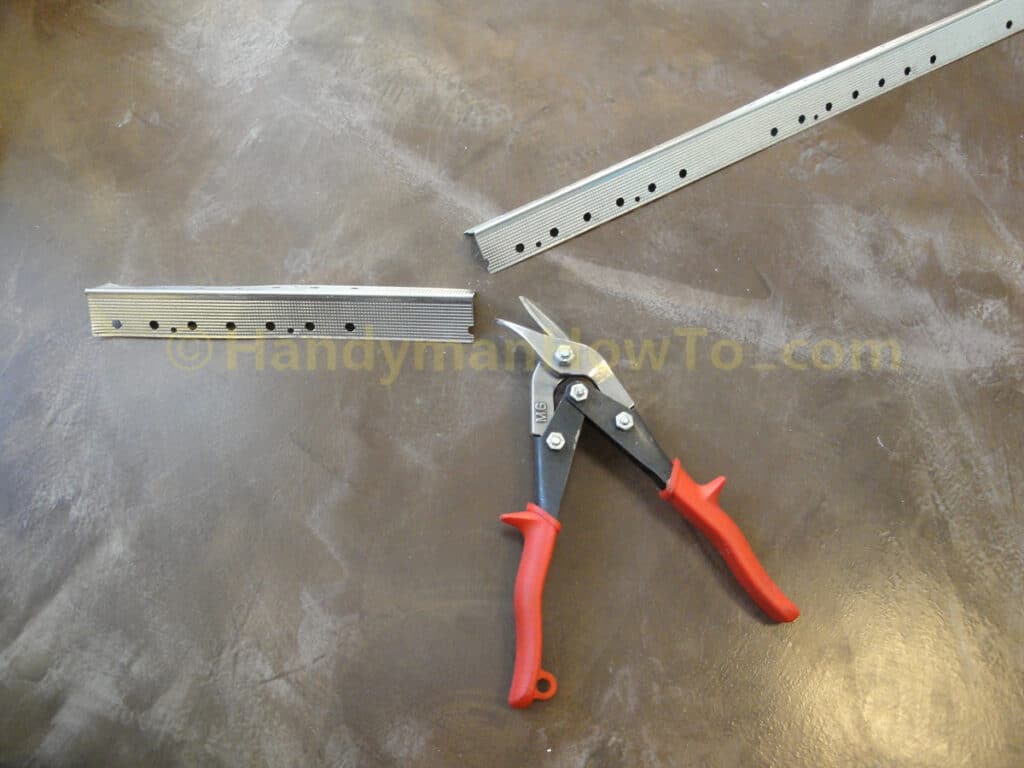
The metal drywall corner bead is cut to length with tin snips:
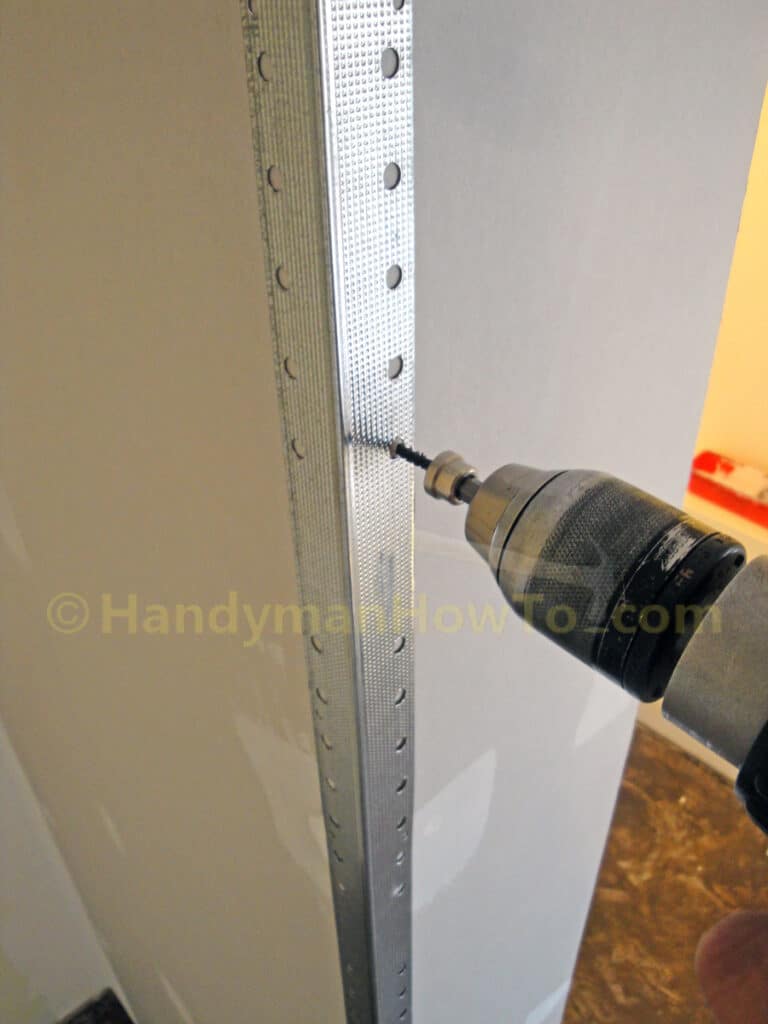
The corner bead is fastened to the wall corner with drywall screws and a drywall screw dimpler bit. Set the screws about 8 inches apart and stagger the screws on opposite sides so two screws don’t collide.
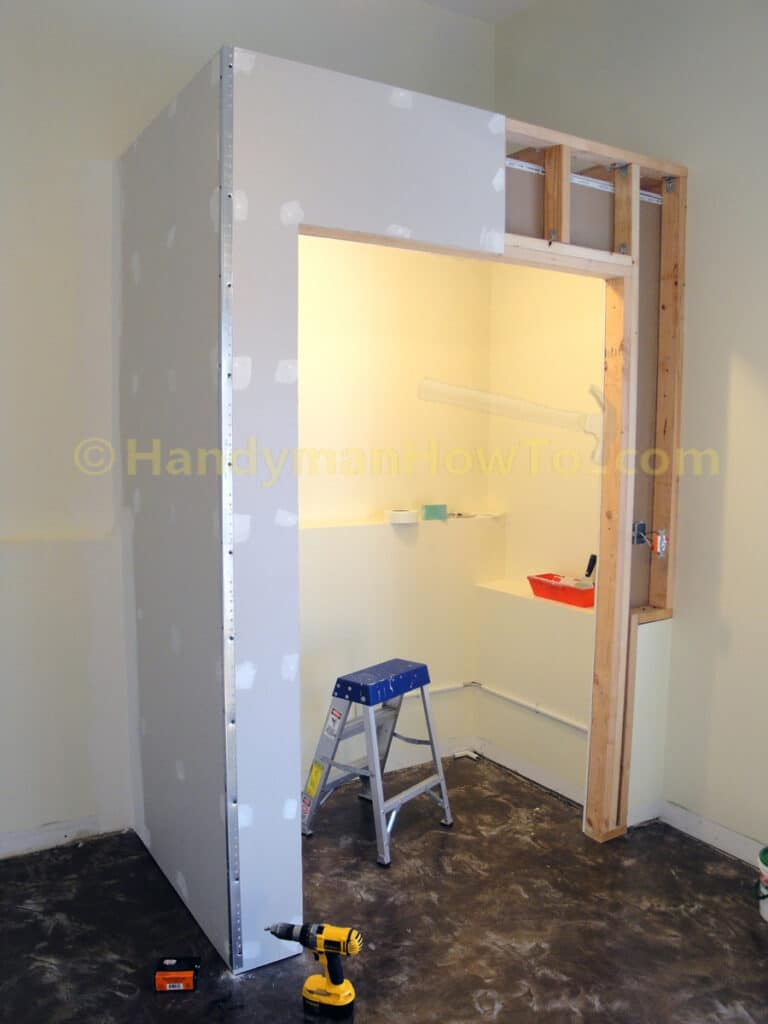
The installed drywall corner bead on the basement closet:
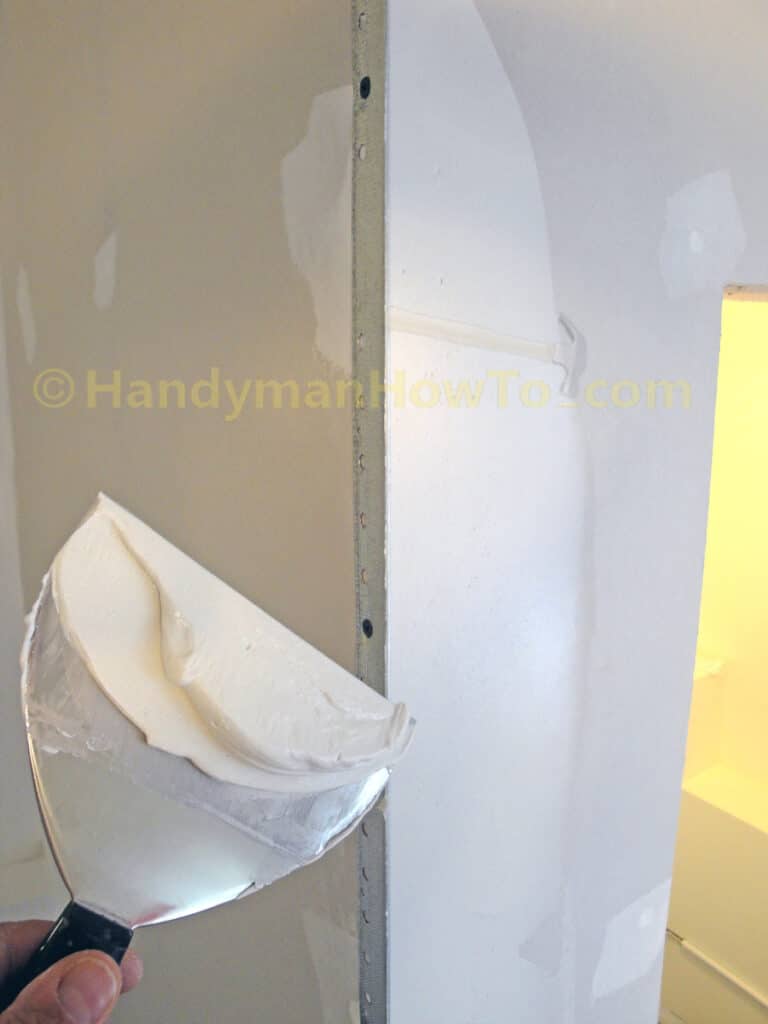
The drywall corner bead profile is designed such that the corner slightly raised so the sides can be filled with joint compound feathered onto the walls. The first coat is applied with a 6 inch drywall knife, then feathered with a pass of the 12 inch wide drywall knife:
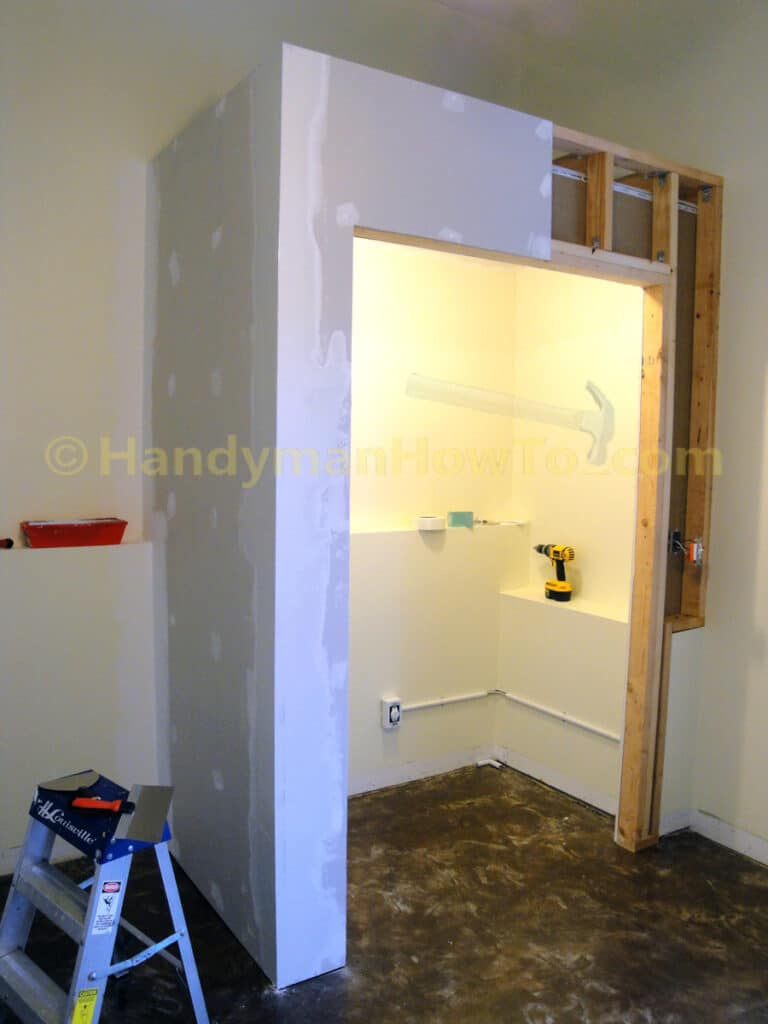
The drywall corner bead finished with joint compound:
The 1/2 inch plywood closet cap and last section of drywall are installed in the next part of this series.
Thanks for reading,
Bob Jackson