This project shows how to install door jambs and casing for a bi-fold door in this update of How To Build a Basement Closet. This series is continued from the Plywood Cap & Outside Corner Moulding Installation.
Bi-Fold Doors, Door Jambs and Door Casing
The materials for finishing the basement closet door are:
- Two bi-fold door units to span the 4 foot wide finished door opening.
I purchased the Full Louver Prefinished White Plantation Closet Door Bi-Fold 24 in. by 80 in. door unit - Ready to install door jamb frame kit
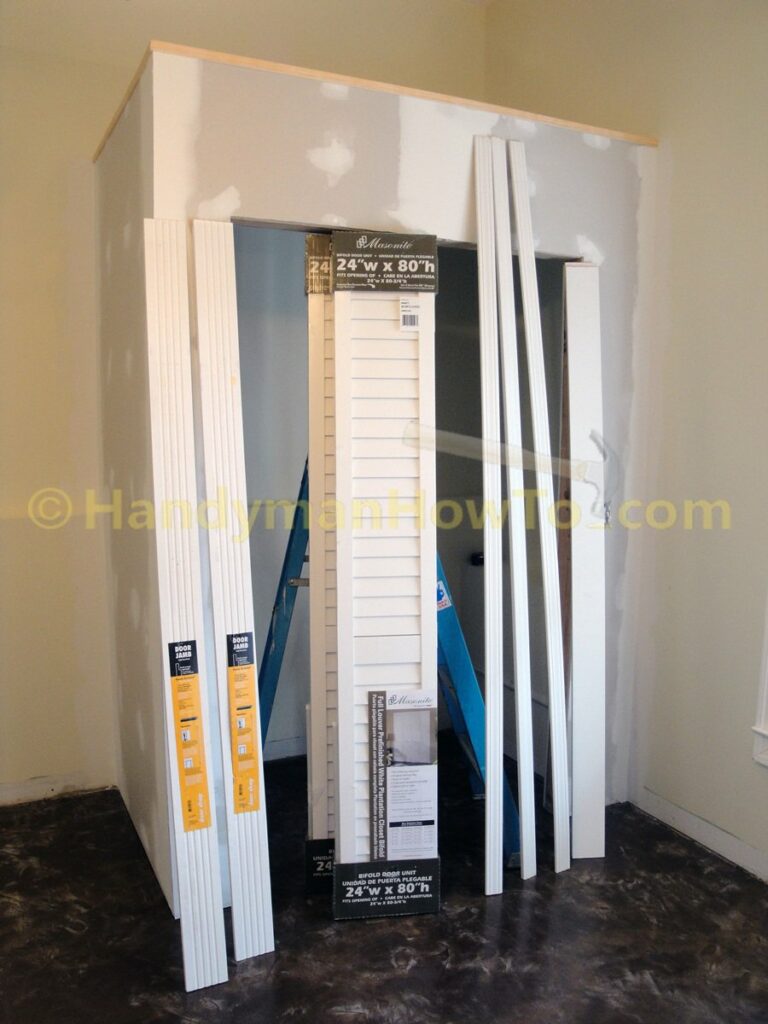
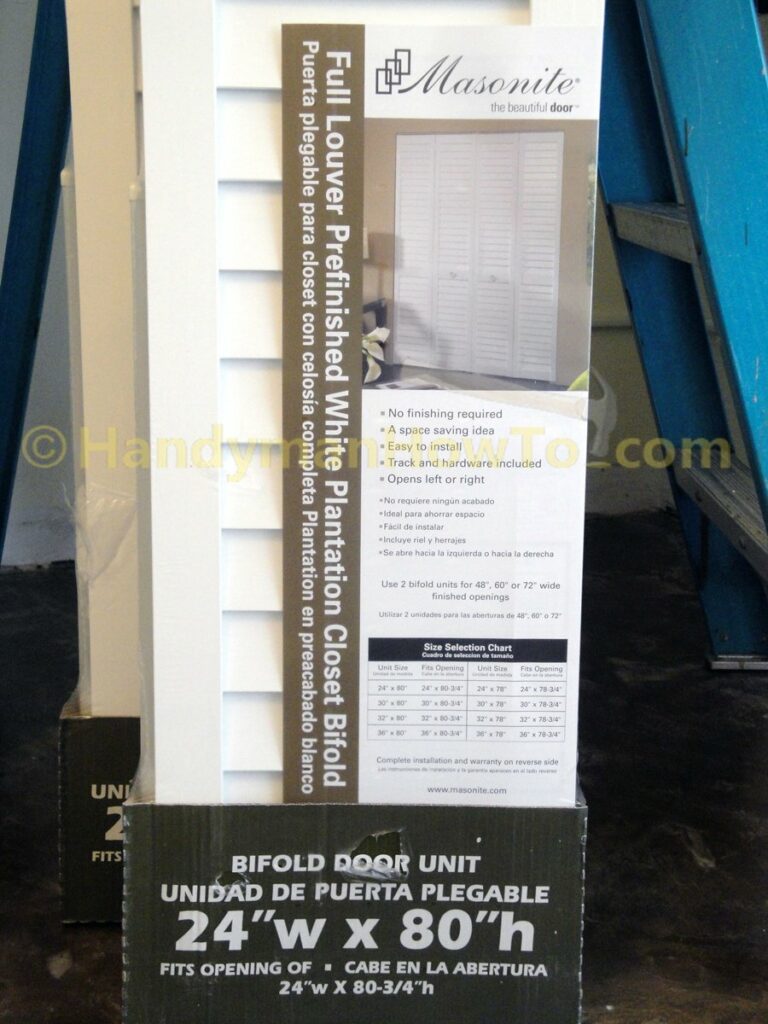
Details of the 24 in. x 80 in. bi-fold door. I chose this door because it’s prefinished and doesn’t need painting if you want a white door.
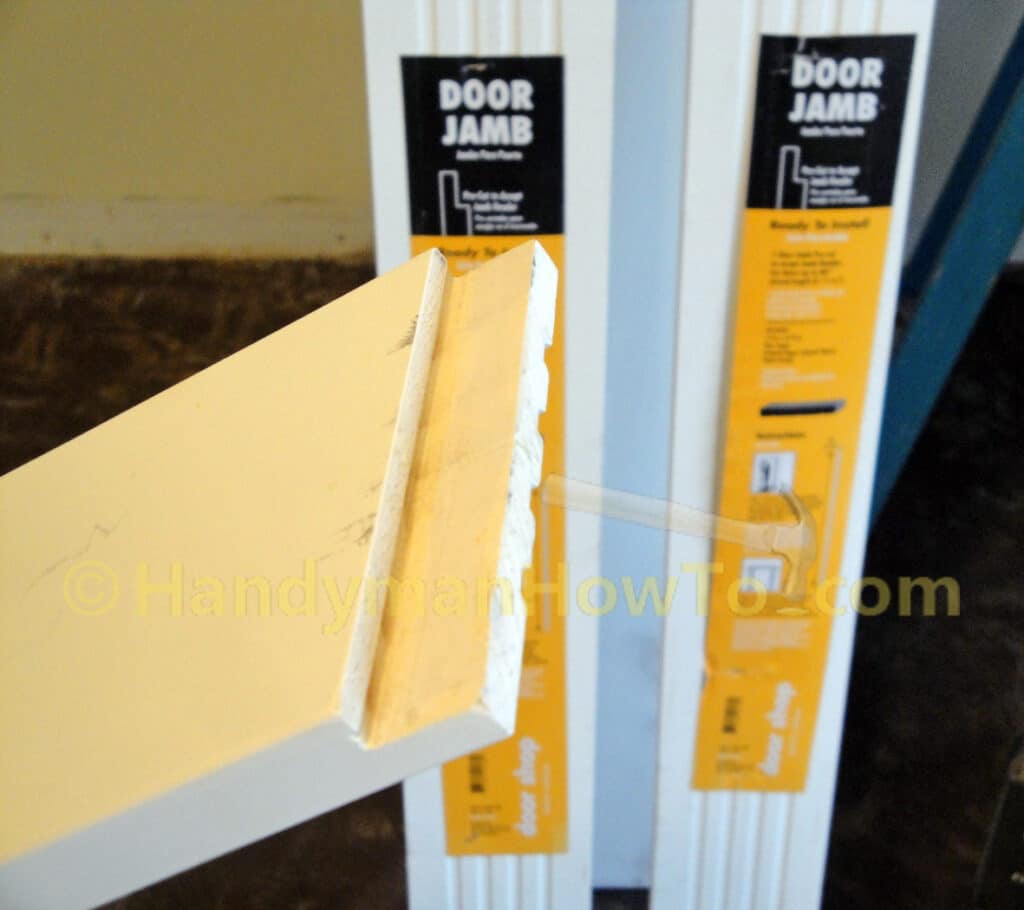
The ready-to-install 4916PFJ 11/16 in. by 4-11/16 in door jamb: (Editor’s Note: no longer available, so a new item was linked above in the list)

Close-up of the pre-cut rabbet in the door side jamb so the head jamb fits flush.
Closet Door Jamb Installation
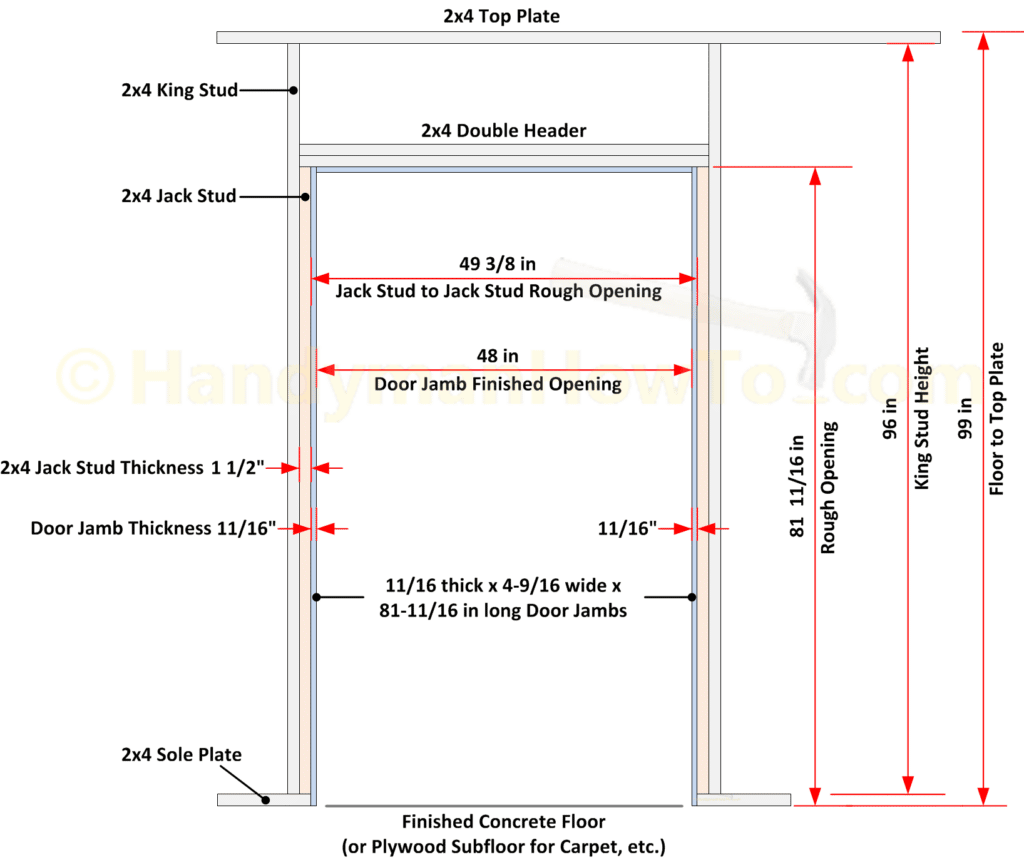
A door rough opening is typically built 2.5 inches wider and 2 inches taller than the finished door to allow for irregularities in the 2×4 framing and provide space for the two 11/16 inch thick door jambs. The door jambs are then “trued up” during installation with shims placed between the 2×4 rough opening and door jamb.
As explained in How to Build a Basement Closet – Part 3, I worked carefully using precise measurements and very straight 2×4 lumber to build the rough opening square, plumb, 81-11/16 in. high and 49-5/8 in. wide. After installing the two 11/16 inch thick side jambs (equals 1-3/8 inches total thickness), the finished door opening will be 48 inches (48 = 49-5/8 minus 1-3/8). The result is my door jambs do not require shims. I personally don’t like shimming door jambs because a large part of the jamb will be unsupported. The bi-fold door scale drawing should clarify the framing details and dimensions:
Measure and Fit the Door Jamb Header
The two side jambs are temporarily set in place, checked for plumb and fastened with a single 1-1/2 inch brad nail. Then, the length of the header jamb is measured from rabbet-to-rabbet.
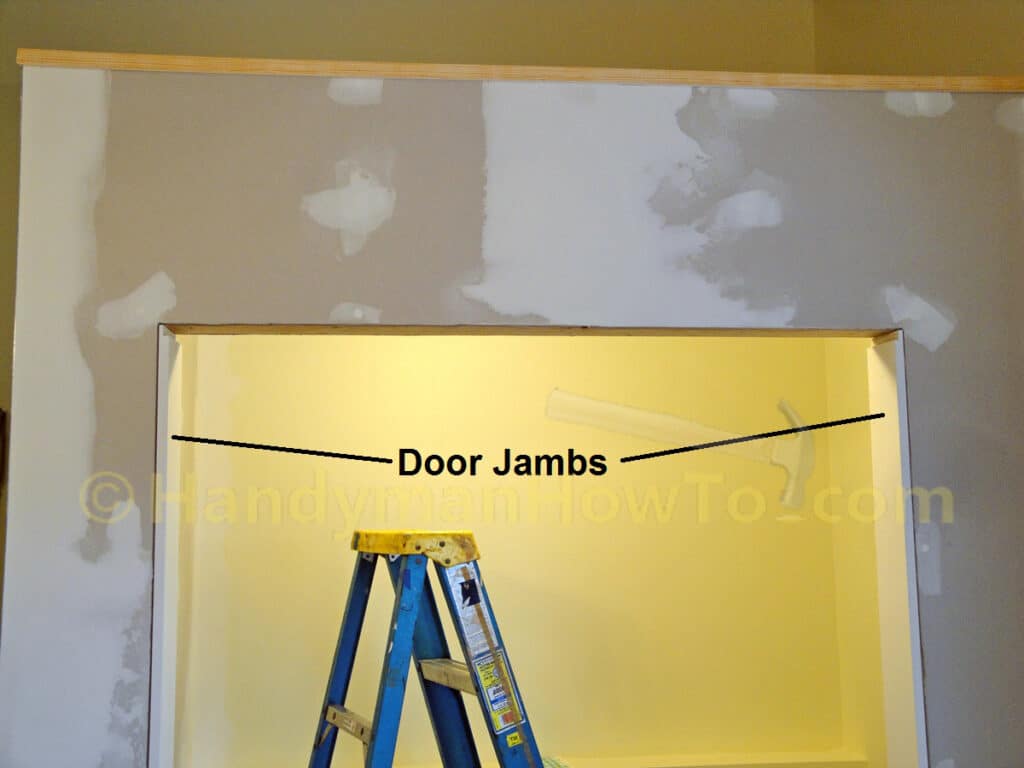
The header jamb is cut from a length of side jamb stock, using the section without the rabbet because the header does not need the rabbet groove.
The header jamb fit is checked by slipping it in the side jamb rabbets:
The header jamb is slipped off the side jambs, then the side jambs are pulled free of the rough opening. The single brad nail that temporarily held the side jambs in place pulls out easily.
The header jamb is fitted and squared with the side jamb, then the side jamb is fastened to the header with a couple of 1-1/2 inch brad nails. Be careful to drive the brad nails straight so it doesn’t exit the surface of the header jamb. The other side jamb is the same method.
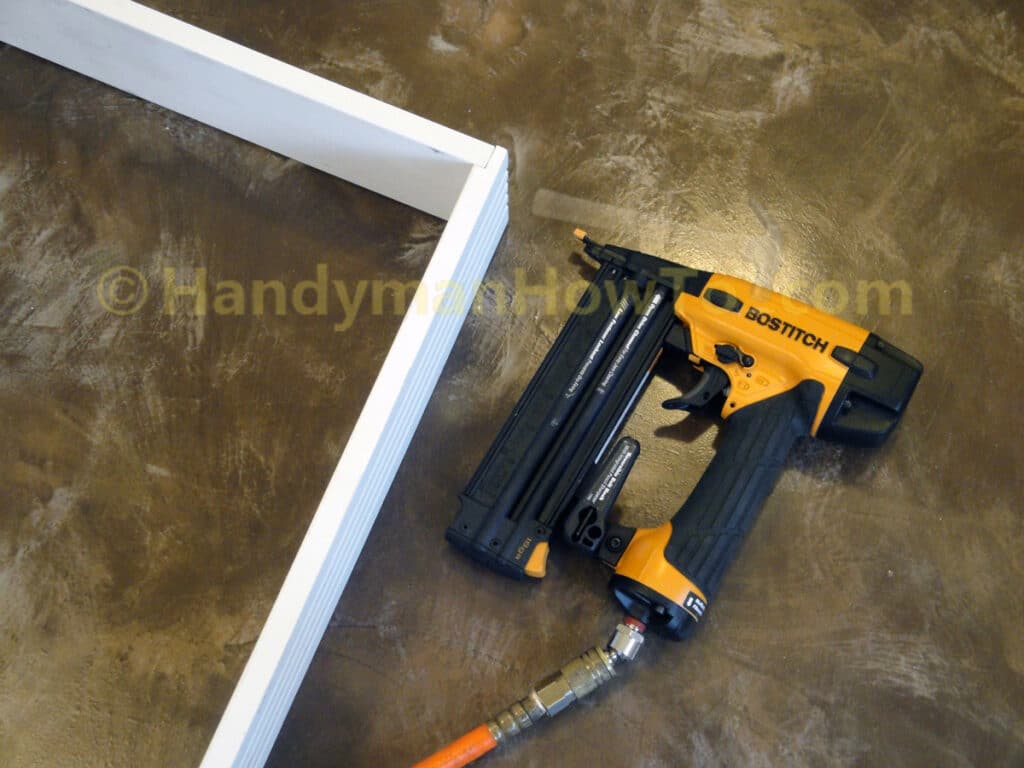
The assembled door jambs are stood up and ready to be set in the rough opening.
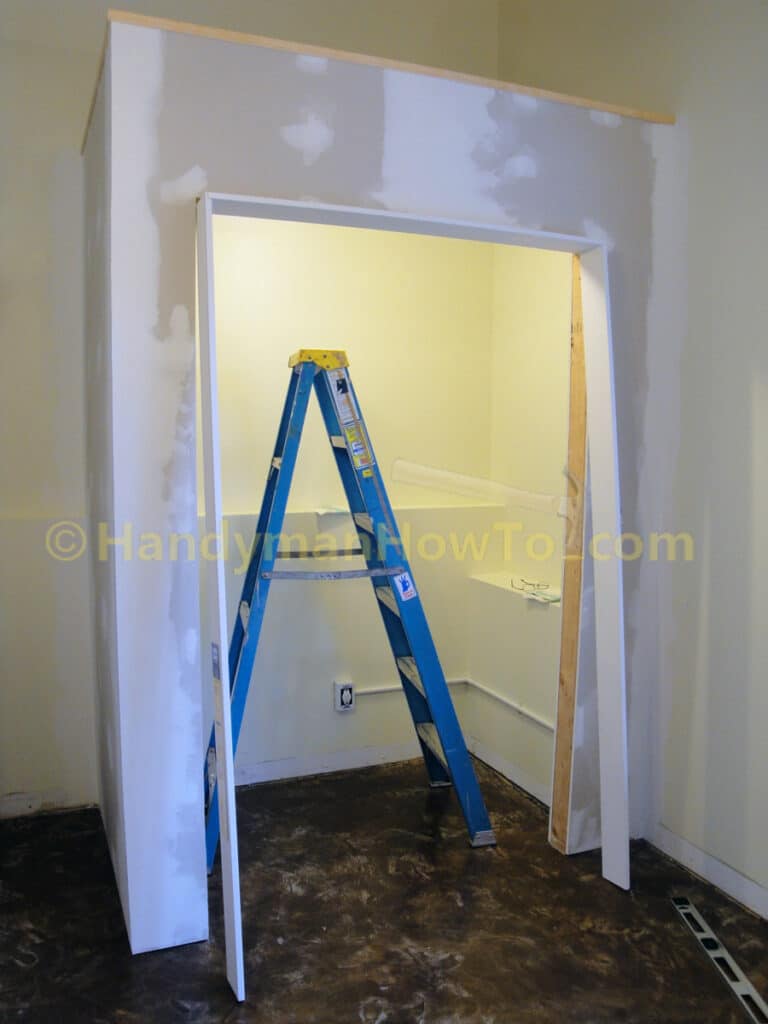
The door jambs are set even with the closet drywall, checked for square and nailed to the 2×4 framing with 2 inch long six-penny (“6d”) finishing nails.
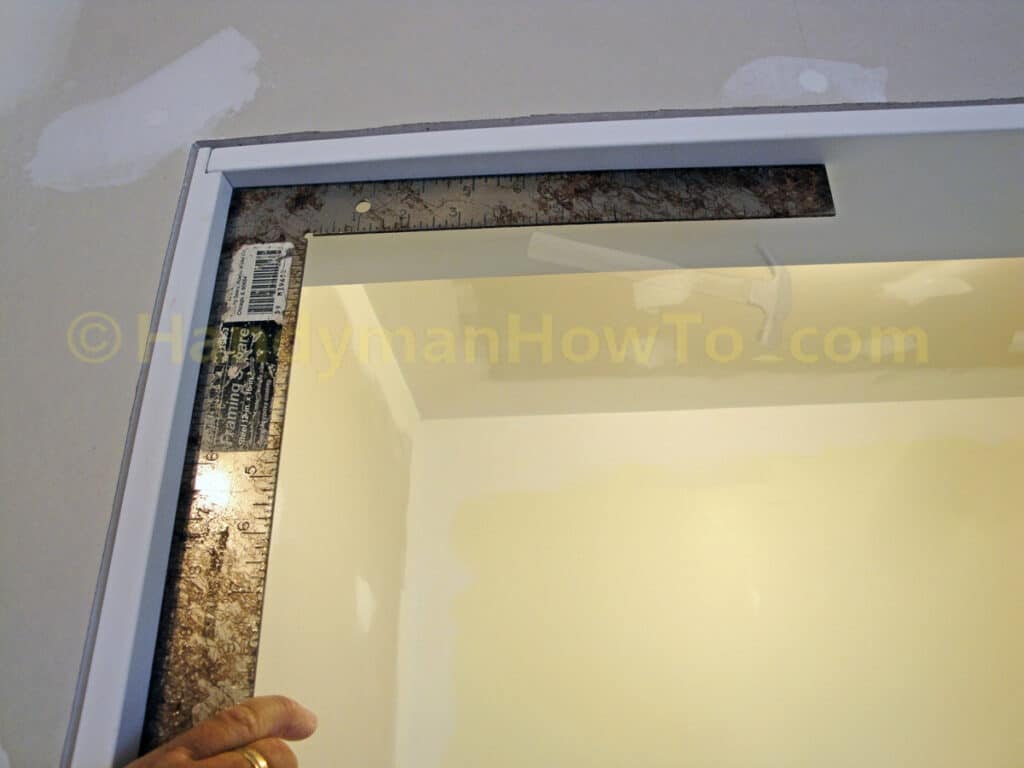
The finish nails are set in side-by-side pairs spaced 1 inch horizontally and ~16 inches vertically along the jambs. Nail both the side- and header jambs with 6d nails.
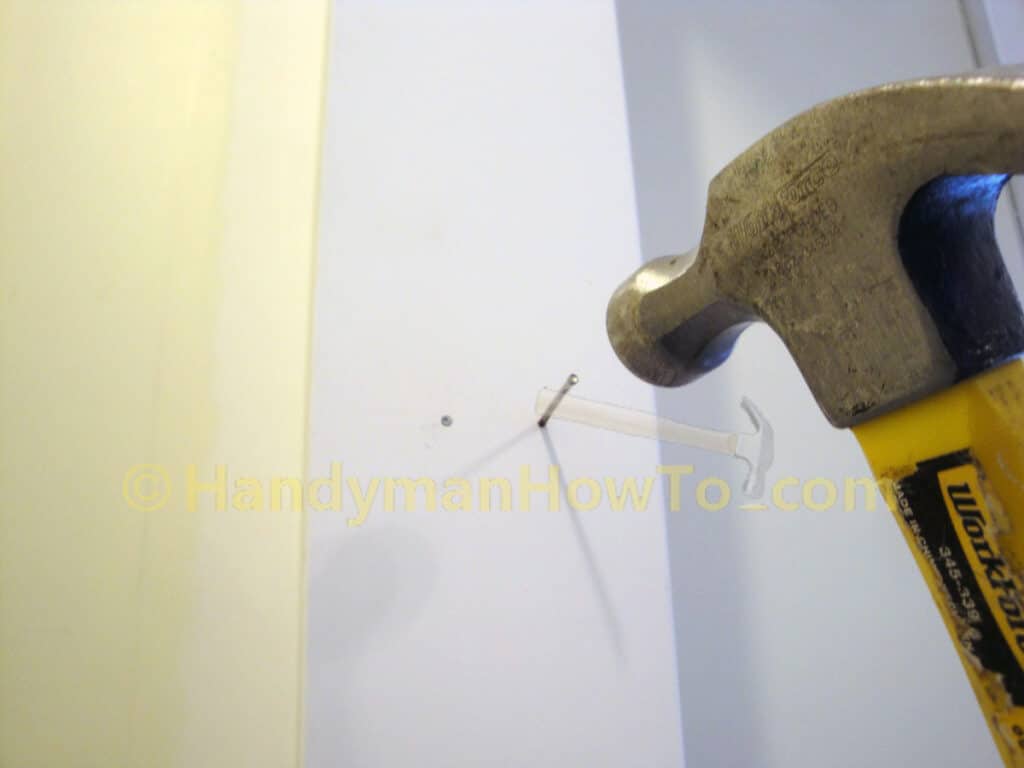
The nails are countersunk (i.e. the nail head is driven ~1/8 inch below the door jamb surface) with a nail punch. (If you don’t have a nail punch, a 16d nail can be used to countersink the finish nails.) The nail heads will be filled with wood putty and sanded flush with the wood surface before painting.
Closet Door Casing Installation
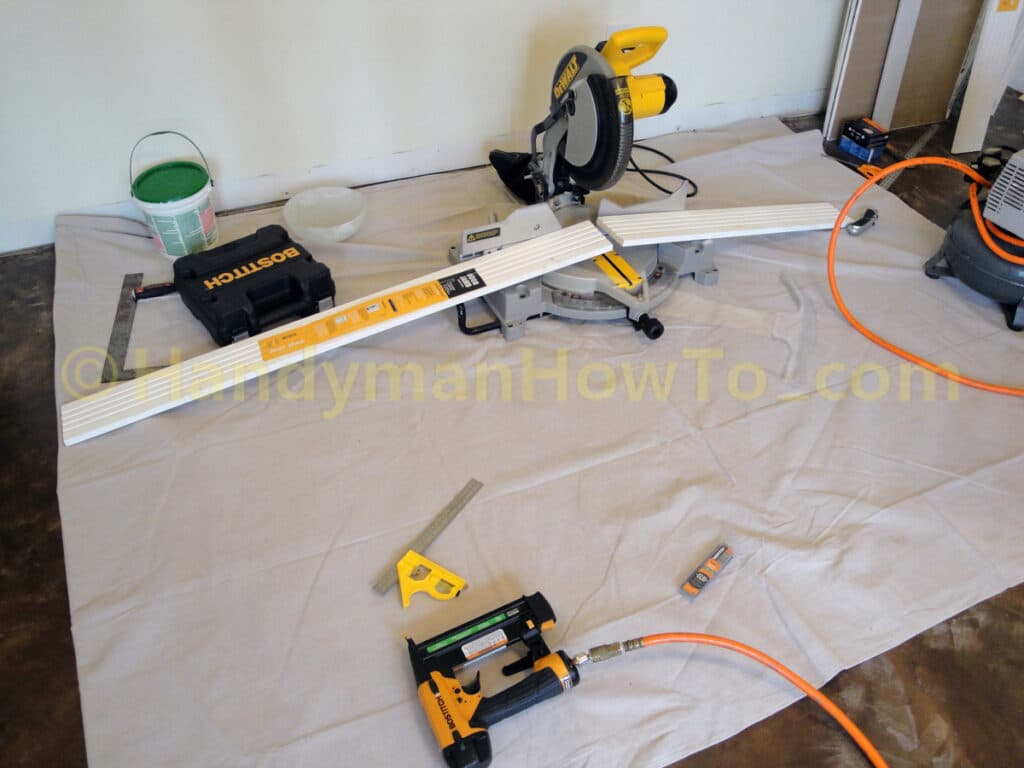
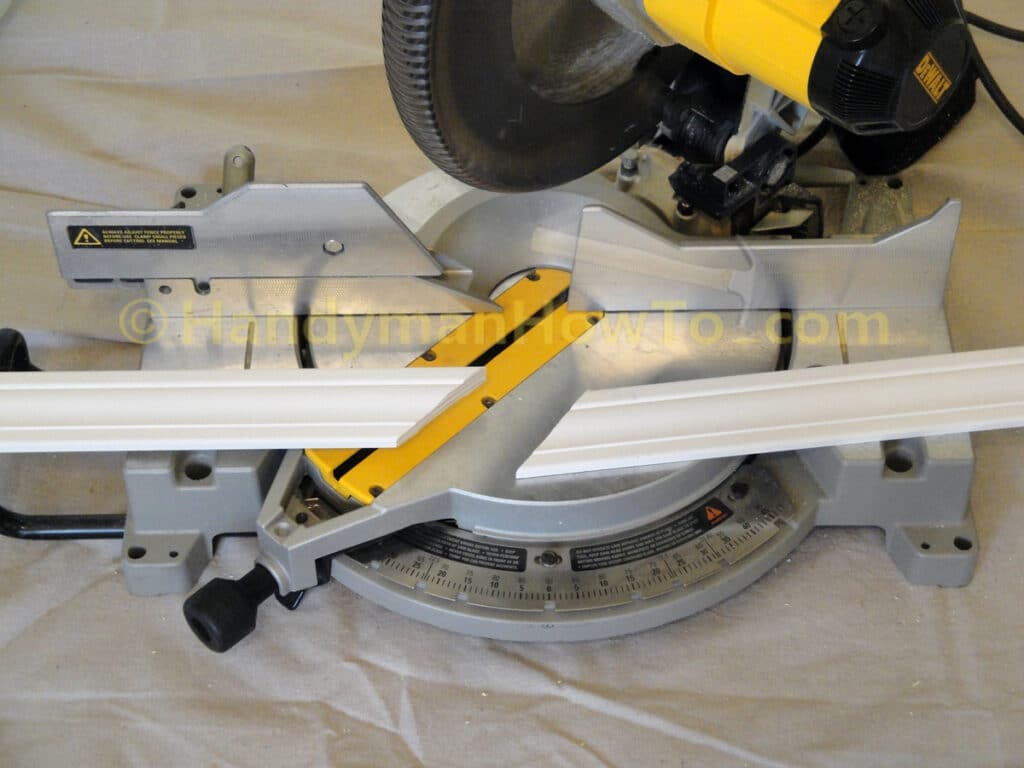
The 2-1/4 inch wide door casing was chosen because it matches the door casing in my home. The inside finished height of the door is measured and 1/4 inch is added for the casing setback (see the casing detail in the 3rd photo below). Then the 45 degree miter cut made on the Dewalt Compound Miter saw. Measure and install the side casings first, then the door header casing.
The door casing is fastened with 2 inch brad nails. The brad nail gun does a great job without jarring the work piece and automatically countersinks the brad nails.
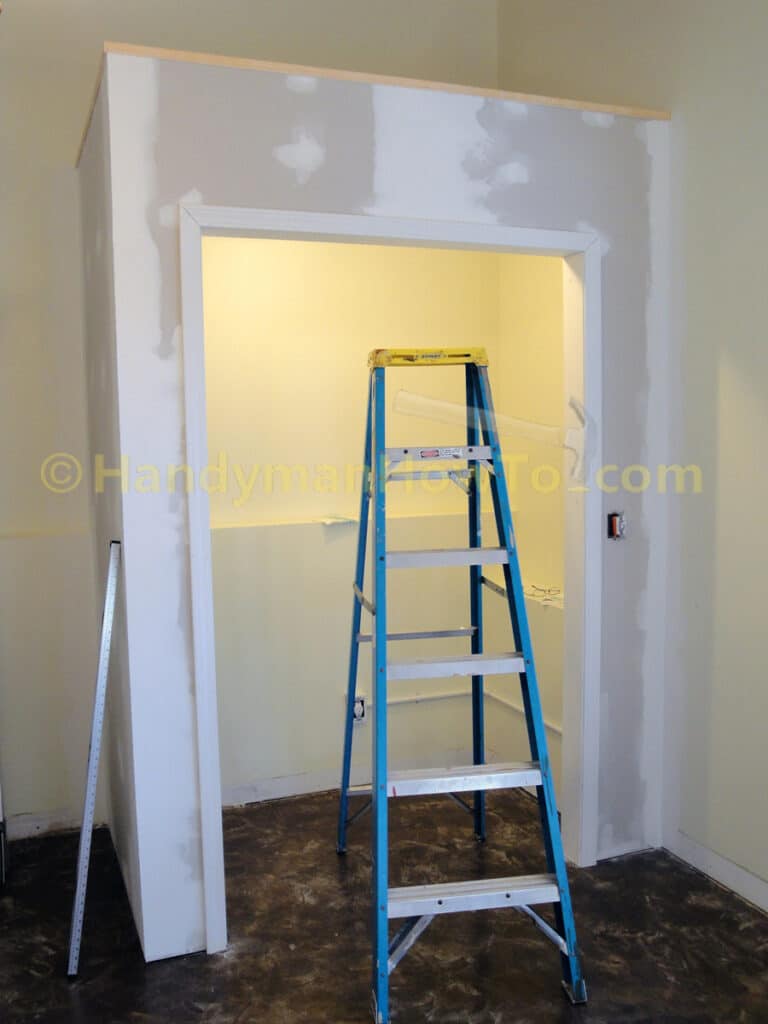
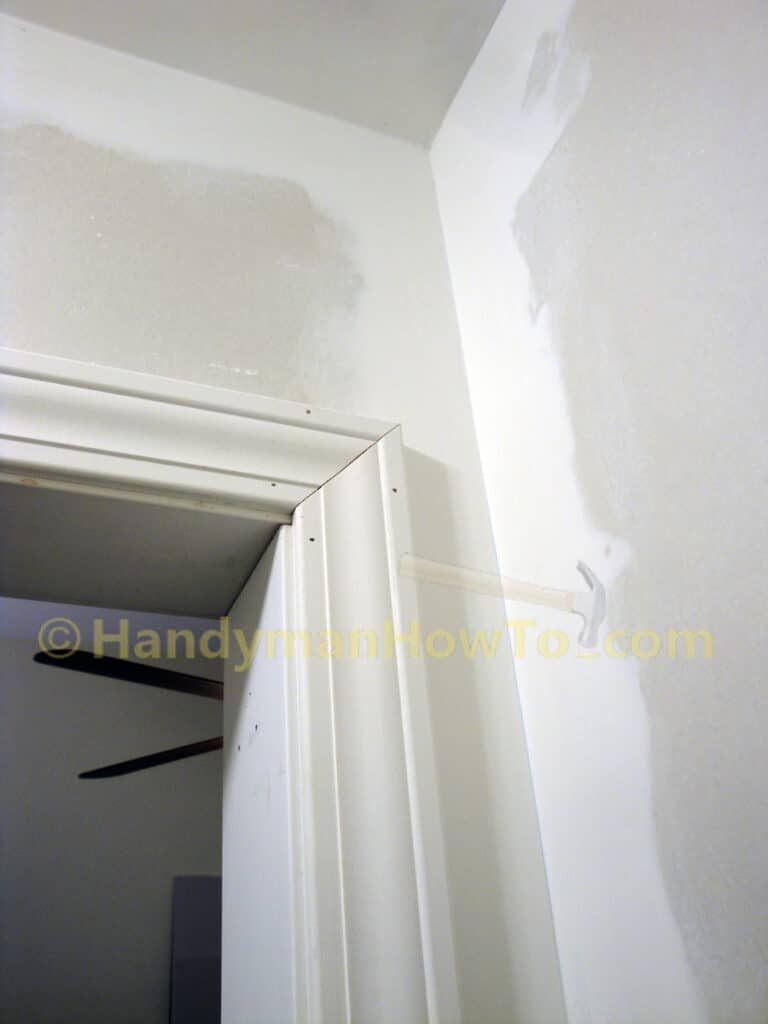
Closeup of the door jamb and door casing installation. Notice how the door casing is set back about 1/4 inch from the face of the door jamb for a bit fancier trim detail.
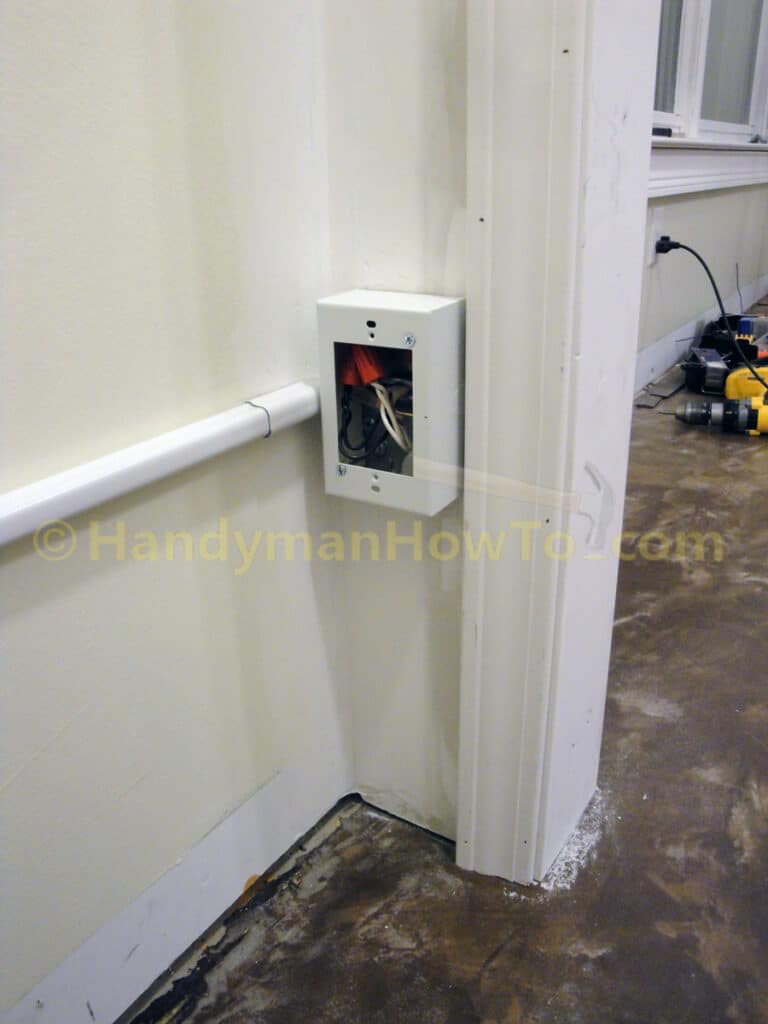
Door casing installation details at the concrete floor:
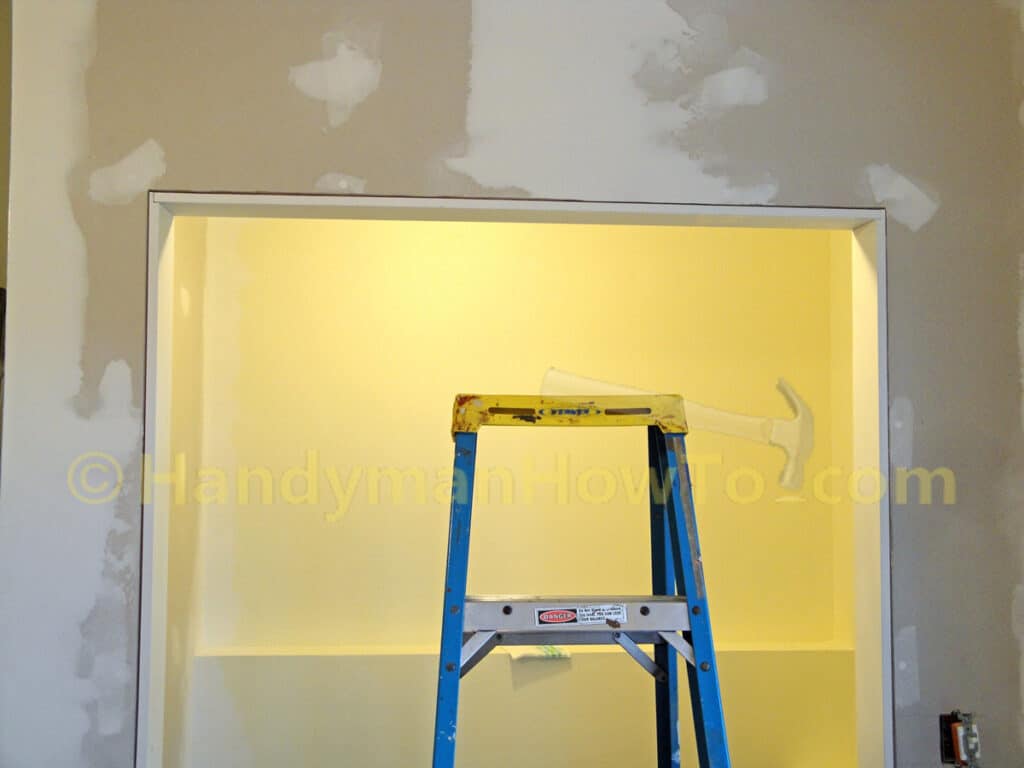
The completed door jamb and casing installation after filling and sanding the brad & finish nail heads with wood putty. I’ve also painted the closet walls. The closet door jambs, casing and outside corner moulding will be painted next.
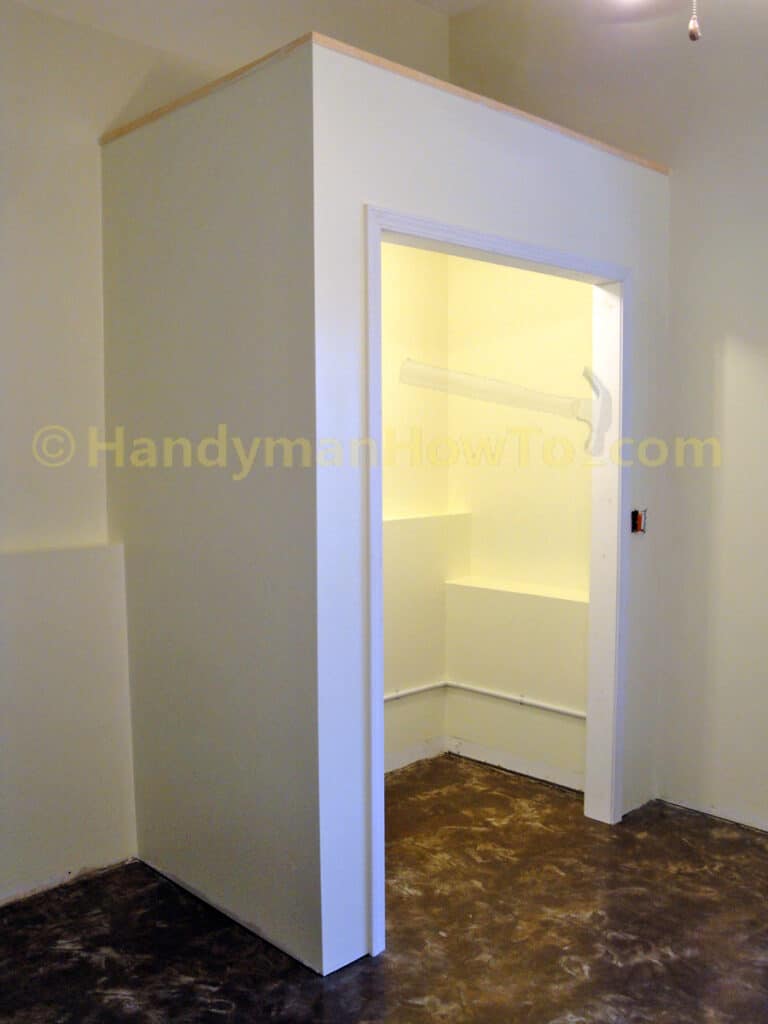
The bi-fold doors, baseboard and clothes racks will be installed in the next project update.
Take care,
Bob Jackson