The house was a bit warm so I set the temperature a couple of degrees lower on the thermostat. A short while later I noticed that no air was coming from the registers and the outside compressor unit wasn’t running. The problem was caused by a broken condensation pump which triggered the overflow safety switch to shutoff the AC.
Purpose of an Air Conditioner Condensation Pump
An air conditioner condensate pump is used when a gravity (or downhill sloping) condensate drain line to either the outdoors or a floor drain isn’t feasible, for example when the air handler is located in the basement. (My home has two air handlers: one in the attic with gravity condensate drain line to the outdoors and another in the basement with a condensate pump.)
The pump reservoir collects the condensate water from the air conditioner evaporator coil drain line in the warm season and/or the excess water from the whole house humidifier mounted to the air handler in the cold season. A float switch activates the condensate pump when the reservoir is full to pump out the water to an overhead sewer line or drain some distance away. If the water level rises to the high water mark, the float switch will activate a safety cutoff relay to turn off the air conditioner to prevent flooding.
My air handler is located in the basement and the condensate pump drain line is connected a brass tee fitting on top of the overhead sewer line:
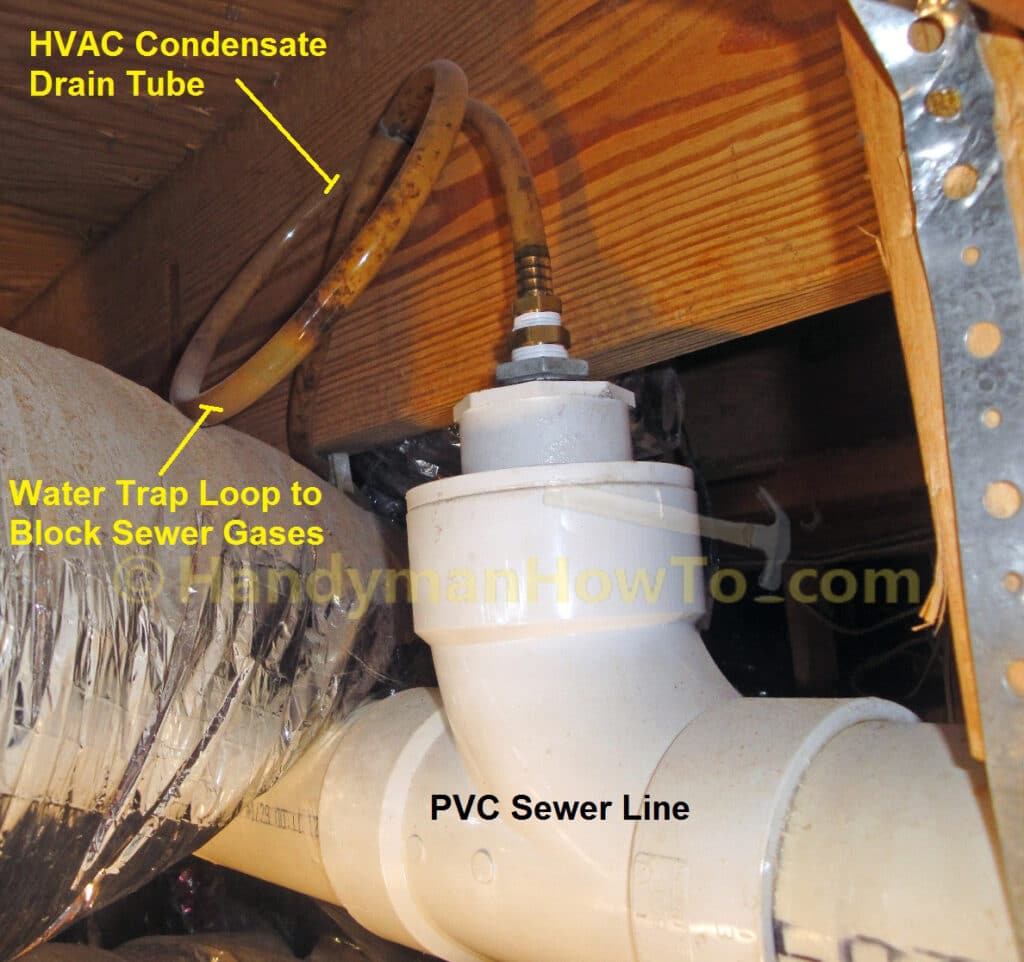
How to Replace a Broken Air Conditioner Condensate Pump
I performed a couple of quick diagnostic checks on the air handler:
- The thermostat relay was making an audible “click” when the temperature setting is lowered and the electronic display said the system was ON. This is good.
- The main circuit breakers for the inside air handler and outside compressor were not tripped, so the power wasn’t the problem.
- Taking a look at the condensate removal pump on the basement floor next to the air handler, I noticed it was full of water. The safety cutoff float switch had tripped due to the high water level to turn off the A/C system to prevent flooding.
“Oh great!” I thought to myself. It’s Sunday night and the hardware stores are all closed. There’s no chance of getting a replacement condensate pump tonight. I could call an A/C repairman for an after-hours visit – but there was another less expensive solution…
Temporary Fix for Broken Condensate Pump
As a temporary fix for the broken pump so I wouldn’t be sweating all night:
- I unplugged the condensate pump.
- Removed the four corner screws to the cover of the pump.
- Removed the cover with the pump motor and mechanism off the water reservoir.
- Carried the water reservoir outside and dumped the water.
- Reassembled the pump.
- Plugged in the pump power cord.
The float switch reset itself now that the pump reservoir was empty allowing the A/C system to operate. The air conditioner will run for several hours until the reservoir was full again. With the cooler outside temperature that night, the A/C reservoir was only 1/2 full the next morning.
Replacement Condensate Pump
The big box hardware stores in my area have condensate removal pumps, but not the brand or horsepower rating of the pump that I have. The online product reviews for the pumps in the big box stores were negative, so I nixed the idea of buying a cheaper (~$70) pump that had a bad reputation.
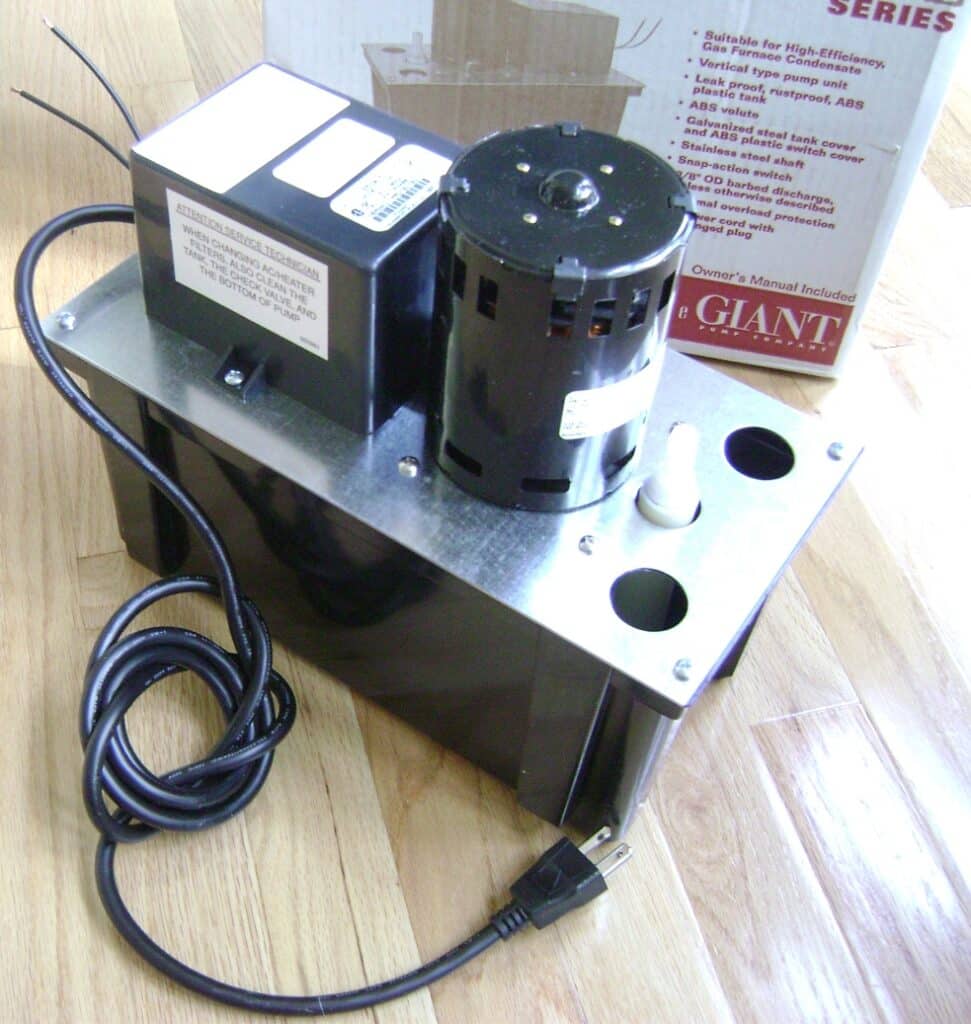
My pump is a Little Giant Pump Company model VCL-24ULS with a 1/18 HP motor, 1 gallon water tank and will lift 150 gallons of water per hour to 16 feet high.
If you’re looking for a wiring diagram, see the Operating and Maintenance manual.
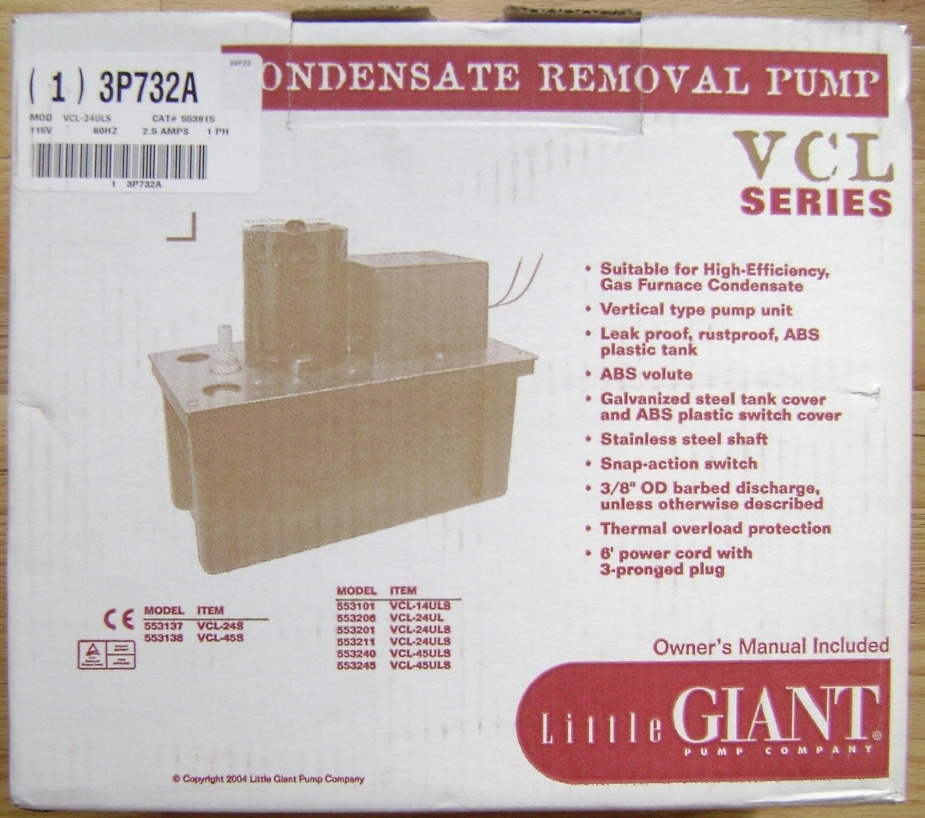
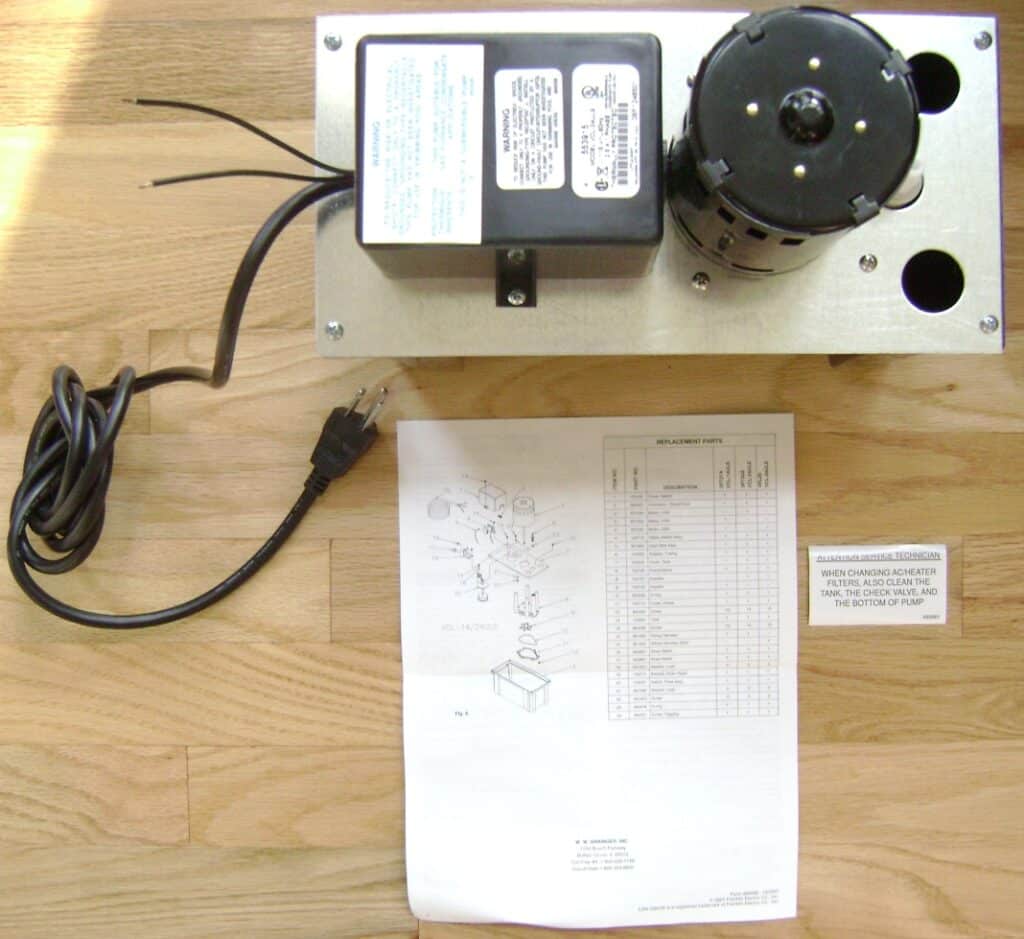
The new condensation pump, installation instructions and sticker with a notice to clean the pump when changing the AC/Heater filters.
Install the New Condensate Pump
The new pump was simple to install and the job took no more than 10 minutes.
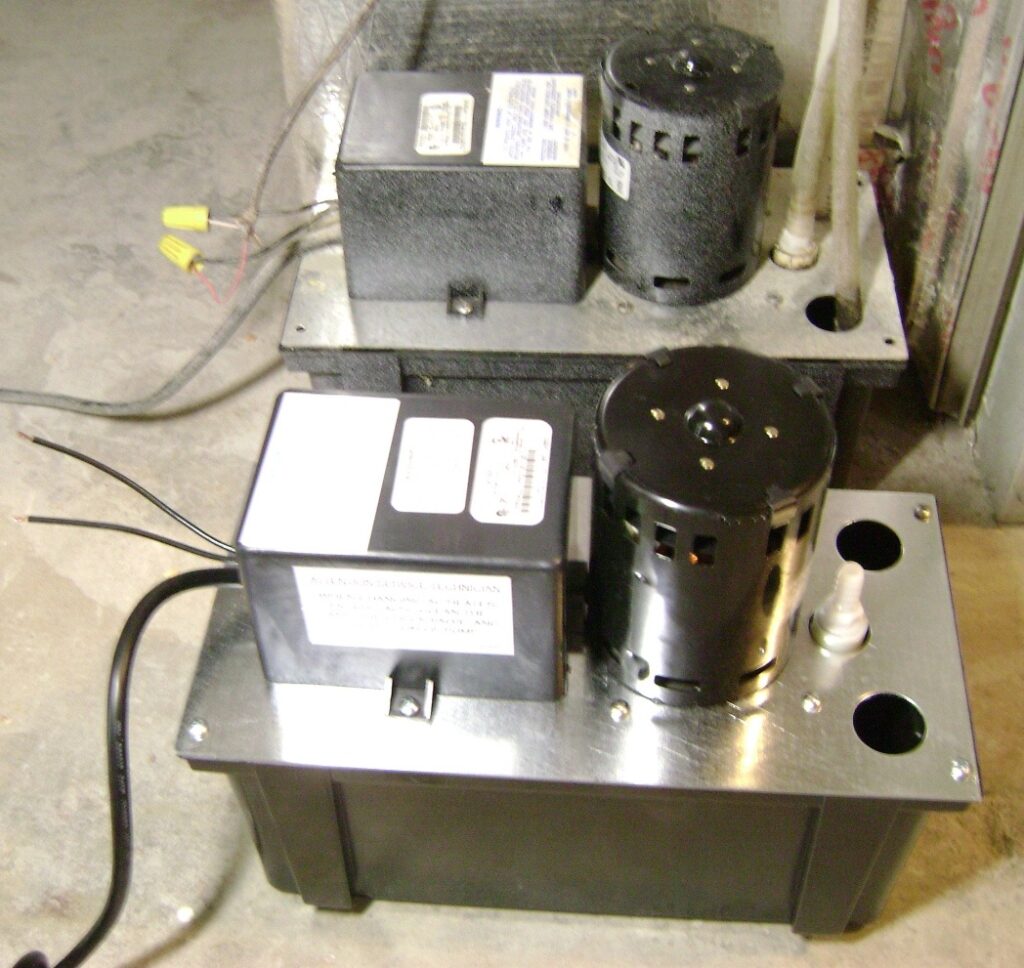
Here are the new and old pumps. The old pump died after almost 9 years. The dusty look of the old pump is from overspray when the contractor painted the drywall when the house was built.
Remove the Old Condensate Pump
My pump has two input lines:
- Rigid white 3/4 inch PVC drain pipe from the A/C unit
- 3/8 inch clear flexible tube from the humidifier (used in the winter with heating)
and one discharge line:
- a clear 3/8 inch flexible discharge tube that connects to the overhead sewer line
To remove the old pump:
- Turn off the AC/heater system at the thermostat.
- Disconnect the power cord to the pump.
- Remove the wire nuts that connect the AC/heater safety shutoff wires to the float switch. This is a low voltage circuit – typically between 12 and 24 volts.
- Remove the flexible 3/8 inch discharge tube from the barbed nipple.
- Remove the four cover screws at the corners of the pump.
- Lift up the pump cover and slide the water reservoir away from the the PVC drain pipe.
I needed to remove the cover because the rigid 3/4 inch PVC drain pipe extended an inch or two below the cover and I needed to tilt the reservoir to clear the pipe. - Clean the drain pipe and lines with bleach and water.
- Set the new pump in place.
- Reconnect the drain and discharge lines.
- Reconnect the safety shutoff switch wires.
- Reconnect the power to the pump.
- Turn on the AC/heater at the thermostat.
- Fill the pump basin with water and test.
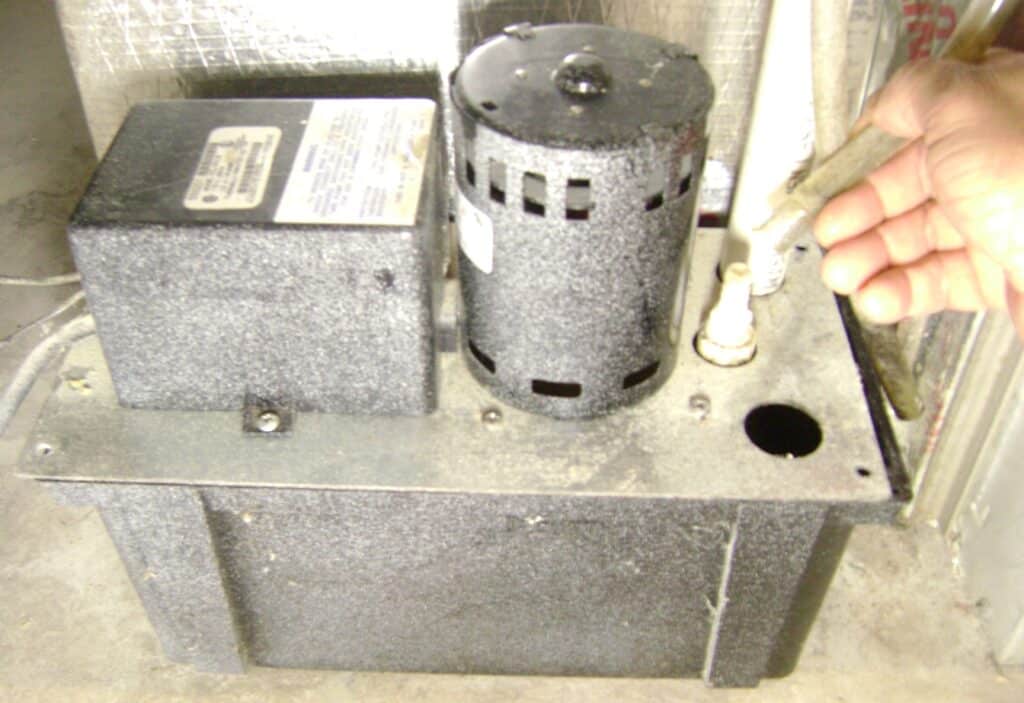
Remove the cover screws and lift off the pump.
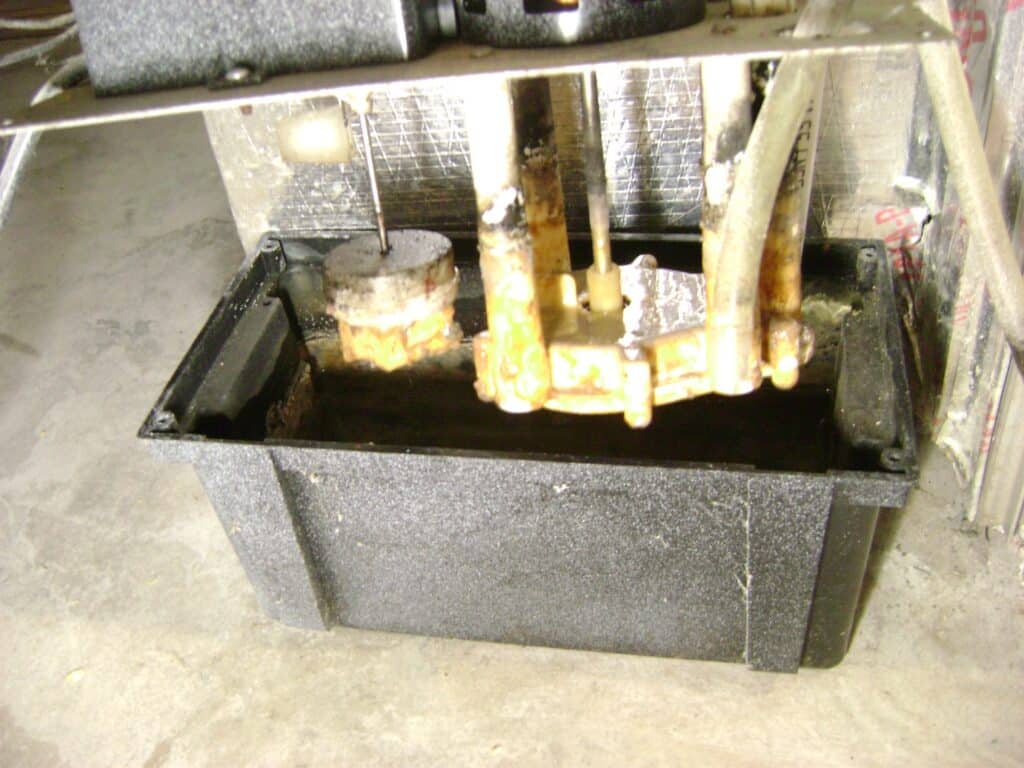
Yuck! Everything is covered in crud. It’s remarkable the pump lasted almost 9 years. I see why the new pump includes a sticker for the service technician to clean the pump and basin when changing the AC/heater air filters.
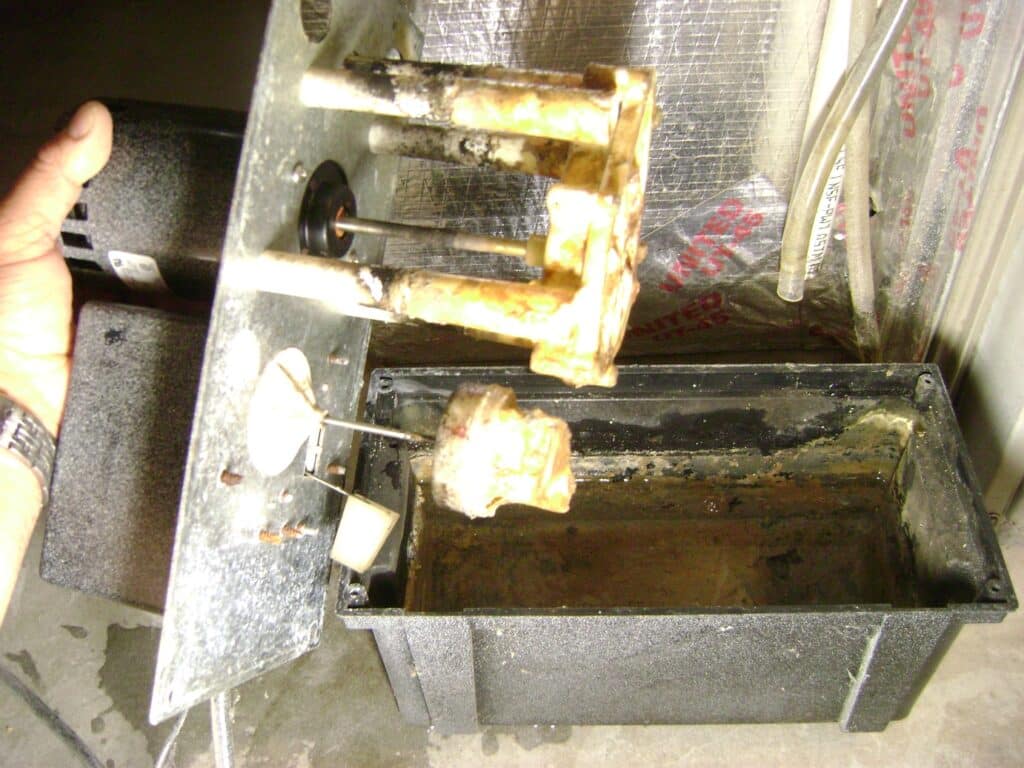
I removed the cover of the new pump because the instructions indicated there might be packing material inside. I found none.
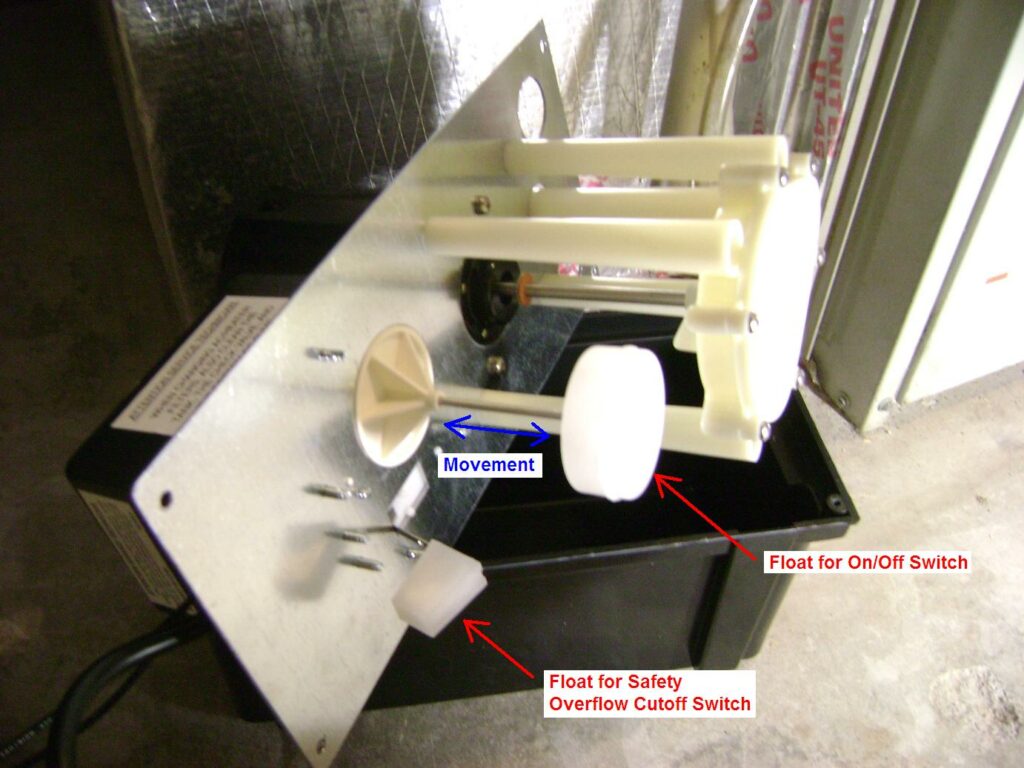
Note that the pump has two float switches (click on the image below for a full size view):
- Float for the high-water safety cutoff switch. The switch controls a low voltage circuit. When the switch is triggered, the air conditioning unit will shut down to prevent flooding.
- Float for the On/Off switch. This float rises and falls with the water level in the basin. When the high water mark is reached, it triggers the pump On switch to pump out the condensate water.
The new pump was simple to install. Just reattach the safety cutoff switch wires (yellow wire nuts – the order of the wires doesn’t matter, it’s a simple contact closure switch), insert the drain lines and reattach the discharge line to the barbed nipple. I filled the pump with water through the hole at the front-right corner to check the operation and look for leaks around the barbed nipple. Everything worked fine!
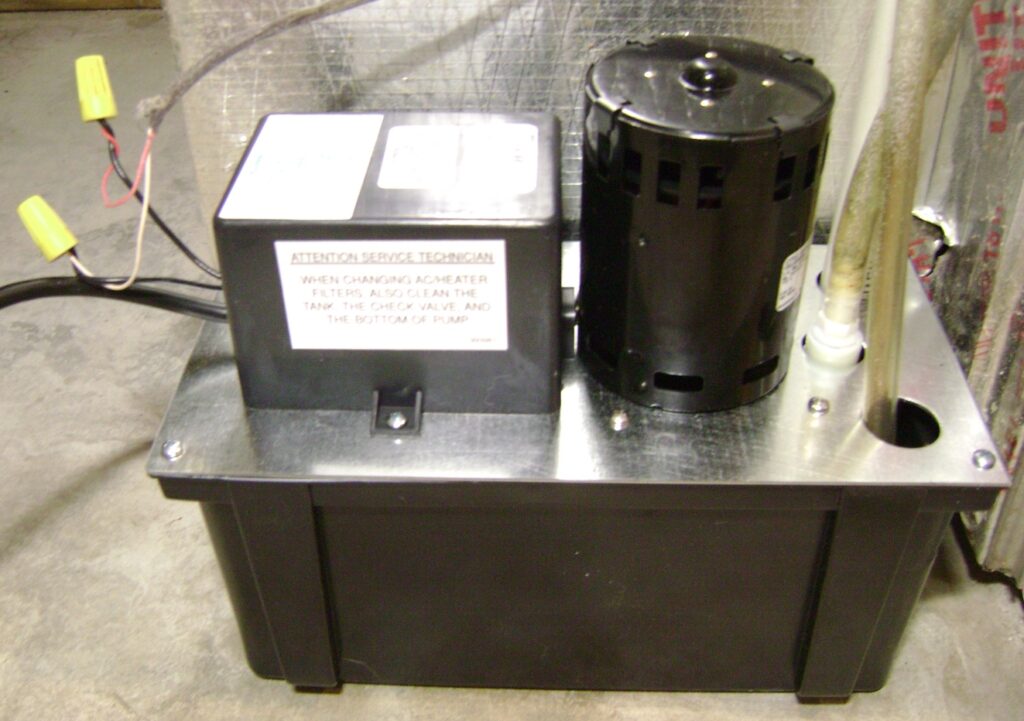
Note to self: Clean the condensate pump each time the AC/heater air filters are changed.
Cause of the Old Pump Malfunction
The cause of the malfunction was the extensive build-up of crud on the float shaft. This prevented the On/Off float from rising with the water level to turn on the motor. The float would move with hand pressure, but it was too stiff for its natural buoyancy to lift with the rising water level.
Now when I change the A/C air filter, I also clean the condensate pump. To clean the pump:
- Turn off the A/C unit.
- Unplug the pump power cord. Water and electricity don’t mix!
- Remove the four screws from the metal cover.
- Wash the basin with soap and warm water.
- Wash and wipe down the submerged parts of the pump.
I paid particular attention to wiping down the metal float shaft and checking that it moves freely.
You can find a wide variety of Little Giant and other Condensate Removal Pumps
Hope this saves you some buck$.
Bob Jackson