How to Add an Air Duct to a Room step by step instructions. Frame-in and mount the new vent boot, install the rigid duct board start collar and connect the flexible duct branch line to the duct board trunk. This project is continued from How to Add a Room Air Duct – Part 1.
Frame-in the Ceiling Vent Boot
The vent hole has been cut in the drywall ceiling and work now moves to the attic. The insulation is brushed away from the drywall ceiling cutout for the new vent boot and air register:
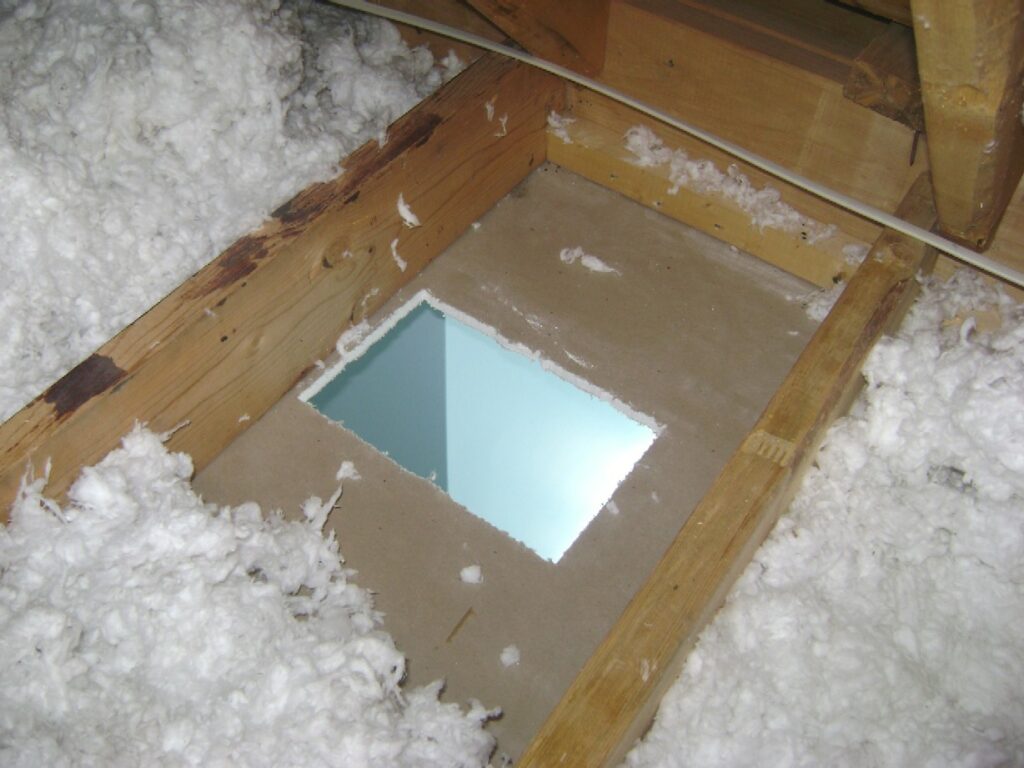
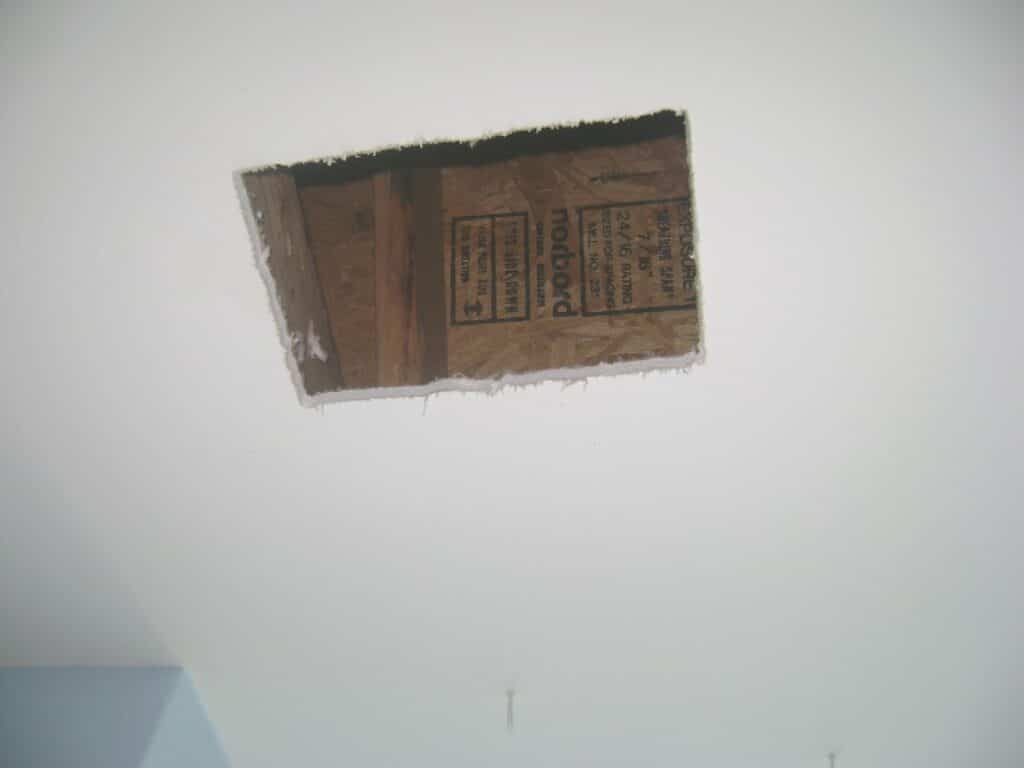
Here’s the same view from inside the bedroom.
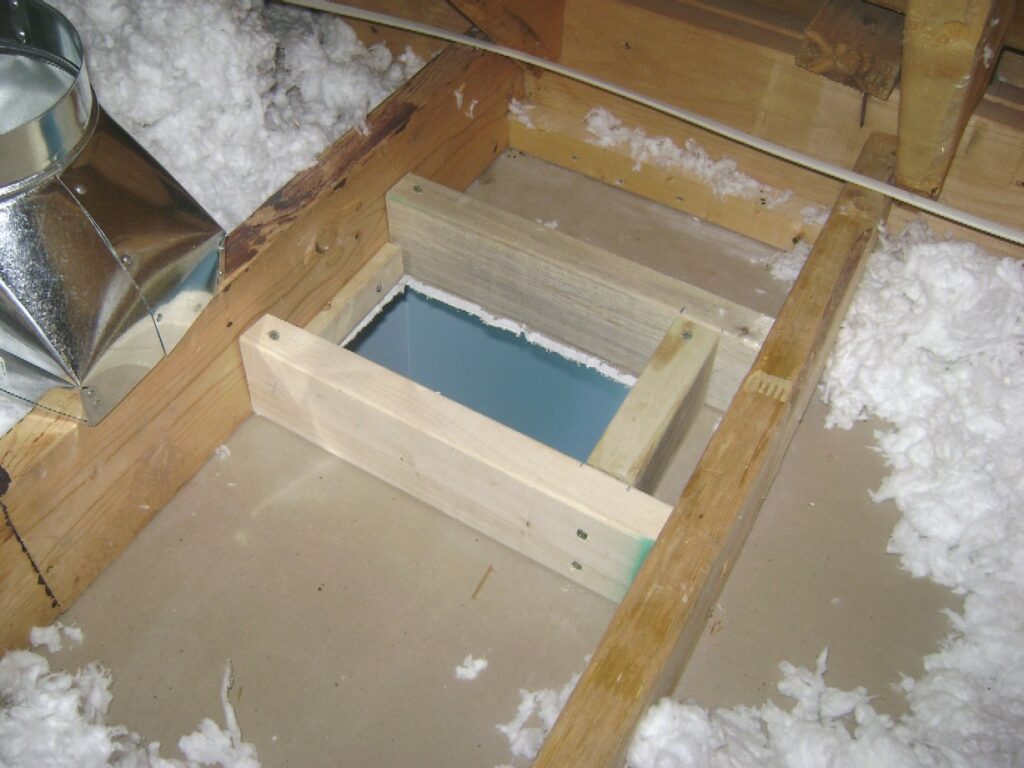
A 2×4 frame is made to mount the vent boot and register box. I used 3 inch wood screws to fasten the frame to the joists. Notice the vent boot at the left side of the photo to check the fit with the wood box frame.
Connect the Vent Boot to the Flexible Air Duct
The insulation jacked it pulled back to reveal the flexible duct inner duct. The inner duct is then slipped over the vent boot:
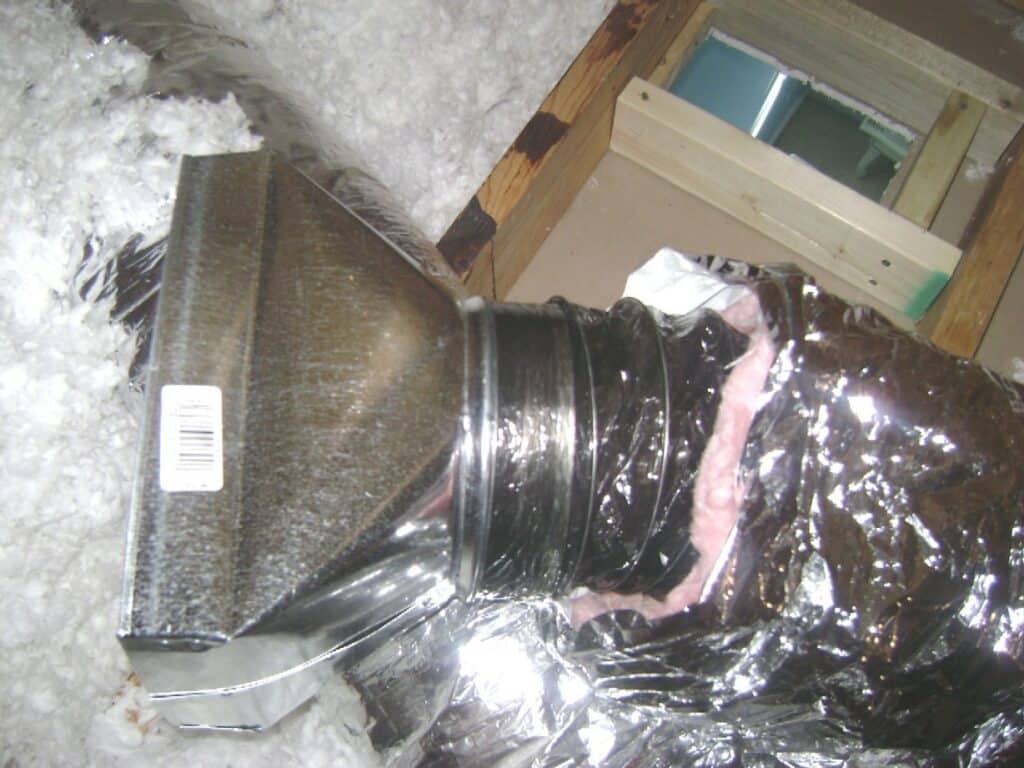
The flex duct liner is secured to register boot with metal foil HVAC tape for an air-tight seal. (Do not use the cloth “duct tape” because it will not last!) The HVAC metal foil tape makes an air tight seal between the flex duct and vent boot:
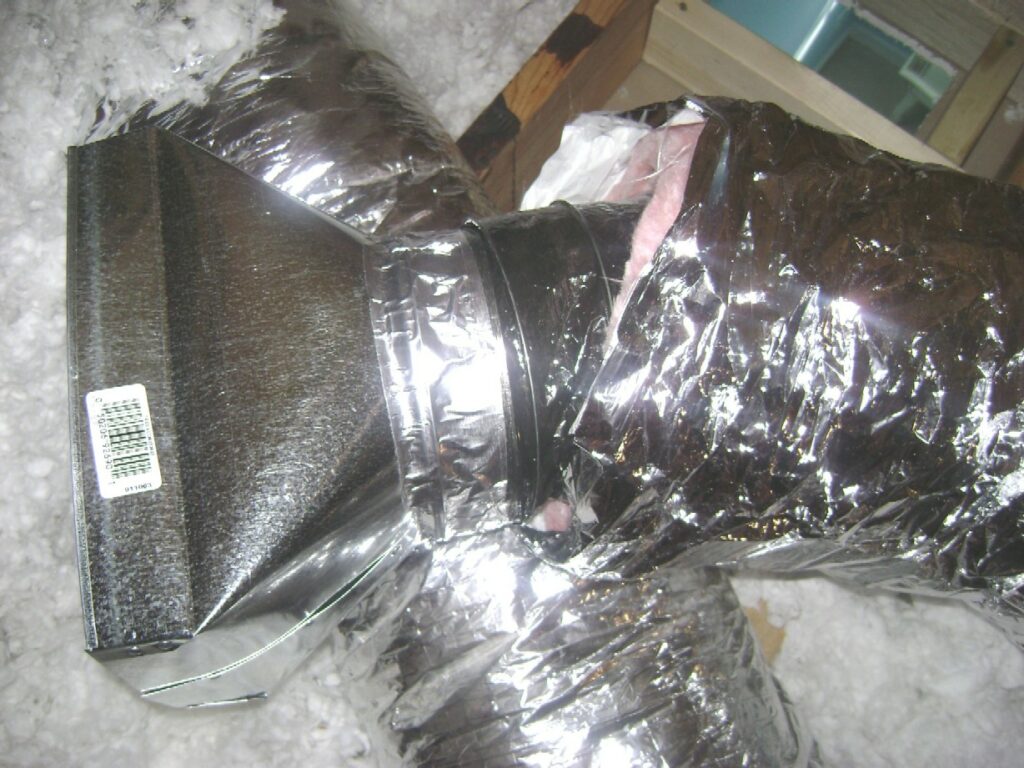
The flexible duct outer insulation jacket is pulled over the vent boot and mechanically fastened with a large nylon zip tie:
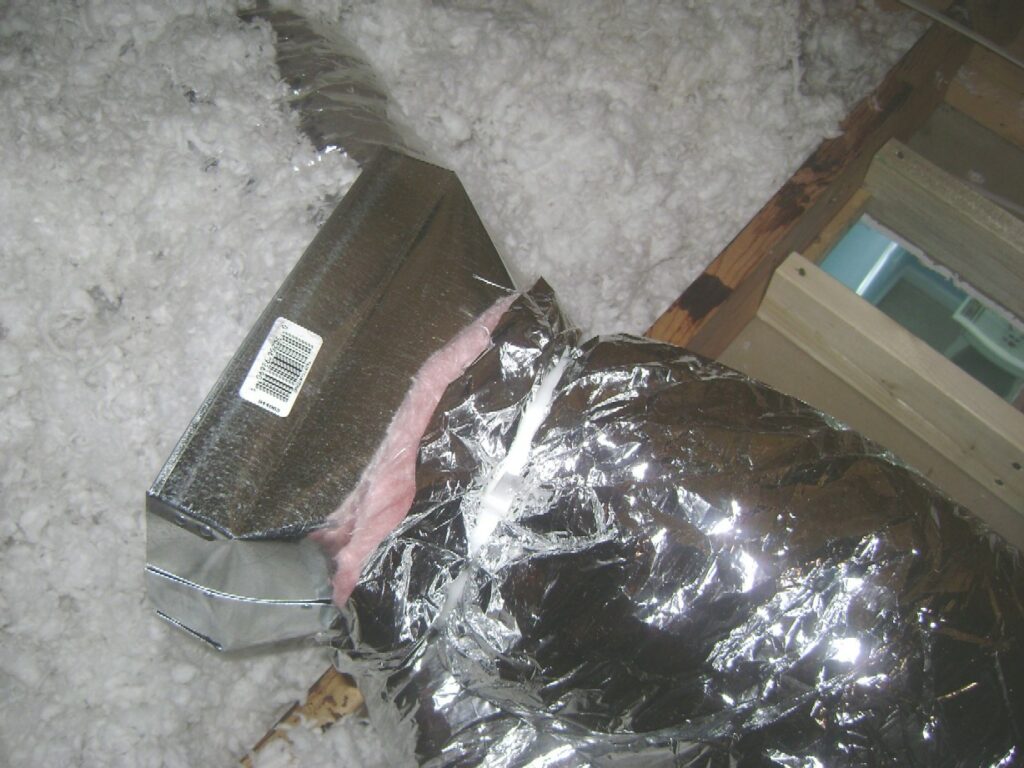
The register box is fastened to the wood box frame with 1/2 inch self-tapping sheet metal screws. The screws are fastened from the inside:
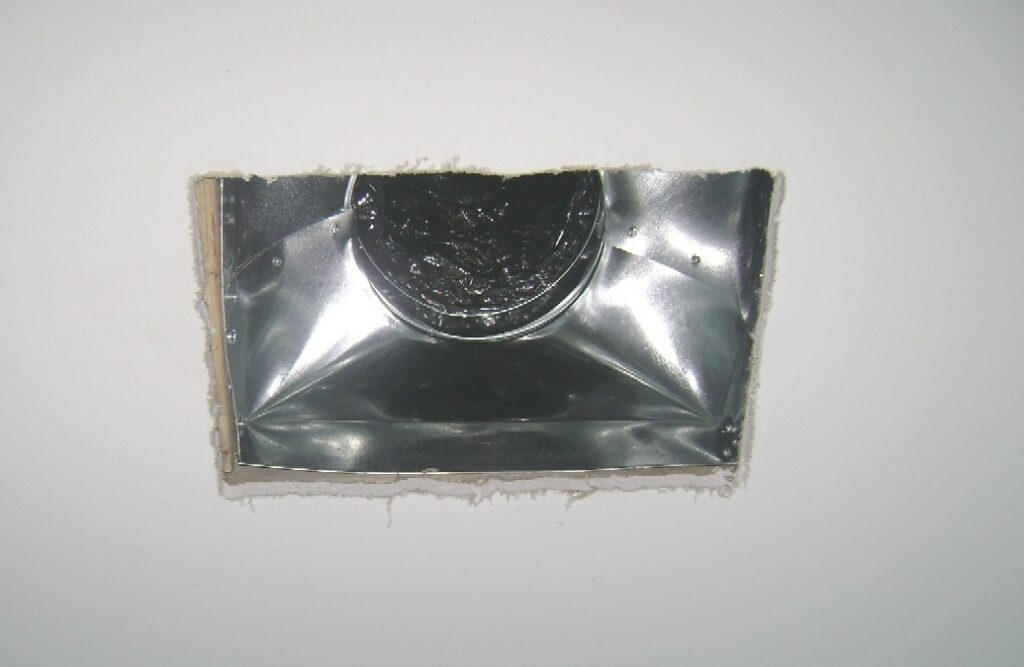
Seal the Duct Boot and Drywall
The new energy efficient building codes requires the gap between the metal vent boot and the drywall be sealed with caulk (see diagram on page 14) to prevent air leaks. Caulking is easiest option because it can be applied from inside the room in a clean and precise bead.
Vent boot sealing wasn’t required by the building code when my home was built. I’ll wait until another day to seal all the vent boots while working inside the attic.
Install the Duct Board Start Collar
The flexible duct branch line will be connected to the rigid duct board trunk with a flex duct start collar (also called a “take-off”). Always connect the branch duct to a trunk duct for the best air flow. An outline is traced in the rigid trunk duct and cut out with a utility knife. The start collar and take-off hole in the duct board trunk:
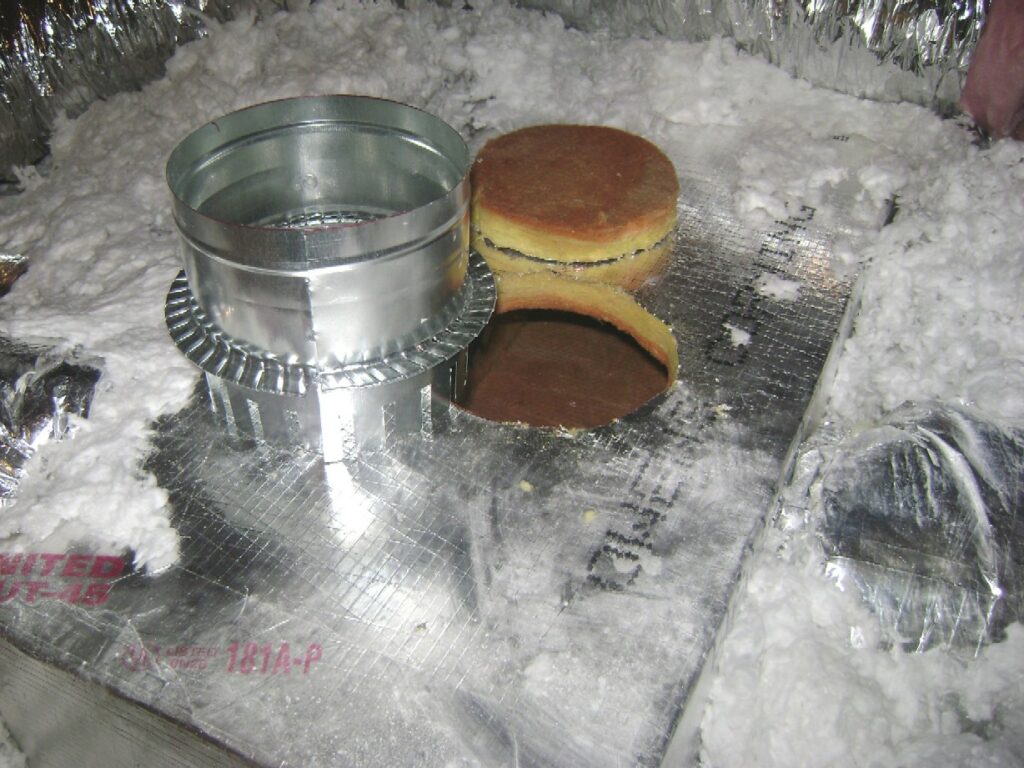
The start collar is placed into the rigid duct board trunk. The start collar mounting tabs (or fingers) are inside the rigid duct board trunk. The fingers are bent outward against the duct board trunk to hold the starting collar:
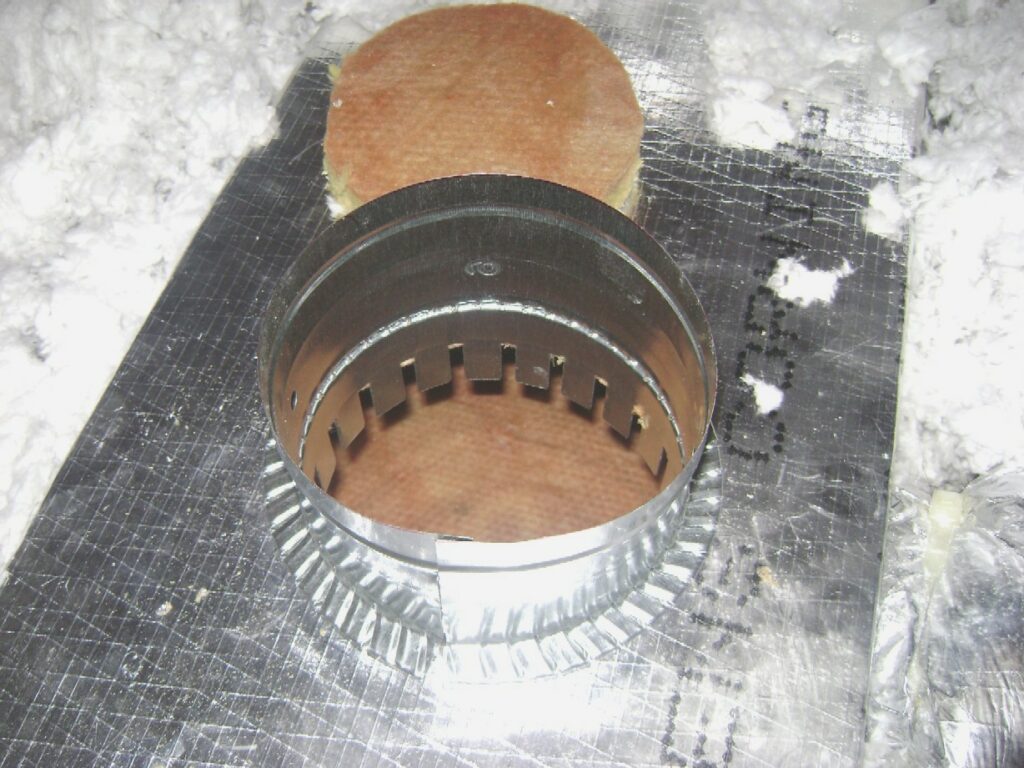
The start collar fingers are bend outward, then the start collar is sealed to the rigid duct board with metal foil HVAC tape. Mastic wasn’t required when my home was built, however sealing with mastic and fiberglass mesh reinforcing tape is required by the new building code.
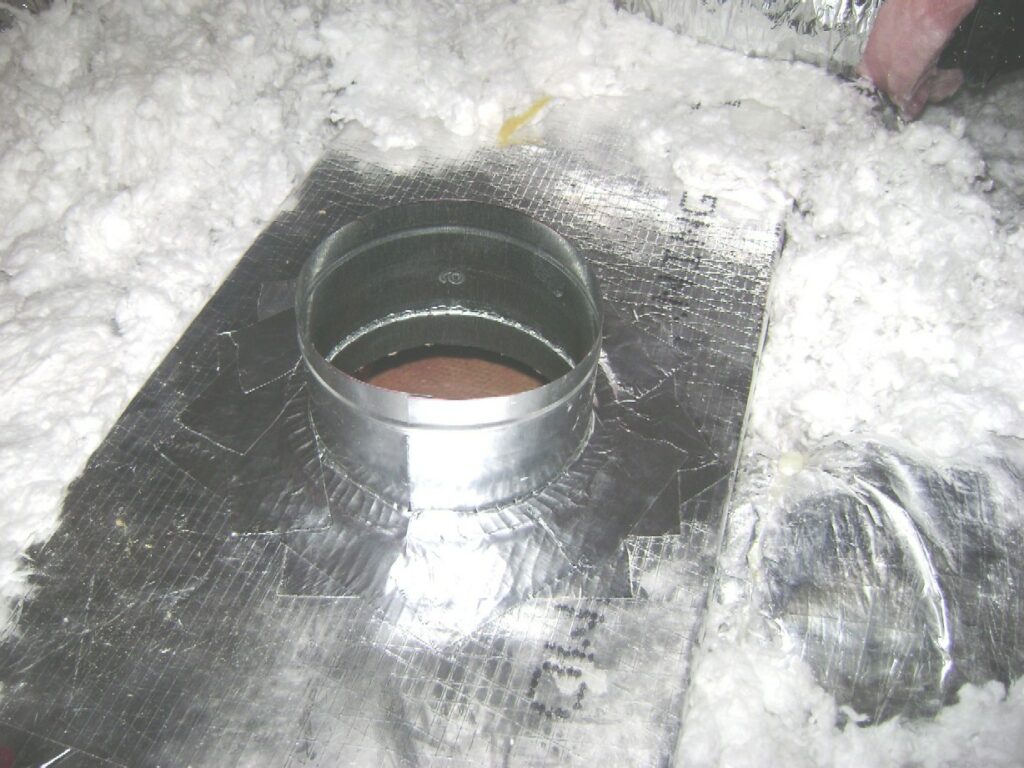
Connect the Flexible Duct to the Start Collar
The flexible duct inner liner is pulled over the start collar and fastened with two layers of metal foil tape as was done at the vent boot.
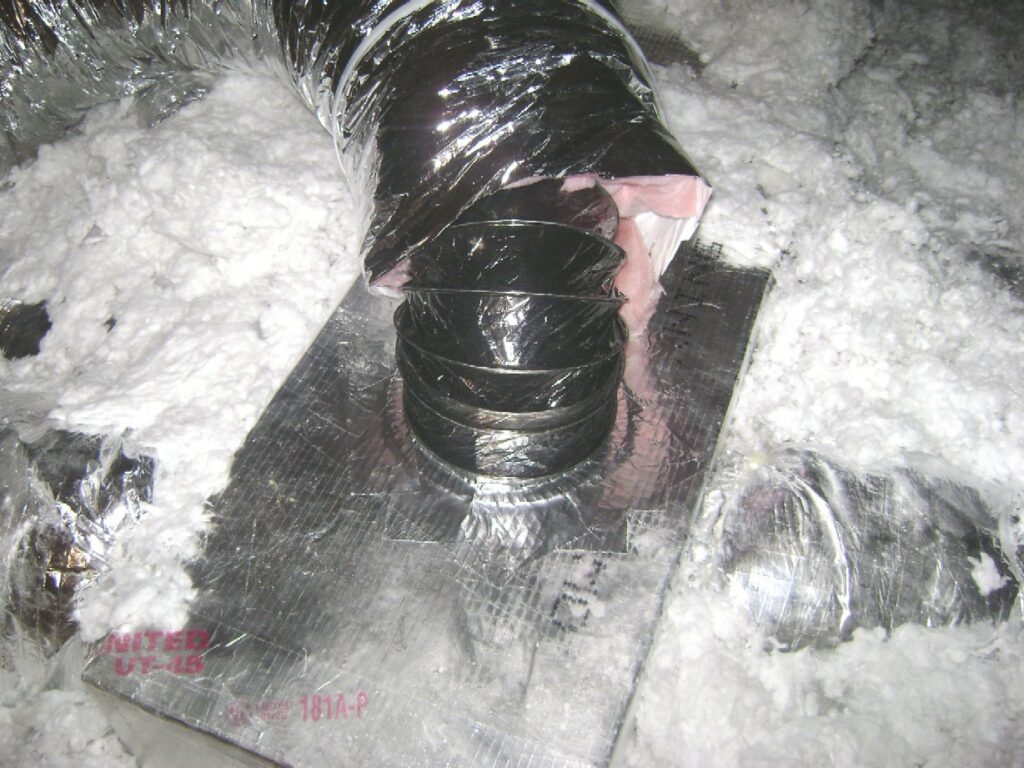
The outer insulation jacket is next pulled over the start collar and secured with a nylon zip tie. Notice the gentle bend in the flex duct – it is very important to avoid kinks and pinches in the flexible duct that will restrict the air flow:
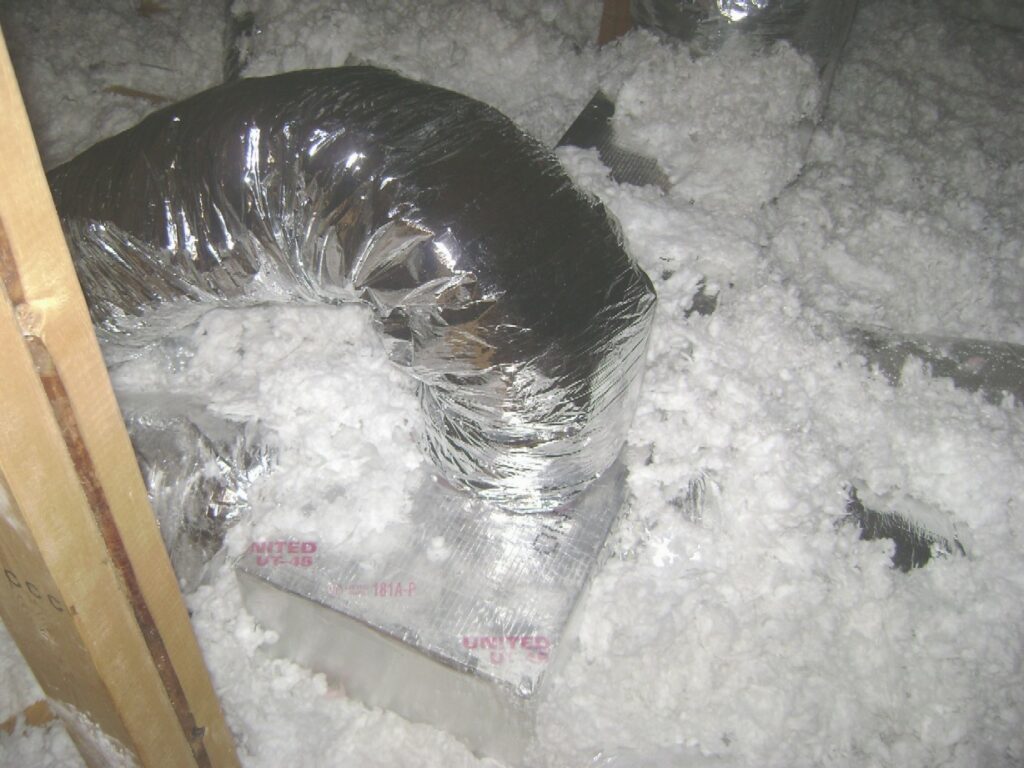
Tip: The flex duct branch line and start collar can be installed in the side of the duct board trunk to avoid that extra bend by coming out the top of the trunk if you have sufficient room and access.
Update:
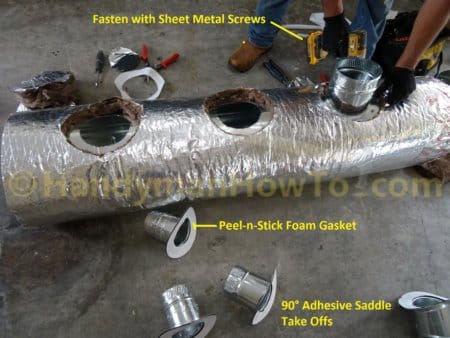
The compressor was failing on my 17 year old central AC system. The AC contractor recommend replacing the rigid duct board distribution boxes (above photo) with round sheet metal duct. The HVAC technician is mounting the saddle take-offs for the flex duct branch lines here:
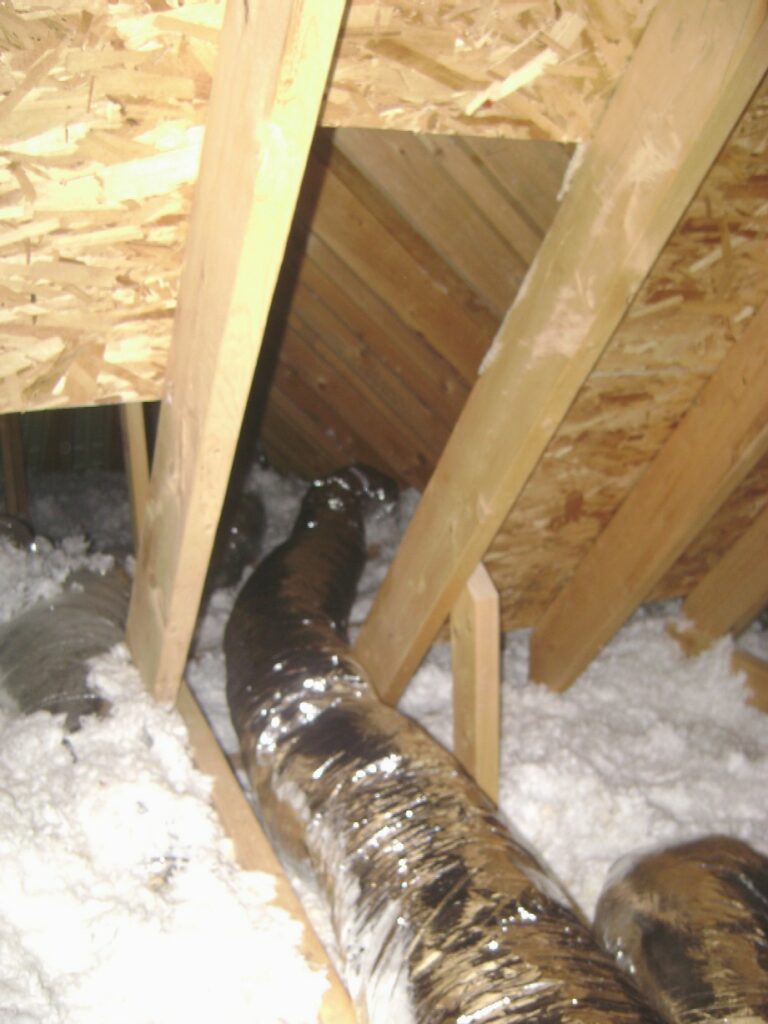
The new flexible duct branch line into the attic above the bedroom is shown in the following photo. The flex duct should be covered with more blown insulation to reduce heating and cooling losses in the attic. The attic is the hottest and coldest part of the house and overall the worst place to run ductwork. I plan to upgrade my attic insulation later.
The new ceiling vent register is attached with two screws included with the unit:
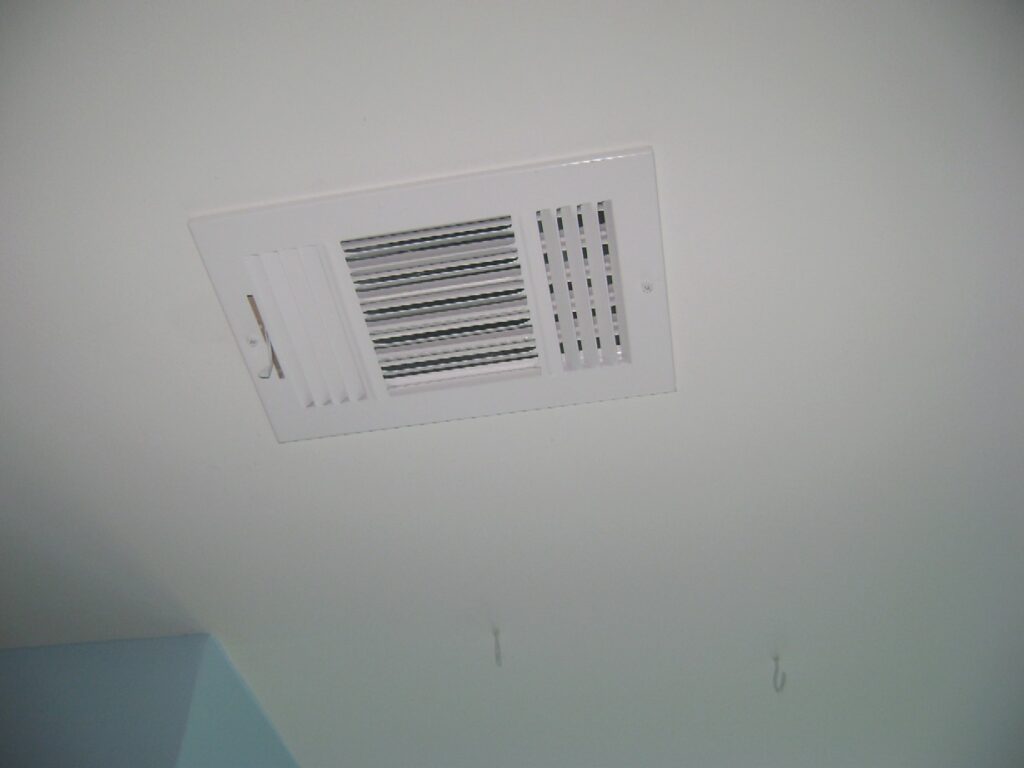
I turned on the furnace and checked the air flow from the new register. I was pleased to have a strong air flow that matched the other ceiling register – which is expected since both branch lines are attached to the same central duct. My daughter’s room is now warm and comfortable.
Attic Fiberglass Batt Insulation
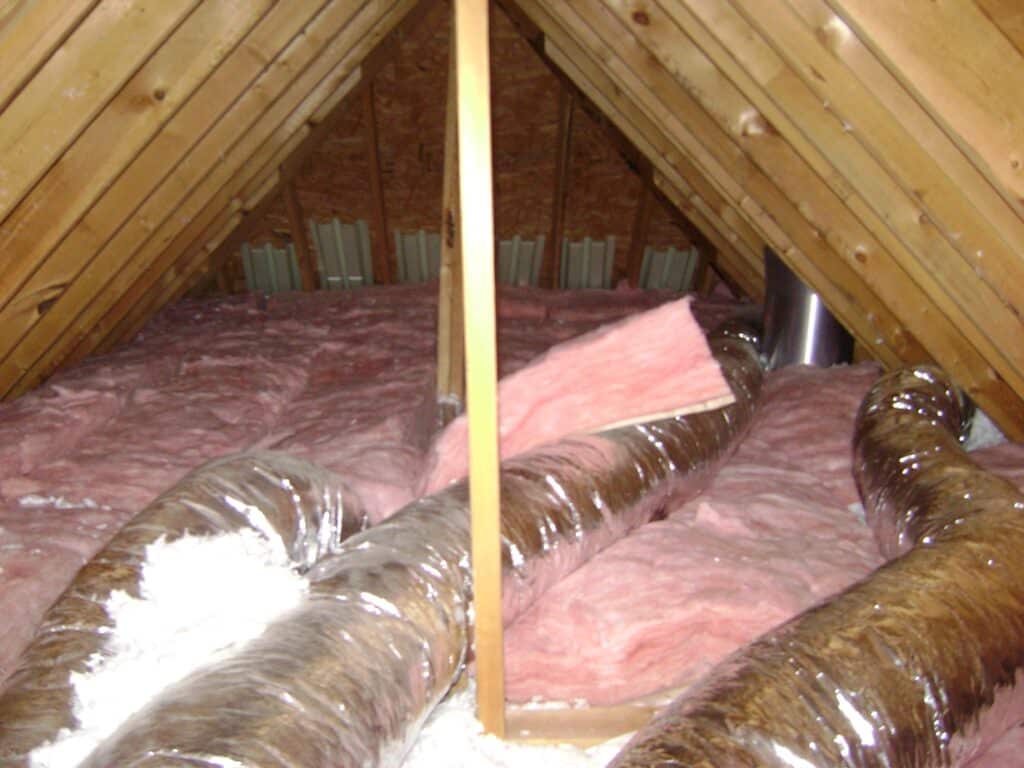
The blown-in white insulation did a poor job of covering the attic above the bedroom. Later I installed the Solatube Skylight and added a new layer of unfaced Owens Corning R-30. Unfaced insulation without a vapor barrier is required because it’s laid on top of the blown insulation and needs to “breath” to prevent condensation. R-30 insulation is quite thick as you can see by the section in the center of the photo. This made a noticeable improvement in the year-round comfort of the bedroom.
Take care,
Bob Jackson